
Raspberry Pi - SCD40 CO2 Sensor
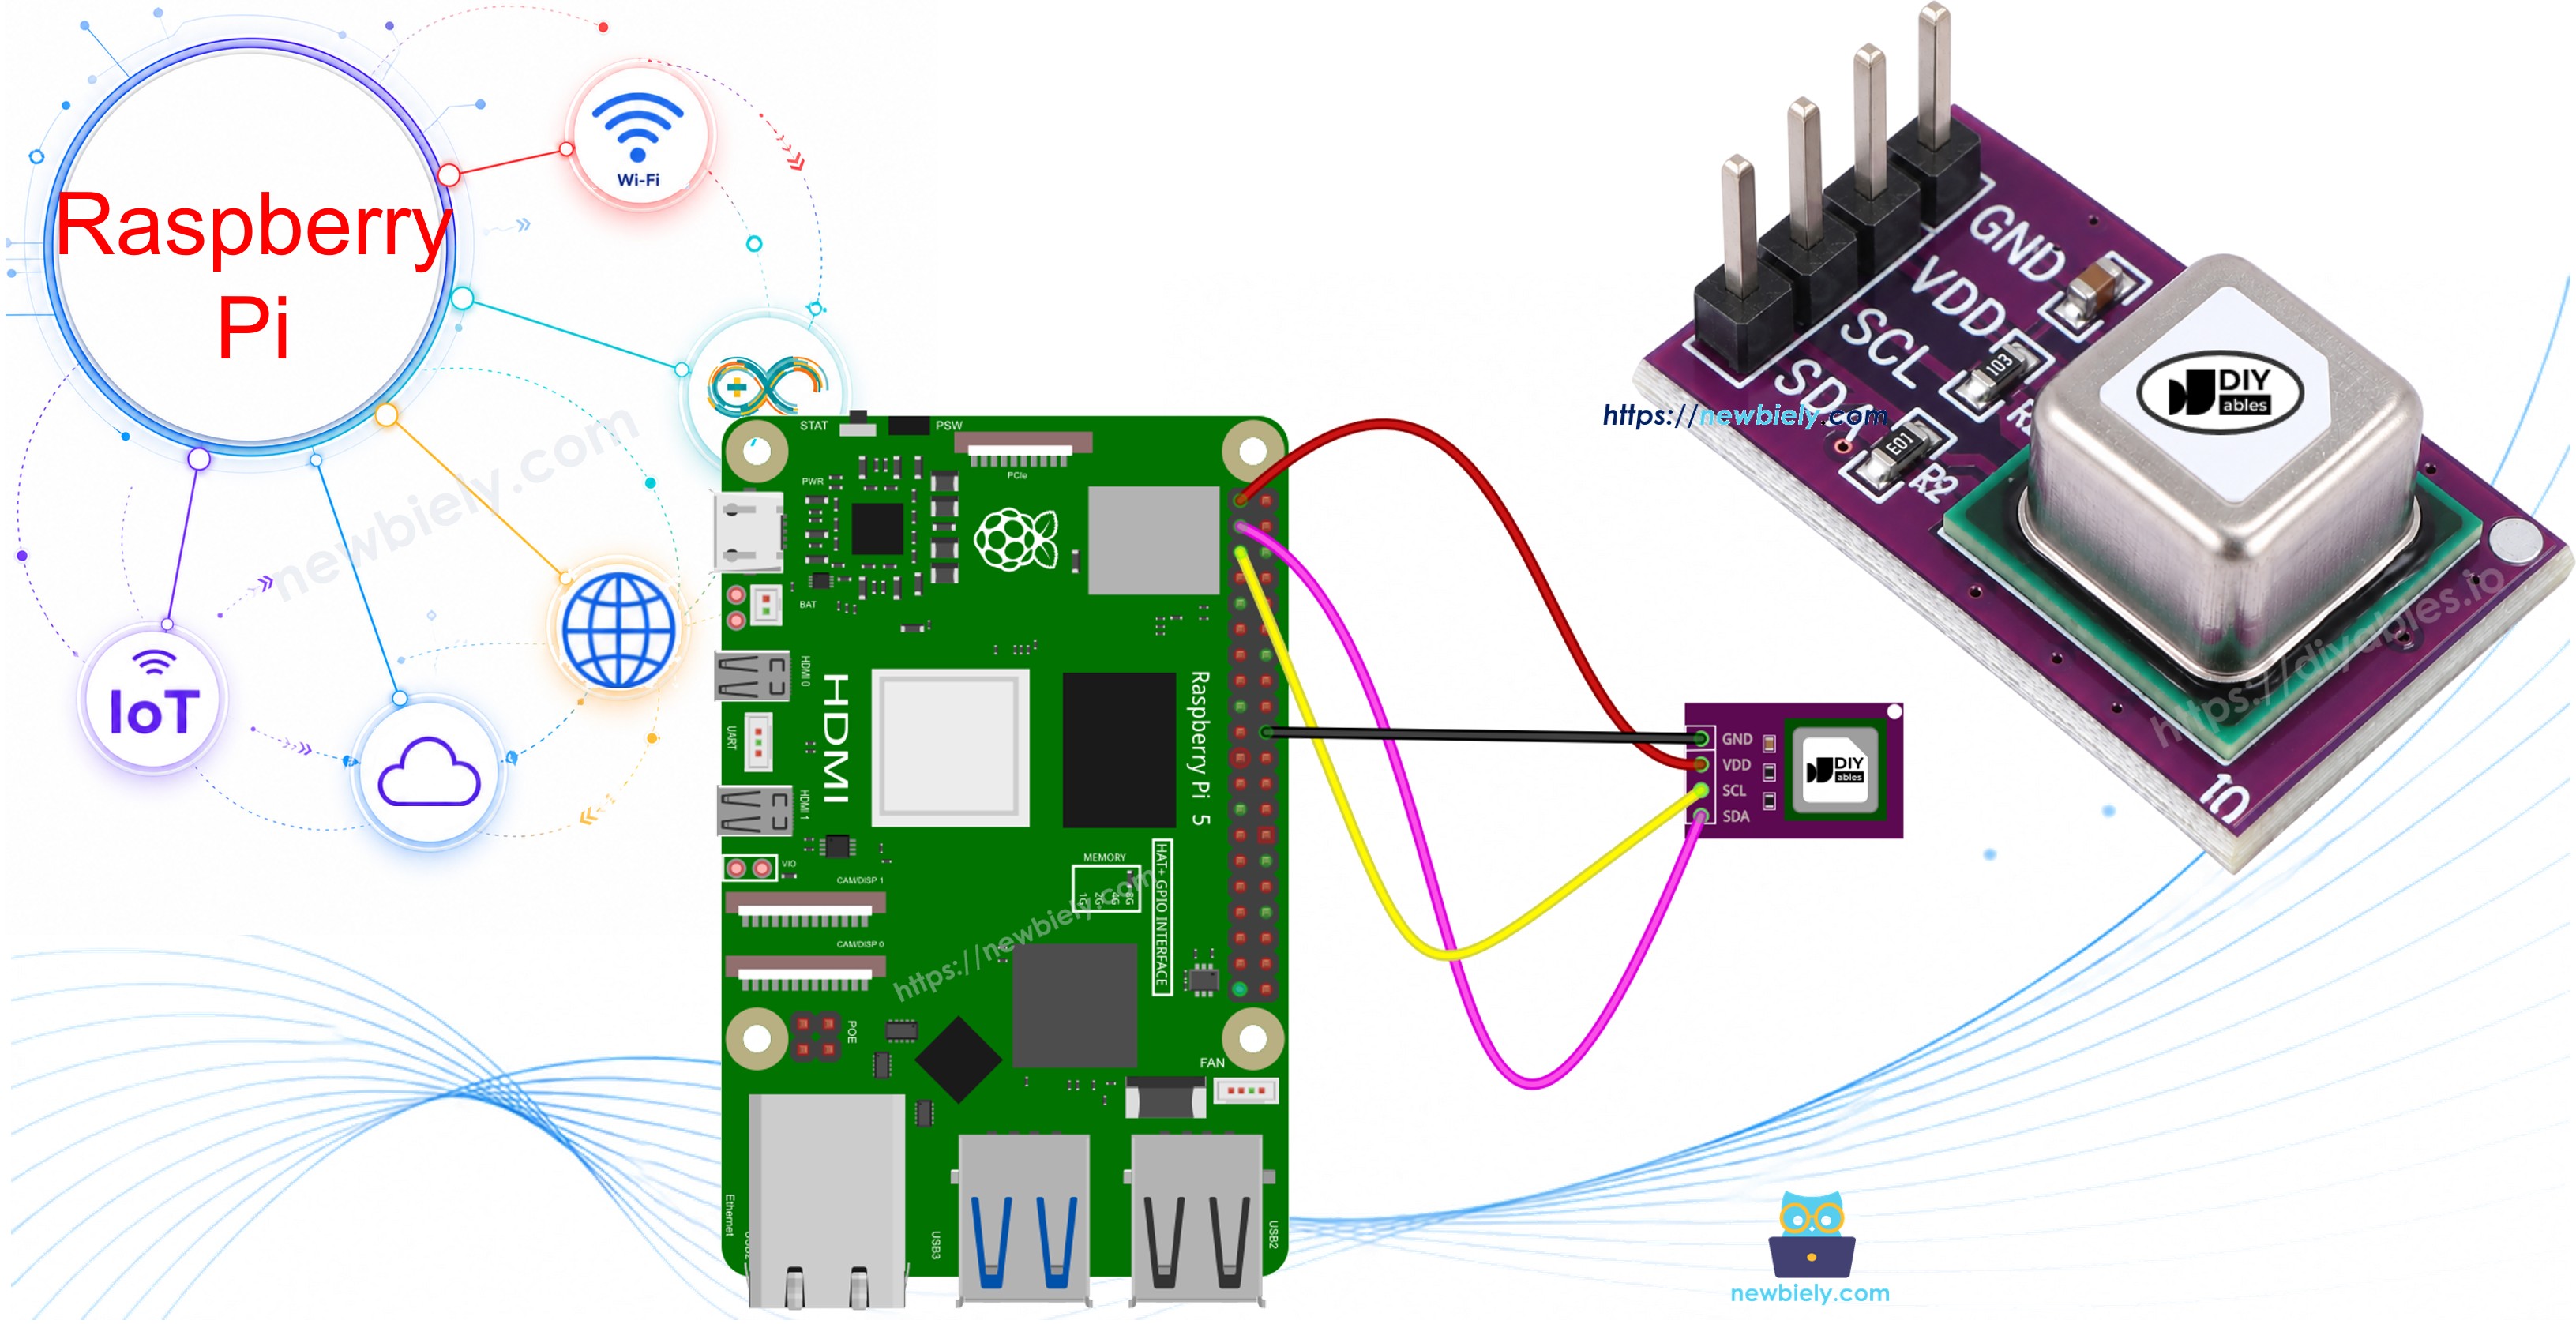
When many people sit in a closed room, the carbon dioxide (CO2) level slowly rises. You do not smell it, but you may feel tired or get a headache. The Sensirion SCD40 measures this gas directly and sends the result as a number in ppm (parts per million). This tutorial instructs you how to use Raspberry Pi to read the CO2 level from the SCD40 sensor. In detail, we will learn:
- How to connect the SCD40 sensor to the I2C pins of Raspberry Pi
- How to enable I2C on Raspberry Pi and check that the sensor is found
- How to program Raspberry Pi in Python to read CO2 values and rate the air as good, stuffy or poor
- How to read the temperature and humidity that the SCD40 also measures
We suggest:
- Utilizing an MQ2 gas sensor if you want to detect smoke, LPG or other burnable gases instead. It cannot measure CO2 in ppm.
- Utilizing a DHT22 temperature and humidity sensor if you only need temperature and humidity.
Hardware Preparation
| 1 | × | Raspberry Pi 5 | |
| 1 | × | SCD40 CO2 Sensor Module | |
| 1 | × | Breadboard | |
| 1 | × | Jumper Wires | |
| 1 | × | Recommended: Screw Terminal Block Shield for Raspberry Pi | |
| 1 | × | Recommended: Raspberry Pi Prototyping Base Plate & Breadboard Kit |
Or you can buy the following kits:
| 1 | × | DIYables Sensor Kit (18 sensors/displays) |
Additionally, some of these links are for products from our own brand, DIYables .
Overview of SCD40 CO2 Sensor
The SCD40 is a true CO2 sensor. Many cheap "air quality" sensors (like the CCS811 or MQ135) only guess the CO2 value from other gases. The SCD40 measures the CO2 itself with photoacoustic NDIR sensing: a tiny infrared light pulses inside a small chamber, the CO2 in the air absorbs that light and makes a very weak pressure "sound", and a tiny microphone picks it up. More CO2 gives a stronger signal. The chip also has a temperature and humidity sensor inside, which it uses to correct the CO2 reading.
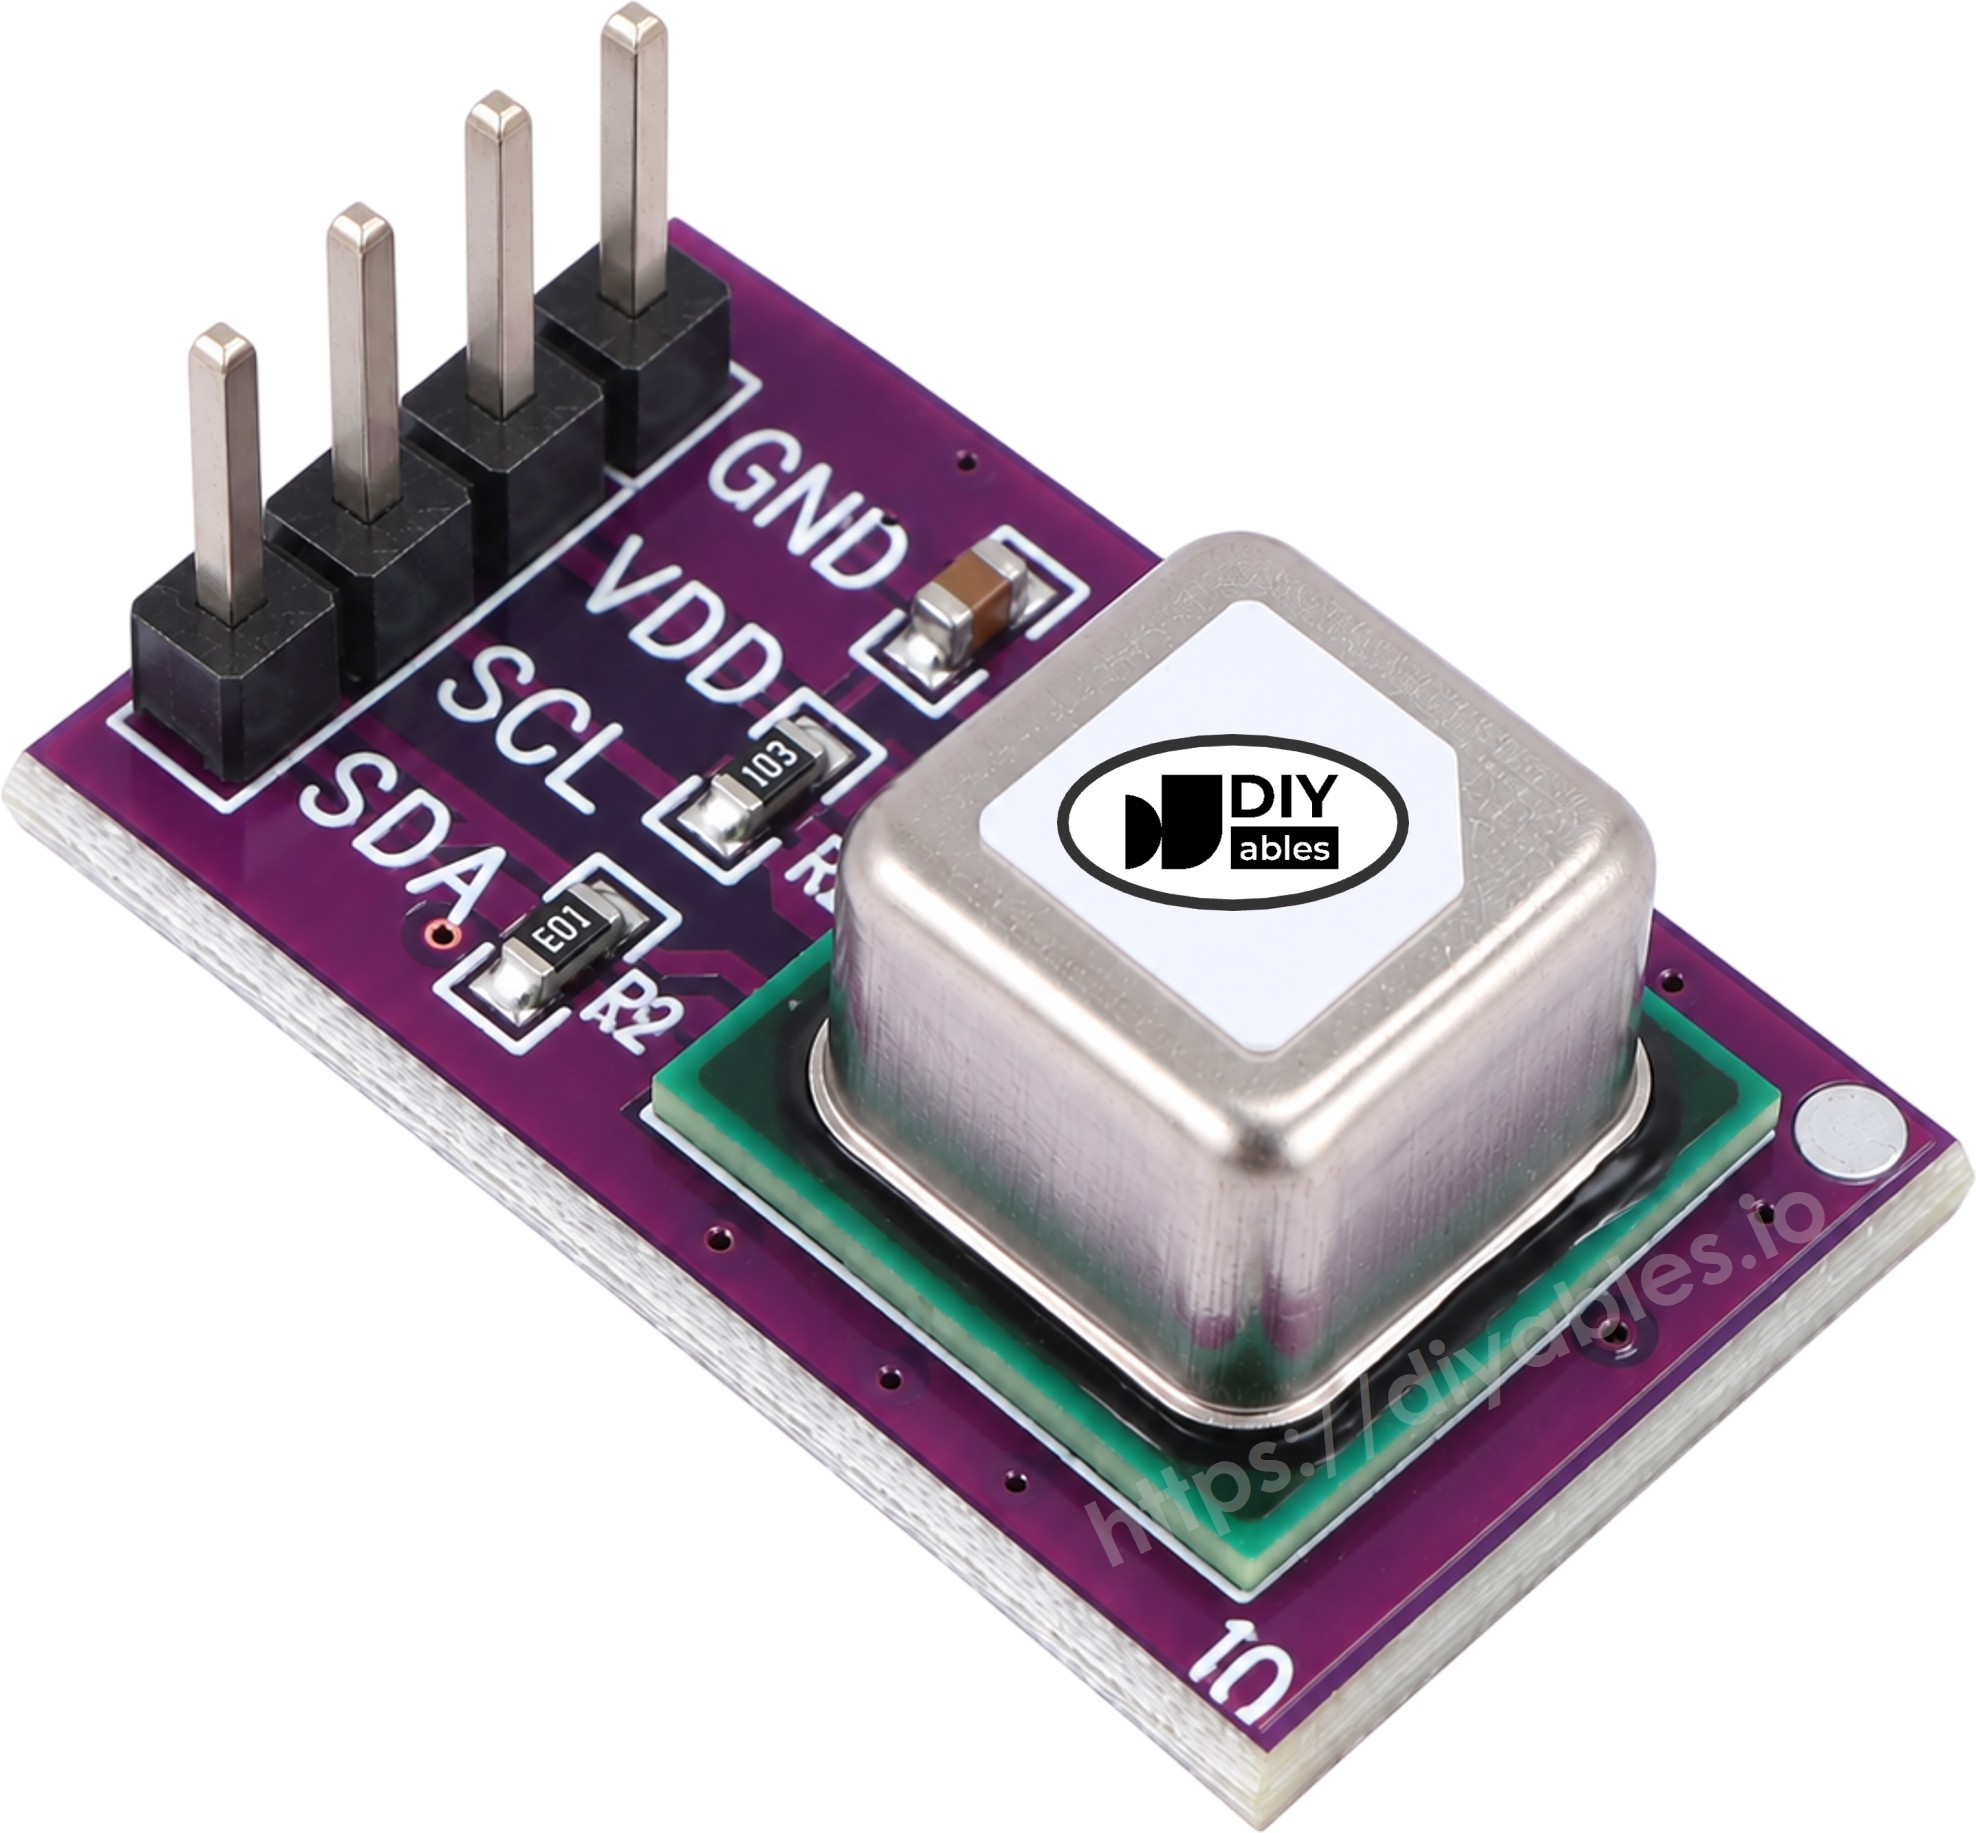
The SCD40 module has four pins:
- VCC (or VIN): This pin must be connected to the voltage supply (2.4V to 5.5V). On Raspberry Pi, use 3.3V
- GND: This pin must be connected to ground (0V)
- SDA: This pin is the I2C data line and is connected to the SDA pin of Raspberry Pi
- SCL: This pin is the I2C clock line and is connected to the SCL pin of Raspberry Pi
Most SCD40 modules already have pull-up resistors on the I2C lines, so no extra resistor is needed.
※ NOTE THAT:
The arrangement of pins on a module can differ between manufacturers. It is essential to always use the labels printed on the module when working with it. Be sure to take a close look!
SCD40 Specifications
| SCD40 | ||
|---|---|---|
| Supply voltage | 2.4V to 5.5V | |
| Interface | I2C, address 0x62 | |
| CO2 output range | 0 to 40,000 ppm | |
| CO2 accuracy | ±(50 ppm + 5% of reading), from 400 to 2,000 ppm | |
| Update rate | every 5 seconds (low-power mode | every 30 seconds) |
| Temperature accuracy | ±0.8°C (15°C to 35°C) | |
| Humidity accuracy | ±6 %RH (15°C to 35°C, 20 to 65 %RH) | |
| Average current | about 15 mA at 3.3V |
What Do the CO2 Numbers Mean?
| CO2 level (ppm) | Air quality |
|---|---|
| around 400 | Fresh outdoor air |
| 400 to 1000 | Good indoor air |
| 1000 to 2000 | Stuffy, time to open a window |
| above 2000 | Poor, headache and sleepiness are possible |
The SCD40 has automatic self-calibration (ASC) turned on by default. It expects the sensor to see fresh air (about 400 ppm) at least once a week, ideally for an hour or more. If your room is never aired out, the readings can drift over time. Also, the first few readings after power-on can be a little less accurate while the sensor warms up.
Wiring Diagram
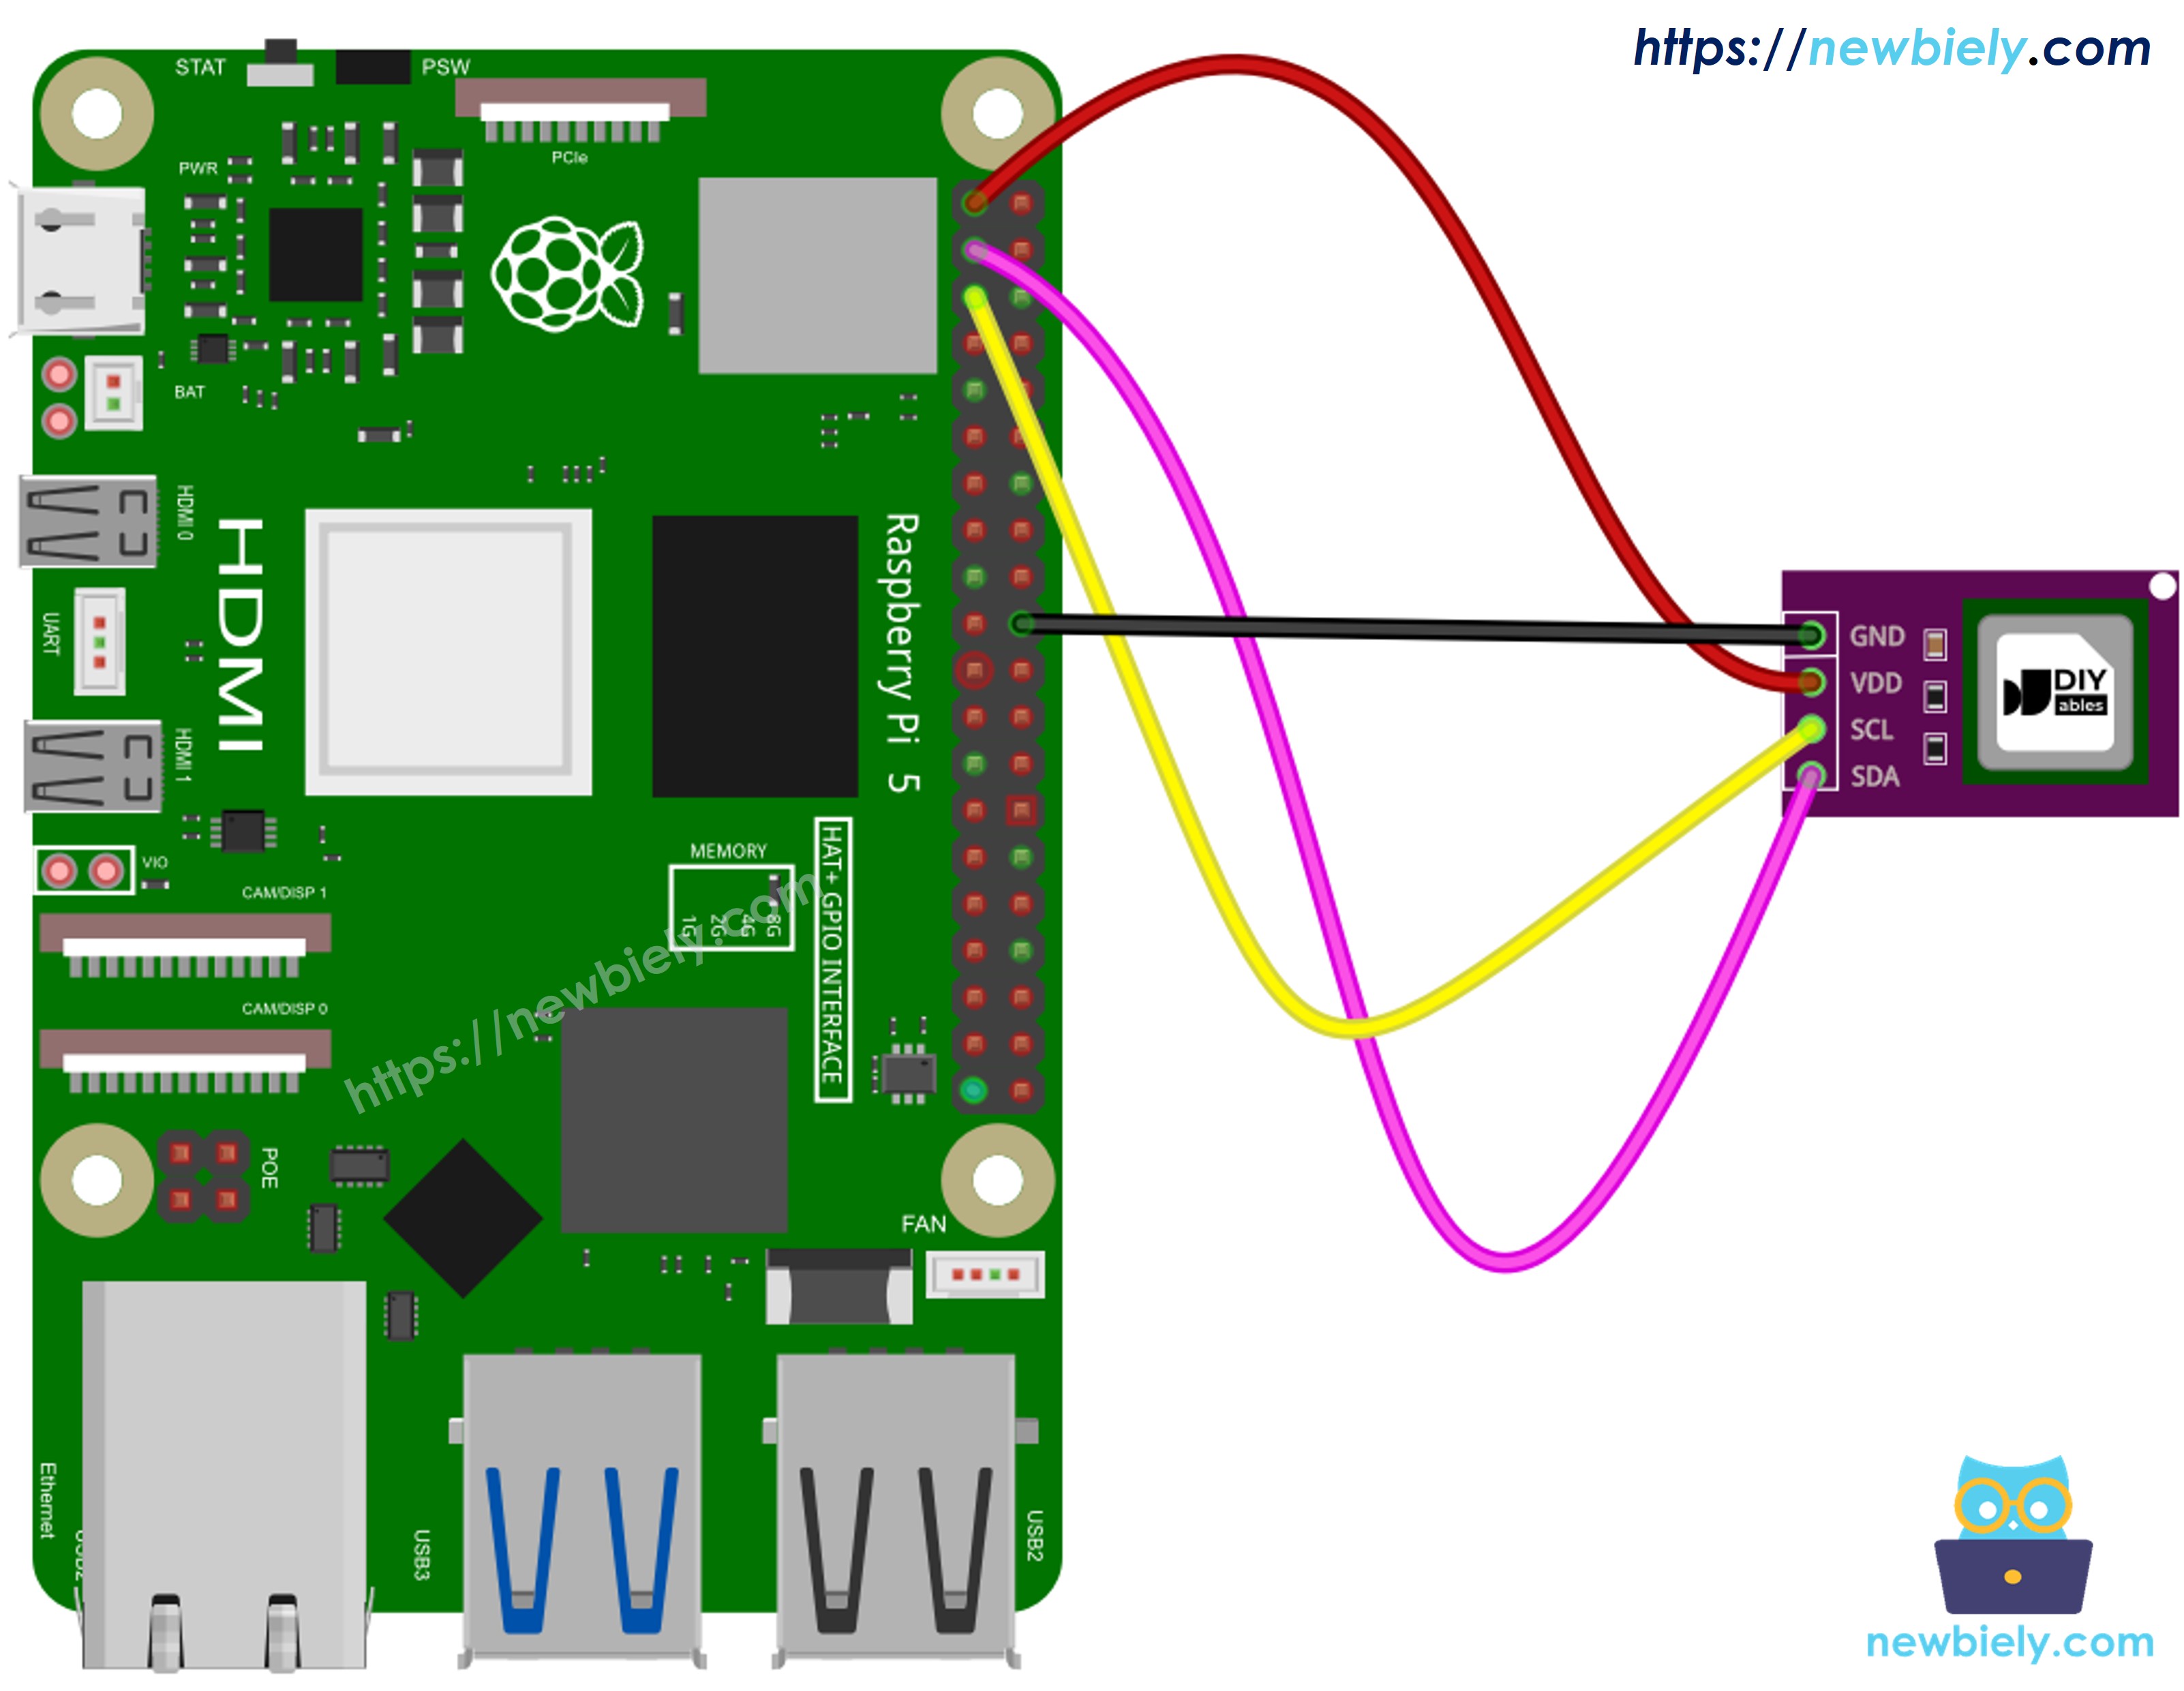
This image is created using Fritzing. Click to enlarge image
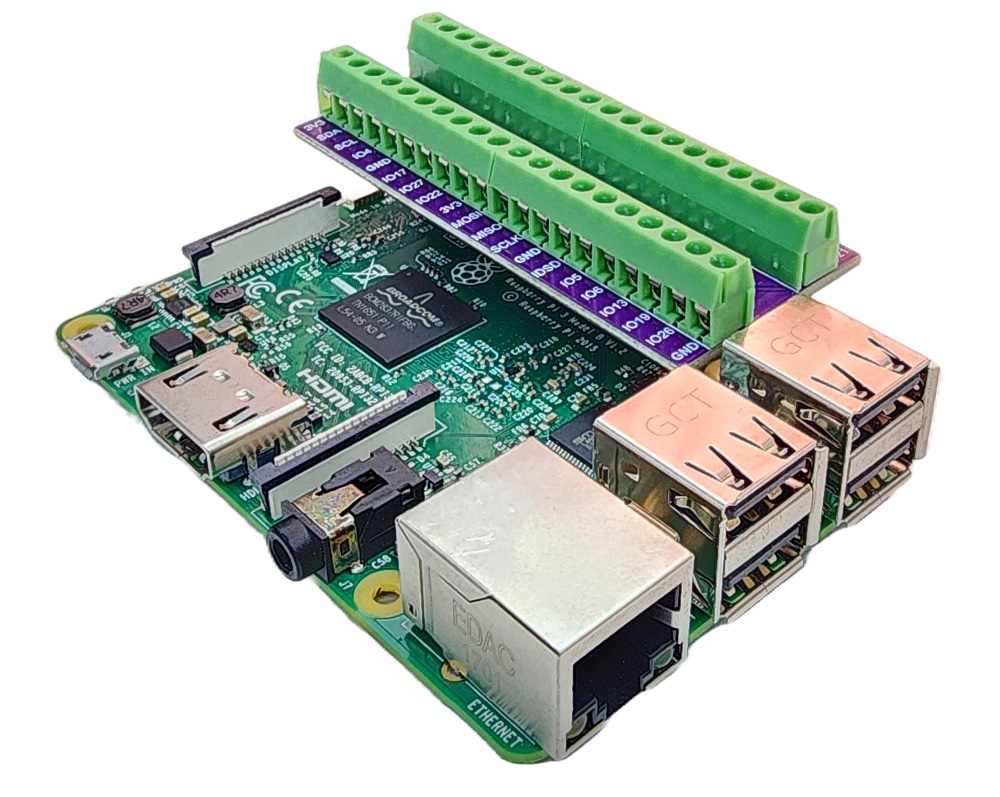
To simplify and organize your wiring setup, we recommend using a Screw Terminal Block Shield for Raspberry Pi. This shield ensures more secure and manageable connections, as shown below:
Connect the SCD40 module to the Raspberry Pi as follows:
- SCD40 VCC pin to Raspberry Pi 3.3V (pin 1)
- SCD40 GND pin to Raspberry Pi GND (pin 6 or any GND pin)
- SCD40 SDA pin to Raspberry Pi GPIO 2 (pin 3), the SDA pin of I2C bus 1
- SCD40 SCL pin to Raspberry Pi GPIO 3 (pin 5), the SCL pin of I2C bus 1
Powering the module from 3.3V keeps the I2C pull-up resistors at 3.3V too, which is safe for the GPIO pins of Raspberry Pi.
How To Program for Raspberry Pi to read CO2 from SCD40 Sensor
There is no need for a big driver library. The SCD40 is controlled with a few 16-bit I2C commands, and the script sends them directly with the smbus2 library:
- 0x21B1: start periodic measurement (a new reading every 5 seconds)
- 0xE4B8: ask if a new reading is ready
- 0xEC05: read the measurement (CO2, temperature and humidity)
- 0x3F86: stop periodic measurement
Every value the sensor sends back comes as two data bytes plus one CRC byte. The script checks the CRC and skips the reading if it does not match, so you never print a broken value.
Detailed Instructions
- Make sure you have Raspbian or any other Raspberry Pi compatible operating system installed on your Pi.
- Make sure your Raspberry Pi is connected to the same local network as your PC.
- Make sure your Raspberry Pi is connected to the internet if you need to install some libraries.
- If this is the first time you use Raspberry Pi, See how to set up the Raspberry Pi
- Connect your PC to the Raspberry Pi via SSH using the built-in SSH client on Linux and macOS or PuTTY on Windows. See to how connect your PC to Raspberry Pi via SSH.
- Run the following command to open the Raspberry Pi configuration tool:
- Navigate to Interfacing Options > I2C and enable it to enable I2C interface on Raspberry Pi. See also How to enable I2C interface on Raspberry Pi
- Reboot the Raspberry Pi:
- Reconnect your PC to the Raspberry Pi via SSH
- Install the smbus2 library and the I2C tools by running the following commands:
- Check that Raspberry Pi can see the sensor:
You should see the number 62 in the table. If the table is empty, check the SDA and SCL wires again.
- Create a Python script file scd40_co2.py and add the following code:
- Save the file and run the Python script by executing the following command in the terminal:
- Breathe gently toward the sensor for a few seconds and watch the CO2 value go up, then wait for it to come back down.
The script checks the sensor once every second (as specified in the time.sleep(1) line), but the SCD40 only makes a new reading every 5 seconds, so you will see a new line about every 5 seconds until you stop the script by pressing Ctrl + C keys in the terminal. When you stop it, the script tells the sensor to stop measuring.
Reading Temperature and Humidity from the SCD40
The same 0xEC05 read command already gives us three values, not just one. We simply ignored the last two in the first script. The second and third values are raw numbers that are turned into real units like this:
- Temperature (°C) = -45 + 175 × raw value / 65535
- Humidity (%) = 100 × raw value / 65535
The new script below prints all three values on one line.
Detailed Instructions
- Create a Python script file scd40_co2_temp_humidity.py and add the following code:
- Save the file and run the Python script by executing the following command in the terminal:
- Check the terminal output:
If the temperature looks a bit higher than your room thermometer, move the sensor away from the Raspberry Pi. The Pi's processor gets warm and can heat the air around the sensor.
Additional Knowledge
Let's compare the SCD40 with the MQ2 gas sensor from the Raspberry Pi - Gas Sensor tutorial:
| SCD40 | MQ2 | |
|---|---|---|
| What it detects | CO2 only | LPG, smoke, alcohol, propane, hydrogen, methane, carbon monoxide |
| Output | CO2 in ppm (I2C) | HIGH/LOW signal or analog voltage |
| Measuring method | photoacoustic NDIR | heated sensing element |
| Needs an ADC on Raspberry Pi | No | Yes, for the analog value |
| Also measures temperature and humidity | Yes | No |
Evidently, the SCD40 is the right choice for checking indoor air in a room or office, while the MQ2 is meant for detecting gas leaks and smoke.