
Arduino UNO Q - SCD40 CO2 Sensor
Feeling sleepy in a closed room is often a sign of too much CO2. With an SCD40 sensor, the Arduino UNO Q can measure the real CO2 level in your room — and its Linux side can text you on Telegram when it is time to open a window.
In this tutorial, you will learn:
- What the SCD40 is and how it measures true CO2
- How to wire the SCD40 to the I2C pins of the Arduino UNO Q
- How to program the MCU (C/C++) to read CO2 in ppm and rate the air as Good, Stuffy, or Poor
- How to pass CO2 readings from the MCU to the Linux side (Python) via Bridge
- How to get a Telegram alert when CO2 goes above 1000 ppm
- How to read the temperature and humidity that the SCD40 also measures
- How to use OpenClaw on Arduino UNO Q with the SCD40
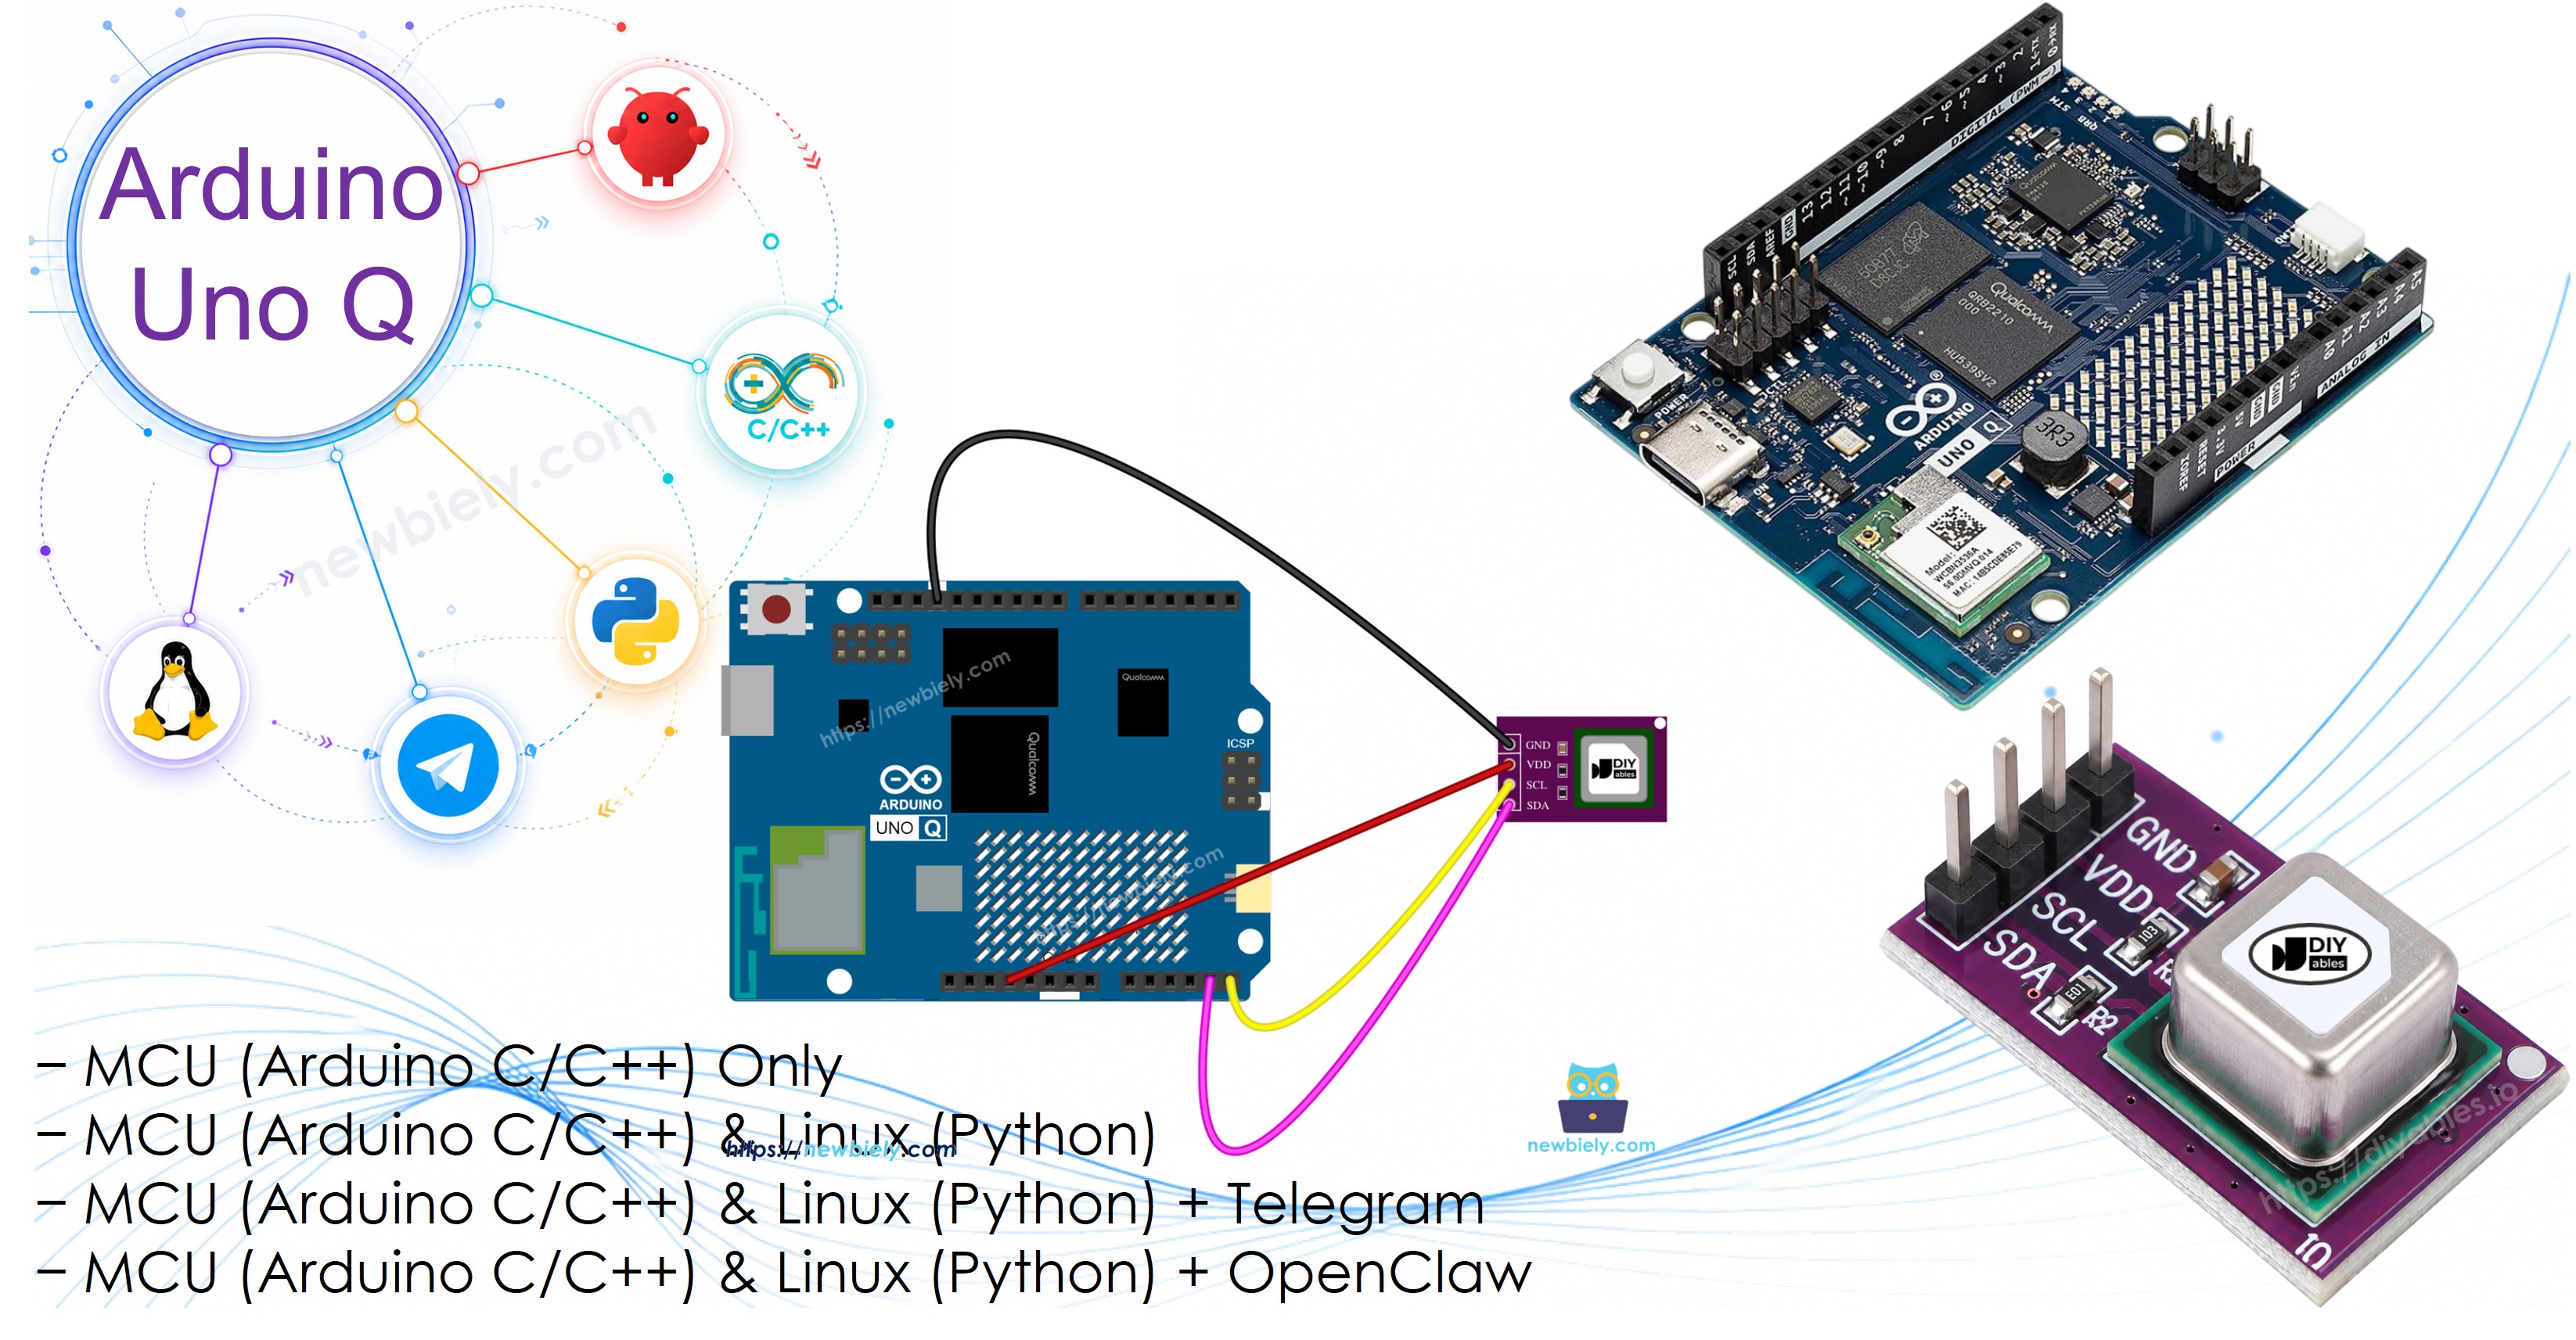
Hardware Preparation
Or you can buy the following kits:
| 1 | × | DIYables Sensor Kit (18 sensors/displays) |
Additionally, some of these links are for products from our own brand, DIYables .
Overview of the SCD40 CO2 Sensor
The SCD40 from Sensirion measures true CO2, not a guess based on other gases (the "eCO2" of sensors like the MQ135 or CCS811). Inside, a tiny infrared light pulses through a small chamber. CO2 absorbs some of that light and makes a very small pressure "sound", which a microphone picks up — more CO2 gives a stronger signal. This is called photoacoustic NDIR sensing.
| SCD40 | ||
|---|---|---|
| Supply Voltage | 2.4V to 5.5V | |
| Interface | I2C, address 0x62 | |
| CO2 Output Range | 0 to 40,000 ppm | |
| CO2 Accuracy | ±(50 ppm + 5% of reading), from 400 to 2,000 ppm | |
| Update Rate | every 5 seconds (low-power mode | every 30 seconds) |
| Temperature Accuracy | ±0.8°C (15°C to 35°C) | |
| Humidity Accuracy | ±6 %RH (15°C to 35°C, 20 to 65 %RH) | |
| Average Current | about 15 mA at 3.3V |
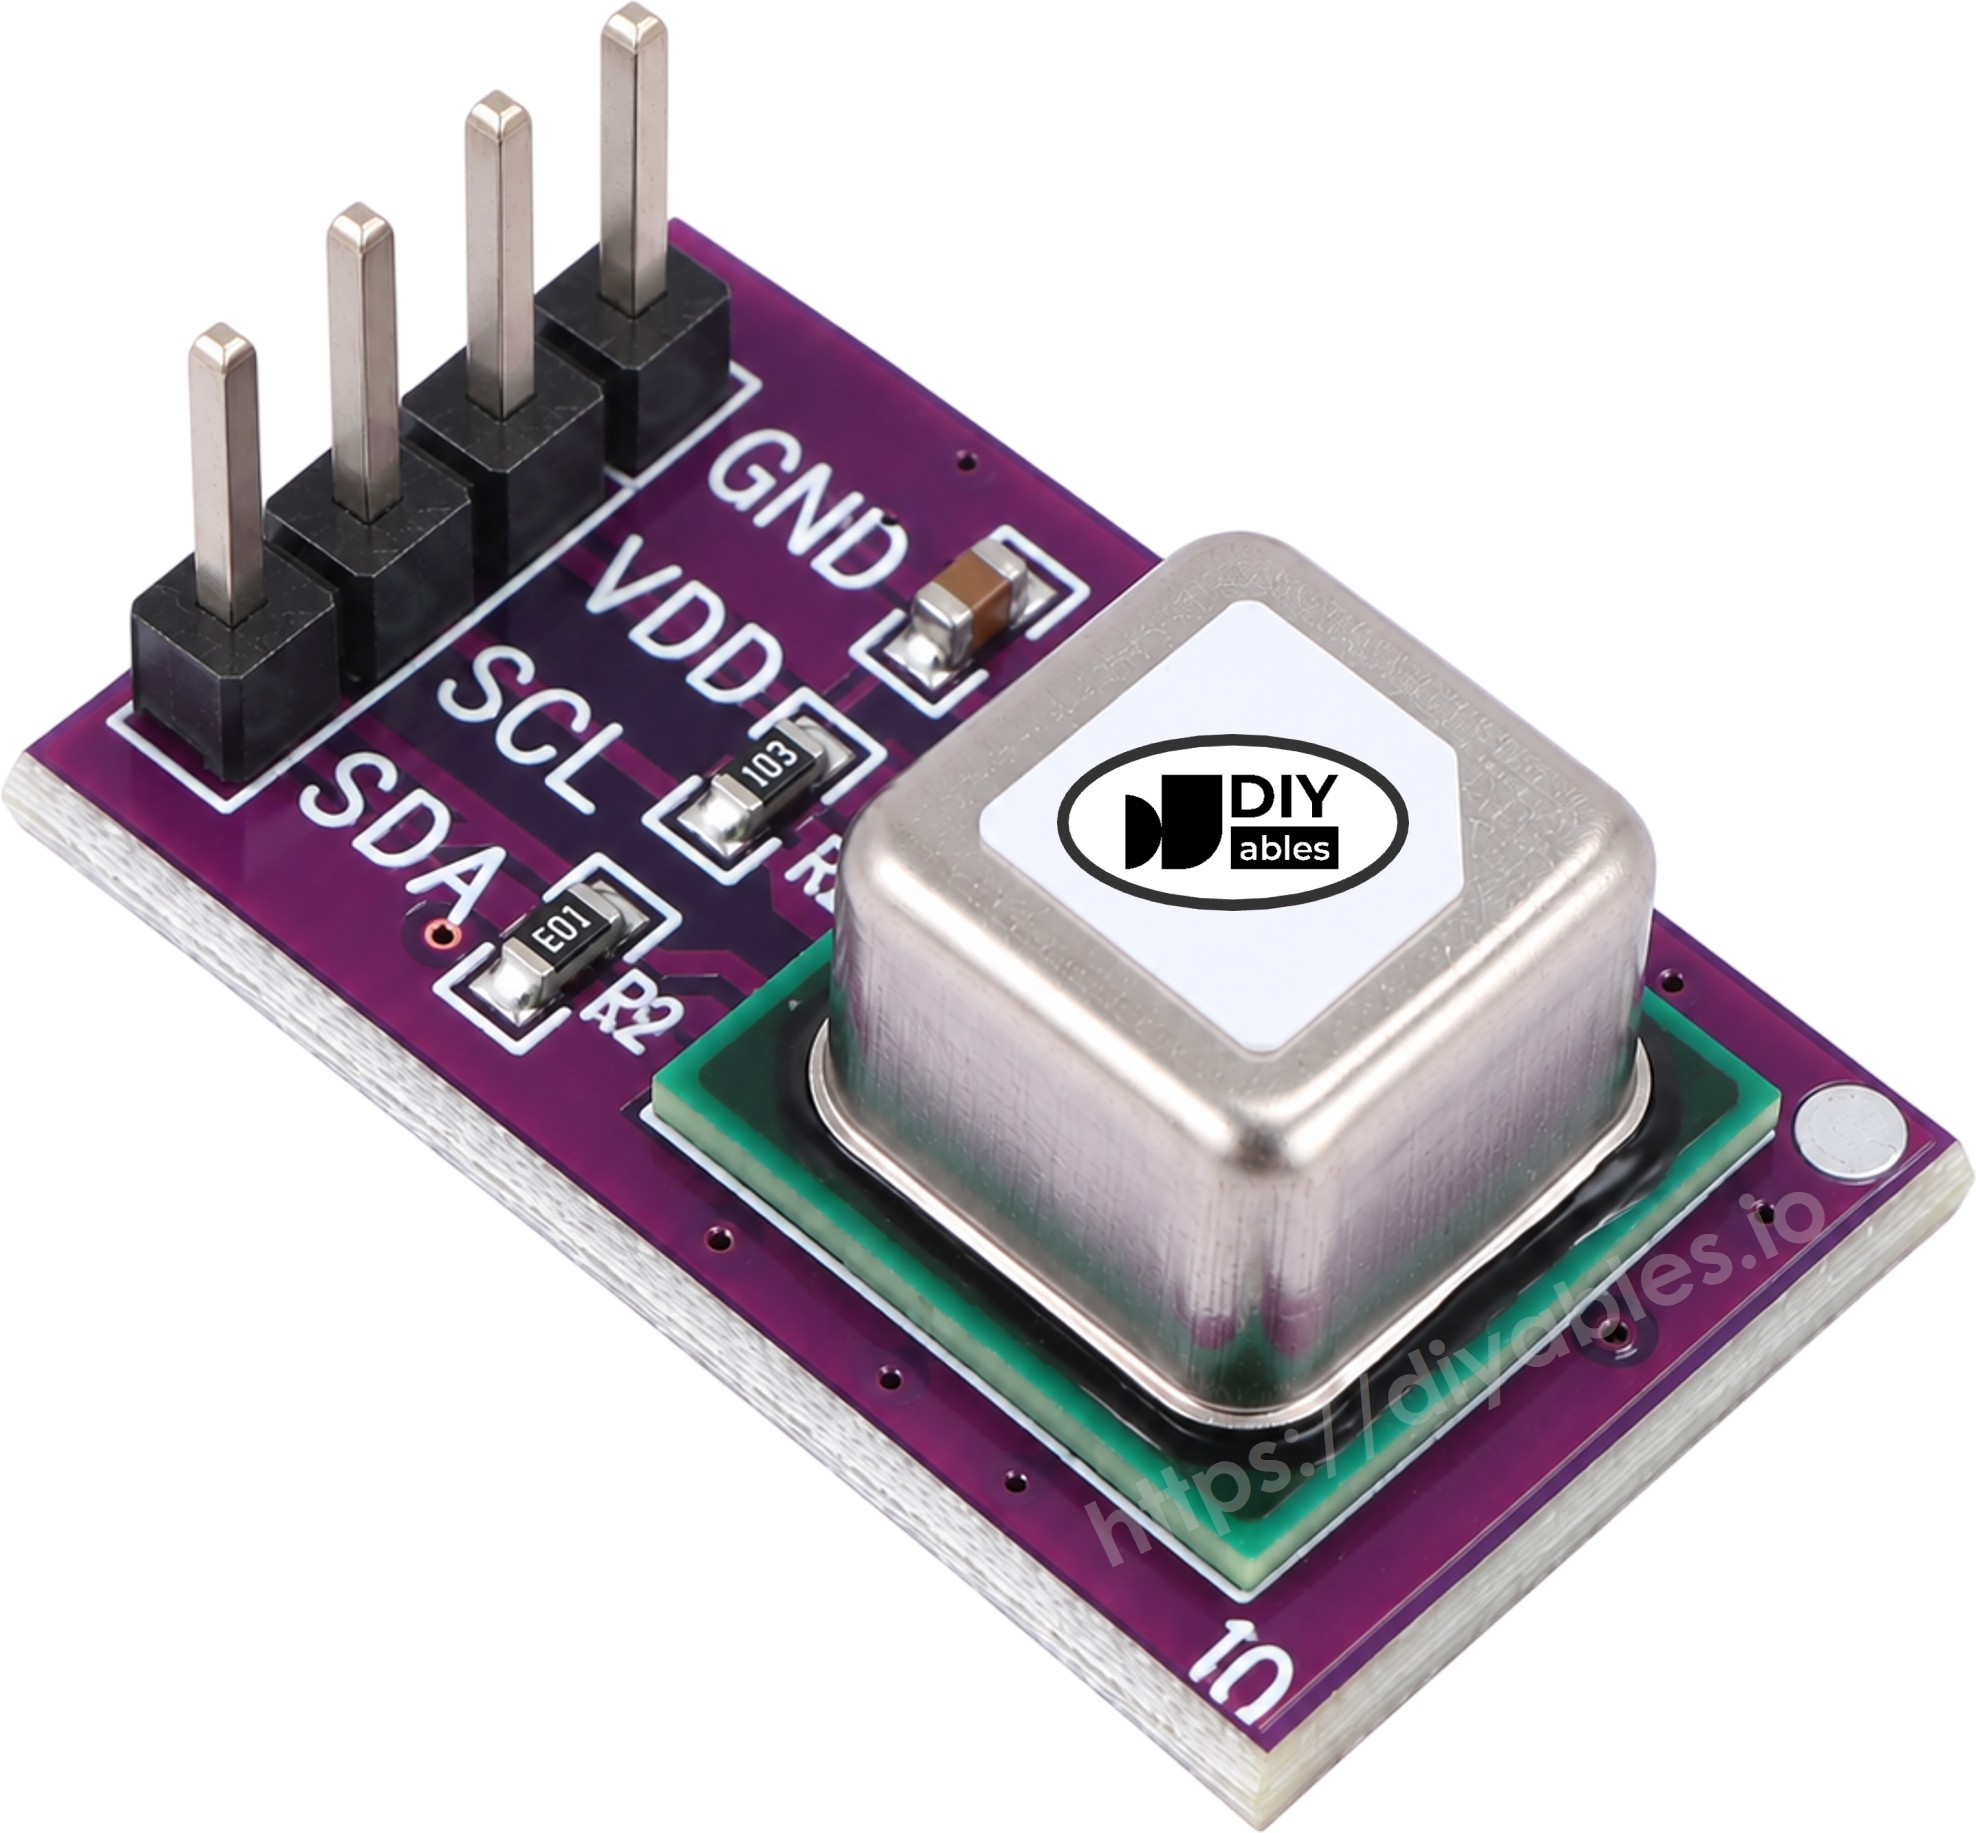
The SCD40 module has 4 pins:
- VCC (VIN): Power, 2.4V to 5.5V — on the Arduino UNO Q, use 3.3V
- GND: Ground (0V)
- SCL: I2C clock line
- SDA: I2C data line
Most SCD40 breakout modules already have I2C pull-up resistors on board, so no extra parts are needed.
What do the numbers mean?
| CO2 Level | Air Quality |
|---|---|
| about 400 ppm | Fresh outdoor air |
| 400 – 1000 ppm | Good indoor air |
| 1000 – 2000 ppm | Stuffy — open a window |
| above 2000 ppm | Poor — headache and drowsiness possible |
※ NOTE THAT:
- Automatic self-calibration (ASC) is on by default. It expects the sensor to see fresh outdoor-level air (about 400 ppm) at least once a week, ideally for an hour or more — for example, an aired room or a window sill.
- The first few readings after power-up can be less accurate. Let it run for a few minutes.
Wiring Diagram
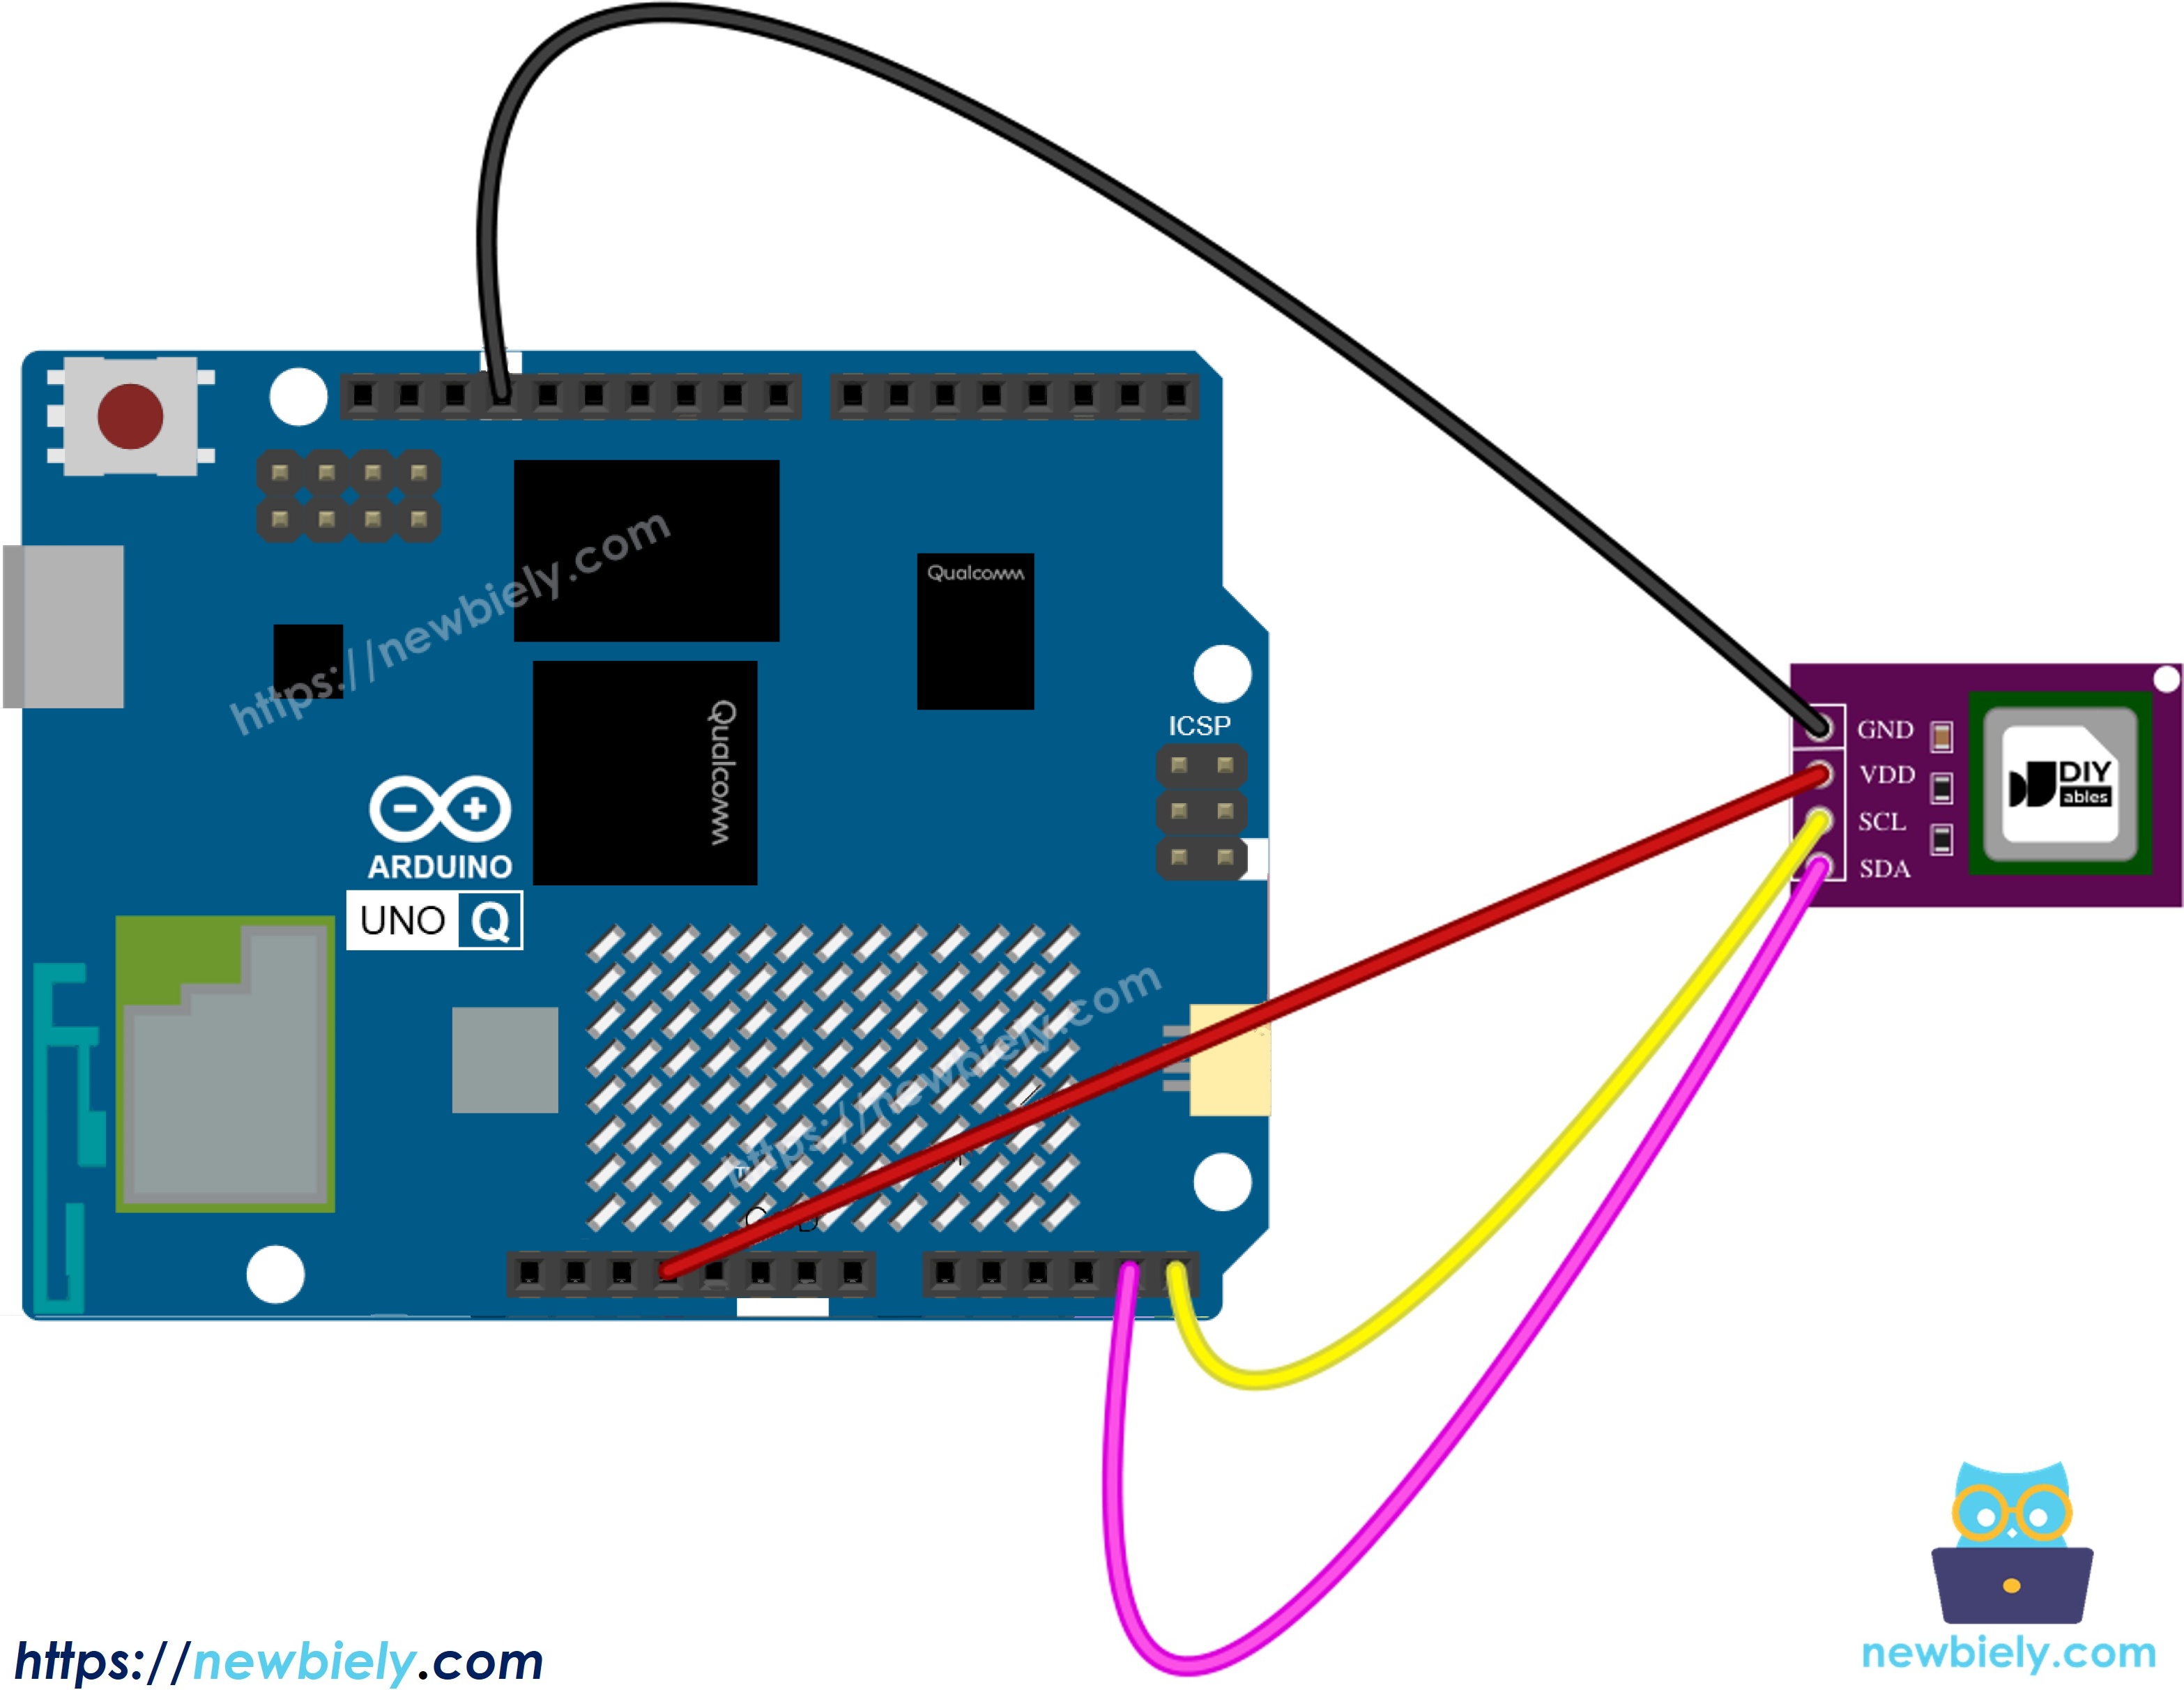
This image is created using Fritzing. Click to enlarge image
| SCD40 Pin | Arduino UNO Q MCU |
|---|---|
| VCC | 3.3V |
| GND | GND |
| SDA | SDA |
| SCL | SCL |
Use the pins labeled SDA and SCL on the Arduino UNO Q header — they are the MCU's default I2C bus, which Wire.begin() uses.
How To Program For SCD40
- Include the Sensirion library and Wire, then create the sensor object:
- Start I2C and attach the sensor at address 0x62:
- Give the sensor a clean start, then begin measuring (a new value every 5 seconds):
- Check whether a new value is waiting:
- Read it — one call returns CO2, temperature, and humidity together:
- If error is not 0, turn it into readable text:
Arduino UNO Q Code
The Arduino UNO Q splits the work between two processors:
- The STM32 MCU talks to the SCD40 over I2C
- The Qualcomm MPU runs Debian Linux and has Wi-Fi
- For now only the MCU runs code. The Bridge section later lets Linux read the CO2 value too.
This first sketch focuses on CO2 only. Every time the sensor has a new value, it prints the ppm and a one-word rating from the table above.
Detailed Instructions
First time with Arduino UNO Q? Read Getting Started with Arduino UNO Q first.
- Wire: Connect the SCD40 to the Arduino UNO Q as shown in the wiring diagram (4 wires).
- Open Arduino App Lab: Wait until it detects your Arduino UNO Q.
- Create a new App: Click Create New App.
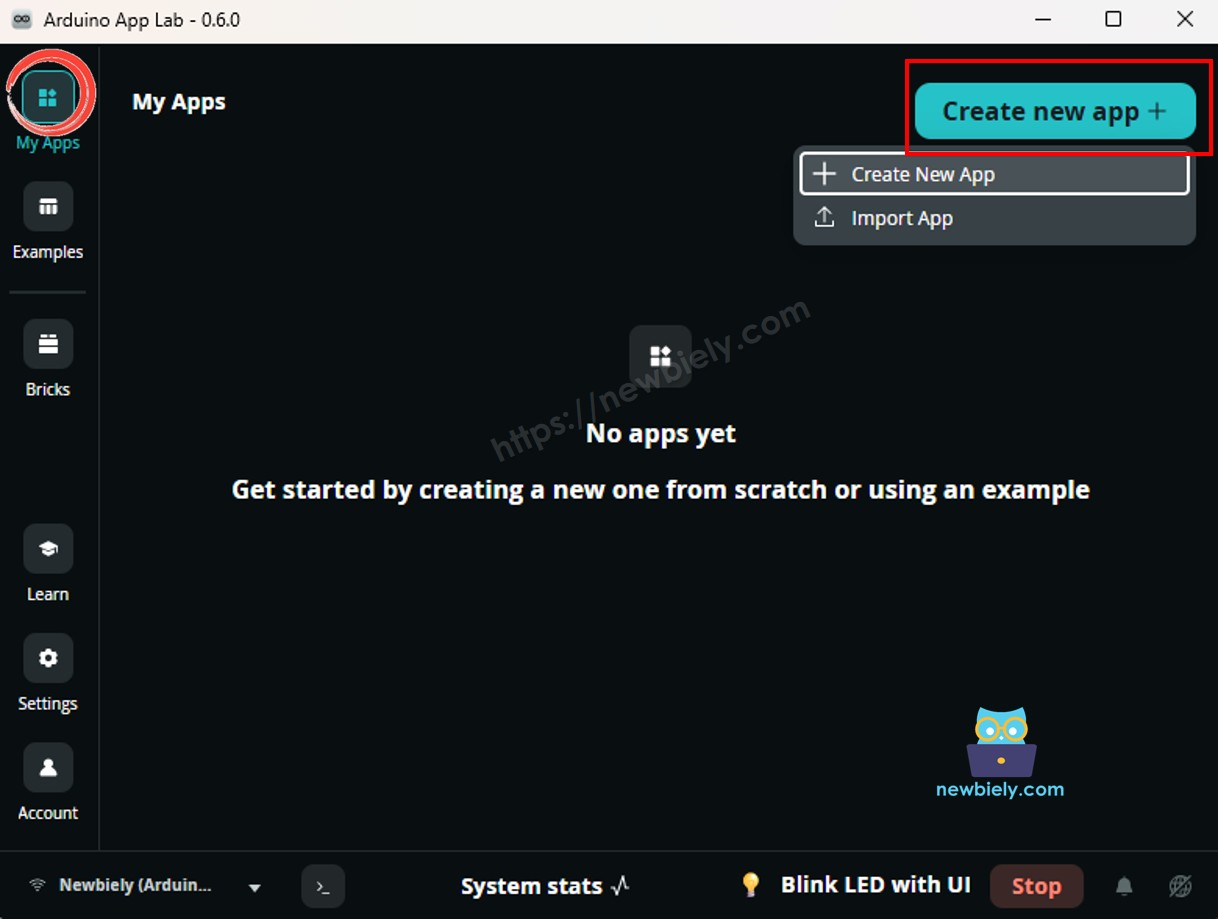
- Name it SCD40CO2 and click Create.
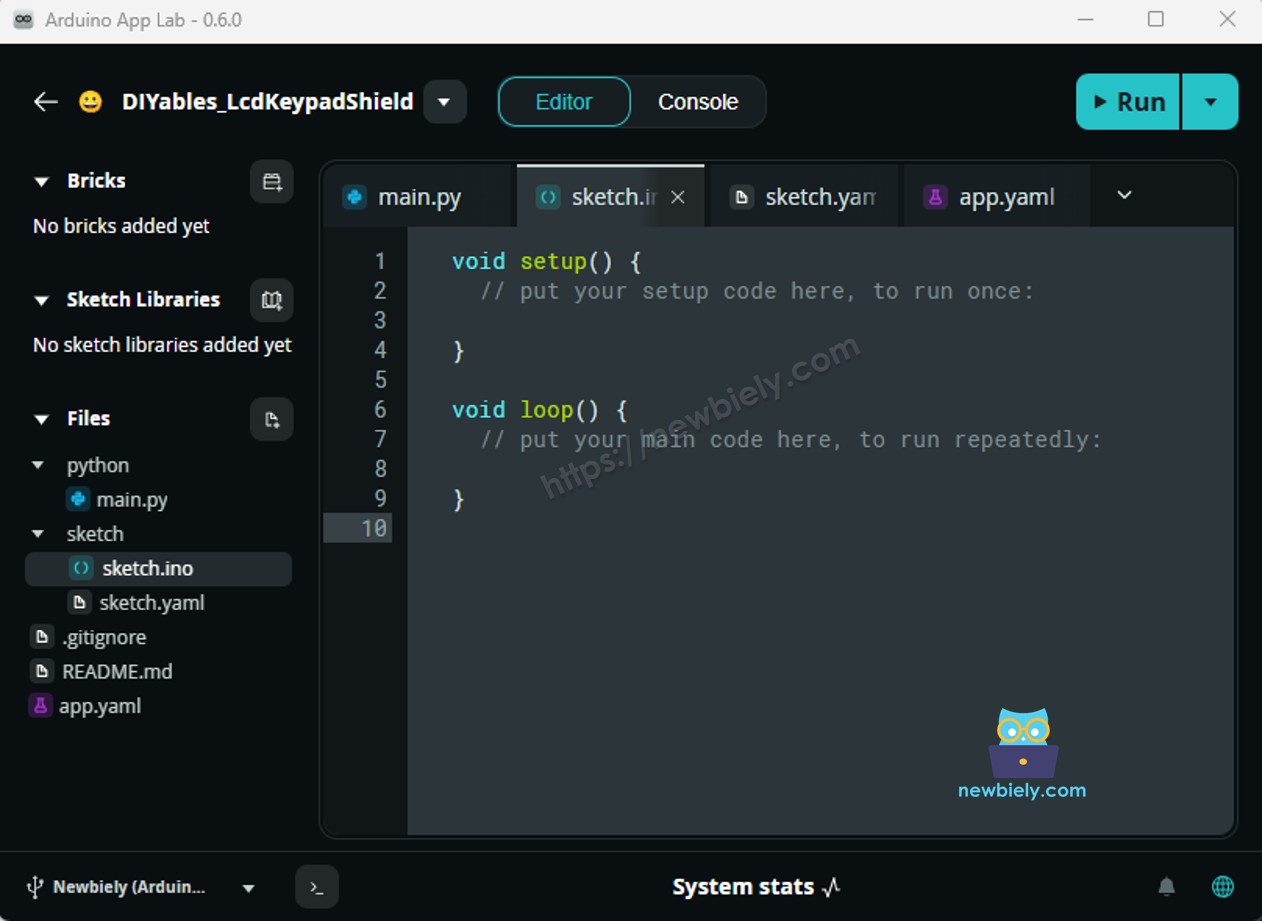
- Paste the sketch: Put the code above into sketch/sketch.ino. Keep the other files as they are.
- Install the library: Click the Add sketch library button (the open book icon with a + sign) in the left sidebar.
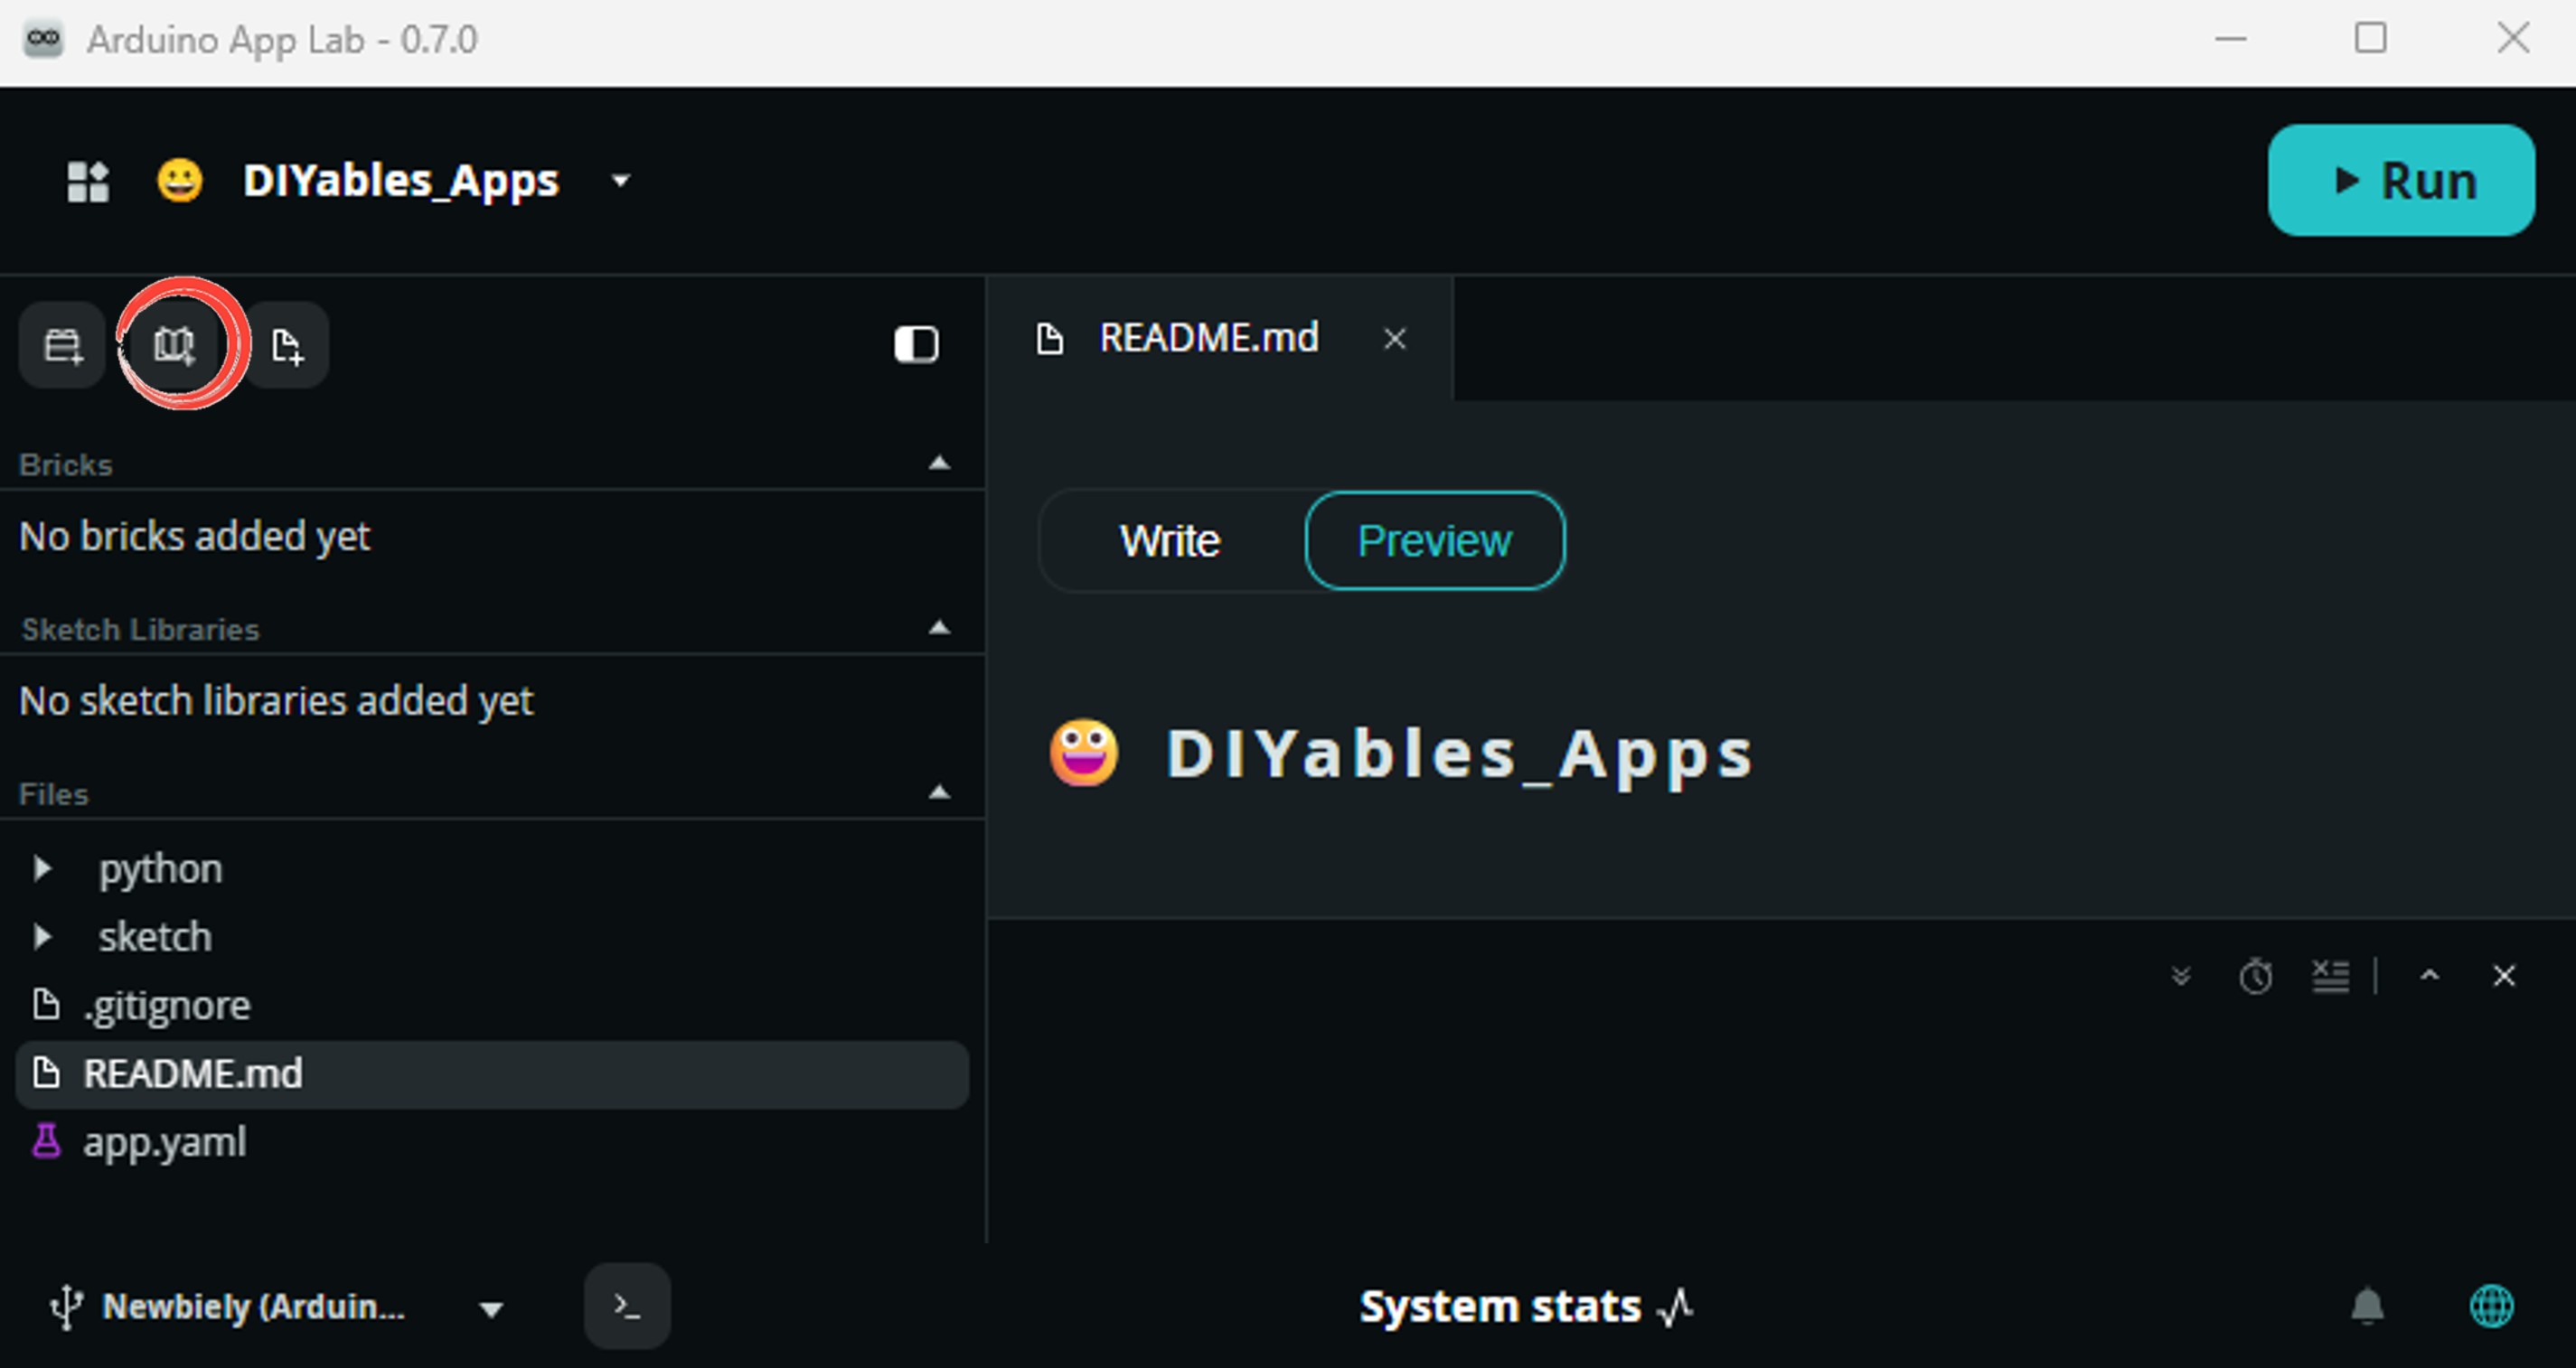
- Search for Sensirion I2C SCD4x created by Sensirion and click the Install button.
- Search for Sensirion Core created by Sensirion and click the Install button.
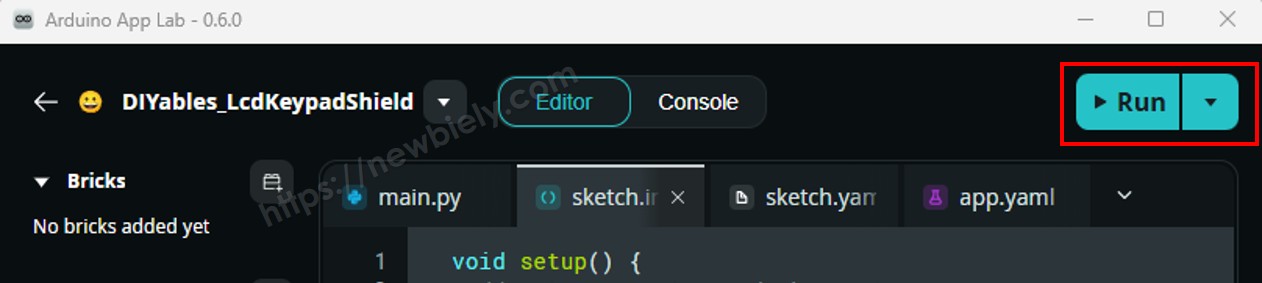
- Run: Click the Run button.
- Test it: Wait about 5 seconds for the first value. Then breathe gently toward the sensor from a short distance — your breath is full of CO2, so the number jumps up and slowly falls back.
App Lab Console Output
The jump to 1187 ppm is a breath on the sensor. In a closed bedroom overnight, it is normal to see the value climb past 1000 ppm on its own.
Bridge: Linux + MCU
Now let the Linux side read CO2 too:
- The SCD40 sits on the MCU's I2C bus — the MPU cannot reach it directly
- The MCU checks the sensor once per second and keeps the latest values in memory
- The MCU shares them with Bridge.provide(): get_co2 (plus get_temperature, get_humidity, and get_status, used later)
- Python calls Bridge.call("get_co2") and gets the cached value right away — the callback never waits for the sensor
- ⚠️ /dev/ttyHS1 (Linux) and Serial1 (MCU) are RESERVED by the router — never open them in user code
In short: MCU reads the SCD40 every 5 seconds → caches CO2 → Python asks for it over Bridge → Linux can log it or send it online.
MCU Code (Bridge)
Python Code (Bridge)
Detailed Instructions
- Create a new App in Arduino App Lab, for example SCD40Bridge.
- Paste the MCU sketch into sketch/sketch.ino, and add the libraries:
- Install the library: Click the Add sketch library button (the open book icon with a + sign) in the left sidebar.
- Search for Sensirion I2C SCD4x created by Sensirion and click the Install button.
- Search for Sensirion Core created by Sensirion and click the Install button.
- Search for Arduino_RouterBridge created by Arduino and click the Install button.
- Paste the Python code into the Python file of the same App.
- Run: Click the Run button. The Python console prints the CO2 level every 5 seconds.
App Lab Console Output
Telegram
A CO2 sensor is most useful when it tells you something. This bot watches the room and sends one message when CO2 goes above 1000 ppm — the point where air starts to feel stuffy. When the level drops back under 800 ppm (after you open the window), it sends an "all clear". The gap between the two numbers stops the bot from spamming you when the value hovers near 1000.
MCU sketch: Keep the same MCU sketch from the Bridge section.
Python Code (Telegram)
Detailed Instructions
- Replace YOUR_TELEGRAM_BOT_TOKEN with your bot token from BotFather. New to bots? See How to Create a Telegram Bot.
- Replace YOUR_CHAT_ID with your Telegram chat ID — the alerts go there.
- Paste this code into the Python file of your App (keep the Bridge MCU sketch).
- Click Run. Send /co2 to check the air. To test the alert, close the door and windows for a while, or breathe near the sensor.
- Want a stricter or looser rule? Change CO2_ALERT_PPM (for example to 1500).
App Lab Console Output


ArduinoBot
Reading Temperature and Humidity from the SCD40
The SCD40 also has its own temperature and humidity sensor. It uses them inside to correct the CO2 value, but you can read them as well — they come from the same readMeasurement() call, so no extra wiring or library is needed.
Note that the Bridge sketch above already shares them as get_temperature and get_humidity, and the Telegram bot answers /climate with both. Below is the MCU-only version that prints all three values.
Arduino UNO Q Code — CO2, Temperature and Humidity
Detailed Instructions
- Keep the same wiring and libraries as the first sketch.
- Replace the code in sketch/sketch.ino with the sketch above and click Run.
App Lab Console Output
※ NOTE THAT:
The SCD40 warms itself a little while it measures, so its temperature can read slightly higher than a separate thermometer. Keep it away from the Arduino UNO Q's hot parts and give it some airflow.
OpenClaw
You can adapt the OpenClaw to this tutorial by refering the instruction on Arduino Uno Q - OpenClaw Tutorial
Project Ideas
Ideas that use the SCD40 together with both processors of the Arduino UNO Q:
- Classroom CO2 Light: Show green, yellow, or red on an RGB LED from the ppm table, so students know when to air the room
- Bedroom Sleep Report: The Linux side logs CO2 all night and sends a Telegram summary in the morning with the highest value
- Auto Ventilation Fan: Switch a fan through a relay when CO2 passes 1000 ppm, and turn it off below 800 ppm
- Meeting Room Dashboard: Python reads CO2 over Bridge and serves it on a small web page for everyone in the office
- Grow Tent Monitor: Track CO2, temperature, and humidity for plants, with a Telegram message if any value leaves its range
Challenge Yourself
Ready to go further with the SCD40 on Arduino UNO Q? Try these:
- Easy: Blink the built-in LED in the MCU sketch while CO2 is above 1000 ppm.
- Medium: Make the Python Bridge script save each reading with a timestamp to a CSV file, and print the highest CO2 of the last hour.
- Advanced: Add a /trend Telegram command that compares the average of the last 5 minutes with the 5 minutes before, and answers "rising", "falling", or "stable" — plus how many minutes are left until 1000 ppm if it keeps rising.