
ESP32 C3 Super Mini - Limit Switch
A limit switch tells your ESP32 C3 Super Mini when a moving part has reached the end of its travel. It is a cheap and very reliable way to protect motors, doors, sliders and 3D printer axes. This ESP32 C3 Super Mini limit switch tutorial shows you the wiring and the code in simple steps.
In this tutorial, you'll learn:
- What a limit switch is and how it works
- What the C, NO and NC pins do
- How to wire a limit switch to the ESP32 C3 Super Mini
- How to read the TOUCHED / UNTOUCHED state in code
- How to debounce the switch with the ezButton library
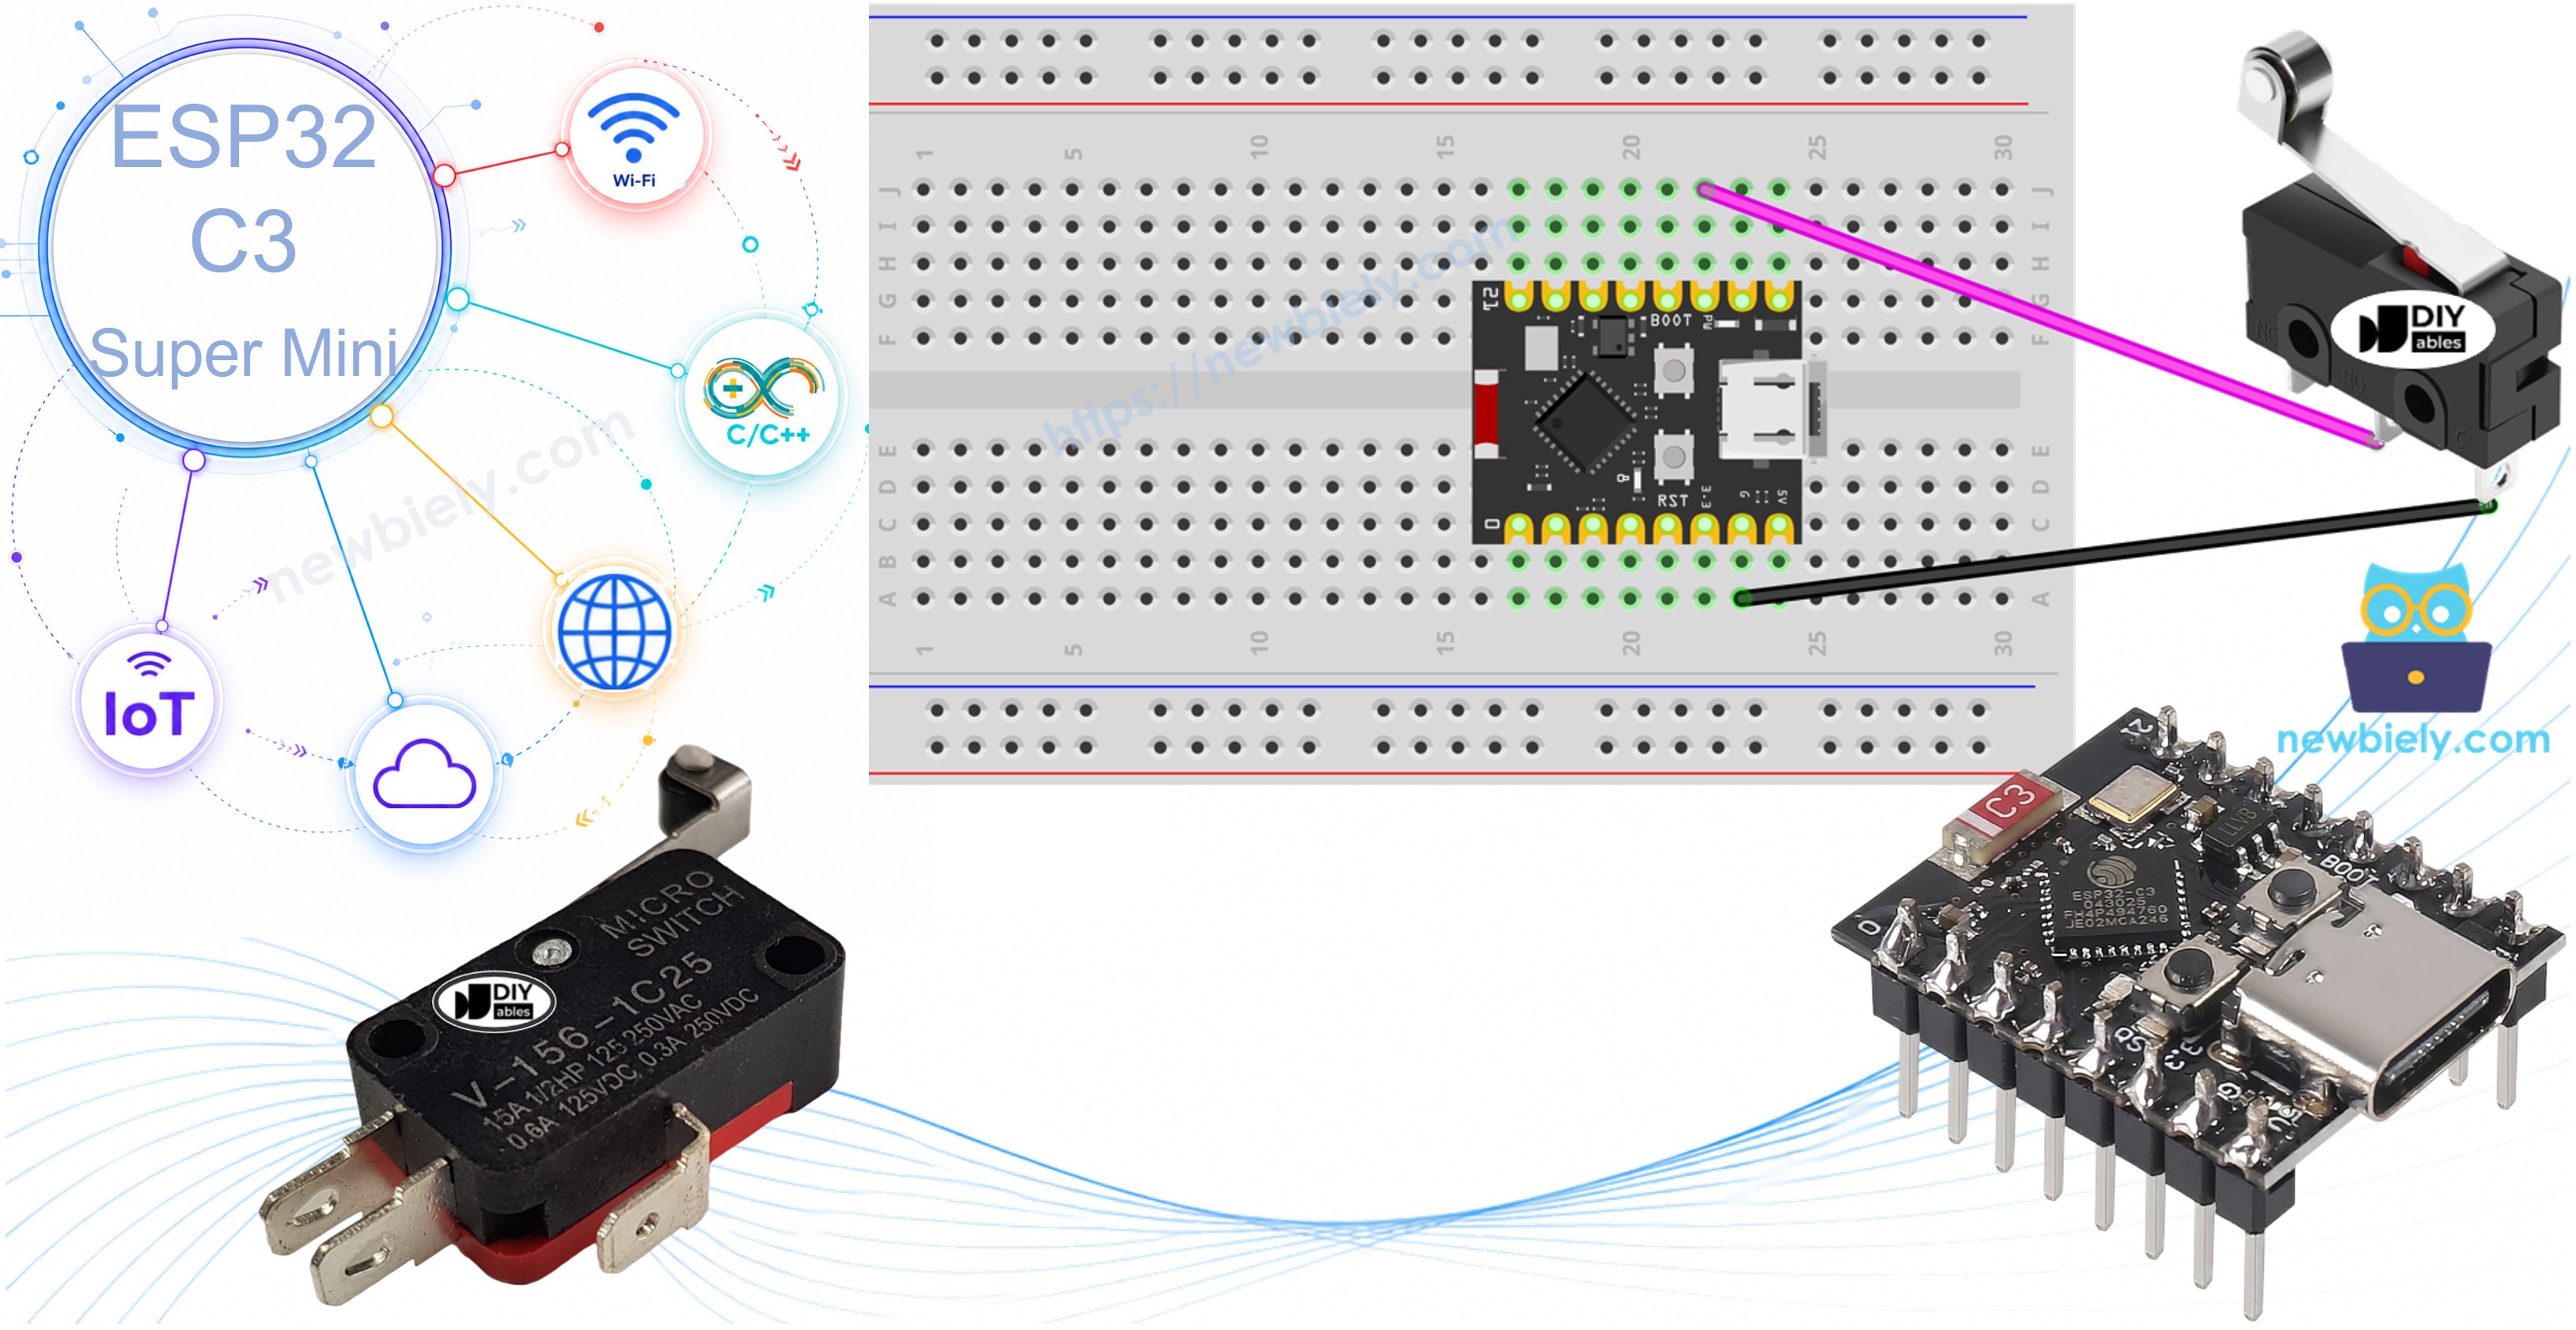
This tutorial is only about the Limit Switch. Please do not confuse it with:
Hardware Preparation
Or you can buy the following kits:
| 1 | × | DIYables Sensor Kit (18 sensors/displays) |
Additionally, some of these links are for products from our own brand, DIYables .
Overview of Limit Switch
A limit switch is a mechanical switch that is pressed by a moving object when the object reaches a limit.
Key Features:
- Mechanical: A metal lever or roller pushes the contact.
- No power needed: The switch itself needs no supply voltage.
- Two modes: Works as normally open (NO) or normally closed (NC).
- Long lever: Easy to hit, even with a slow moving part.
- Very reliable: Made for machines, doors and moving rails.
Technical Specifications:
- Common models: KW12-3 and V-156-1C25.
- Pins: 3 pins (C, NO, NC).
- Contact type: SPDT (one common pin, two outputs).
- Signal for ESP32 C3 Super Mini: 3.3V logic only. Wire the switch to GND or 3.3V, never to 5V.
- Output: A simple open or closed contact, read by any digital pin.
Pinout
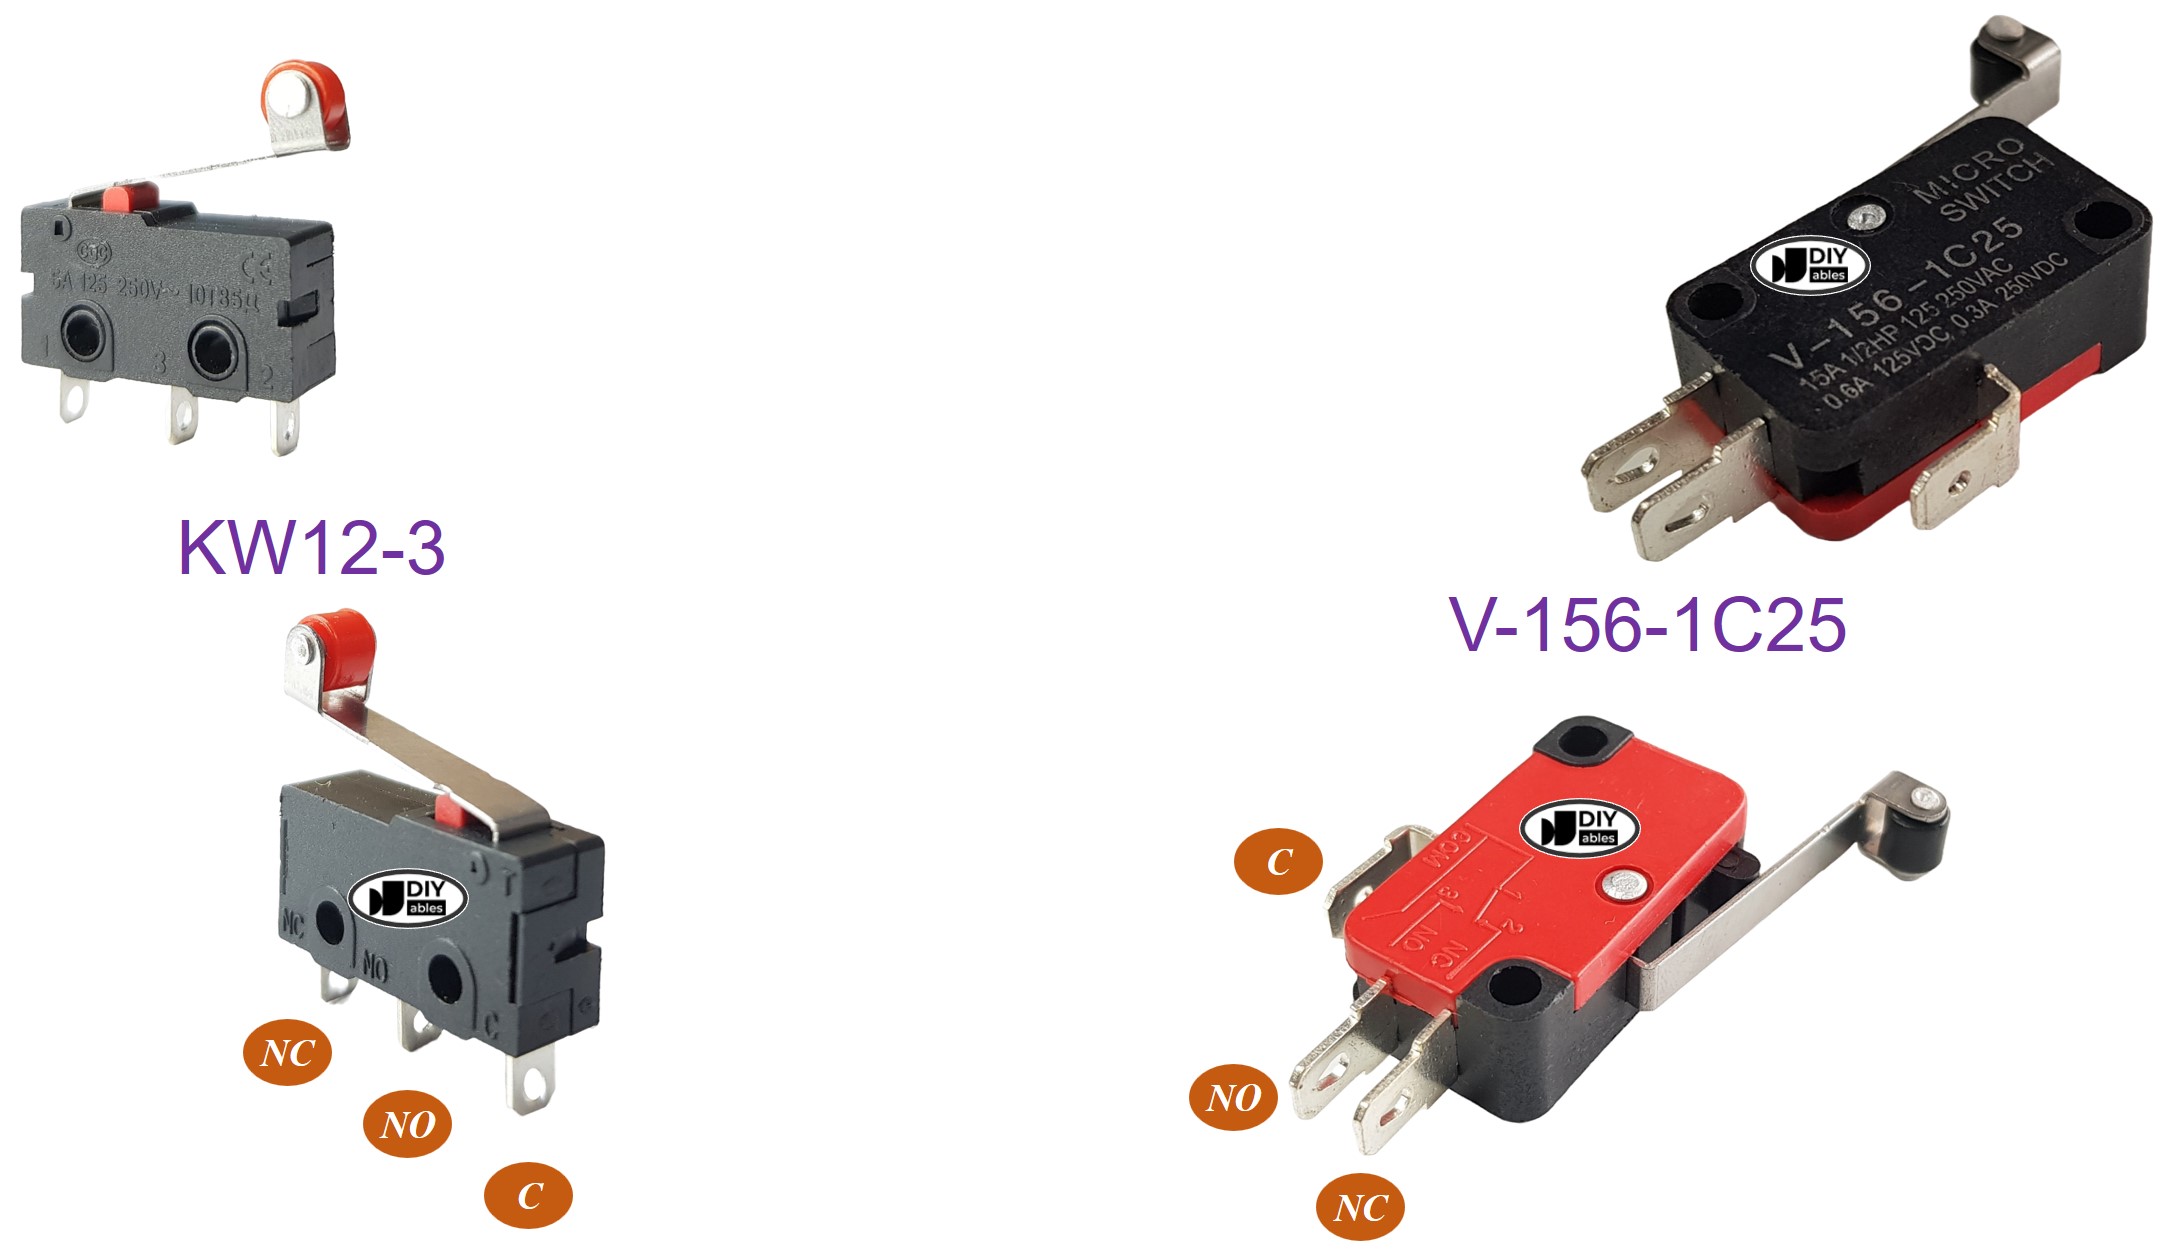
There are many types of limit switches. The KW12-3 and V-156-1C25 are the most popular. Both have three pins.
- C pin: The common pin. It is used in both normally open and normally closed modes.
- NO pin: The normally open pin. It is used in the normally open mode.
- NC pin: The normally closed pin. It is used in the normally closed mode.
How It Works
A limit switch normally uses only two pins: the C pin and one of the other two pins.
- Untouched: C is connected to NC. C is NOT connected to NO.
- Touched: C is connected to NO. C is NOT connected to NC.
This gives four ways to use a limit switch. The table below shows the wiring and the state read by the ESP32 C3 Super Mini for each way.
| C pin | NO pin | NC pin | ESP32 C3 Super Mini Input Pin's State | |
|---|---|---|---|---|
| 1 | GND | ESP32 C3 Super Mini Input Pin (with pull-up) | not connected | HIGH when untouched, LOW when touched |
| 2 | GND | not connected | ESP32 C3 Super Mini Input Pin (with pull-up) | LOW when untouched, HIGH when touched |
| 3 | 3.3V | ESP32 C3 Super Mini Input Pin (with pull-down) | not connected | LOW when untouched, HIGH when touched |
| 4 | 3.3V | not connected | ESP32 C3 Super Mini Input Pin (with pull-down) | HIGH when untouched, LOW when touched |
By swapping the GND pin and the ESP32 C3 Super Mini input pin in each of the four ways, there are eight ways in total to connect an ESP32 C3 Super Mini to a limit switch.
This tutorial uses only the first way, because it needs no extra resistor. The ESP32 C3 Super Mini has an internal pull-up resistor built into the chip.
WARNING
The ESP32 C3 Super Mini works at 3.3V logic only. Never connect the C pin to a 5V supply. 5V on a GPIO pin can damage the board. Use GND or the 3.3V pin only.
Wiring Diagram
Connect the C pin to GND and the NO pin to a free GPIO pin on the ESP32 C3 Super Mini.
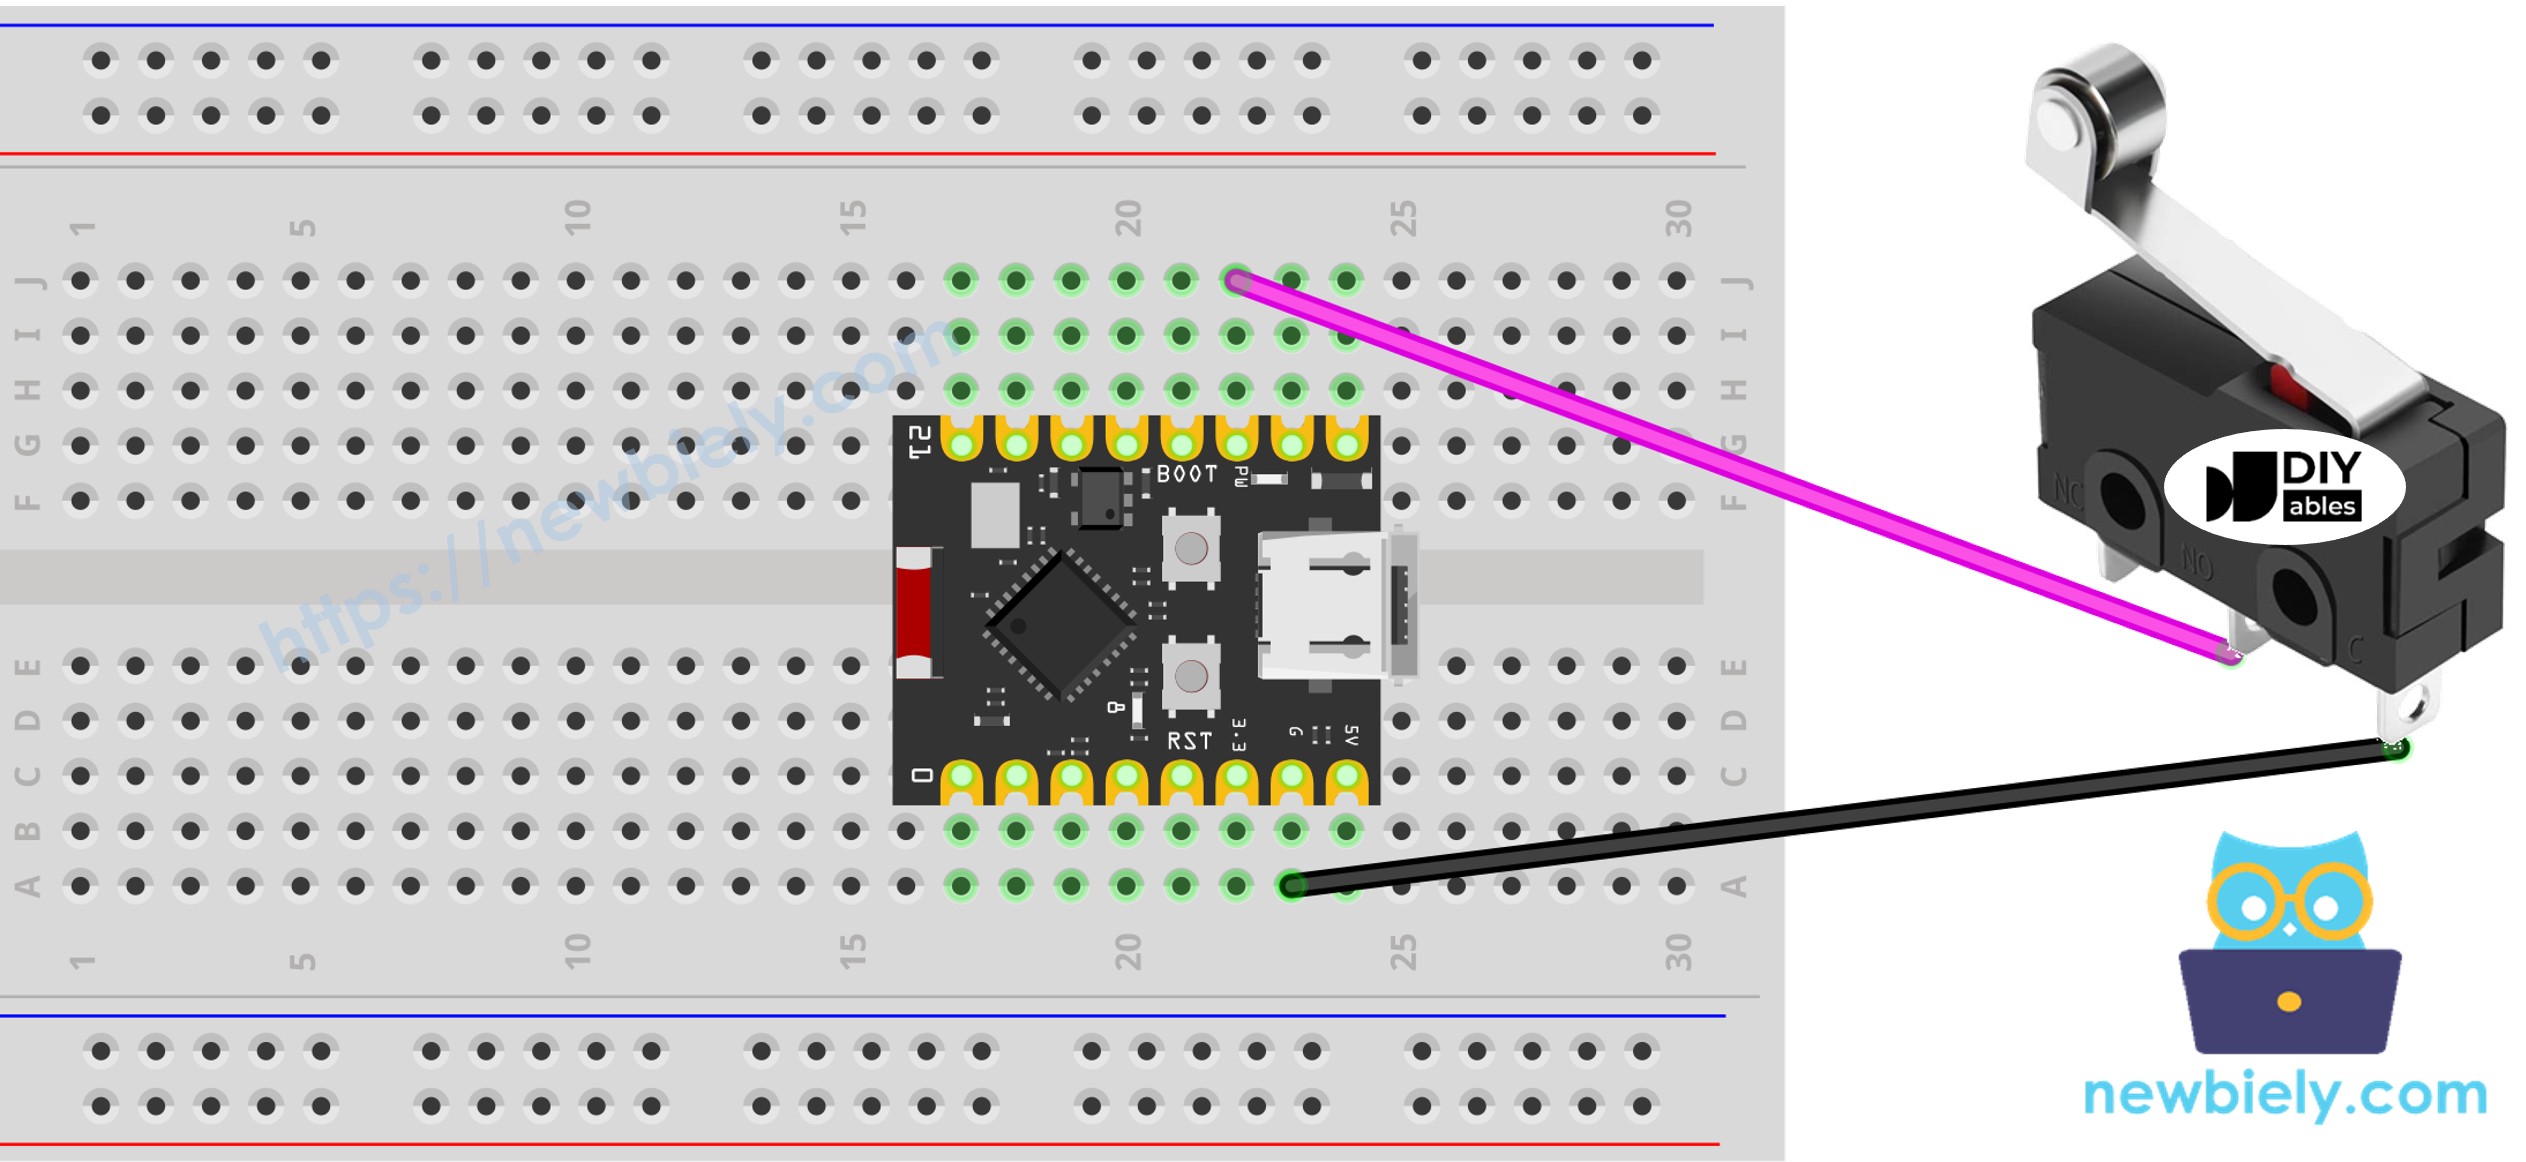
This image is created using Fritzing. Click to enlarge image
| Limit Switch Pin | ESP32 C3 Super Mini Pin |
|---|---|
| C | GND |
| NO | GPIO7 |
| NC | not connected |
- Note: GPIO7 is a free pin. Do not use GPIO8 (built-in LED), GPIO9 (boot pin), GPIO20 or GPIO21 (Serial Monitor UART).
- Note: No external resistor is needed. The code turns on the internal pull-up resistor.
- Note: For a stable and secure connection, use a soldering iron to solder the wires and the limit switch pins together, then cover the joint with heat shrink tubes.
- Note: Keep the switch wires short. Long wires pick up noise and cause false readings.
ESP32 C3 Super Mini Code - Limit Switch
Like a button, a limit switch needs debouncing, and the ezButton library does that work for you.
- Why debounce: The metal contact bounces, so one touch can look like many touches. See Why needs debounce for the button/limit switch?.
- Why ezButton: The ezButton library handles debouncing and turns on the internal pull-up resistor for you.
What This Code Does:
- Sets GPIO7 as an input with the internal pull-up resistor.
- Debounces the limit switch with a 50 ms filter.
- Prints TOUCHED or UNTOUCHED every loop.
- Prints a message when the state changes from UNTOUCHED to TOUCHED.
- Prints a message when the state changes from TOUCHED to UNTOUCHED.
※ NOTE THAT:
Two common use cases for a Limit Switch are:
- The first use case: If the switch is TOUCHED, perform a certain action. If the input state is UNTOUCHED, perform the opposite action.
- The second use case: If the switch's state changes from UNTOUCHED to TOUCHED (or TOUCHED to UNTOUCHED), perform a specific action.
Detailed Instructions
- New to ESP32 C3 Super Mini? Complete our Getting Started with ESP32 C3 Super Mini tutorial first to set up your development environment.
- Wire the parts: Follow the wiring diagram above to connect the limit switch to the ESP32 C3 Super Mini.
- Connect the board: Plug the ESP32 C3 Super Mini into your PC with a USB Type-C cable.
- Open the IDE: Start the Arduino IDE software.
- Install the library: Install the ezButton library. See the instructions.
- Select the board: Make sure ESP32 C3 Super Mini is selected in Tools > Board.
- Select the port: Pick the COM port of your board in Tools > Port.
- Upload the code: Click the Upload button in the Arduino IDE.
- Open Serial Monitor: Set the baud rate to 115200.
- Test it: Press and release the limit switch lever a few times.
- Check the output: Watch the messages on the Serial Monitor.
- Pro Tip: If the state never changes, swap the NO pin and the NC pin. Many cheap switches have the labels printed the other way round.
Line-by-line Code Explanation
The ESP32 C3 Super Mini code above contains line-by-line explanation. Please read the comments in the code!
Application/Project Ideas
A limit switch is used any time a moving part must stop at a safe point.
- 3D Printer Endstop: Stop an axis before it hits the frame.
- Automatic Door: Detect when a sliding door is fully open or fully closed.
- Drawer Alarm: Send an alert when a drawer or cabinet is opened.
- Motor Protection: Cut power to a linear actuator at the end of its travel.
- Object Counter: Count boxes that pass on a small conveyor belt.
- Safety Cover: Stop a machine when its lid is lifted.
Challenge Yourself
Try these small projects to practice with the limit switch and the ESP32 C3 Super Mini.
- Easy: Turn the built-in LED on GPIO8 ON while the limit switch is touched.
- Easy: Count how many times the switch is touched and print the total.
- Medium: Use two limit switches on GPIO6 and GPIO7 to detect both ends of a rail.
- Medium: Stop a servo motor as soon as the limit switch is touched.
- Advanced: Use the NC mode instead of the NO mode, so a broken wire is also reported as an alarm.