
ESP32 C3 Super Mini - Temperature Sensor - OLED
This tutorial shows you how to use the ESP32 C3 Super Mini to read the temperature from a DS18B20 one wire sensor and display it on an OLED. You will build a small digital thermometer that works without a computer once the code is uploaded.
In this tutorial, you'll learn:
- How to wire a DS18B20 temperature sensor and an OLED to the ESP32 C3 Super Mini
- How to install the SSD1306 and DallasTemperature libraries in Arduino IDE
- How to read the temperature in Celsius with the ESP32 C3 Super Mini
- How to show the temperature in the center of the OLED
- How to check the same readings on the Serial Monitor
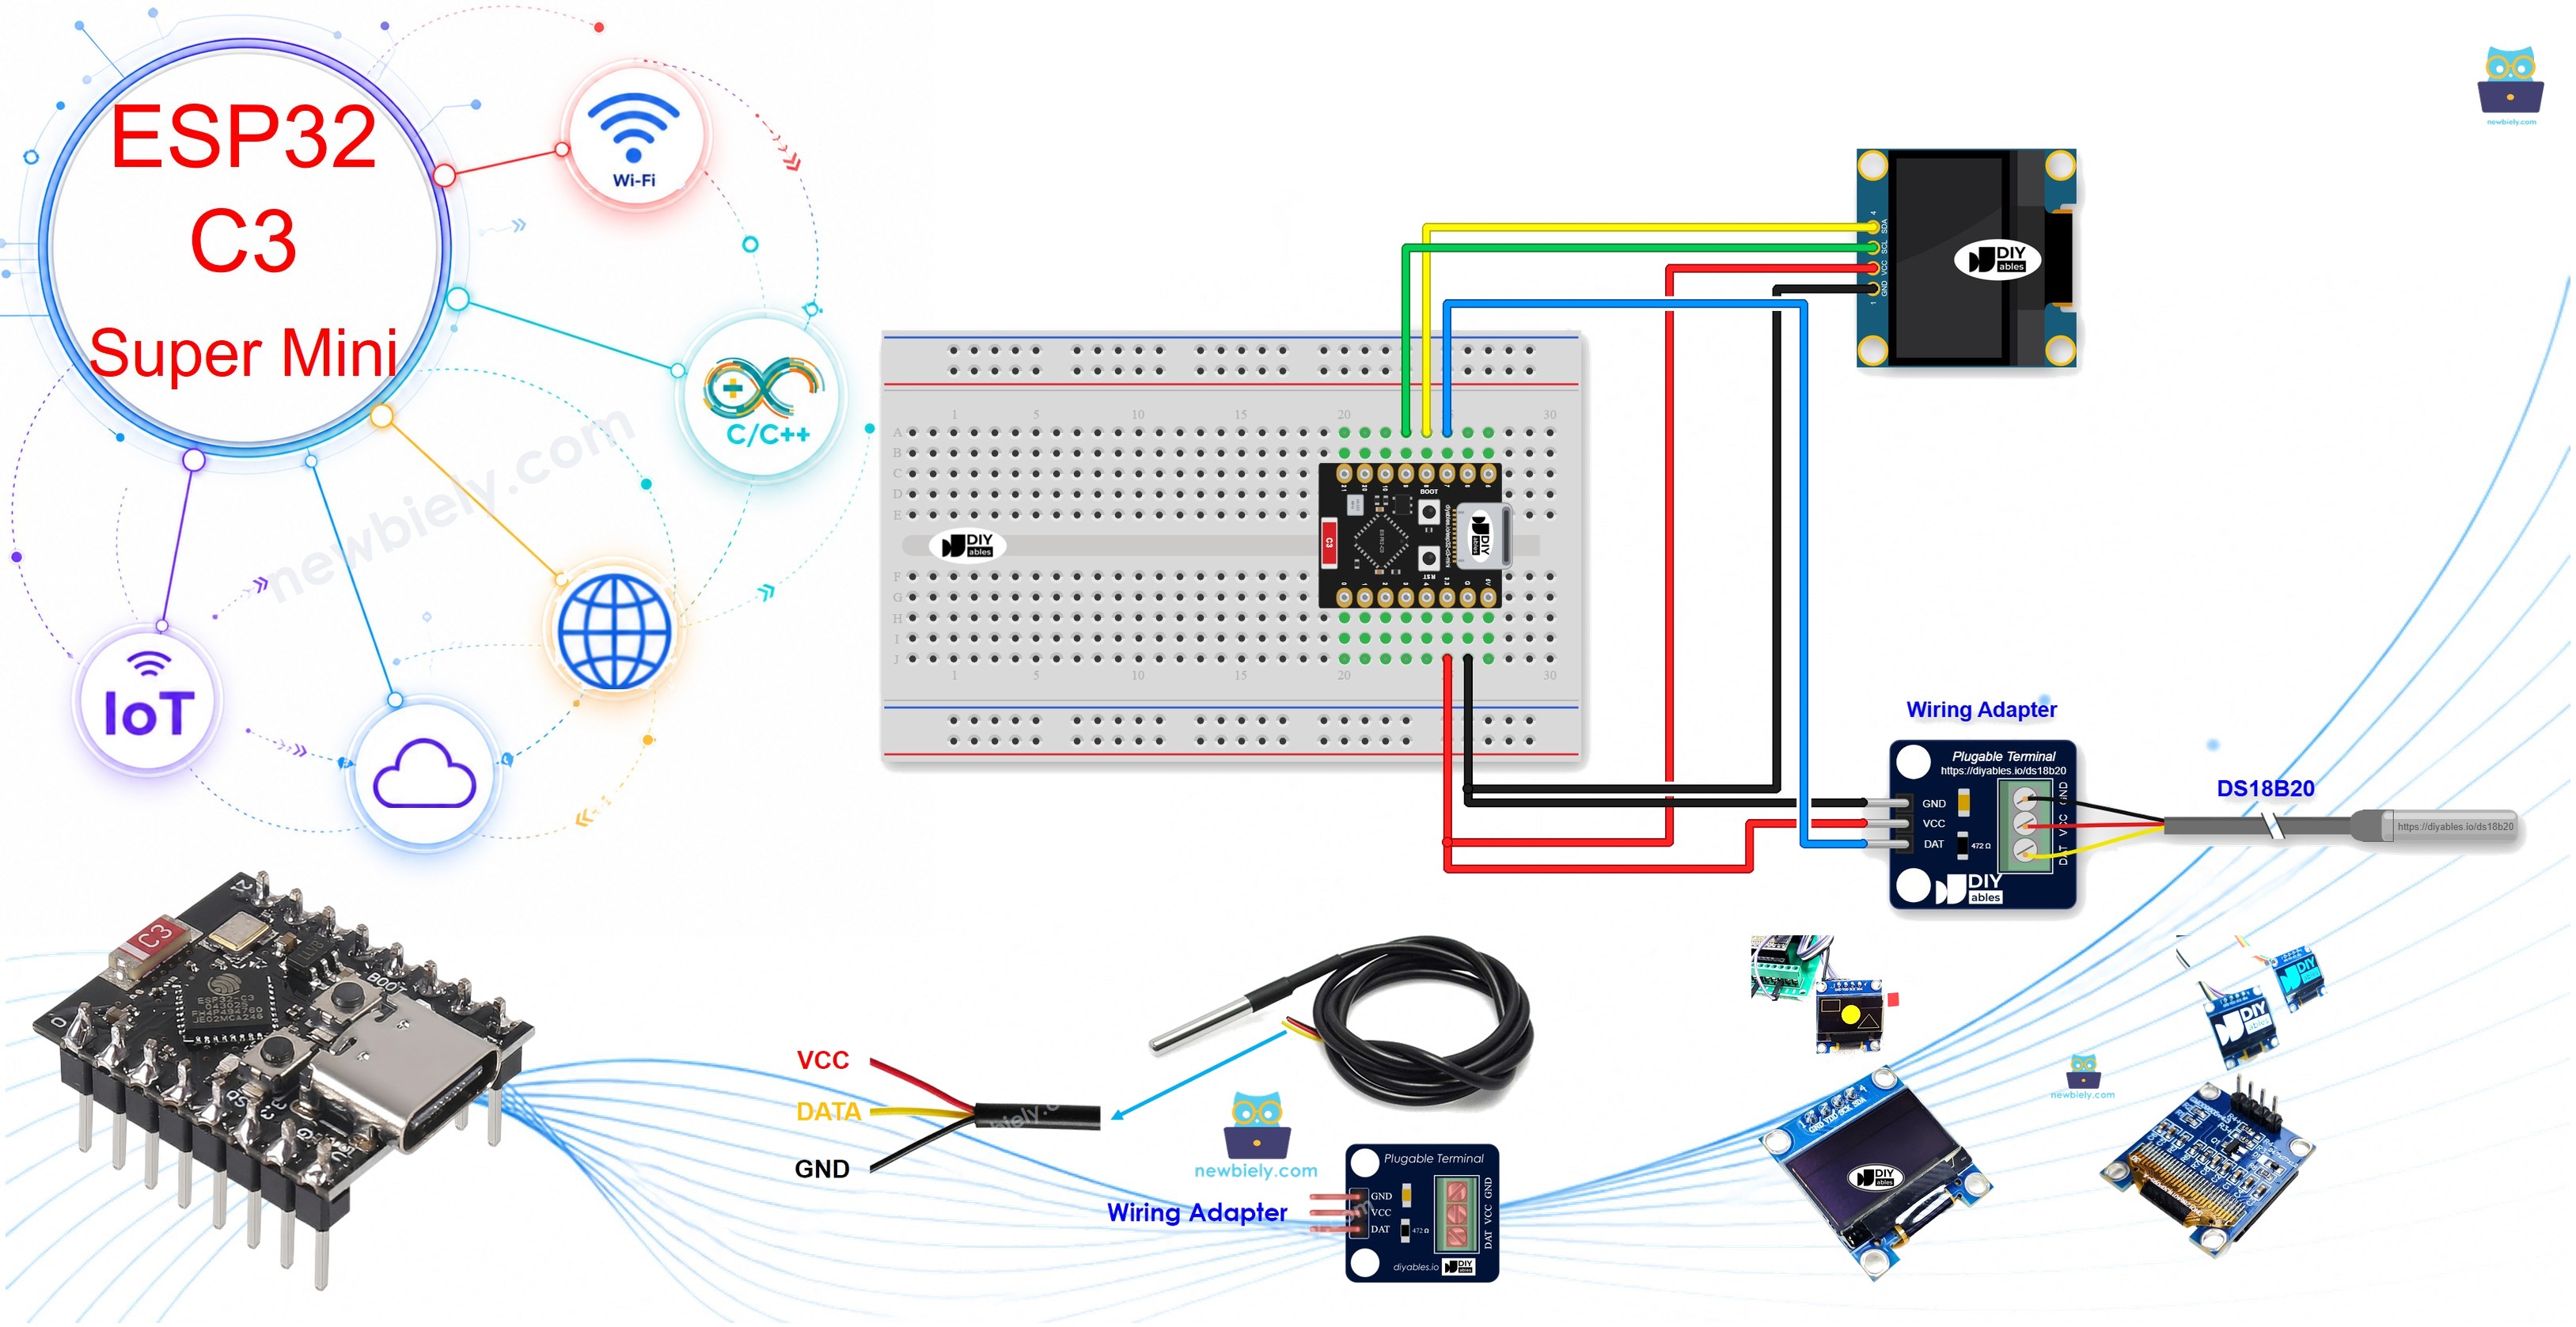
Hardware Preparation
Or you can buy the following kits:
| 1 | × | DIYables Sensor Kit (18 sensors/displays) |
Additionally, some of these links are for products from our own brand, DIYables .
Buy Note: Many DS18B20 sensors available in the market are unreliable. We strongly recommend buying the sensor from the DIYables brand using the link provided above. We tested it, and it worked reliably.
Overview of OLED and DS18B20 Temperature Sensor
A DS18B20 is a digital temperature sensor that sends its reading over one data wire, and an OLED is a small screen that shows the result.
Key Features:
- One data wire: The DS18B20 needs only one GPIO pin
- Digital reading: No analog input is needed
- Easy to read: The OLED shows clear, high-contrast text
- Simple wiring: The OLED uses only two I2C signal wires
Technical Specifications:
- DS18B20 voltage: 3.0V to 5.5V
- DS18B20 range: -55°C to +125°C
- OLED driver: SSD1306
- OLED size: 128x64 or 128x32 pixels
- OLED I2C address: 0x3C (used in the code below)
We have specific tutorials about each part. They cover the hardware pinout, how it works and how to program it:
- ESP32 C3 Super Mini - OLED 128x64 tutorial
- ESP32 C3 Super Mini - OLED 128x32 tutorial
DS18B20 Pinout
The DS18B20 temperature sensor has three pins:
- VCC: Connect to 3.3V
- GND: Connect to ground (0V)
- DATA: Sends the temperature reading to the board
OLED Pinout
The I2C OLED module has four pins:
- VCC: Power for the display
- GND: Connect to ground (0V)
- SCL: I2C clock line
- SDA: I2C data line
Wiring Diagram
Connect the DS18B20 temperature sensor and the OLED to the ESP32 C3 Super Mini as shown below.
- Note: We suggest a DS18B20 sensor that comes with a wiring adapter for easy connection. The adapter has a built-in resistor, so you do not need a separate one.
- Note: A DS18B20 without an adapter needs a 4.7kΩ resistor between DATA and VCC.
- Note: The built-in LED also uses GPIO8, so it may flicker while the OLED updates. This is normal.
- Note: Check every wire before you power the board.
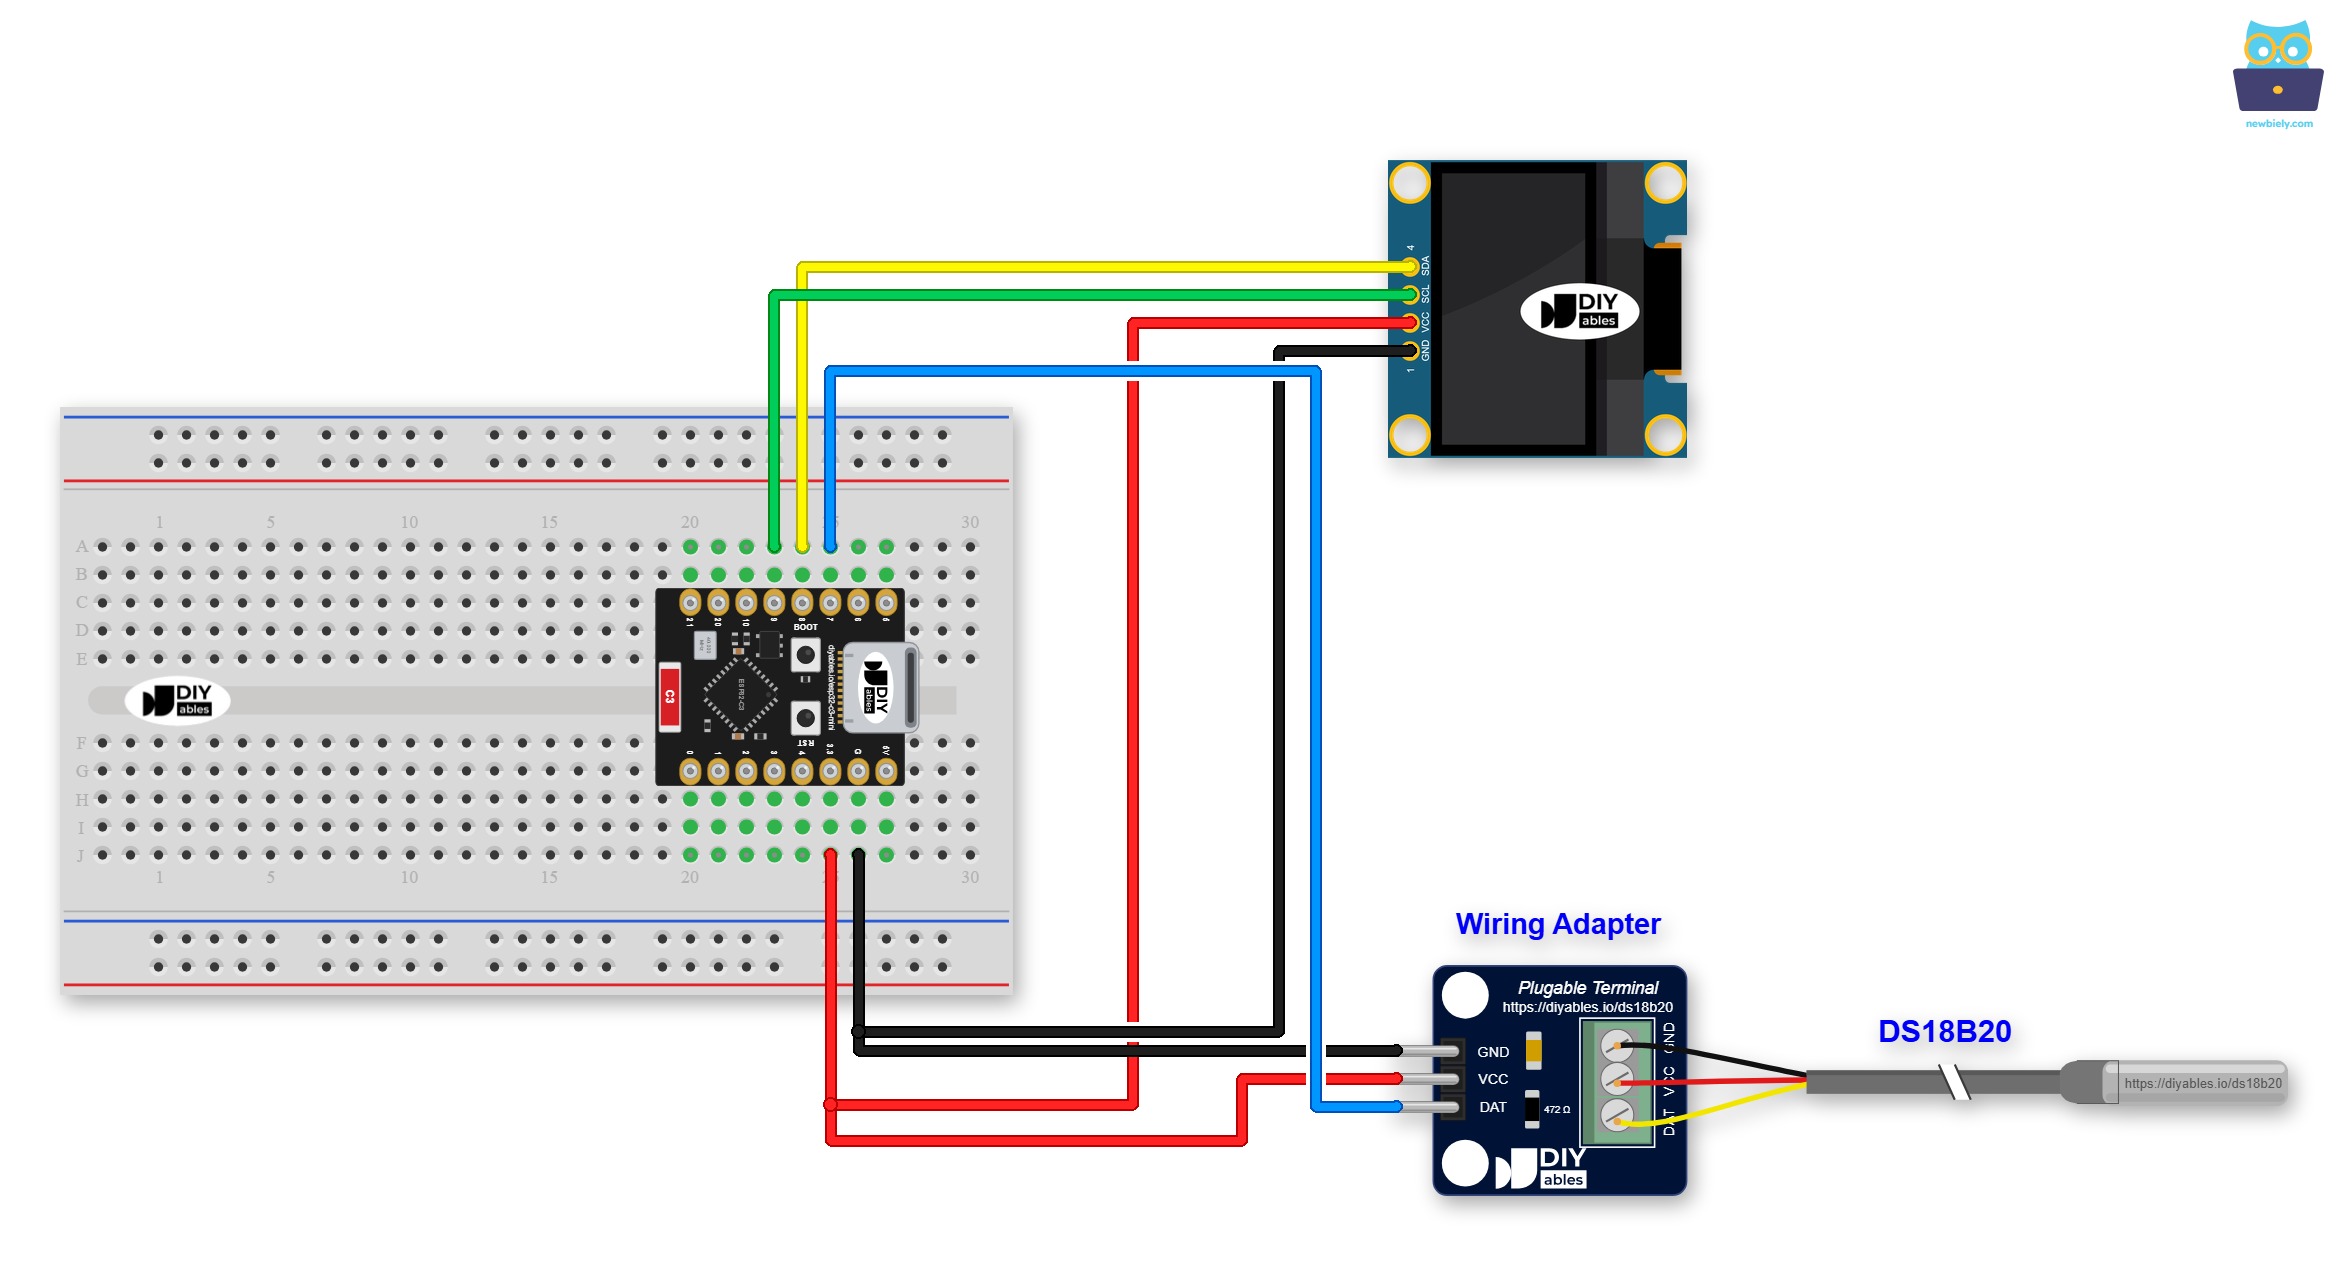
This image is created using Fritzing. Click to enlarge image
DS18B20 connections:
| DS18B20 Pin | ESP32 C3 Super Mini Pin |
|---|---|
| VCC | 3.3V |
| GND | GND |
| DATA | GPIO7 |
OLED connections:
| OLED Pin | ESP32 C3 Super Mini Pin |
|---|---|
| VCC | 3.3V |
| GND | GND |
| SDA | GPIO8 |
| SCL | GPIO9 |
ESP32 C3 Super Mini Code - Temperature from DS18B20 Temperature Sensor and display it on OLED
The code below reads the DS18B20 sensor again and again and shows the temperature on the OLED.
What This Code Does:
- Starts the OLED: Uses the default I2C pins of the board: GPIO8 (SDA) and GPIO9 (SCL)
- Starts the sensor: Uses the one wire bus on GPIO7
- Reads the temperature: Gets the value in Celsius from the DS18B20
- Builds the text: Keeps two decimal places and adds the degree symbol and "C"
- Shows the result: Prints it on the OLED and the Serial Monitor
※ NOTE THAT:
The above code automatically horizontal and vertical center aligns the text on OLED display.
※ NOTE THAT:
The code is set for the 128x64 OLED. If you use the 128x32 OLED, change SCREEN_HEIGHT to 32.
Detailed Instructions
Follow these bullets to run the project on your ESP32 C3 Super Mini.
- New to ESP32 C3 Super Mini? Complete our Getting Started with ESP32 C3 Super Mini tutorial first to set up your development environment.
- Wire the parts: Connect the sensor and the OLED as shown in the wiring diagram above.
- Connect the board: Connect the ESP32 C3 Super Mini to your computer with a USB Type-C cable.
- Open Arduino IDE: Start Arduino IDE on your computer.
- Select the board: Make sure ESP32 C3 Super Mini is selected in Tools > Board.
- Select the port: Choose the COM port of your board.
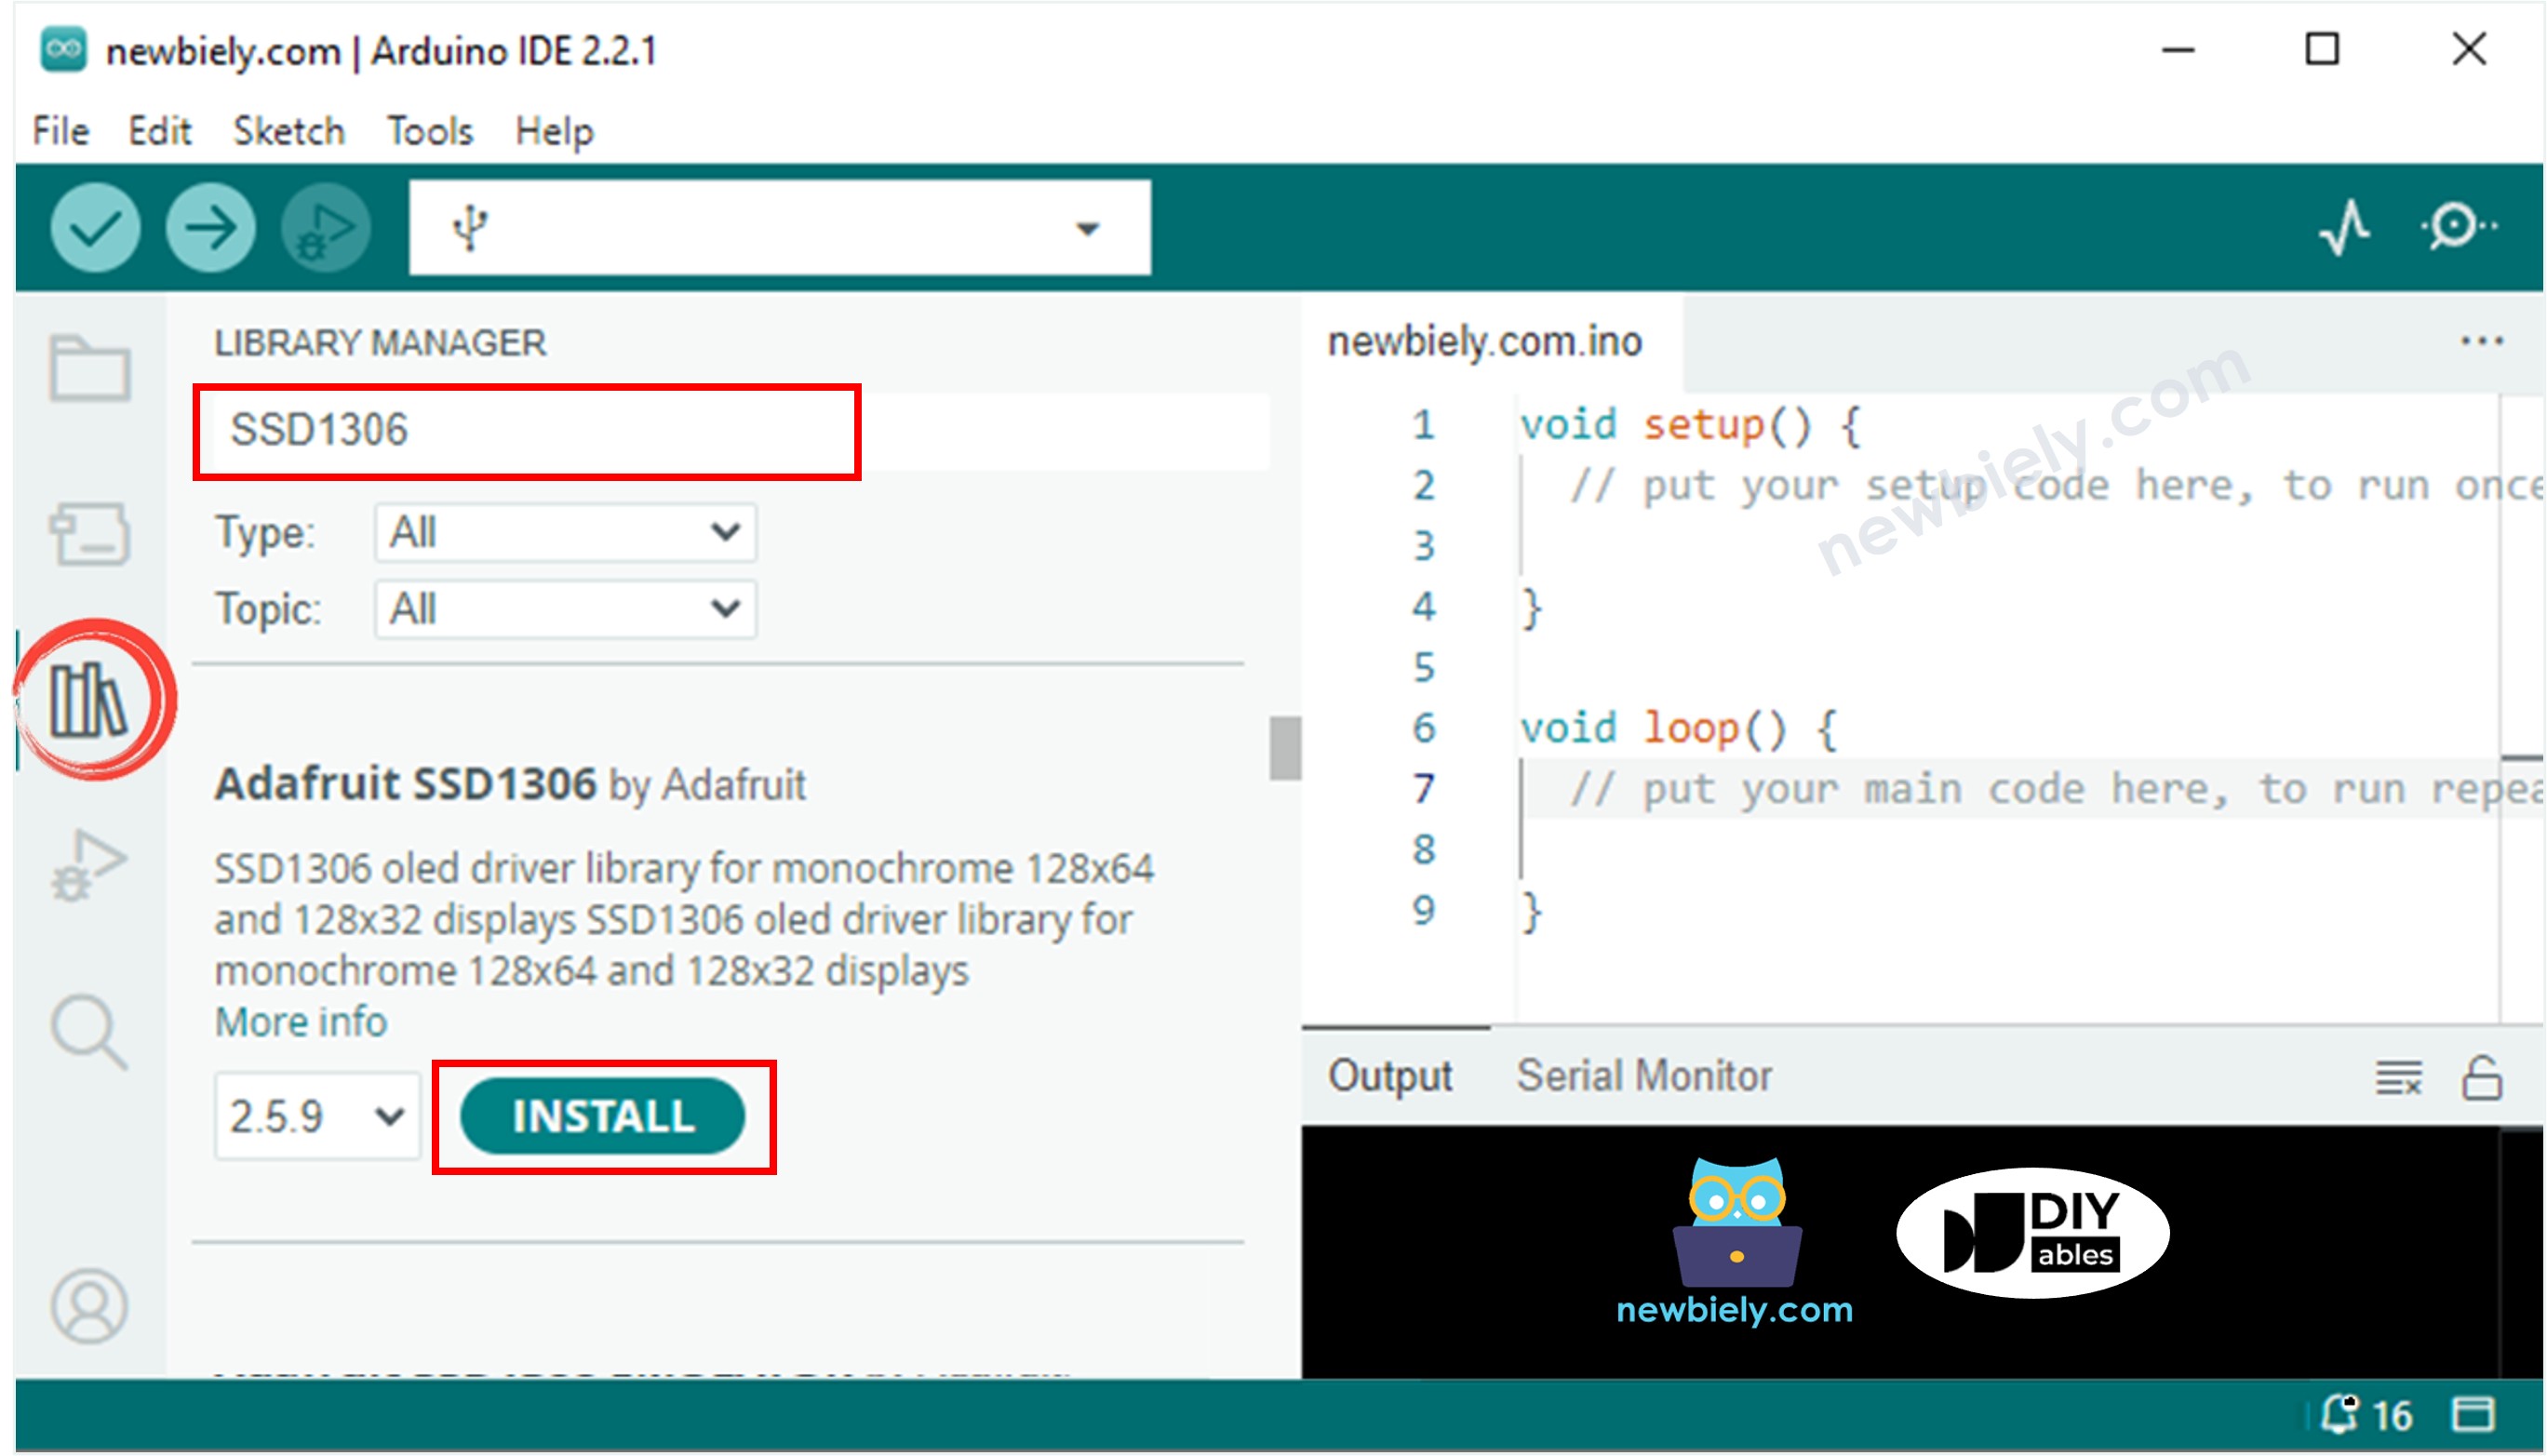
- Open Libraries: Click the Libraries icon on the left bar of the Arduino IDE.
- Find the OLED library: Search “SSD1306”, then find the SSD1306 library by Adafruit.
- Install it: Click the Install button to install the library.
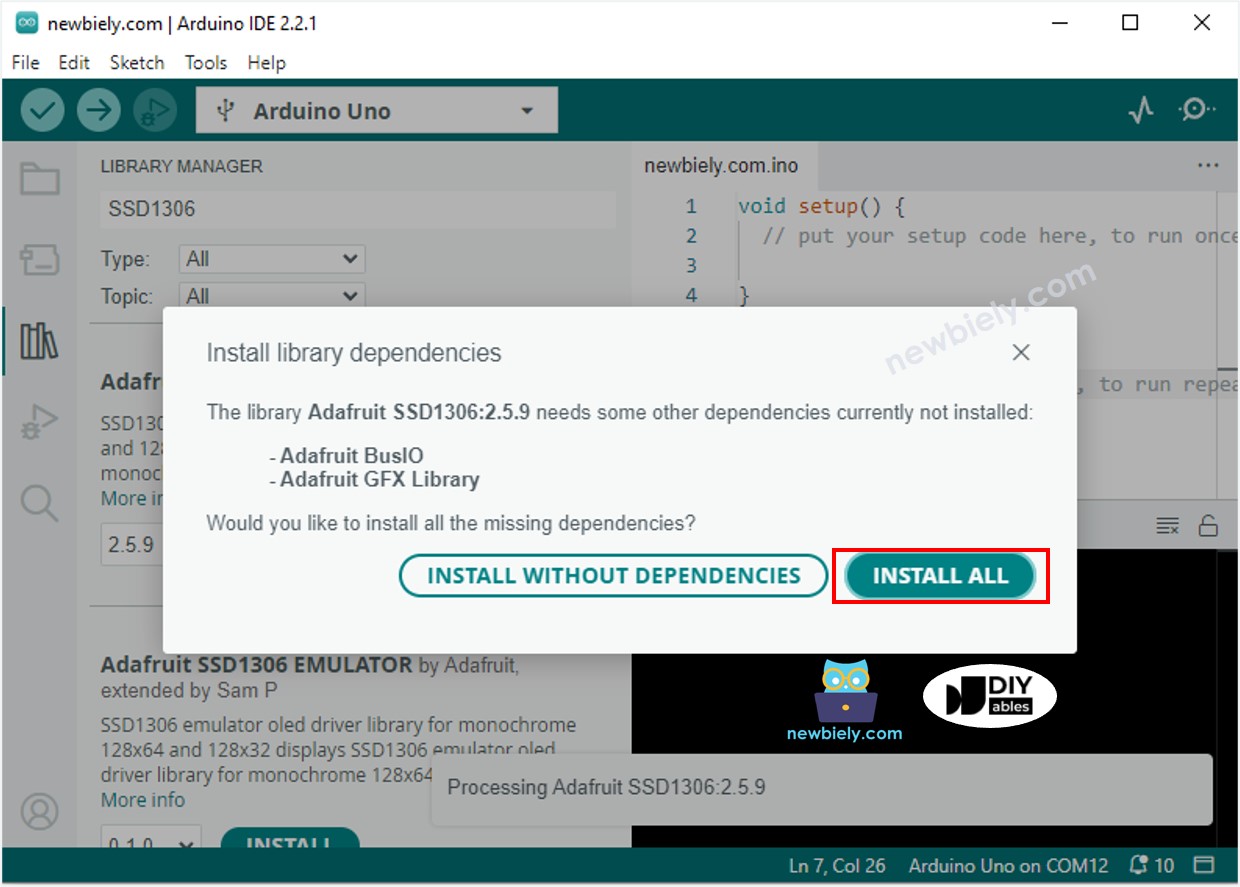
- Add the extras: You will be asked to install some other library dependencies. Click the Install All button to install them.
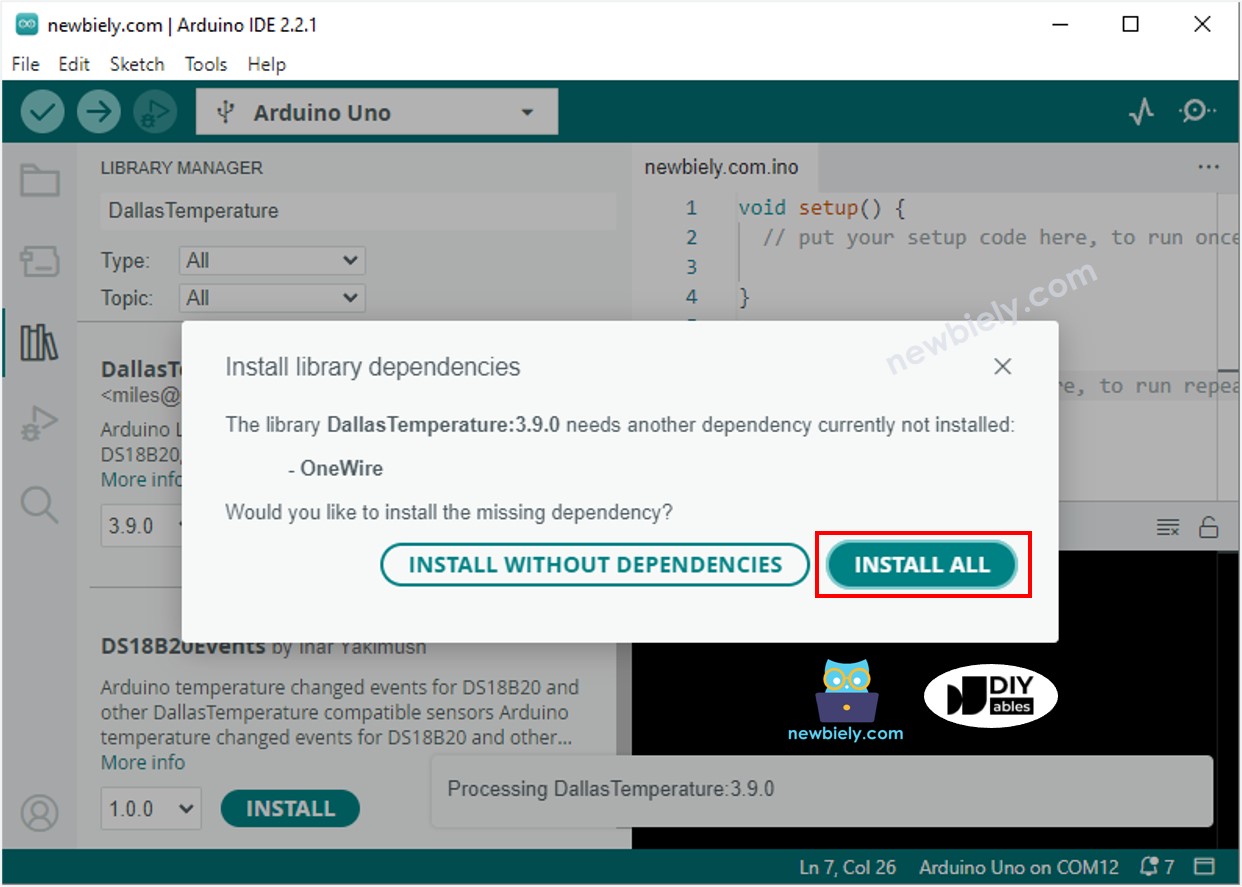
- Find the sensor library: Search “DallasTemperature” in the search box, then look for the DallasTemperature library by Miles Burton.
- Install it: Click the Install button to install the DallasTemperature library.
- Search for DallasTemperature created by Miles Burton
- Add OneWire: You will be asked to install the dependency. Click the Install All button to install the OneWire library.
- Copy the code: Copy the above code and open it with Arduino IDE.
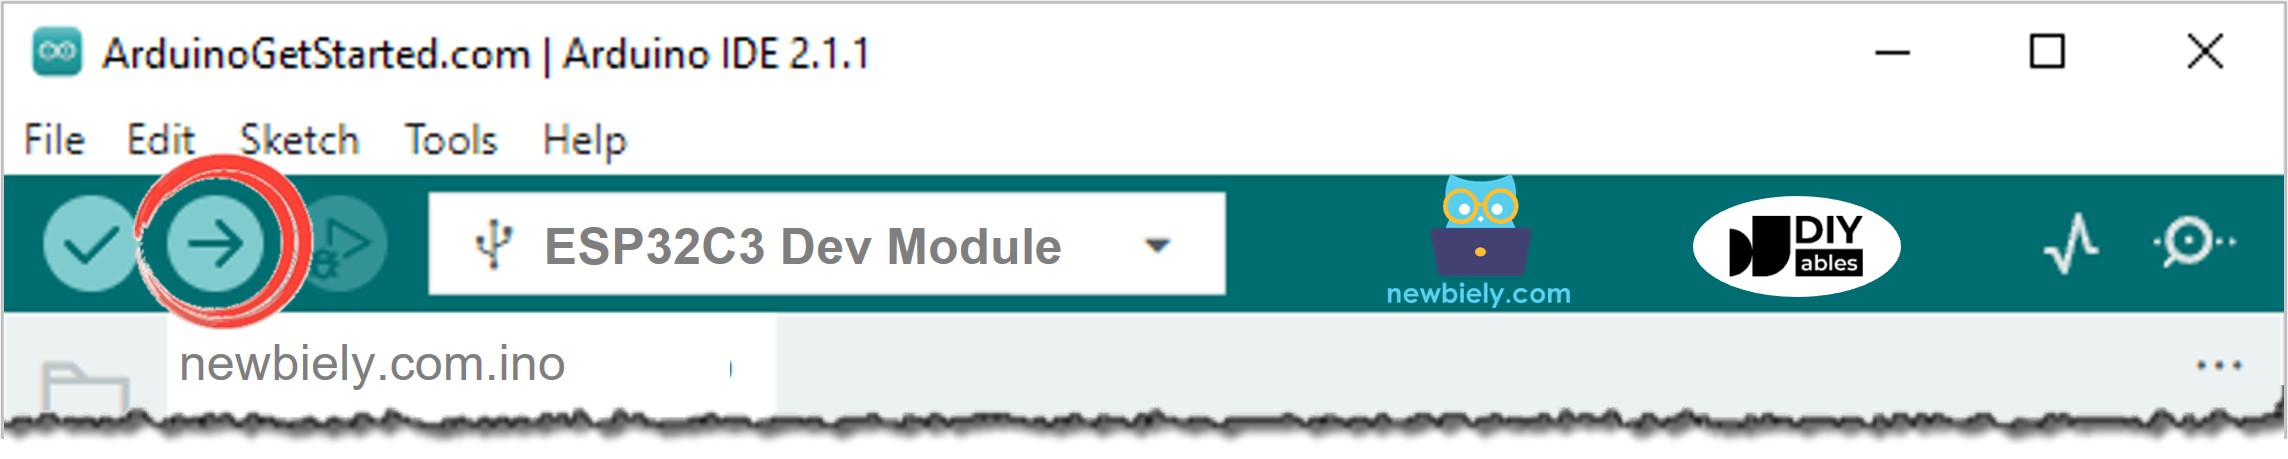
- Upload the code: Click the Upload button to upload the code to your ESP32 C3 Super Mini.
- Test the sensor: Put the sensor in hot and cold water, or hold it in your hand.
- Read the OLED: See the result on the OLED.
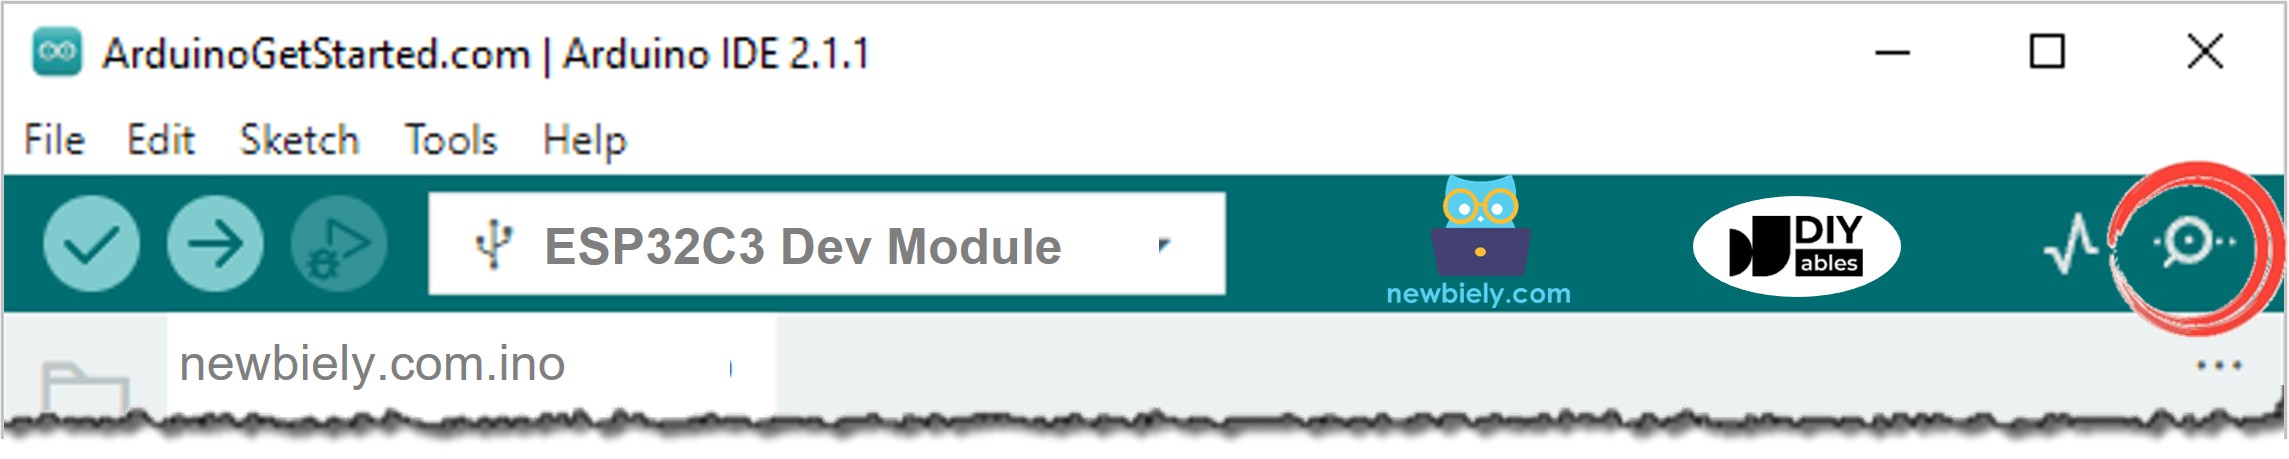
- Open Serial Monitor: Click the Serial Monitor icon and set the baud rate to 115200 to see the same result.
- Pro Tip: If the OLED shows -127.00, the board cannot read the sensor. Check the DATA wire and the resistor.
Serial Monitor Output
Each reading prints one line with the same text that the OLED shows. The odd symbol before the C is normal: it is the OLED's degree symbol, and the Serial Monitor cannot draw it.
Application and Project Ideas
This ESP32 C3 Super Mini temperature sensor and OLED project is a good base for many small builds.
- Desk thermometer: Show the room temperature on your desk.
- Aquarium monitor: Put the waterproof DS18B20 probe in the tank and read the water temperature.
- Fridge checker: Place the probe in the fridge and read the temperature outside.
- Greenhouse display: Show the air temperature near your plants.
- Hot drink tester: Check when your coffee or tea is cool enough to drink.
Challenge Yourself
Ready for more? Try these ESP32 C3 Super Mini challenges.
- Easy: Show the temperature in Fahrenheit instead of Celsius.
- Easy: Add a second line on the OLED with the word "Temperature".
- Medium: Keep the lowest and highest readings and show them on the OLED.
- Medium: Add a buzzer that beeps when the temperature gets too high.
- Advanced: Draw a small graph of the last readings on the OLED.