
ESP32 C3 Super Mini - RFID
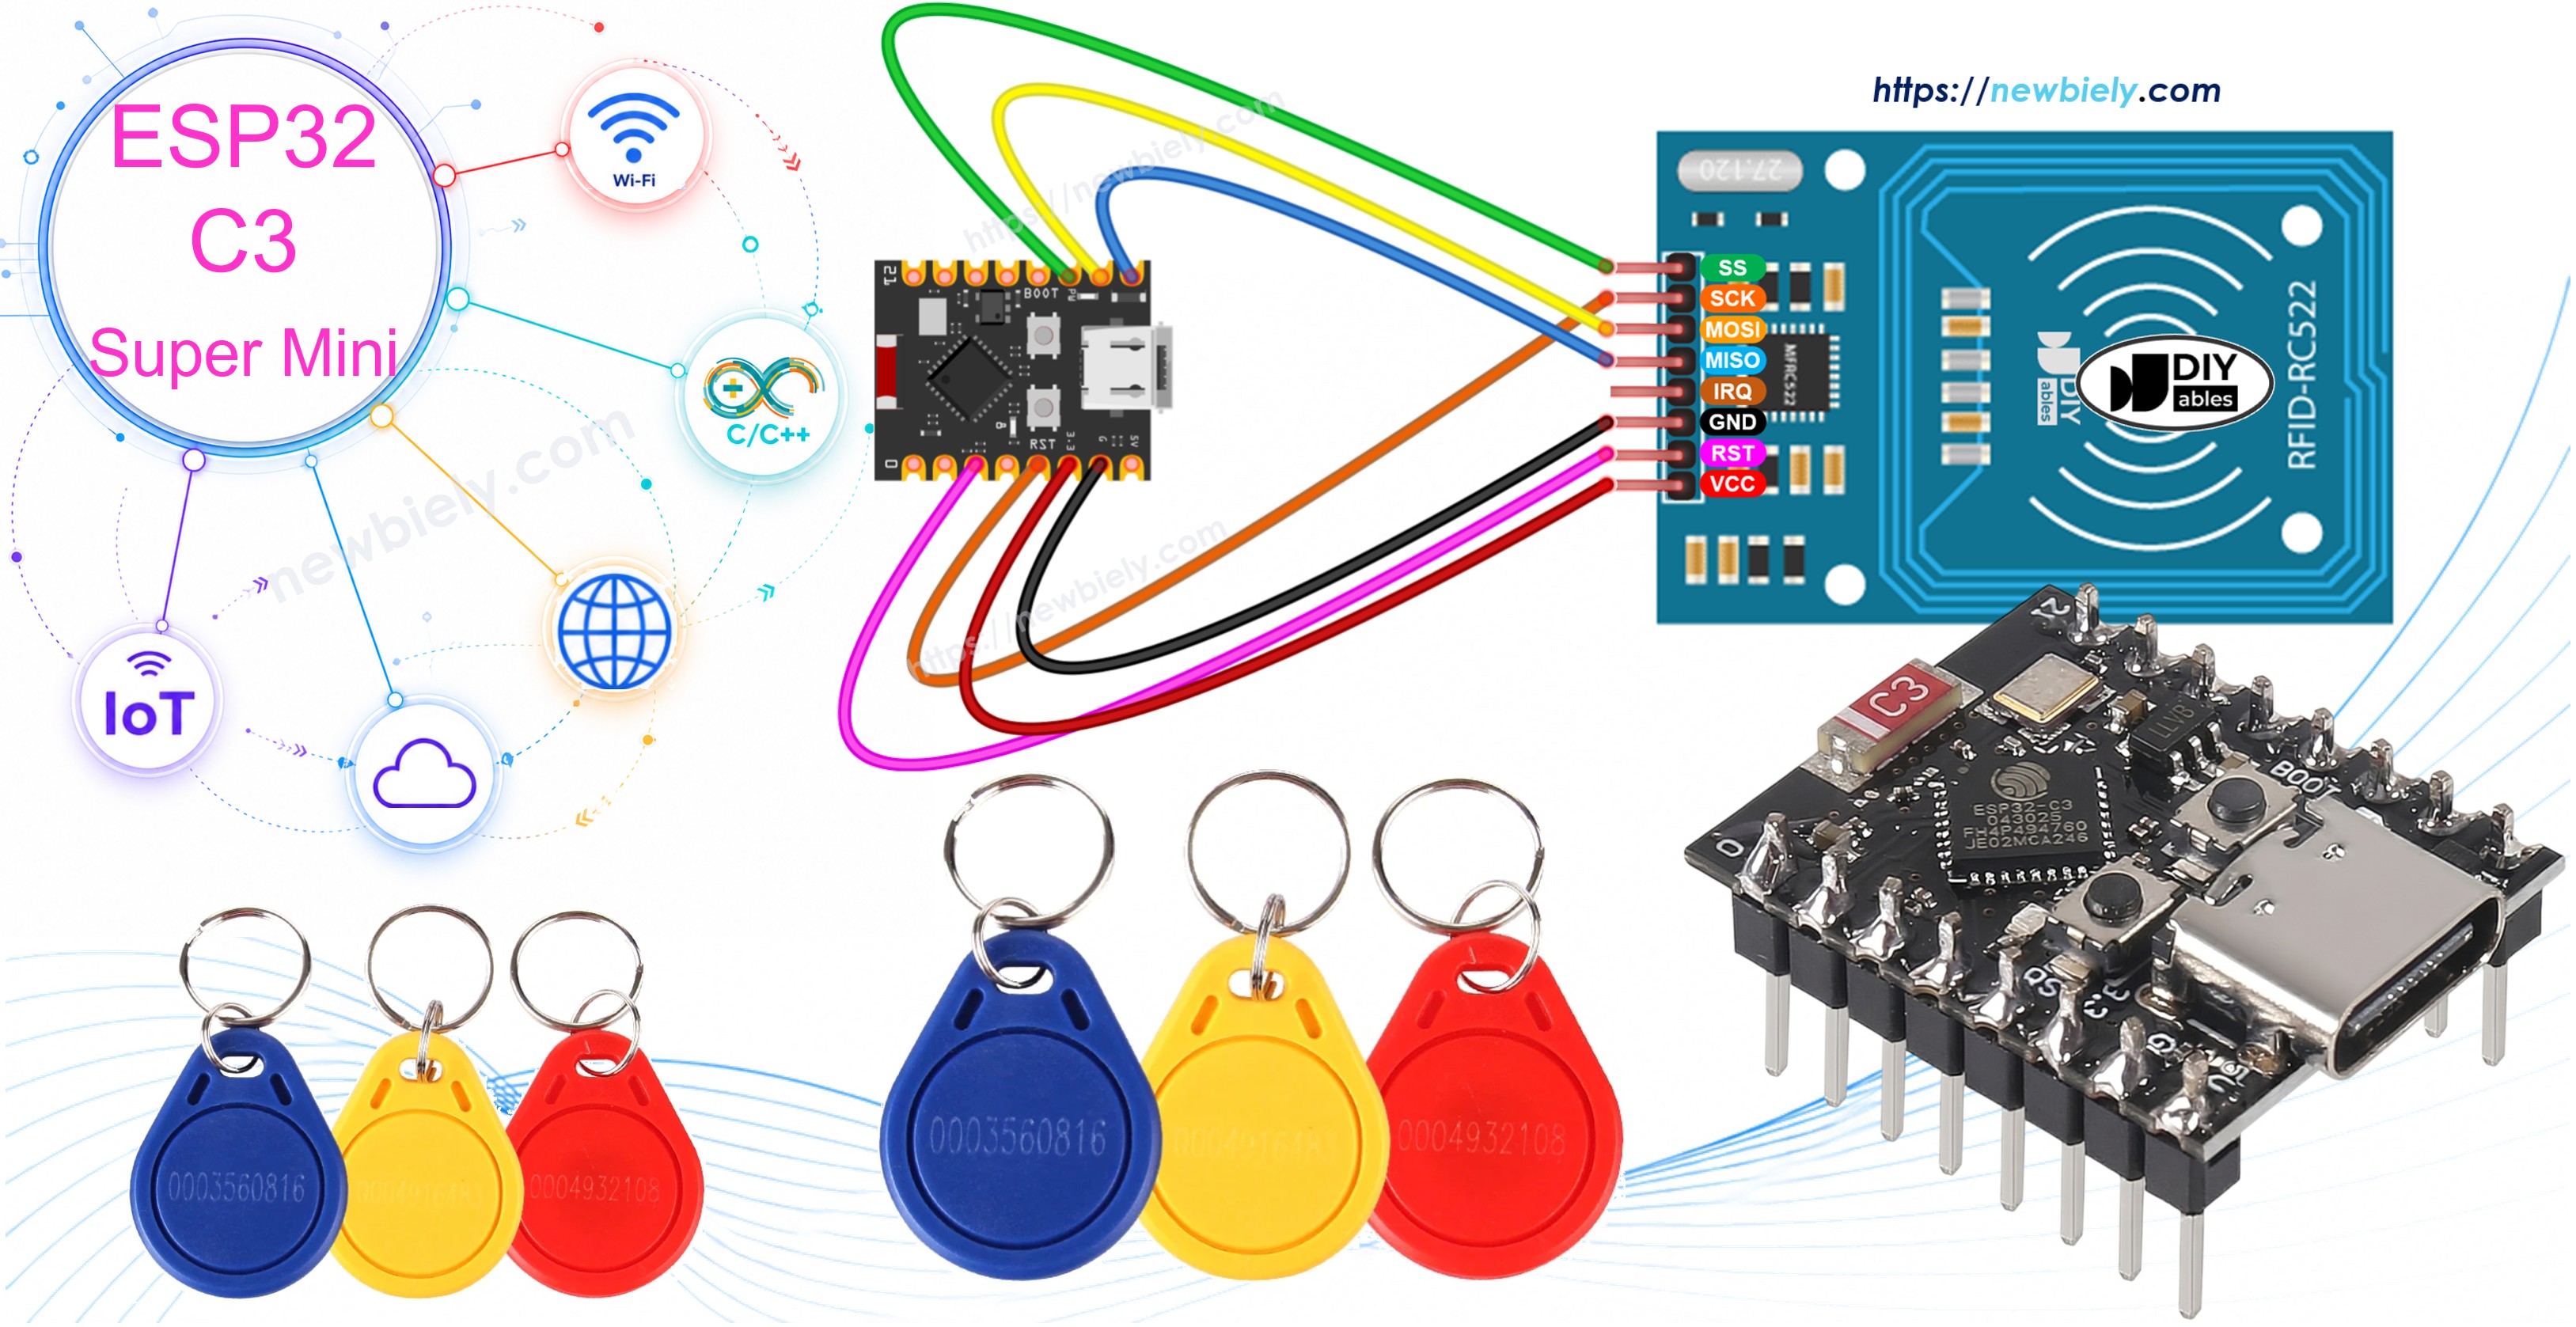
This tutorial shows you how to use the ESP32 C3 Super Mini with an RC522 RFID/NFC reader to read the information from an RFID/NFC tag. The RC522 module is a 3.3V device, so it is a perfect match for the ESP32 C3 Super Mini.
In this tutorial, you'll learn:
- What the RFID-RC522 module is and how it reads a tag.
- What each pin of the RFID-RC522 module does.
- How to wire the RC522 module to the ESP32 C3 Super Mini over SPI.
- How to install the MFRC522 library in the Arduino IDE.
- How to write code that prints the UID of any tag you tap.
Hardware Preparation
Or you can buy the following kits:
| 1 | × | DIYables Sensor Kit (18 sensors/displays) |
Additionally, some of these links are for products from our own brand, DIYables .
Overview of RFID-RC522 Module
The RFID-RC522 is a short-range reader that talks to a card or key tag over radio waves.
Key Features:
- Reads the unique ID (UID) of MIFARE cards, key fobs, and stickers.
- Can also read and write the memory blocks inside a MIFARE tag.
- Works from a few millimeters up to about 5 cm away.
- Talks to the ESP32 C3 Super Mini over SPI, so only a few wires are needed.
- Comes in a kit with one card and one key fob, ready to test.
Technical Specifications:
- Chip: NXP MFRC522.
- Operating voltage: 3.3V only.
- Radio frequency: 13.56 MHz.
- Read range: 0 to 60 mm (depends on the tag and the antenna).
- Interfaces: SPI, I2C, UART - only one at a time.
- SPI speed: up to 10 Mbit/s.
- Current: about 13-26 mA while reading.
WARNING
The RFID-RC522 module runs on 3.3V. Connect its VCC pin to the 3.3V pin of the ESP32 C3 Super Mini only. 5V will damage the module.
Pinout
The RFID-RC522 module has 8 pins. Some pins are shared between the three interfaces (SPI, I2C, UART), and only one interface can be used at a time.
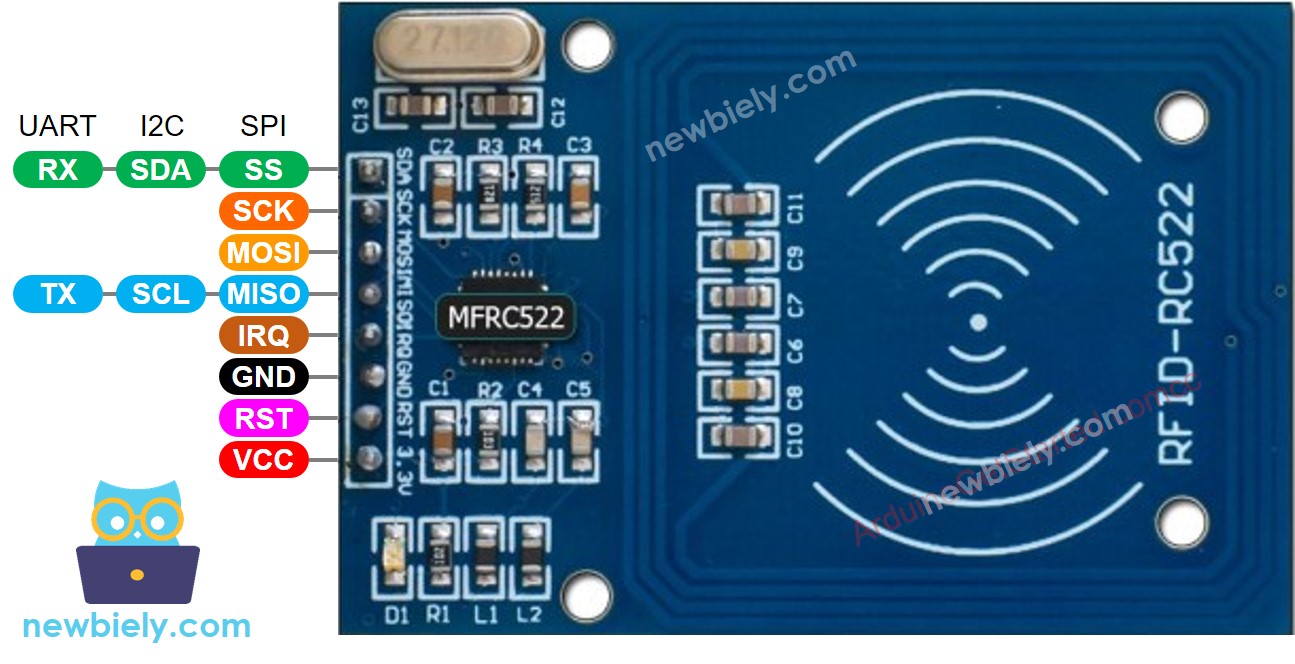
- GND pin: connect this pin to GND (0V).
- VCC pin: connect this pin to 3.3V.
- RST pin: reset and power-down pin. A LOW level puts the module into hard power-down. A rising edge resets the module.
- IRQ pin: interrupt pin that can alert the ESP32 C3 Super Mini when an RFID tag comes into range.
- MISO/SCL/TX pin: works as:
- MISO pin if the SPI interface is enabled
- SCL pin if the I2C interface is enabled
- TX pin if the UART interface is enabled.
- MOSI pin: works as MOSI if the SPI interface is enabled.
- SCK pin: works as SCK if the SPI interface is enabled.
- SS/SDA/RX pin: works as:
- SS pin if the SPI interface is enabled
- SDA pin when the I2C interface is enabled
- RX pin when the UART interface is enabled.
- The pins order can vary according to manufacturers. ALWAYS use the labels printed on the module. The above image shows the pinout of the modules from DIYables manufacturer.
- The RFID-RC522 module works with 3.3V. Do not connect the RFID-RC522 module's VCC pin to 5V. 5V can burn the RFID-RC522 module.
- This tutorial uses the SPI interface for communication between the ESP32 C3 Super Mini and the RFID-RC522 module.
※ NOTE THAT:
Wiring Diagram
Wire the RC522 module to the ESP32 C3 Super Mini SPI pins as shown below.
- Note: Power the module from the 3.3V pin. Never from 5V.
- Note: The IRQ pin is not used in this tutorial. Leave it unconnected.
- Note: Keep the jumper wires short. Long wires make the SPI signal unreliable.
- Note: The ESP32 C3 Super Mini is a 3.3V board, so no level shifter is needed.
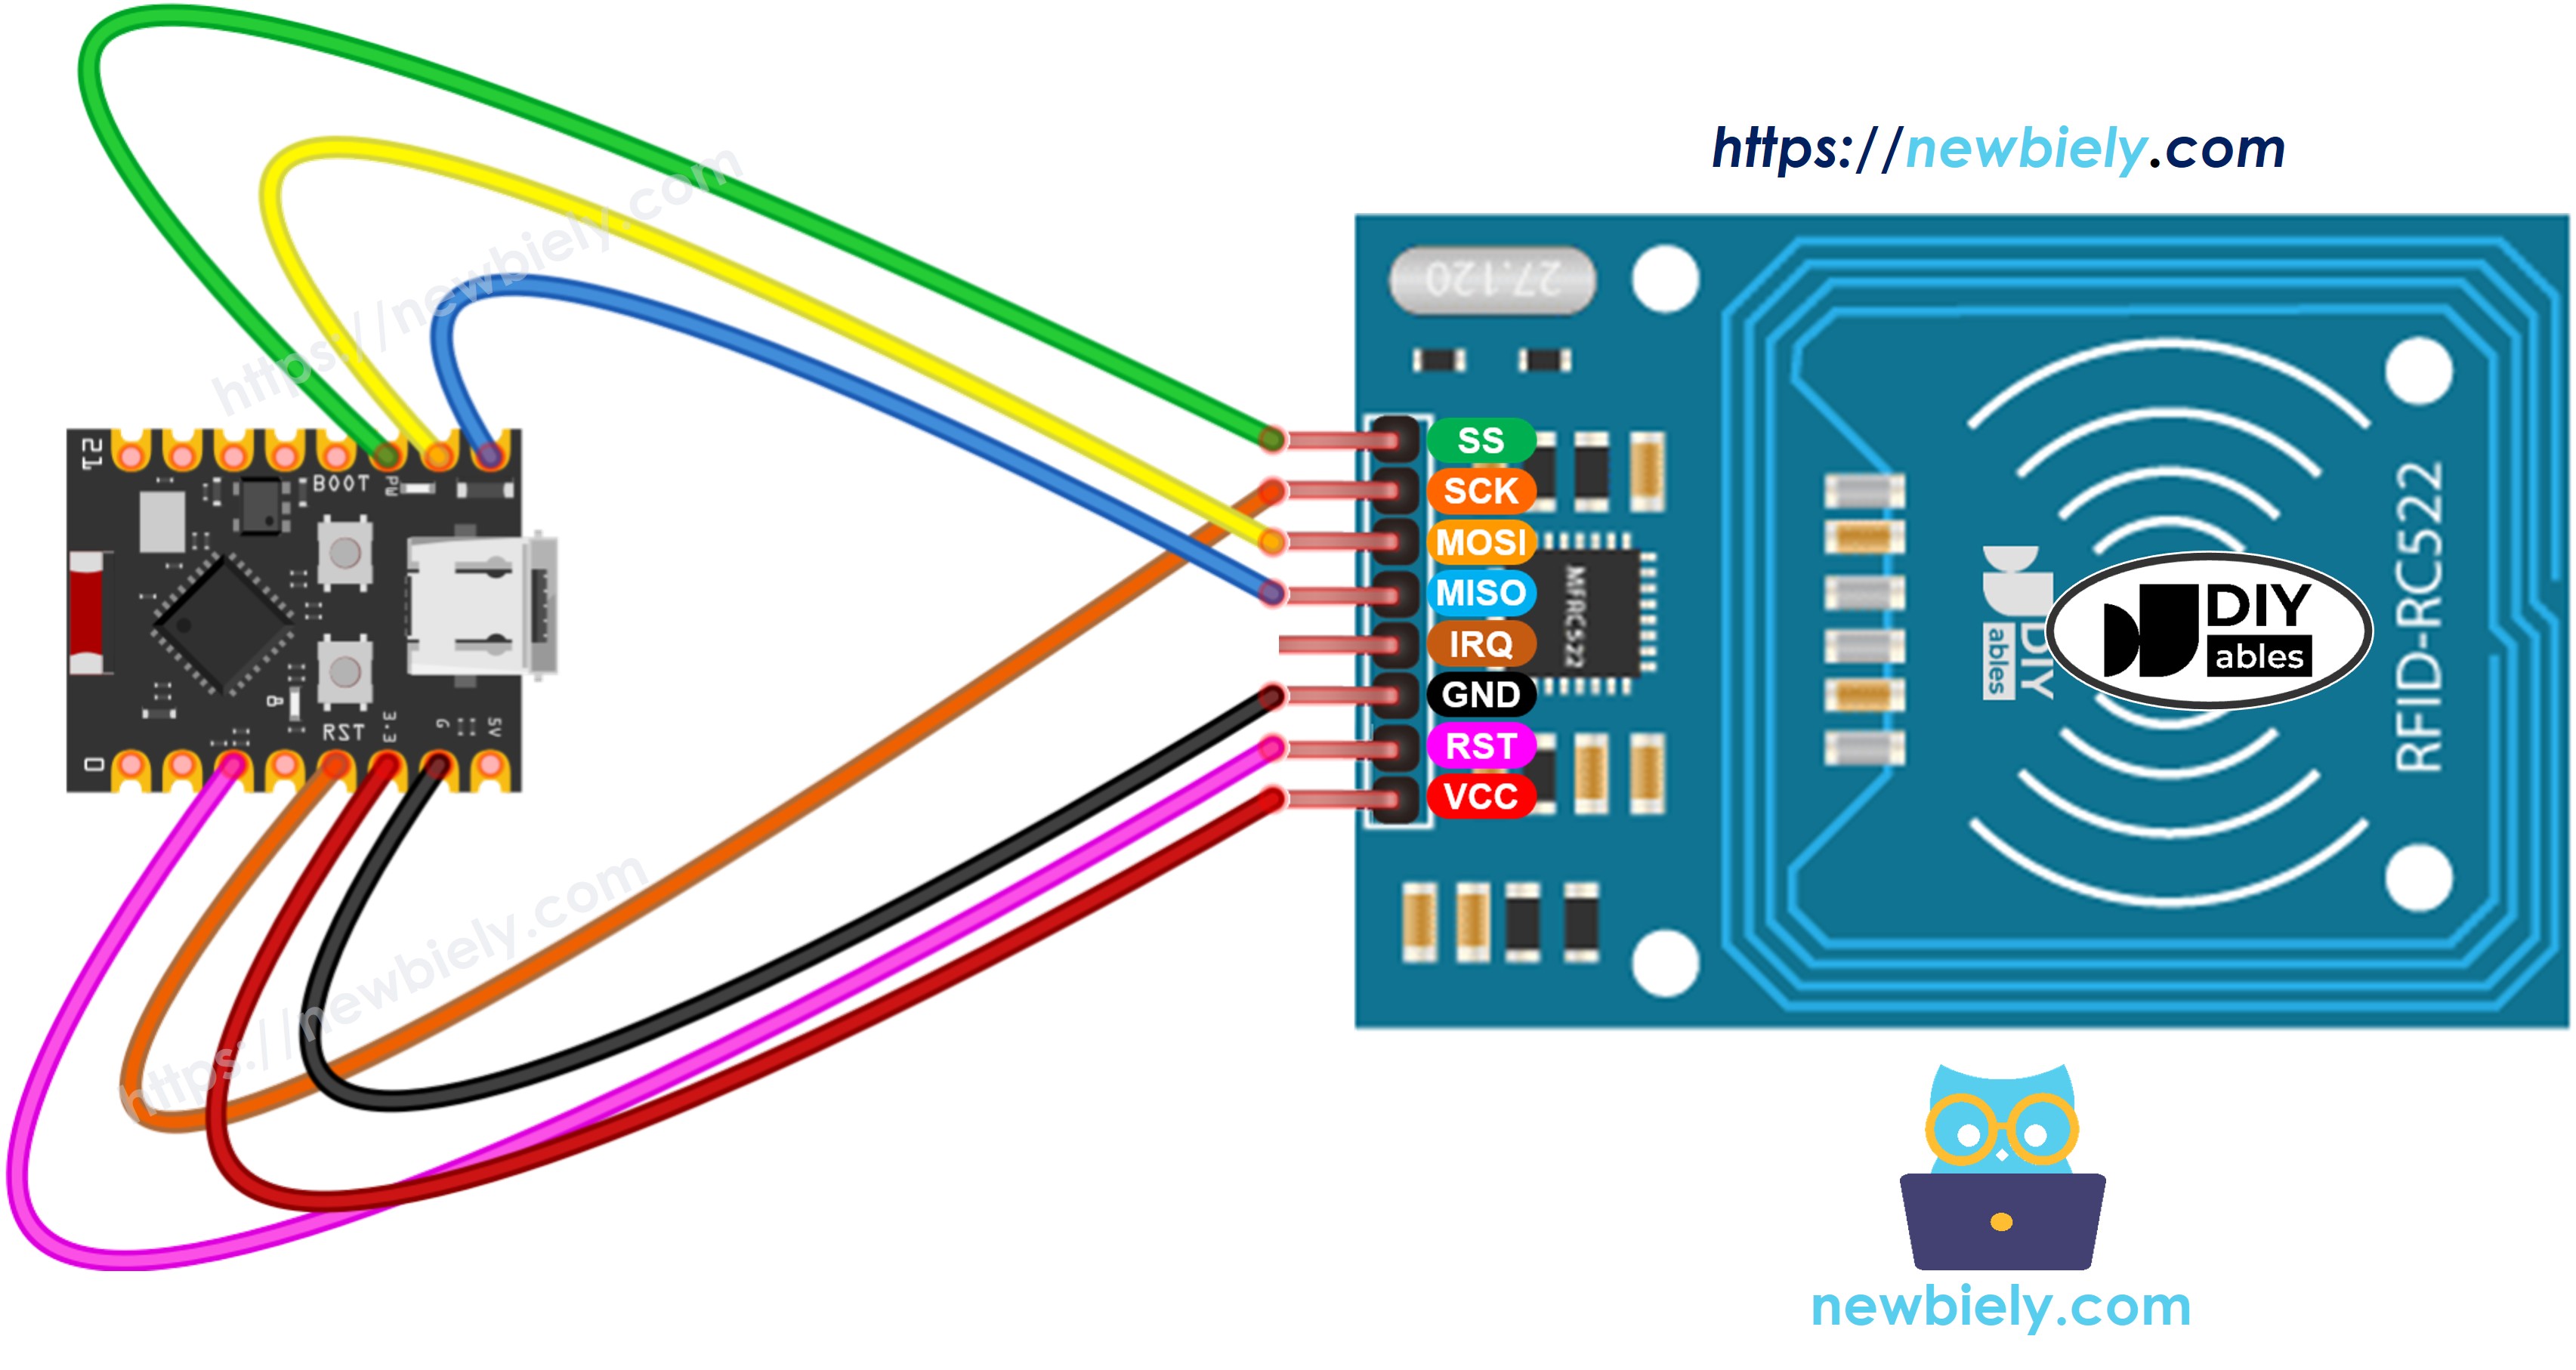
This image is created using Fritzing. Click to enlarge image
The wiring table between RFID/NFC RC522 Module and ESP32 C3 Super Mini
| RFID/NFC RC522 Pin | ESP32 C3 Super Mini Pin |
|---|---|
| SS (SDA) | GPIO7 |
| SCK | GPIO4 |
| MOSI | GPIO6 |
| MISO | GPIO5 |
| IRQ | not connected |
| GND | GND |
| RST | GPIO3 |
| VCC | 3.3V |
ESP32 C3 Super Mini RFID/NFC Code
The code below waits for a tag and prints its type and UID to the Serial Monitor.
What This Code Does:
- Starts the SPI bus on GPIO4 (SCK), GPIO5 (MISO), GPIO6 (MOSI) and GPIO7 (SS).
- Initializes the MFRC522 reader with SS on GPIO7 and RST on GPIO3.
- Checks in every loop if a new tag is in range.
- Prints the tag type, such as MIFARE 1KB.
- Prints the tag UID in hexadecimal format.
Detailed Instructions
- New to ESP32 C3 Super Mini? Complete our Getting Started with ESP32 C3 Super Mini tutorial first to set up your development environment.
- Wire the parts: Connect the RC522 module to the ESP32 C3 Super Mini as shown in the wiring table above.
- Connect USB cable: Plug the ESP32 C3 Super Mini into your computer with a USB Type-C cable.
- Open Arduino IDE: Launch the Arduino IDE on your computer.
- Select the board: Make sure ESP32 C3 Super Mini is selected in Tools > Board.
- Select the port: Pick the COM port of your ESP32 C3 Super Mini.
- Open Library Manager: Click the Library Manager icon on the left navigation bar of the Arduino IDE.
- Search the library: Type “MFRC522” in the search box, then look for the library by GithubCommunity.
- Install the library: Click the Install button.
- Search for MFRC522 created by GithubCommunity and click the Install button.
- Copy the code: Copy the above code and paste it into the Arduino IDE.
- Upload the code: Click the Upload button to compile and upload the code to the ESP32 C3 Super Mini board.
- Open Serial Monitor: Set the baud rate to 115200.
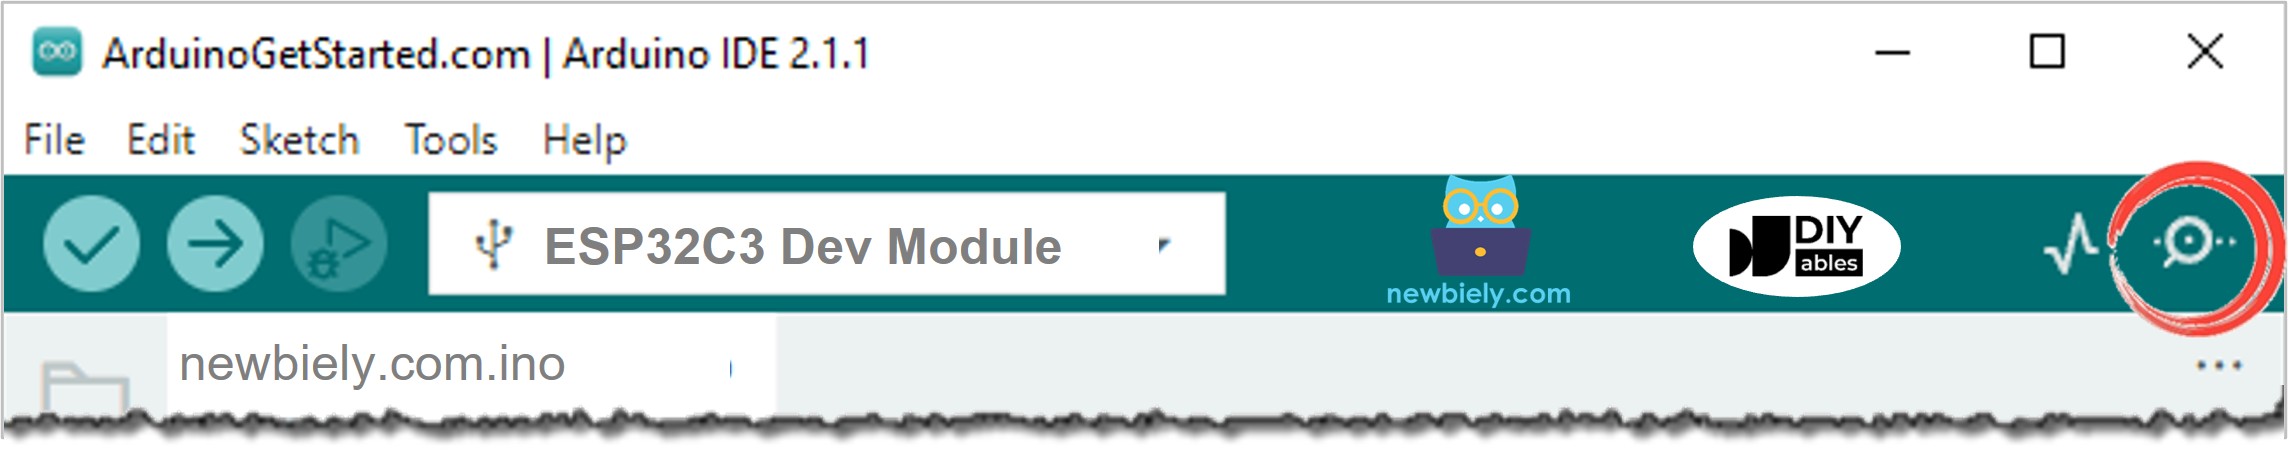
- Tap a tag: Tap several RFID/NFC tags on the RFID-RC522 module.
- See the result: The UID of each tag is printed on the Serial Monitor.
- Pro Tip: If nothing is printed, check the SS and RST wires first. A swapped SS or RST wire is the most common mistake.
Line-by-line Code Explanation
The above ESP32 C3 Super Mini code contains line-by-line explanation. Please read the comments in the code!
Applications and Project Ideas
Here are some easy projects you can build with the ESP32 C3 Super Mini and the RC522 RFID reader.
- Door Lock: Open an electromagnetic lock when a known tag is tapped.
- Attendance Logger: Save the UID and the time each person taps in.
- Cash-Free Vending: Let a tag start a small machine or a relay.
- Toy Box Sorter: Give each toy a sticker tag and show its name on an LCD.
- WiFi Access Log: Send every UID to a web server over WiFi.
- Alarm Disarm: Turn off a buzzer alarm only when the right tag is present.
Challenge Yourself
Try these small upgrades to learn more about RFID on the ESP32 C3 Super Mini.
- Easy: Turn on an LED on GPIO2 for one second each time a tag is read.
- Easy: Print a short message instead of the raw UID.
- Medium: Store a list of allowed UIDs and print "Access granted" or "Access denied".
- Medium: Add a buzzer that beeps once for an allowed tag and twice for an unknown tag.
- Advanced: Read and write your own data into a MIFARE tag's memory block.
- Advanced: Send every scanned UID to a web page hosted by the ESP32 C3 Super Mini.