
ESP32 C3 Super Mini - Keypad - Solenoid Lock
Build a simple password door lock with an ESP32 C3 Super Mini, a keypad and a solenoid lock. When the user types the right password, the ESP32 C3 Super Mini opens the lock through a relay. The code supports multiple passwords, and a second sketch closes the lock again after 5 seconds without using the delay() function.
In this tutorial, you'll learn:
- How the keypad, relay and solenoid lock work together
- How to wire all three parts to the ESP32 C3 Super Mini
- How to read a password from the keypad and check it
- How to accept more than one password
- How to open the lock for a set time without using delay()
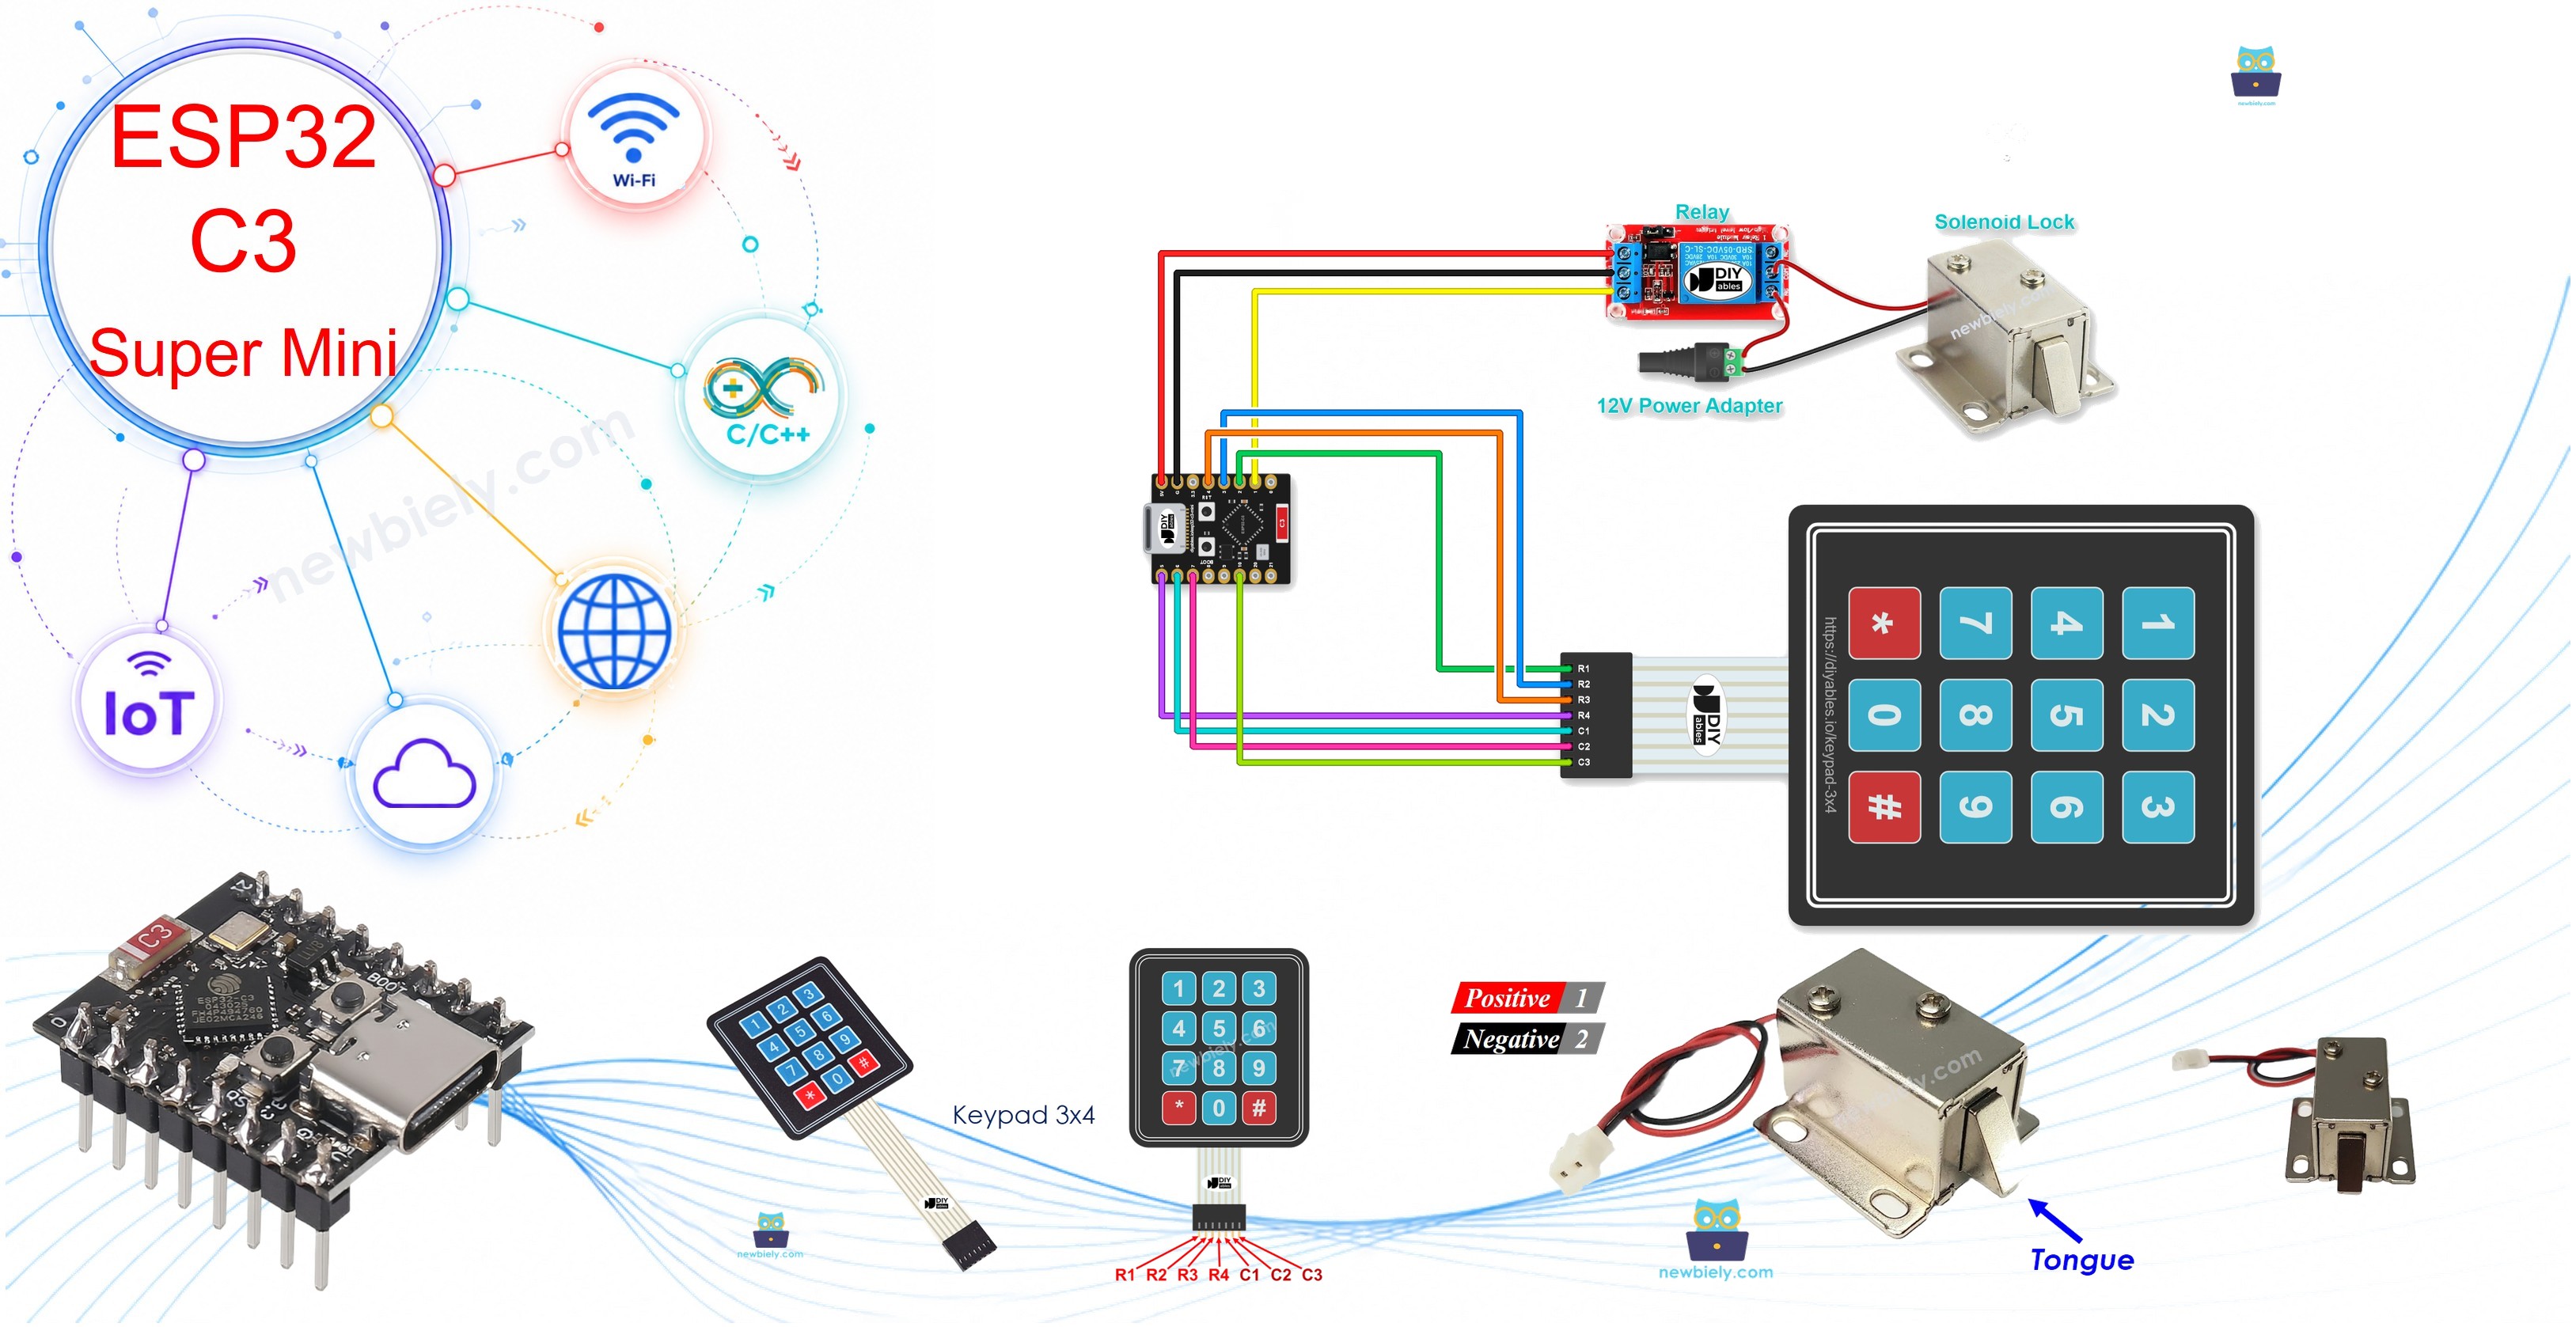
Hardware Preparation
Or you can buy the following kits:
| 1 | × | DIYables Sensor Kit (18 sensors/displays) |
Additionally, some of these links are for products from our own brand, DIYables .
Overview of Keypad and Solenoid Lock
A keypad is an input pad that lets a user type a password, and a solenoid lock is a 12V lock that a relay turns on and off.
Key Features:
- Keypad: 12 keys in 4 rows and 3 columns, read by the sketch.
- Solenoid lock: Runs from a 12V power adapter, not from a GPIO pin.
- Relay: Lets the ESP32 C3 Super Mini switch the 12V side safely.
- No network needed: The whole lock works without a phone or WiFi.
Learn each part first:
- Keypad: See the ESP32 C3 Super Mini - Keypad 3x4 tutorial for the pinout, how it works and how to program it.
- Solenoid lock: See the ESP32 C3 Super Mini - Solenoid Lock tutorial for the pinout, how it works and how to program it.
Wiring Diagram
Connect the keypad and the relay to the ESP32 C3 Super Mini, then connect the solenoid lock to the relay.
- Note: Never connect the solenoid lock straight to a GPIO pin. It must go through the relay.
- Note: The keypad has no VCC pin and no GND pin. Do not connect a keypad pin to 5V.
- Note: The 5V pin only powers the relay module.
- Note: Keep the 12V wires away from the keypad wires, and tighten the relay screw terminals before you turn on the power.
- Note: This project uses GPIO1 for the relay because the keypad takes the usual pins. Only GPIO0 stays free for extra parts.
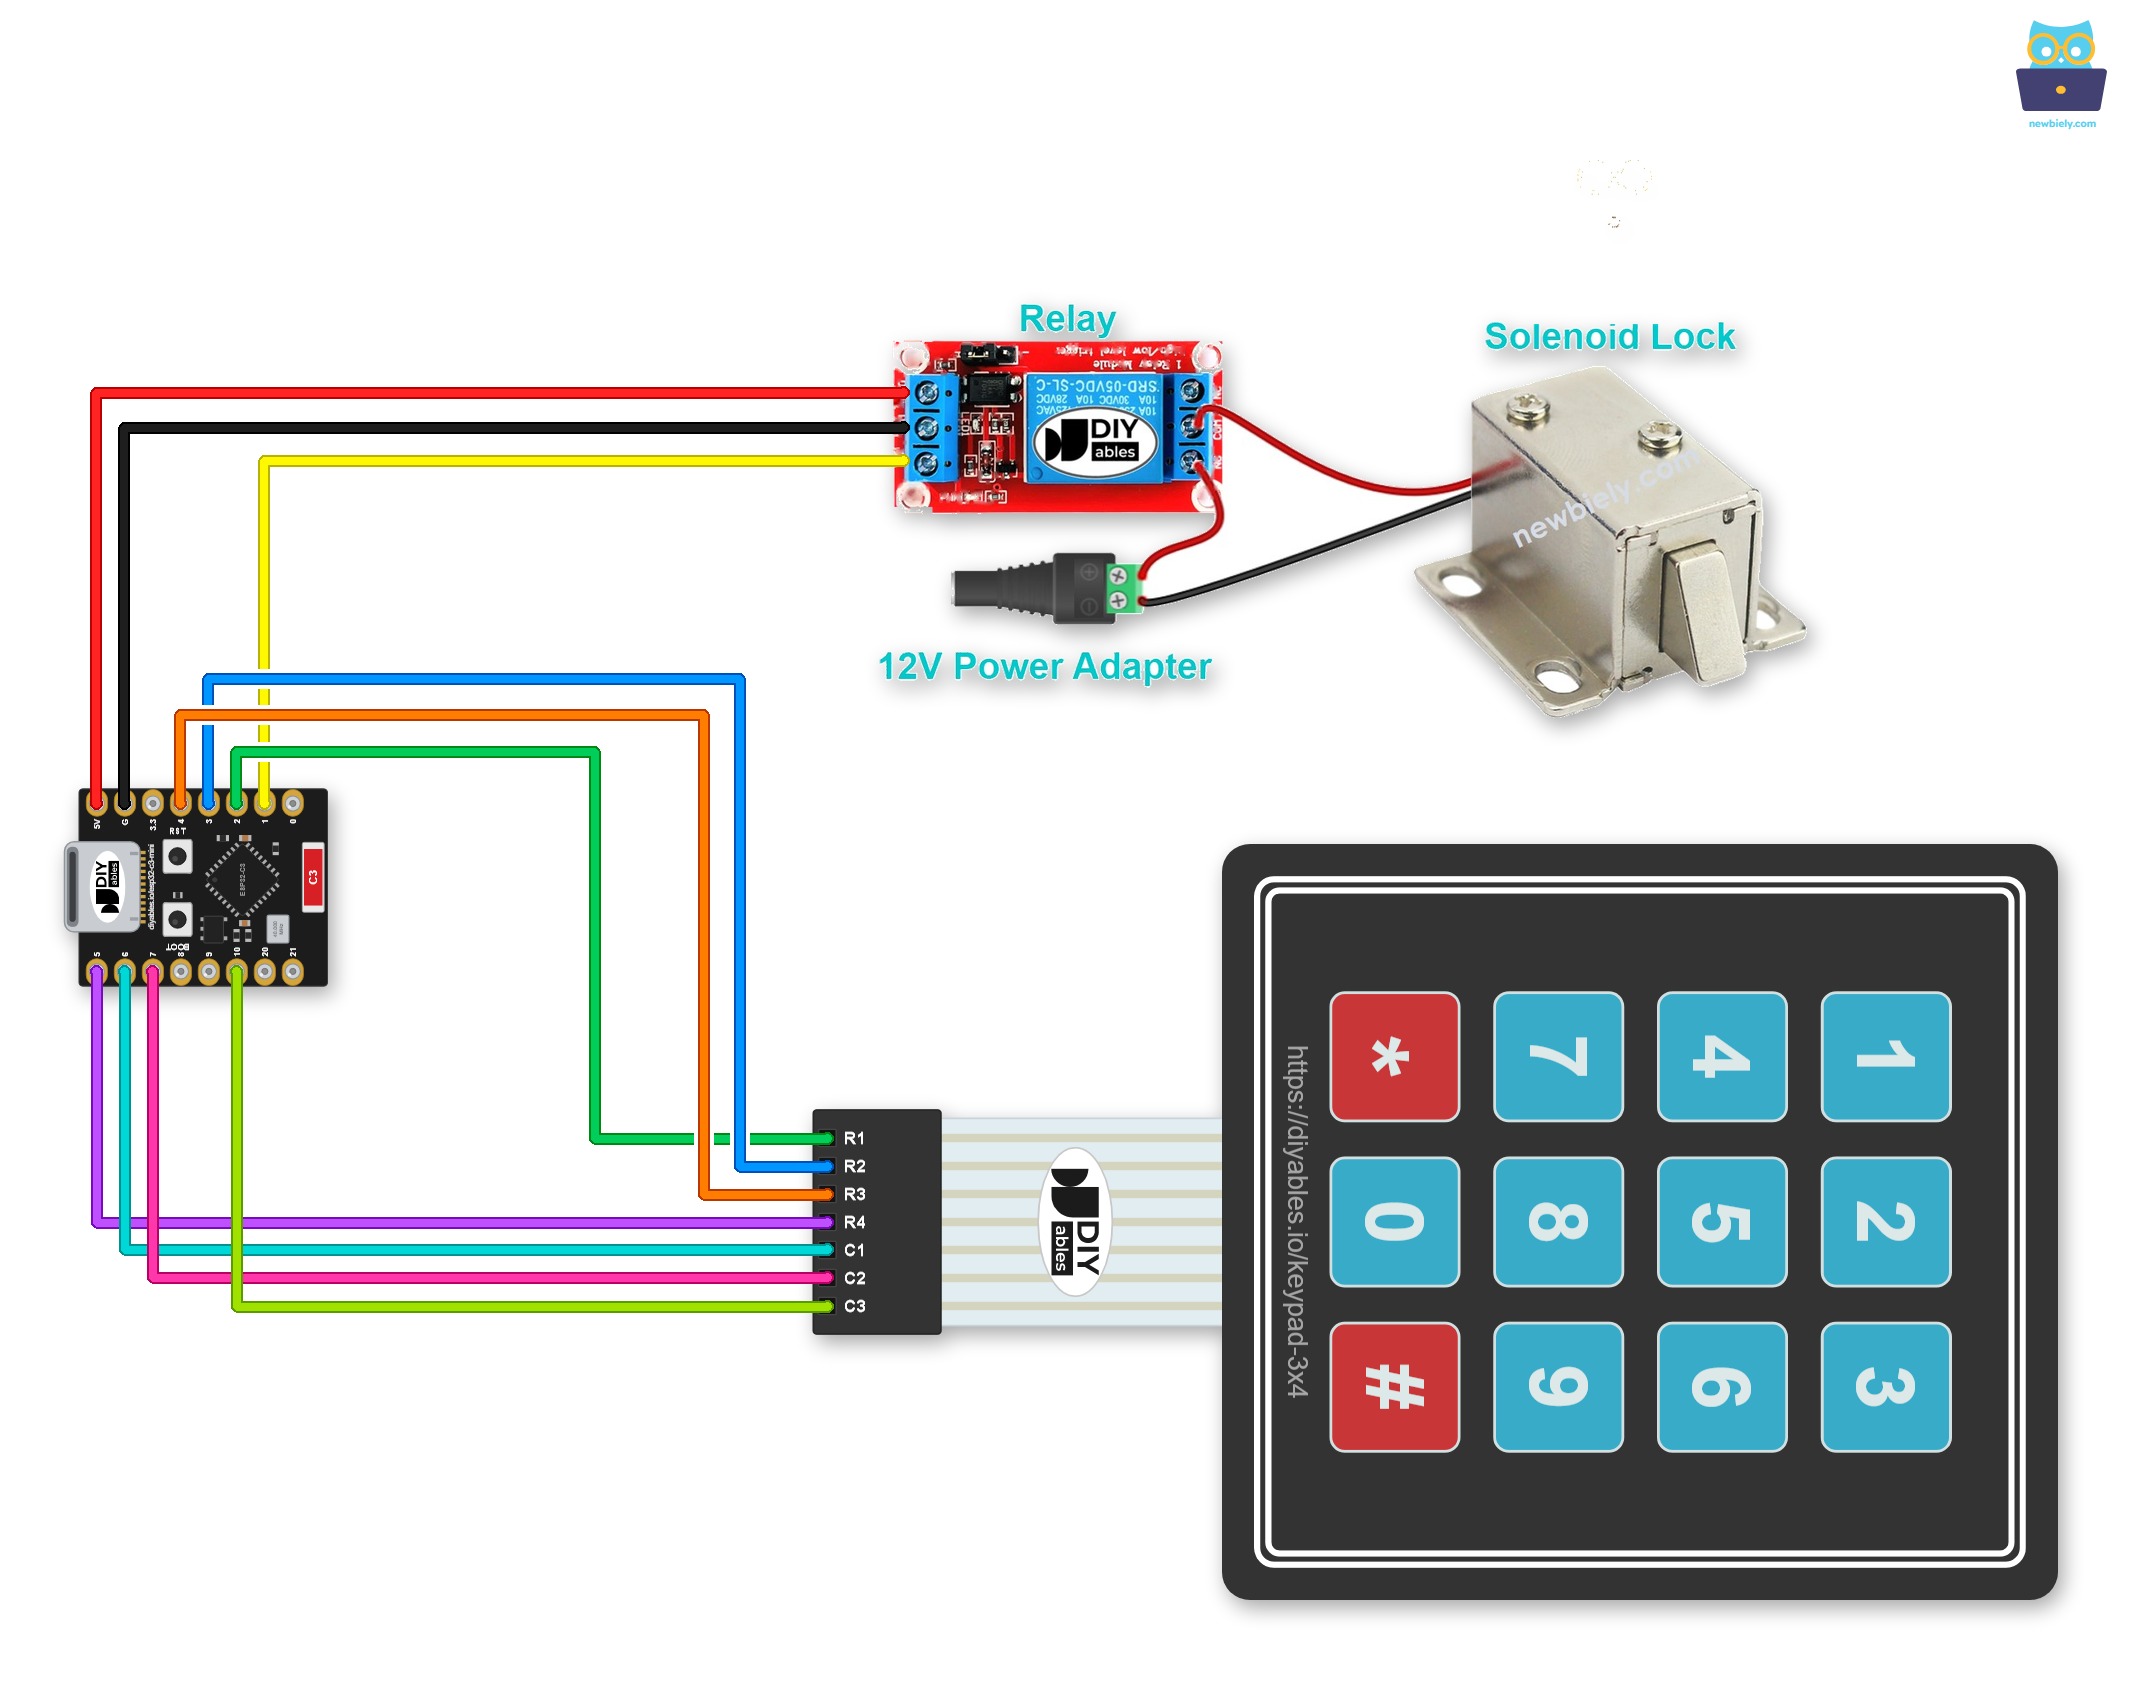
This image is created using Fritzing. Click to enlarge image
| Component Pin | ESP32 C3 Super Mini Pin |
|---|---|
| Keypad R1 | GPIO2 |
| Keypad R2 | GPIO3 |
| Keypad R3 | GPIO4 |
| Keypad R4 | GPIO5 |
| Keypad C1 | GPIO6 |
| Keypad C2 | GPIO7 |
| Keypad C3 | GPIO10 |
| Relay DC- | GND |
| Relay DC+ | 5V |
| Relay IN | GPIO1 |
| Lock Side Wire | Connect To |
|---|---|
| 12V Power Adapter (+) | Relay COM |
| Solenoid Lock (+) | Relay NO |
| Solenoid Lock (-) | 12V Power Adapter (-) |
ESP32 C3 Super Mini Code - Unlock the Solenoid Lock if the Password is Correct
This first sketch opens the solenoid lock when the password is correct.
What This Code Does:
- Keeps the lock closed at start by setting the relay pin HIGH.
- Saves three passwords in the sketch: 1234, 56789 and 901234.
- Adds each pressed key to an input string and prints the key.
- Checks the input against all the passwords when you press the # key.
- Sets the relay pin LOW to open the lock when a password matches.
Detailed Instructions
- New to ESP32 C3 Super Mini? Complete our Getting Started with ESP32 C3 Super Mini tutorial first to set up your development environment.
- Wire the parts: Follow the wiring diagram above.
- Connect the board: Plug the ESP32 C3 Super Mini into your PC with a USB Type-C cable.
- Open the IDE: Start the Arduino IDE on your PC.
- Select the board: Make sure ESP32 C3 Super Mini is selected in Tools > Board.
- Select the port: Pick the COM port of your board in Tools > Port.
- Open Library Manager: Click the Libraries icon on the left bar of the Arduino IDE.
- Search for library: Type “keypad”, then find the Keypad library by Mark Stanley and Alexander Brevig.
- Install library: Click the Install button.
- Search for Keypad created by Mark Stanley, Alexander Brevig and click the Install button.
- Copy the code: Copy the code above and paste it into the Arduino IDE.
- Upload the code: Click the Upload button to send the sketch to the ESP32 C3 Super Mini.
- Open Serial Monitor: Set the baud rate to 115200.
- Try a wrong password: Press 7124 and then #.
- Try the right password: Press 1234 and then #.
- Check the result: Read the Serial Monitor and look at the solenoid lock.
- Pro Tip: This sketch never closes the lock again. Press the reset button on the board to close it, or use the timed sketch below.
Serial Monitor Output
Each key shows on its own line, followed by the result of the password check.
Code Explanation
The passwords are saved in the sketch, and a string called the input string holds what the user types. Two keys have special jobs: * clears the password and # ends it.
- Normal key: The key is added to the end of the input string.
- The * key: The input string is cleared. Use it to start or restart typing the password.
- The # key: The input string is compared with the saved passwords. If it matches one of them, the solenoid lock opens.
- After the # key: The input string is cleared for the next try, whether the password was correct or not.
ESP32 C3 Super Mini Code - Unlock the Solenoid Lock for a Period of Time
This second sketch opens the solenoid lock for 5 seconds when the password is correct, and then closes it again.
What This Code Does:
- Sets the unlock time in UNLOCK_TIME, which is 5000 milliseconds.
- Uses the same keypad pins, relay pin and passwords as the first sketch.
- Sends the relay pin LOW for 5 seconds when a password matches.
- Goes back to the locked state by itself when the time is over.
- Keeps reading the keypad during that time, because it does not use delay().
Quick Steps (Timed Unlock)
- Install library: In the Library Manager, search for “ezOutput” and click Install. This library handles time without blocking the code.
- Search for ezOutput created by ArduinoGetStarted.com and click the Install button.
- Copy the code: Copy the timed sketch above and paste it into the Arduino IDE.
- Upload the code: Click the Upload button.
- Open Serial Monitor: Set the baud rate to 115200.
- Try the right password: Press 1234 and then #.
- Check the result: The lock opens, and it closes again after 5 seconds.
- Pro Tip: Change UNLOCK_TIME to set how long the door stays open. Do not make it very long, because a solenoid lock gets hot if it stays in one state with power for a long time.
Application/Project Ideas
An ESP32 C3 Super Mini keypad solenoid lock is a good base for many small security projects.
- Cabinet Lock: Protect a drawer or a cabinet with a short PIN.
- Office Door: Give each person their own password.
- Locker: Open a storage locker for 5 seconds after the right code.
- Tool Box: Keep tools safe from children with a keypad on the lid.
- Pet Food Box: Open the food box only when you type the code.
Challenge Yourself
Try these small changes to your password solenoid lock.
- Easy: Change the three passwords to your own numbers.
- Easy: Change the unlock time from 5 seconds to 10 seconds.
- Medium: Add a fourth password to the check.
- Medium: Print how many wrong tries were made since the last correct password.
- Advanced: Block the keypad for 30 seconds after 3 wrong tries.
- Advanced: Save the passwords in flash memory so you can change them without a new upload.