
ESP32 C3 Super Mini - SCD40 CO2 Sensor
Is the air in your room fresh, or is it time to open a window? A CO2 reading answers that question. In this tutorial, the ESP32 C3 Super Mini reads carbon dioxide from a Sensirion SCD40 module and tells you if the air is Good, Moderate or Poor. At the end, we also read the temperature and humidity that the same sensor gives for free.
In this tutorial, you'll learn:
- What the SCD40 is and why it measures real CO2
- What CO2 numbers (ppm) mean for a room
- How to wire the SCD40 to the ESP32 C3 Super Mini over I2C
- How to install the Sensirion SCD4x library
- How to print the CO2 level with a simple air-quality word
- How to read temperature and humidity from the same sensor
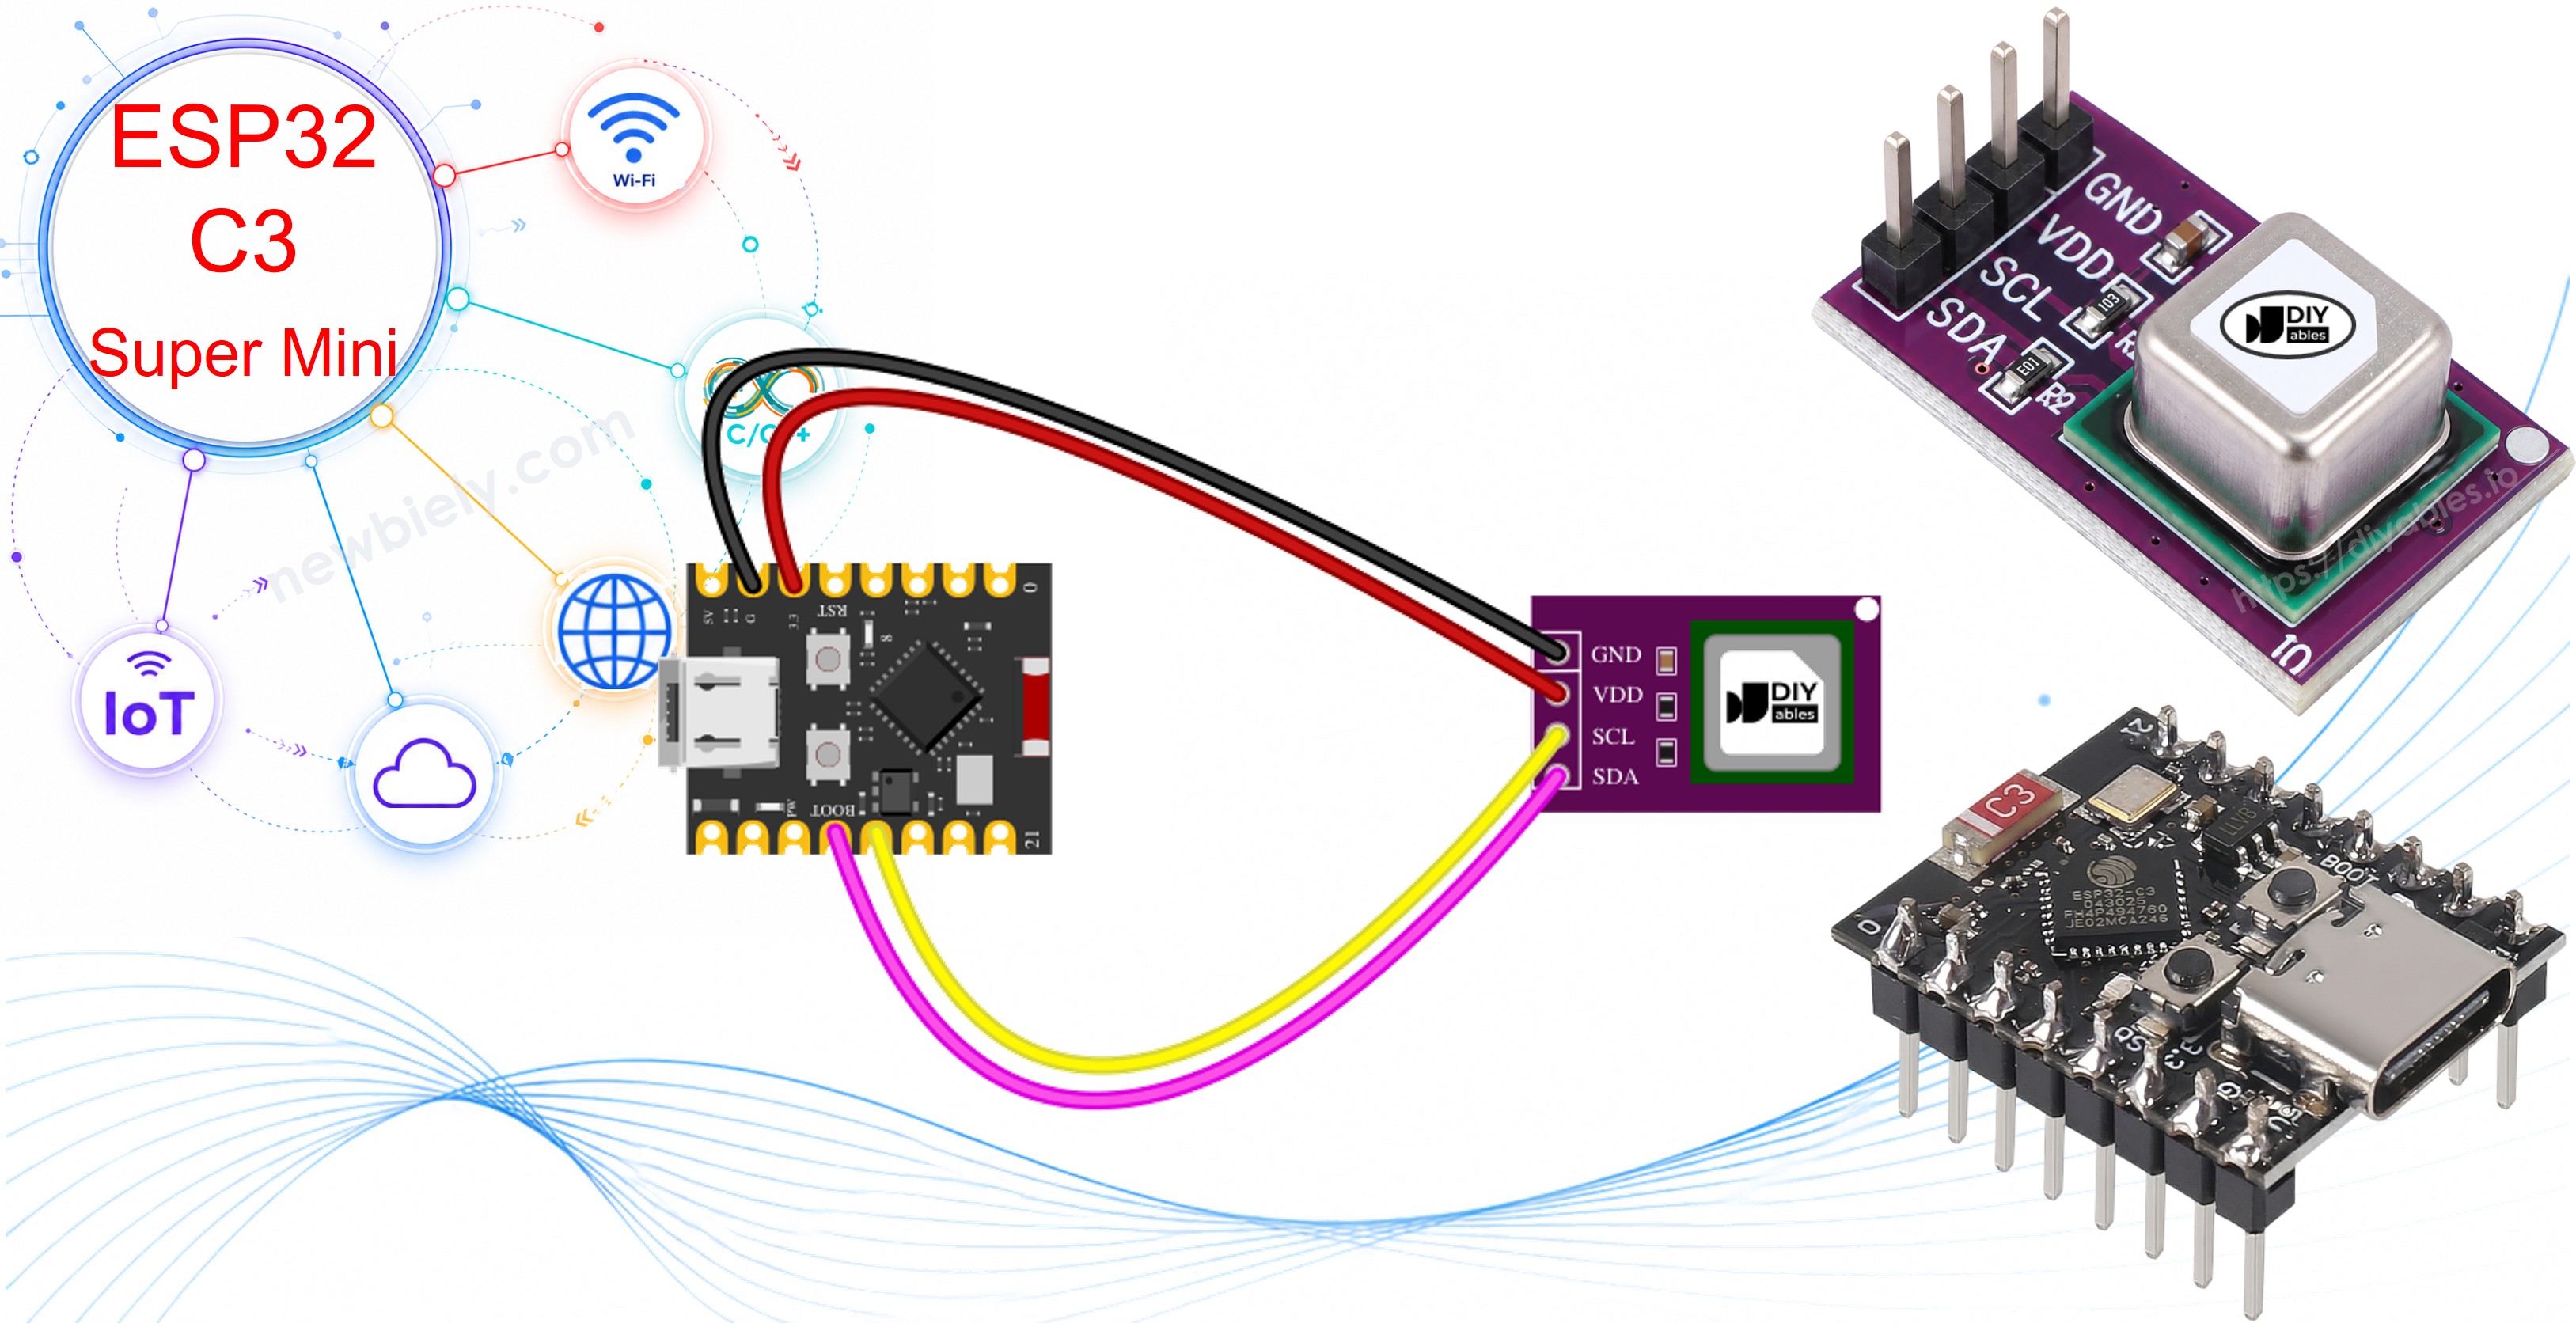
Hardware Preparation
| 1 | × | ESP32 C3 Super Mini | |
| 1 | × | USB Cable Type-A to Type-C (for USB-A PC) | |
| 1 | × | USB Cable Type-C to Type-C (for USB-C PC) | |
| 1 | × | SCD40 CO2 Sensor Module | |
| 1 | × | Breadboard | |
| 1 | × | Jumper Wires |
Or you can buy the following kits:
| 1 | × | DIYables Sensor Kit (18 sensors/displays) |
Additionally, some of these links are for products from our own brand, DIYables .
Overview of SCD40 CO2 Sensor
The SCD40 is a small CO2 sensor from Sensirion, part of the SCD4x family. It uses photoacoustic NDIR sensing: a tiny infrared light pulses inside the sensor chamber, CO2 absorbs some of that light and makes a very small pressure "sound", and a microphone picks it up. More CO2 gives a stronger sound. Because of this, the SCD40 measures true CO2. Cheap gas sensors such as the MQ2 gas sensor or "eCO2" chips only guess the CO2 value from other gases.
Key Features:
- Supply voltage: 2.4V to 5.5V, so the 3.3V pin of the ESP32 C3 Super Mini works well
- I2C interface, address 0x62
- Output range: 0 to 40,000 ppm
- Accuracy: ±(50 ppm + 5% of reading) from 400 to 2,000 ppm
- New reading every 5 seconds (low-power mode: every 30 seconds)
- Built-in temperature sensor (±0.8°C from 15°C to 35°C) and humidity sensor (±6 %RH)
- About 15 mA average current at 3.3V in periodic mode
Why SCD40 is Great for Beginners:
- Only 4 wires, and the module already has I2C pull-up resistors
- The official library does all the math, you just get a number in ppm
- Self-calibration (ASC) is ON by default, so no setup is needed
※ NOTE THAT:
Automatic self-calibration assumes the sensor sees fresh, outdoor-level air (about 400 ppm) at least once a week, ideally for an hour or more. Air out the room from time to time. Also, the first few readings after power-up can be less accurate while the sensor warms up.
SCD40 Module Pinout
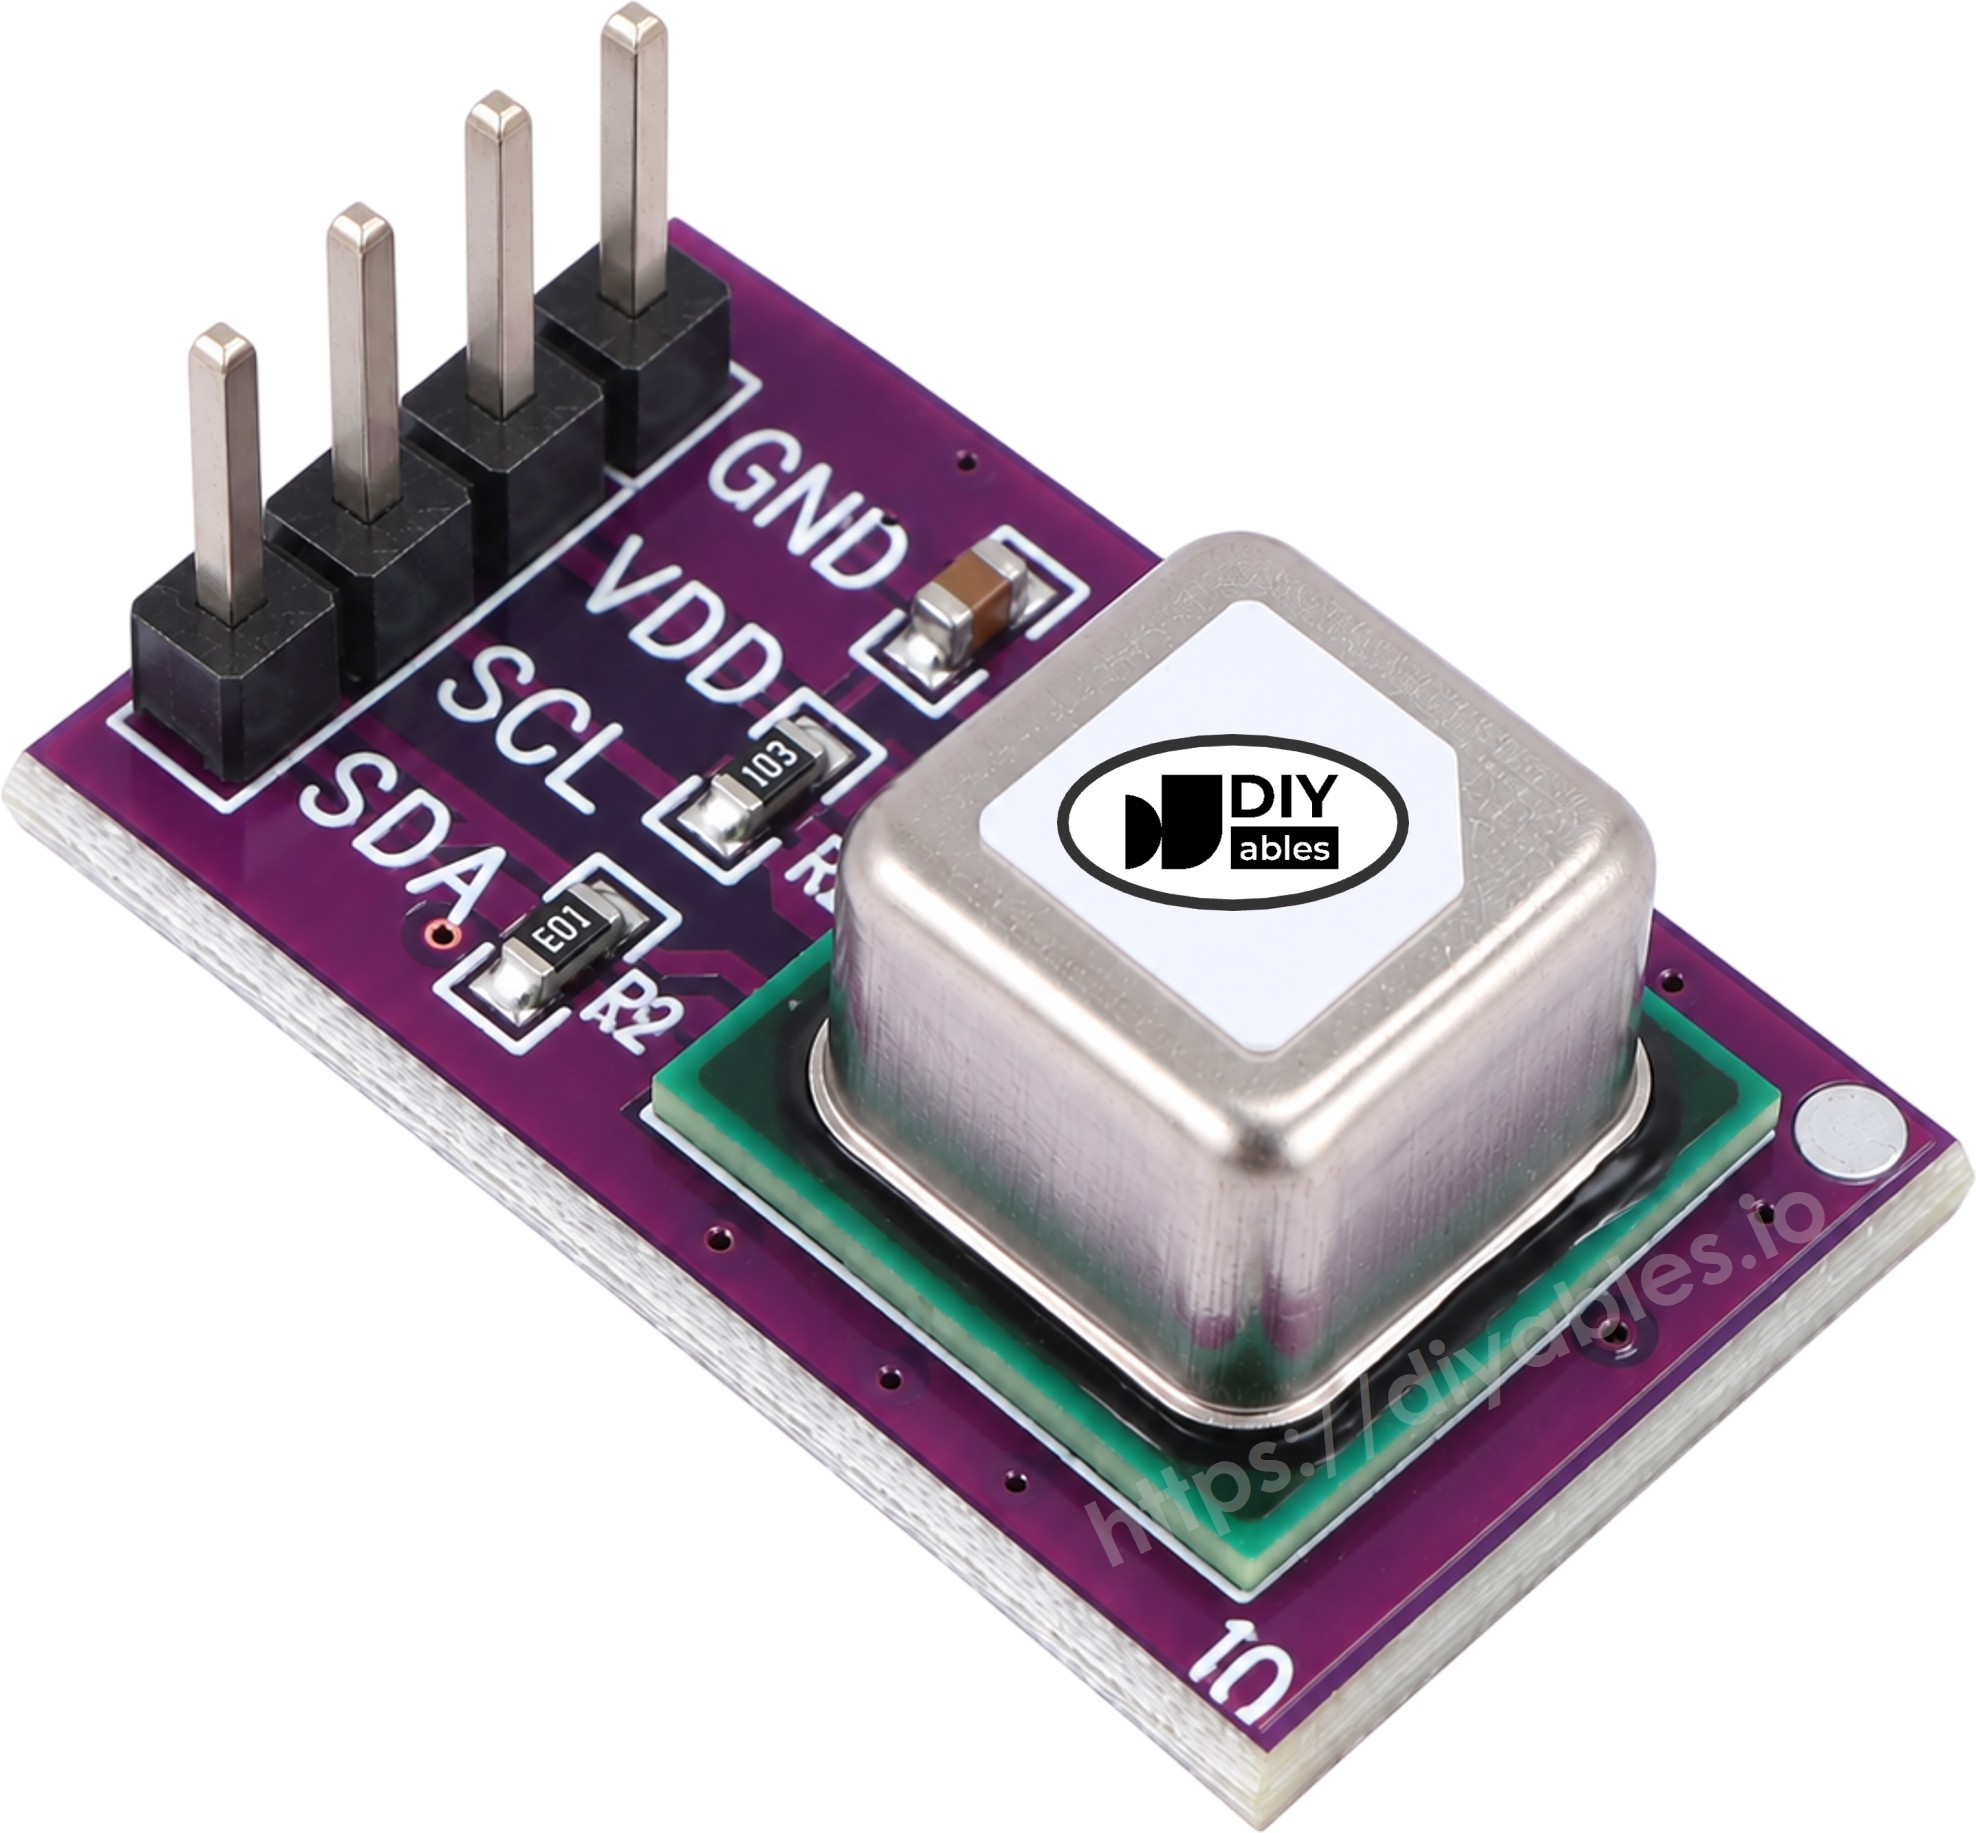
- VCC pin: power input, 2.4V to 5.5V. Connect it to 3.3V of the ESP32 C3 Super Mini.
- GND pin: ground (0V).
- SCL pin: I2C clock line.
- SDA pin: I2C data line.
Some modules print VIN instead of VCC. It is the same pin.
What Do the CO2 Numbers Mean?
CO2 is measured in ppm (parts per million). The more people breathe in a closed room, the higher it goes.
| CO2 Level (ppm) | Air Quality | What to Do |
|---|---|---|
| About 400 | Outdoor air | Nothing, this is fresh air |
| 400 to 1,000 | Good | Normal indoor air |
| 1,000 to 2,000 | Moderate | The room feels stuffy, open a window |
| Above 2,000 | Poor | Headache or sleepiness can happen, ventilate now |
Wiring Diagram between SCD40 CO2 Sensor and ESP32 C3 Super Mini
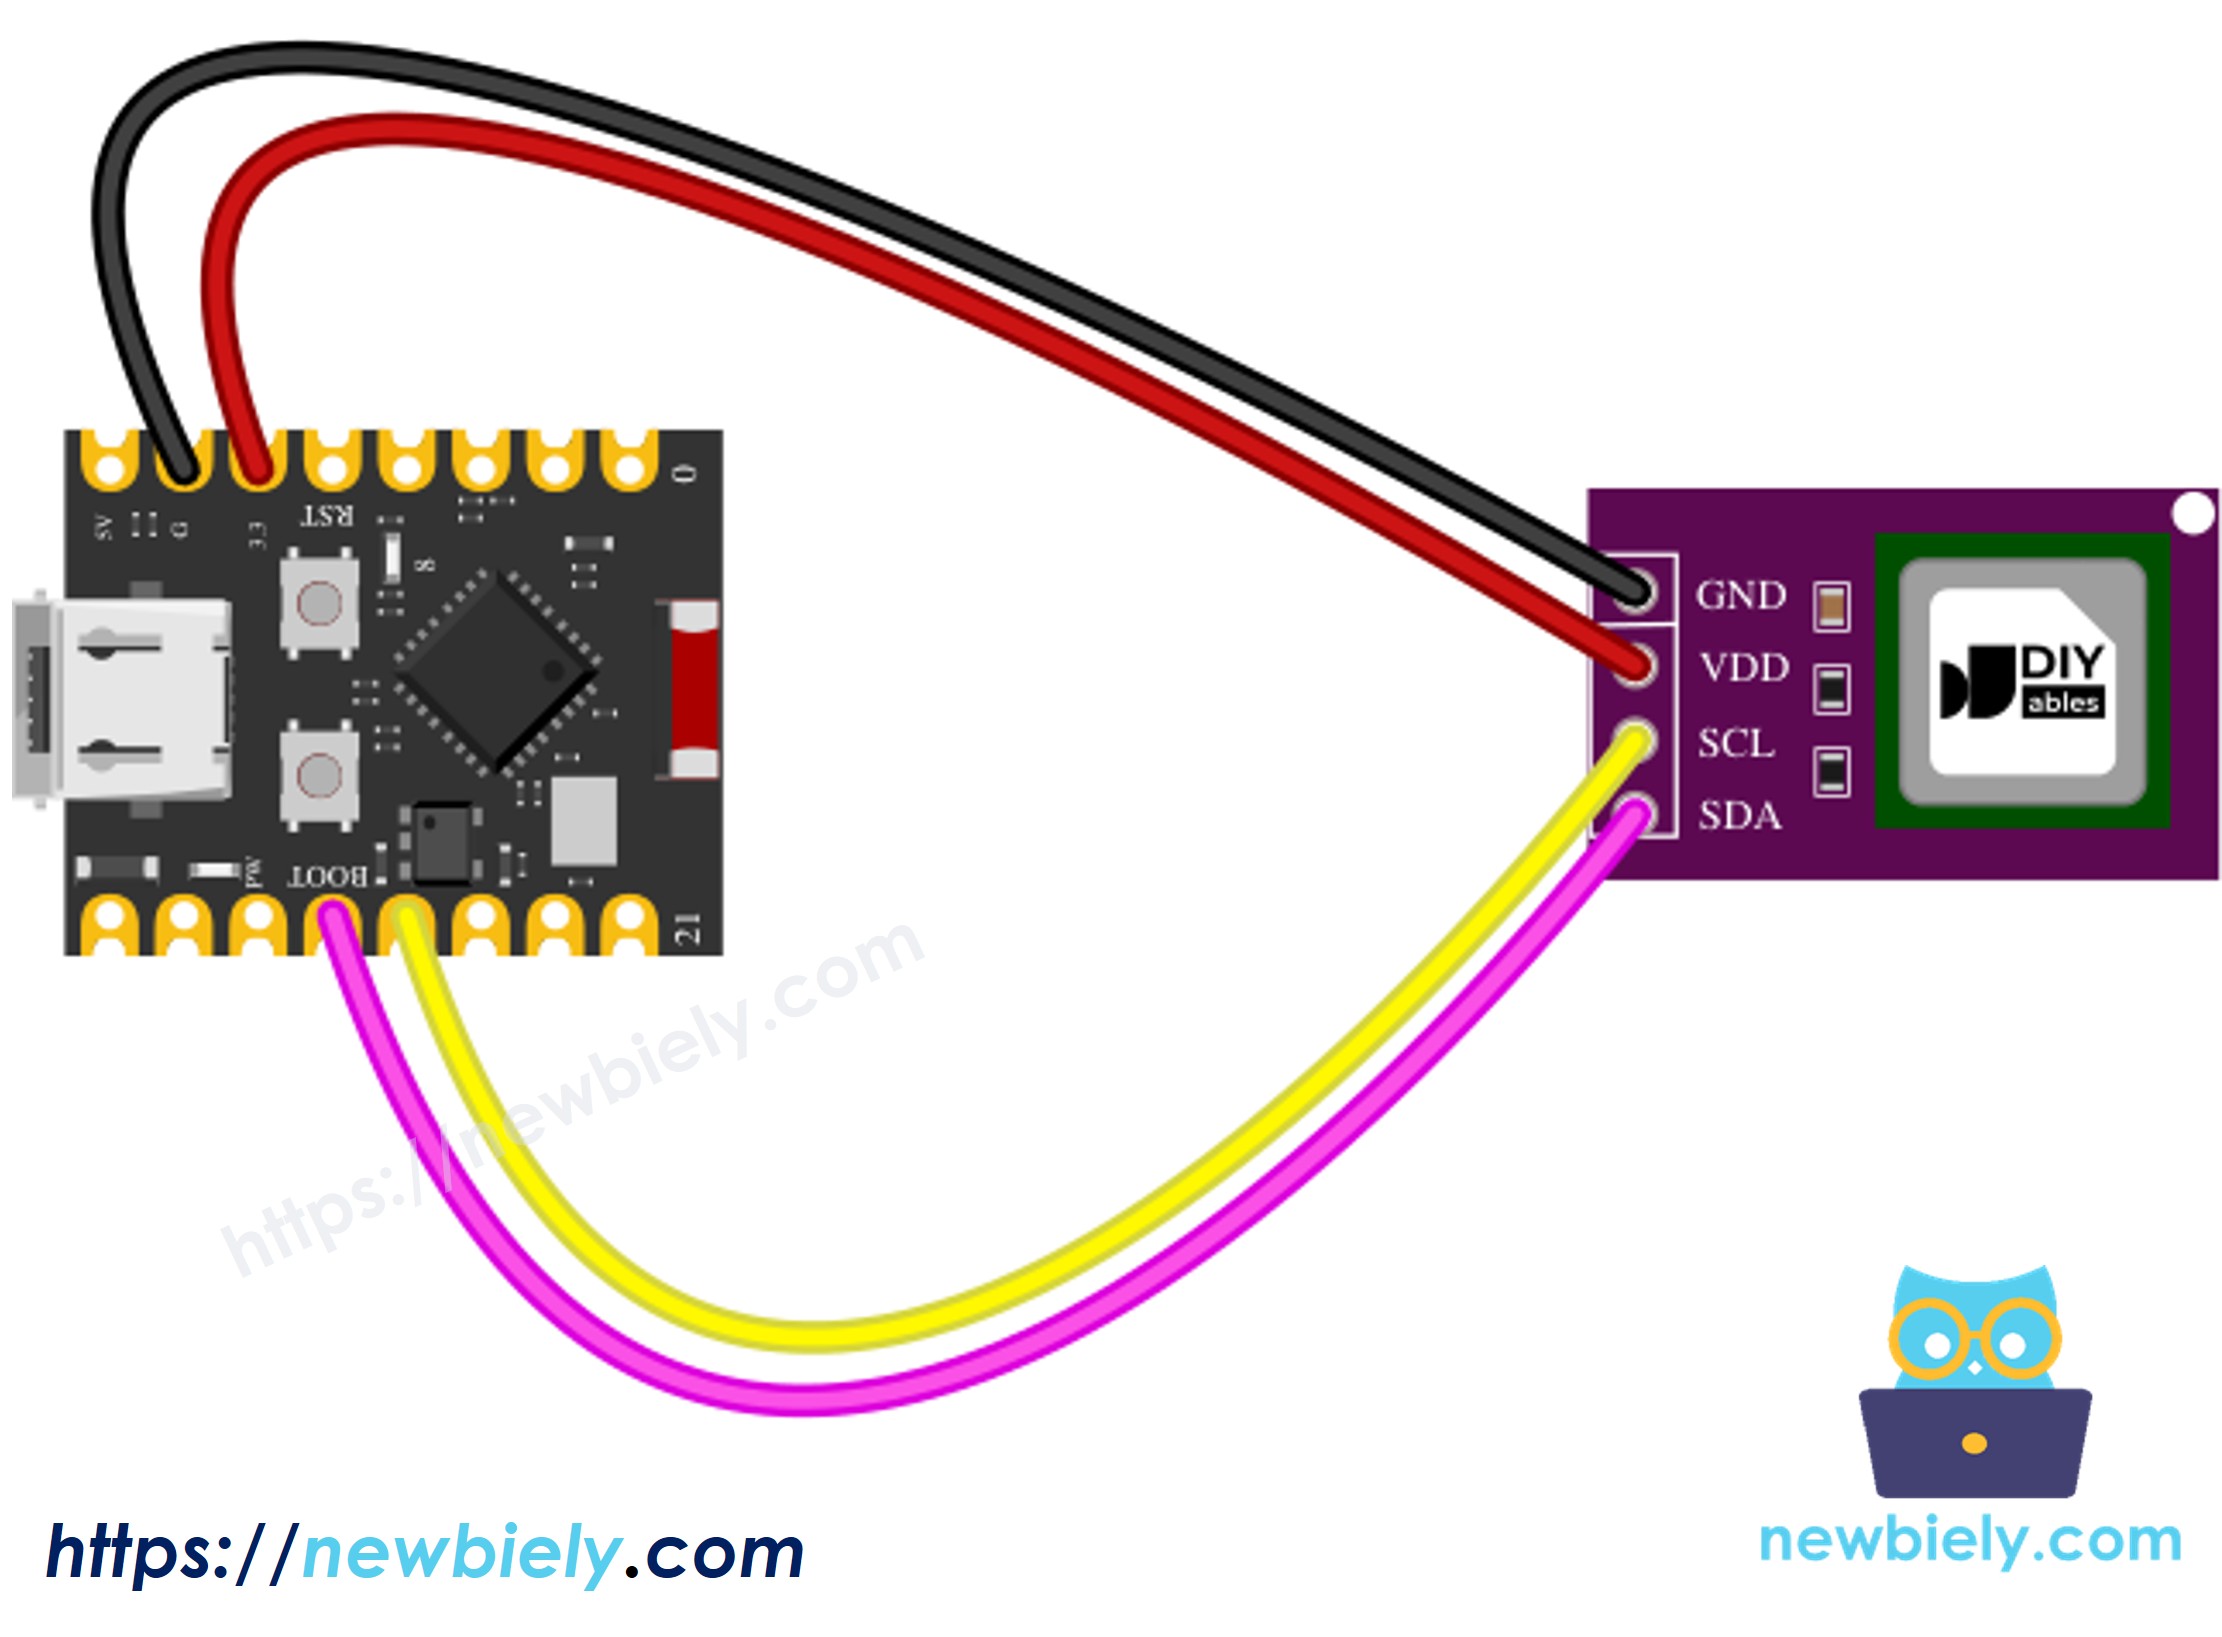
This image is created using Fritzing. Click to enlarge image
| SCD40 Module Pin | ESP32 C3 Super Mini Pin |
|---|---|
| VCC | 3.3V |
| GND | GND |
| SDA | GPIO6 |
| SCL | GPIO7 |
- Note: The ESP32 C3 can put I2C on almost any GPIO. The code starts I2C with Wire.begin(6, 7), so GPIO6 is SDA and GPIO7 is SCL.
- Note: We skip GPIO8 and GPIO9 on purpose. They are boot pins on the C3, and GPIO8 also drives the on-board LED.
- Note: Use 3.3V for VCC. Then the I2C lines stay at 3.3V, which is safe for the C3 pins.
- Note: Keep the sensor away from your breath and from the hot regulator of the board. Both can change the reading.
ESP32 C3 Super Mini Code - SCD40 CO2
This first sketch prints only the CO2 value and an air-quality word.
What the code does:
- Starts I2C on GPIO6 (SDA) and GPIO7 (SCL)
- Connects to the SCD40 at address 0x62
- Stops any old measurement and resets the sensor settings for a clean start
- Starts periodic measurement, one result every 5 seconds
- Checks once per second if a new result is ready
- Prints the CO2 value in ppm with "Good", "Moderate" or "Poor"
- Prints a readable error message if the sensor does not answer
Detailed Instructions
- New to ESP32 C3 Super Mini? Complete our Getting Started with ESP32 C3 Super Mini tutorial first to set up your development environment.
- Wire the sensor: Connect the SCD40 module to the ESP32 C3 Super Mini as in the wiring table above.
- Connect USB cable: Plug the board into your computer with a USB Type-C cable.
- Open Arduino IDE: Select the ESP32 C3 Super Mini board and its COM port.
- Open Library Manager: Click the Libraries icon on the left bar of the Arduino IDE.
- Search for library: Type "SCD4x" in the search box.
- Install library: Find "Sensirion I2C SCD4x" by Sensirion and click Install.
- Search for Sensirion I2C SCD4x created by Sensirion and click the Install button.
- Install dependency: A window asks to install "Sensirion Core" too. Click Install All.
- Copy the code: Paste the CO2 code above into Arduino IDE.
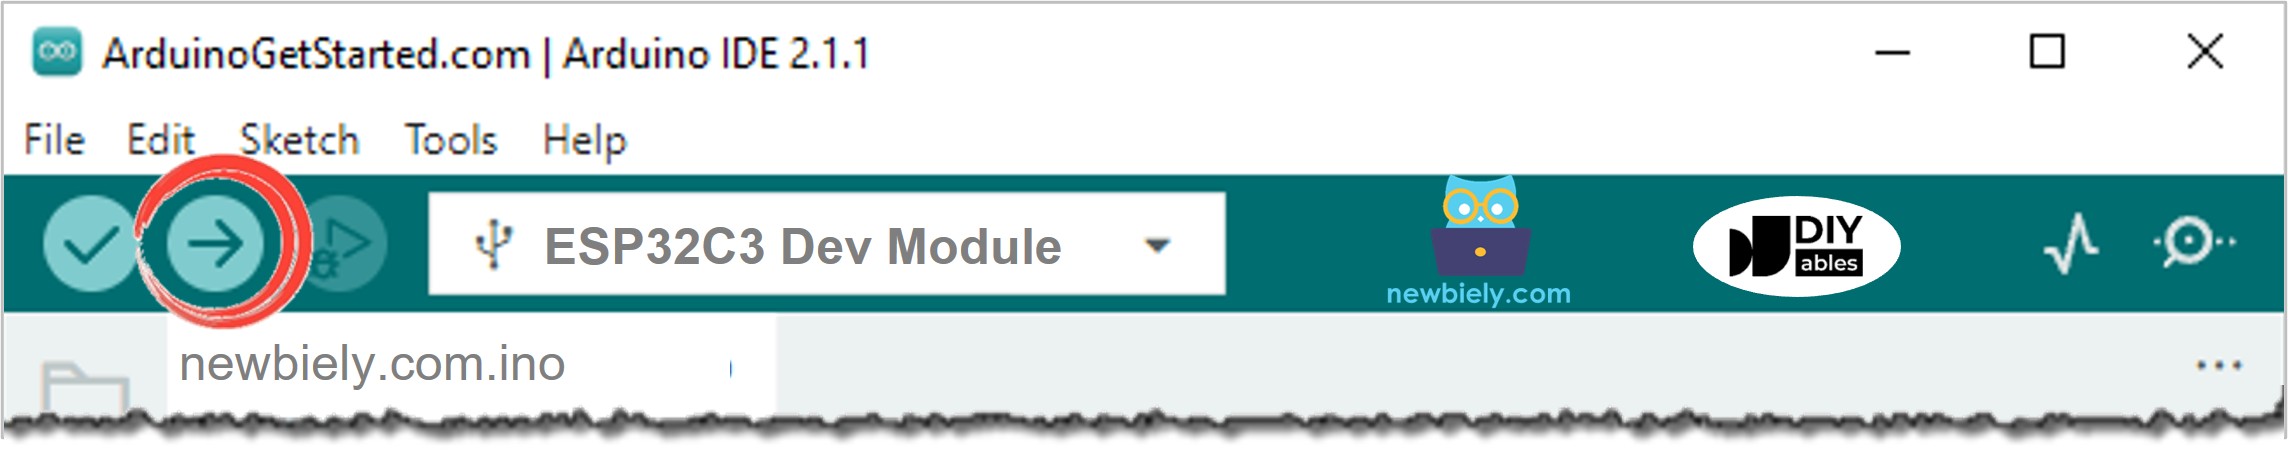
- Upload the code: Click the Upload button.
- Open Serial Monitor: Set the baud rate to 115200.
- Test it: Wait about 5 seconds for the first value. Then breathe gently toward the sensor from a short distance and watch the CO2 number jump up.
- Pro Tip: If you only see "Error in ..." lines, check SDA and SCL first. Swapped I2C wires are the most common mistake.
The jump to over 1,000 ppm in the middle comes from breathing near the sensor. The value falls back once fresh air reaches it again.
Line-by-line Code Explanation
The above ESP32 C3 Super Mini code contains line-by-line explanation. Please read the comments in the code!
Reading Temperature and Humidity from the SCD40
The SCD40 also has its own temperature and humidity sensor. It uses them to correct the CO2 value, and it sends both numbers in the same reading as CO2. In fact, the first sketch already gets them from readMeasurement(). It just does not print them. The sketch below prints all three values on one line. The wiring and the library stay the same.
What the code does:
- Uses the same I2C pins (GPIO6 and GPIO7) and the same start-up steps
- Reads CO2, temperature and humidity in one call
- Prints CO2 in ppm, temperature in °C and humidity in %, each new result every 5 seconds
※ NOTE THAT:
The temperature can read 1 to 2°C higher than the room when the sensor sits close to the ESP32 C3 Super Mini, because the board warms up a little when it runs. Move the module a few centimeters away on longer wires for a better reading. For temperature and humidity alone, see the ESP32 C3 Super Mini - Temperature Humidity Sensor tutorial.
Applications and Project Ideas
A small board and a true CO2 sensor are a good pair for indoor air projects:
- A classroom or office CO2 meter that tells you when to open the windows
- A bedroom monitor that logs CO2 during the night
- A traffic-light indicator: green, yellow and red LEDs for Good, Moderate and Poor
- A WiFi air-quality dashboard that uses the built-in WiFi of the C3
- A smart fan that turns on a ventilation fan when CO2 goes above 1,000 ppm
- A grow-tent or mushroom-room monitor that tracks CO2, temperature and humidity together
Video Tutorial
Watch the video below for a visual walkthrough of this project.
Challenge Yourself
Try these ideas with your ESP32 C3 Super Mini and SCD40:
- Easy: Change the "Good" limit from 1,000 ppm to 800 ppm for a stricter rule
- Easy: Print the temperature in Fahrenheit as well as Celsius
- Medium: Light a red LED when CO2 is above 1,500 ppm
- Medium: Show CO2, temperature and humidity on an OLED display that shares the same I2C bus
- Advanced: Switch the sensor to low-power periodic mode (one reading every 30 seconds) to save battery
- Advanced: Send the CO2 value to your phone over WiFi or Bluetooth every minute