
ESP32 C3 Super Mini - Motion Sensor - LED Strip
This tutorial shows you how to build a motion sensor LED strip light with the ESP32 C3 Super Mini, an HC-SR501 motion sensor and a DotStar LED strip. The strip turns on when someone moves near the sensor, and turns off when the motion stops. It is a great first lighting automation project for beginners.
In this tutorial, you'll learn:
- How to wire the HC-SR501 motion sensor and a DotStar LED strip to the ESP32 C3 Super Mini
- How to power the LED strip from a 5V power adapter
- How to set up the motion sensor before you use it
- How to turn the LED strip on and off from the motion sensor
- How to watch the motion events on the Serial Monitor
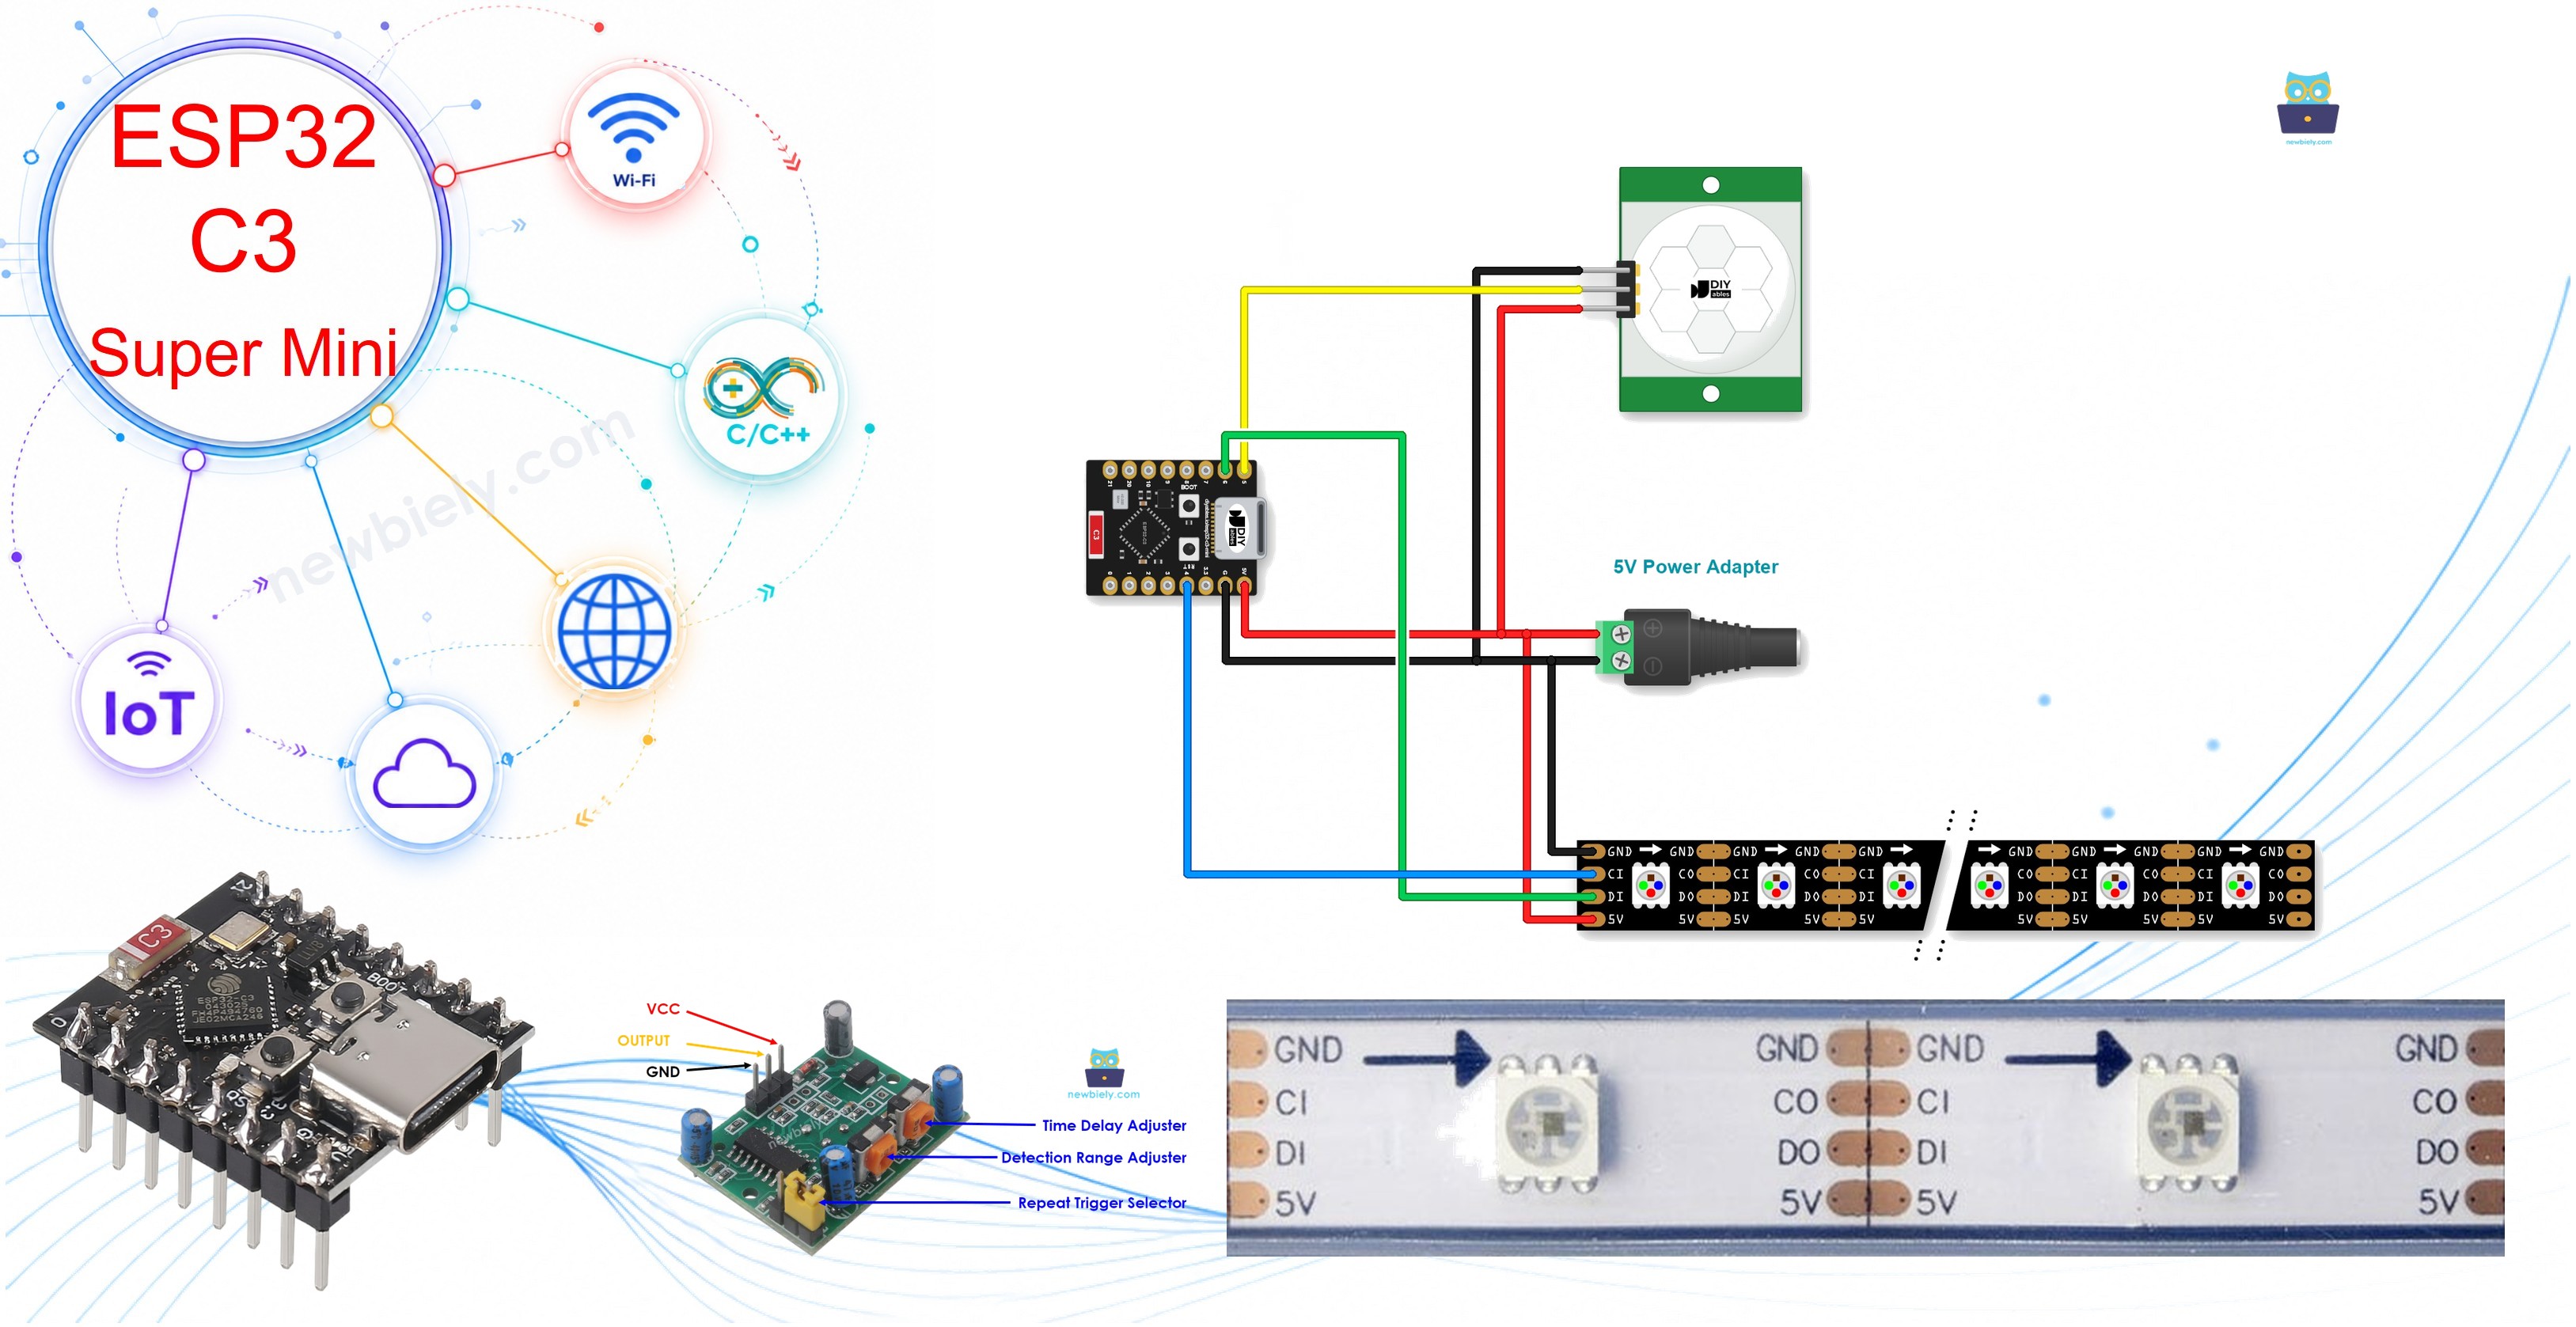
This project fits many places around the home:
- Staircase: The light turns on automatically as people come near.
- Under the bed: The light turns on when you step down from the bed to the floor.
- Christmas tree: The lights turn on whenever people are around.
Hardware Preparation
Or you can buy the following kits:
| 1 | × | DIYables Sensor Kit (18 sensors/displays) |
Additionally, some of these links are for products from our own brand, DIYables .
Overview of LED Strip and Motion Sensor
The HC-SR501 is a motion sensor that detects moving people and animals, and a DotStar LED strip is an addressable RGB LED strip that the board controls with two signal wires.
Key Features:
- Motion Sensor: Senses movement from the infrared heat of people and animals.
- DotStar LED Strip: Lets the code set the color of every LED.
- Together: The sensor reports motion, and the ESP32 C3 Super Mini turns that report into light.
- Strip Choice: You can use a NeoPixel, WS2812B or DotStar LED strip. This tutorial uses DotStar to keep the wiring simple.
Technical Specifications:
- Motion sensor power: 5V
- Motion sensor output: digital, HIGH when motion is detected and LOW when there is no motion
- Detection range: up to 7 meters
- LED strip power: 5V, from the power adapter
- LED strip signals: clock (CI) and data (DI)
- LEDs in the example code: 144
The motion sensor has its own tutorial with the pinout, how it works, wiring and code:
Pinout
Here are the pins you will connect in this project.
- Motion Sensor VCC: connect to 5V
- Motion Sensor GND: connect to GND (0V)
- Motion Sensor OUTPUT: sends the HIGH or LOW signal to the digital input pin
- LED Strip 5V: power input of the strip
- LED Strip GND: connect to GND (0V)
- LED Strip CI: clock input of the strip
- LED Strip DI: data input of the strip
Wiring Diagram
The 5V power adapter powers the board, the motion sensor and the LED strip through the DC power jack.
- Note: Connect the wires before you plug in the power adapter.
- Note: All GND wires must be connected together, or the strip will not work correctly.
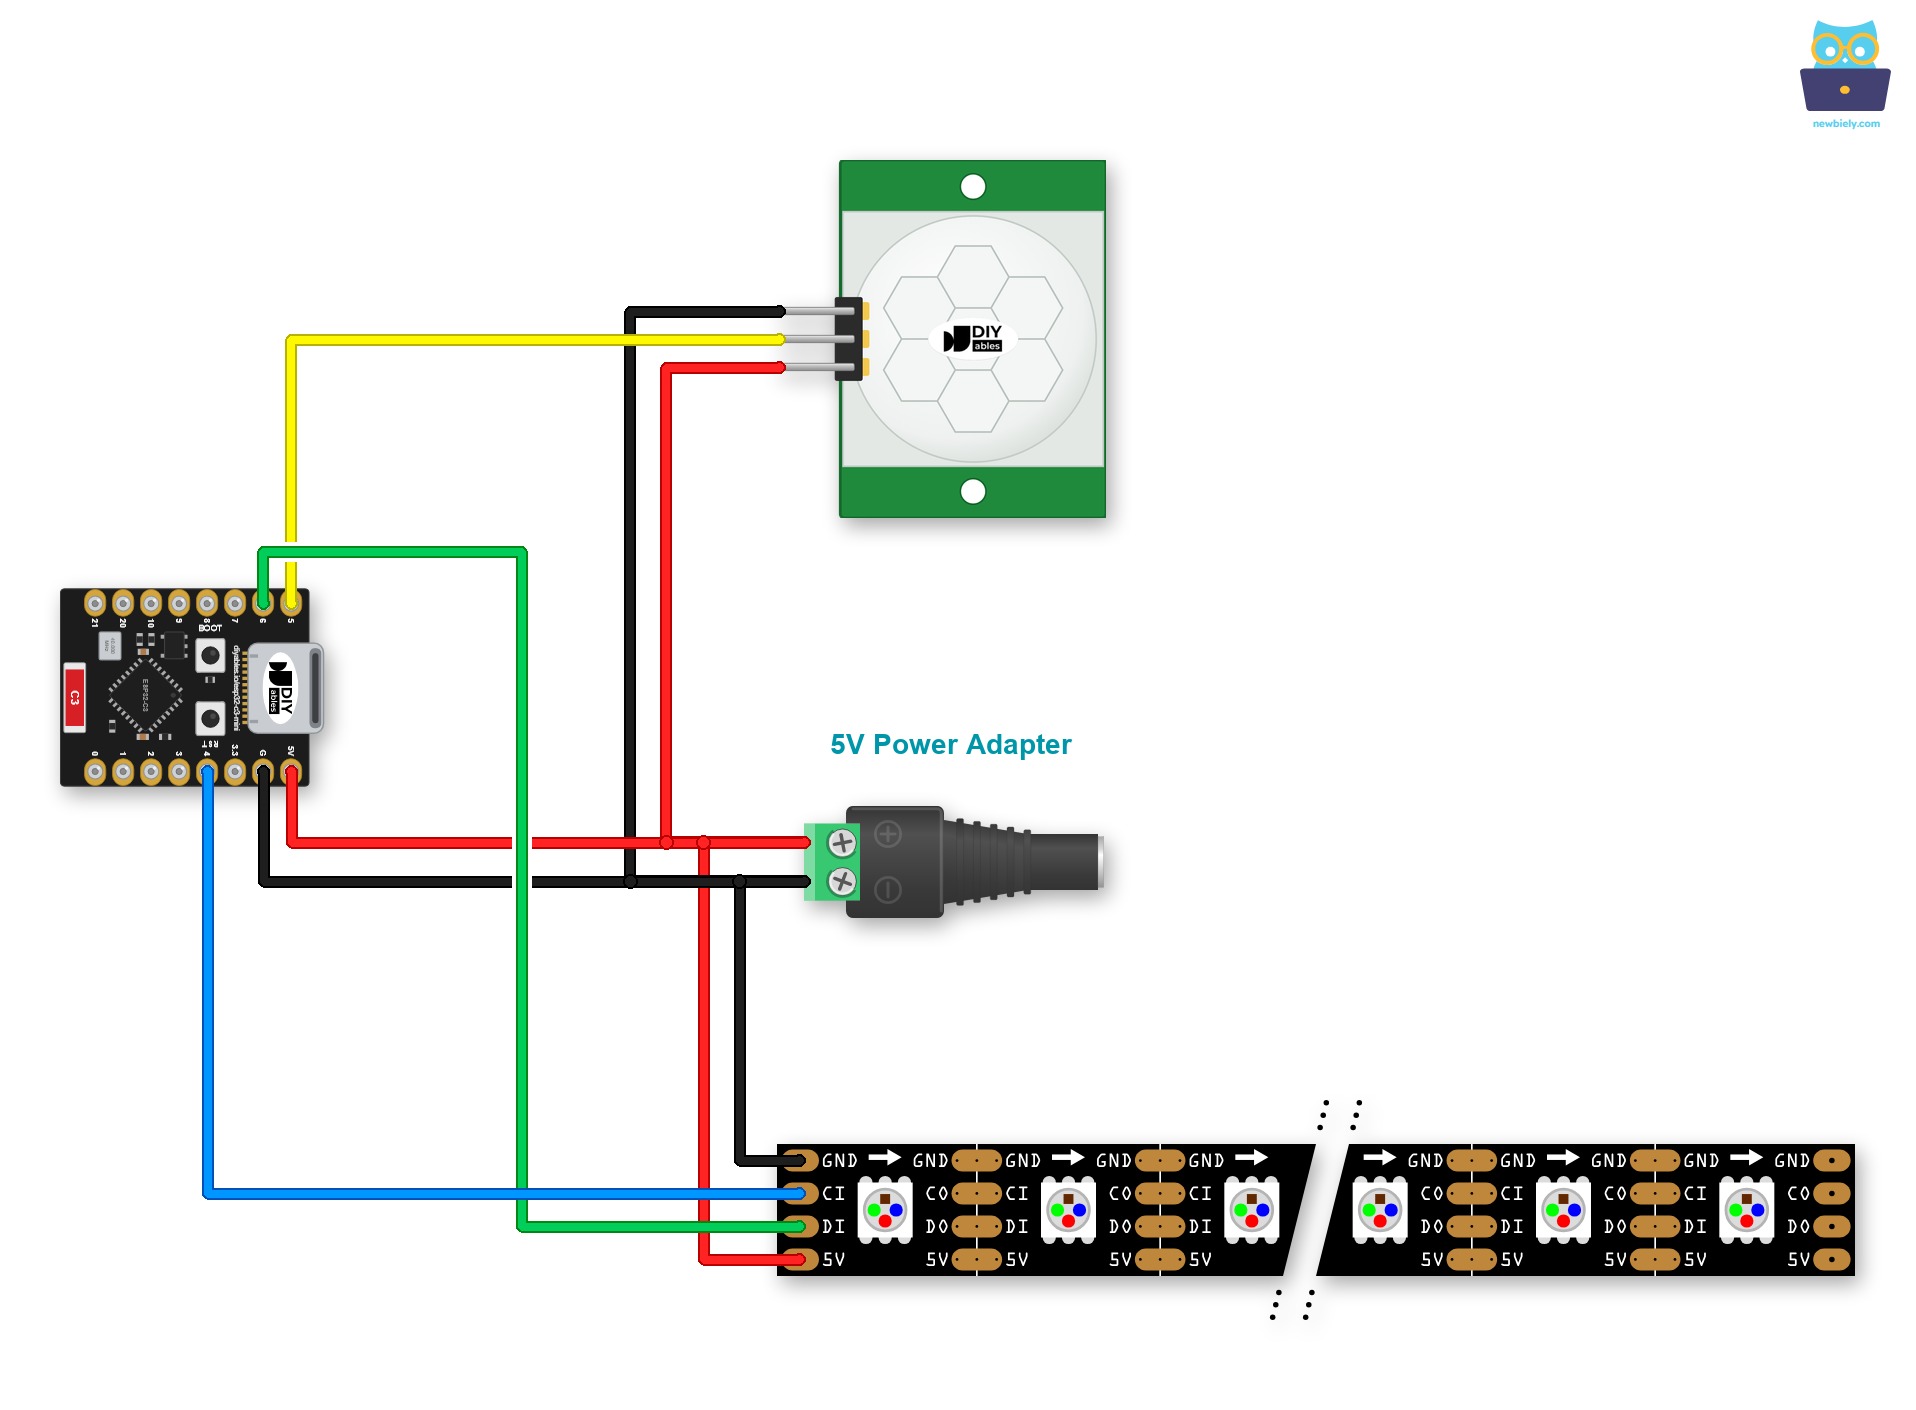
This image is created using Fritzing. Click to enlarge image
| Component Pin | ESP32 C3 Super Mini Pin |
|---|---|
| Motion Sensor OUTPUT | GPIO5 |
| LED Strip DI (Data) | GPIO6 |
| LED Strip CI (Clock) | GPIO4 |
| DC Power Jack (+) | 5V |
| DC Power Jack (-) | GND |
| Motion Sensor VCC | DC Power Jack (+) |
| Motion Sensor GND | DC Power Jack (-) |
| LED Strip 5V | DC Power Jack (+) |
| LED Strip GND | DC Power Jack (-) |
Initial Setting
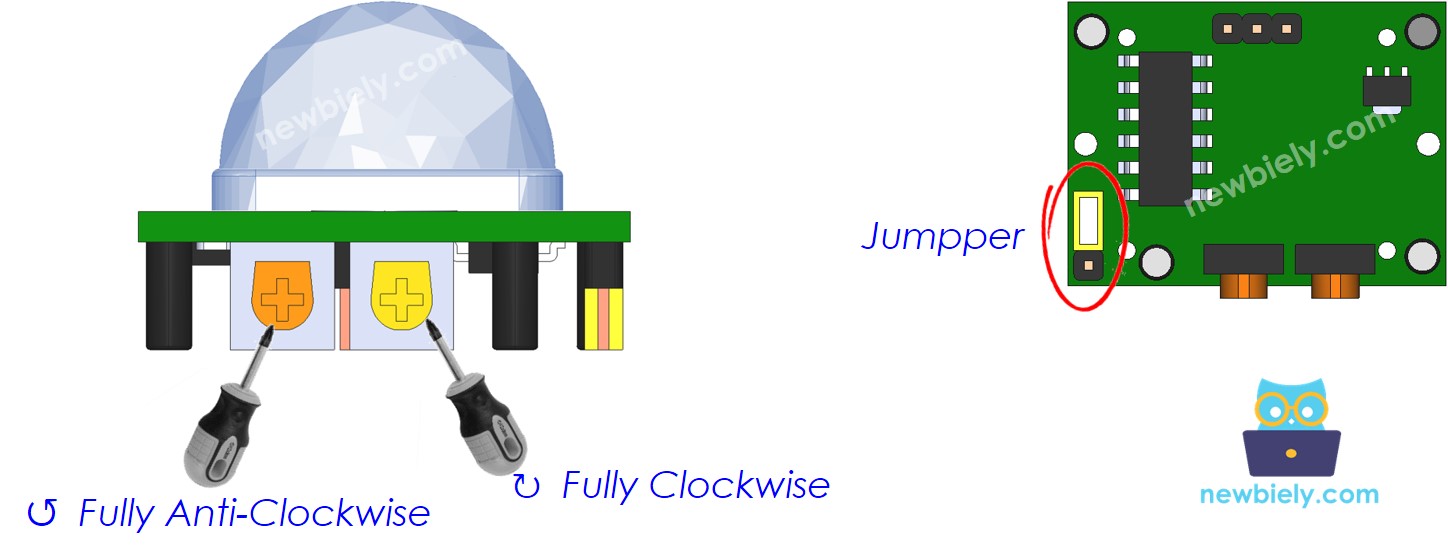
Set up the motion sensor like this before you run the code.
| Setting | Configuration |
|---|---|
| Time Delay Adjuster | Screw it in anti-clockwise direction fully. |
| Detection Range Adjuster | Screw it in clockwise direction fully. |
| Repeat Trigger Selector | Put jumper as shown on the image. |
ESP32 C3 Super Mini Code - Motion Sensor Controls LED Strip
The code below lets the motion sensor on GPIO5 control the LED strip on GPIO6 and GPIO4.
What This Code Does:
- Starts the strip: sets up 144 LEDs and turns them all off.
- Reads the sensor: digitalRead() checks GPIO5 again and again.
- Motion starts: when the state changes from LOW to HIGH, all the LEDs turn red.
- Motion stops: when the state changes from HIGH to LOW, all the LEDs turn off.
- Reports events: prints each event to the Serial Monitor at 115200 baud.
Detailed Instructions
- New to ESP32 C3 Super Mini? Complete our Getting Started with ESP32 C3 Super Mini tutorial first to set up your development environment.
- Wire it up: Connect everything as shown in the wiring diagram above.
- Connect the board: Plug the ESP32 C3 Super Mini into your computer with a USB Type-C cable.
- Open the IDE: Open Arduino IDE on your computer.
- Select the board: Make sure ESP32 C3 Super Mini is selected in Tools > Board.
- Select the port: Pick the COM port of your board in Tools > Port.
- Open Library Manager: Click the Libraries icon on the left bar of the Arduino IDE.
- Search for the library: Type "Adafruit DotStar", then find the DotStar library by Adafruit.
- Install the library: Click the Install button.
- Search for Adafruit DotStar created by Adafruit and click the Install button.
- Install the dependency: When you are asked to install the dependency, click the Install All button.
- Copy the code: Copy the code above and paste it into Arduino IDE.
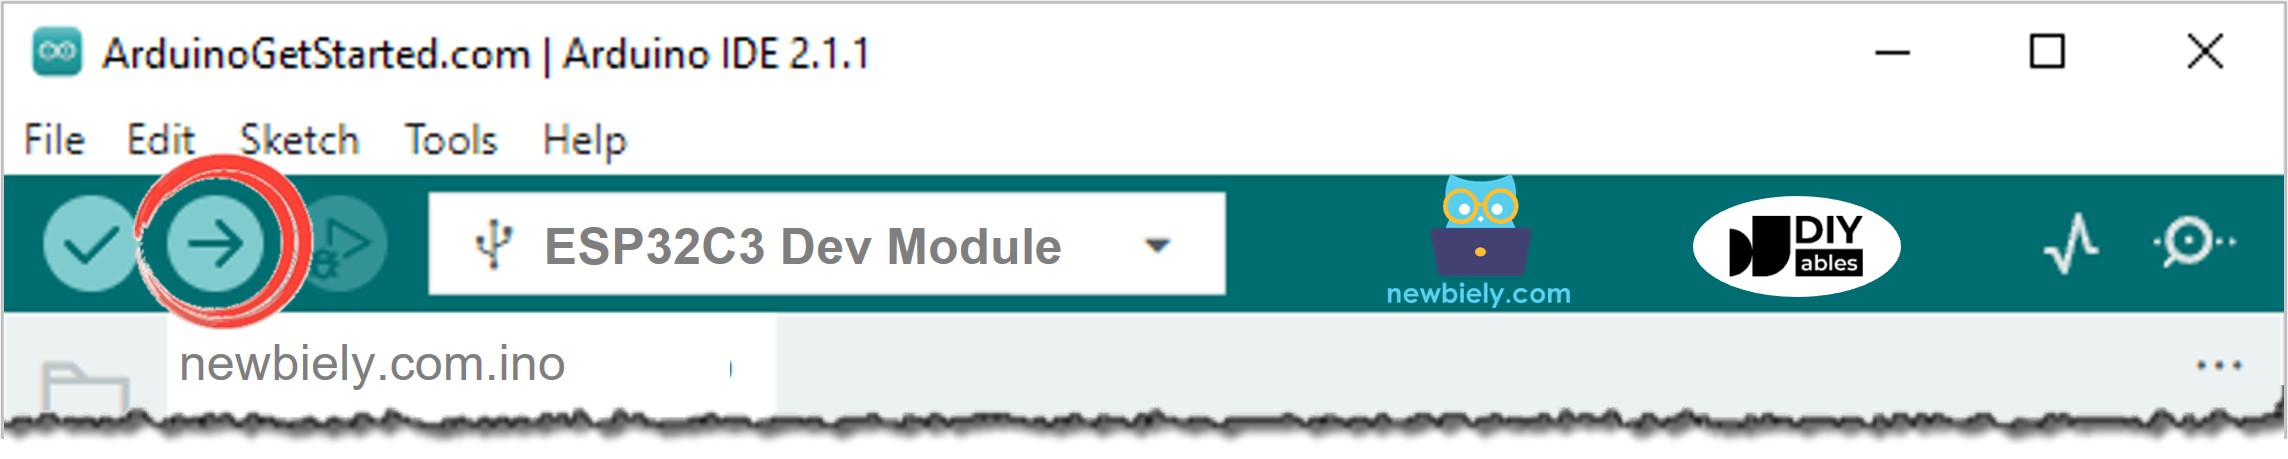
- Upload: Click the Upload button on Arduino IDE.
- Open Serial Monitor: Open it on Arduino IDE and set the baud rate to 115200.
- Test it: Move your hand in front of the motion sensor.
- Watch the LED strip: See the LED strip turn on, then turn off when the motion stops.
- Check the result: See the events on the Serial Monitor. It looks like the below:
- Pro Tip: Is your strip not 144 LEDs long? Change NUMPIXELS at the top of the code to match your strip.
You can also modify the code to add a lighting effect.
Line-by-line Code Explanation
The above ESP32 C3 Super Mini code contains line-by-line explanation. Please read the comments in the code!
Project Ideas
This ESP32 C3 Super Mini motion sensor LED strip idea can light many real places.
- Staircase Light: Light the steps automatically as people come near.
- Under-Bed Night Light: Turn on a soft light when you step down from the bed.
- Christmas Tree Lights: Turn on the tree lights only when people are around.
- Hallway Light: Light the way when someone walks past.
- Closet Light: Turn on the strip when you reach into a closet.
- Shelf Display: Light up a display shelf when someone comes close.
Challenge Yourself
Try these small upgrades to learn more about the ESP32 C3 Super Mini and your LED strip.
- Easy: Change the strip color by editing the r, g and b values in the code.
- Easy: Lower the brightness with strip.setBrightness().
- Medium: Keep the strip on for 10 seconds after the motion stops, using millis().
- Medium: Light the LEDs one by one when motion starts, to make a wipe effect.
- Advanced: Change the code to use a NeoPixel or WS2812B LED strip instead of DotStar.
- Advanced: Add a button on GPIO7 that turns the motion light feature on and off.