
ESP32 C3 Super Mini - Switch
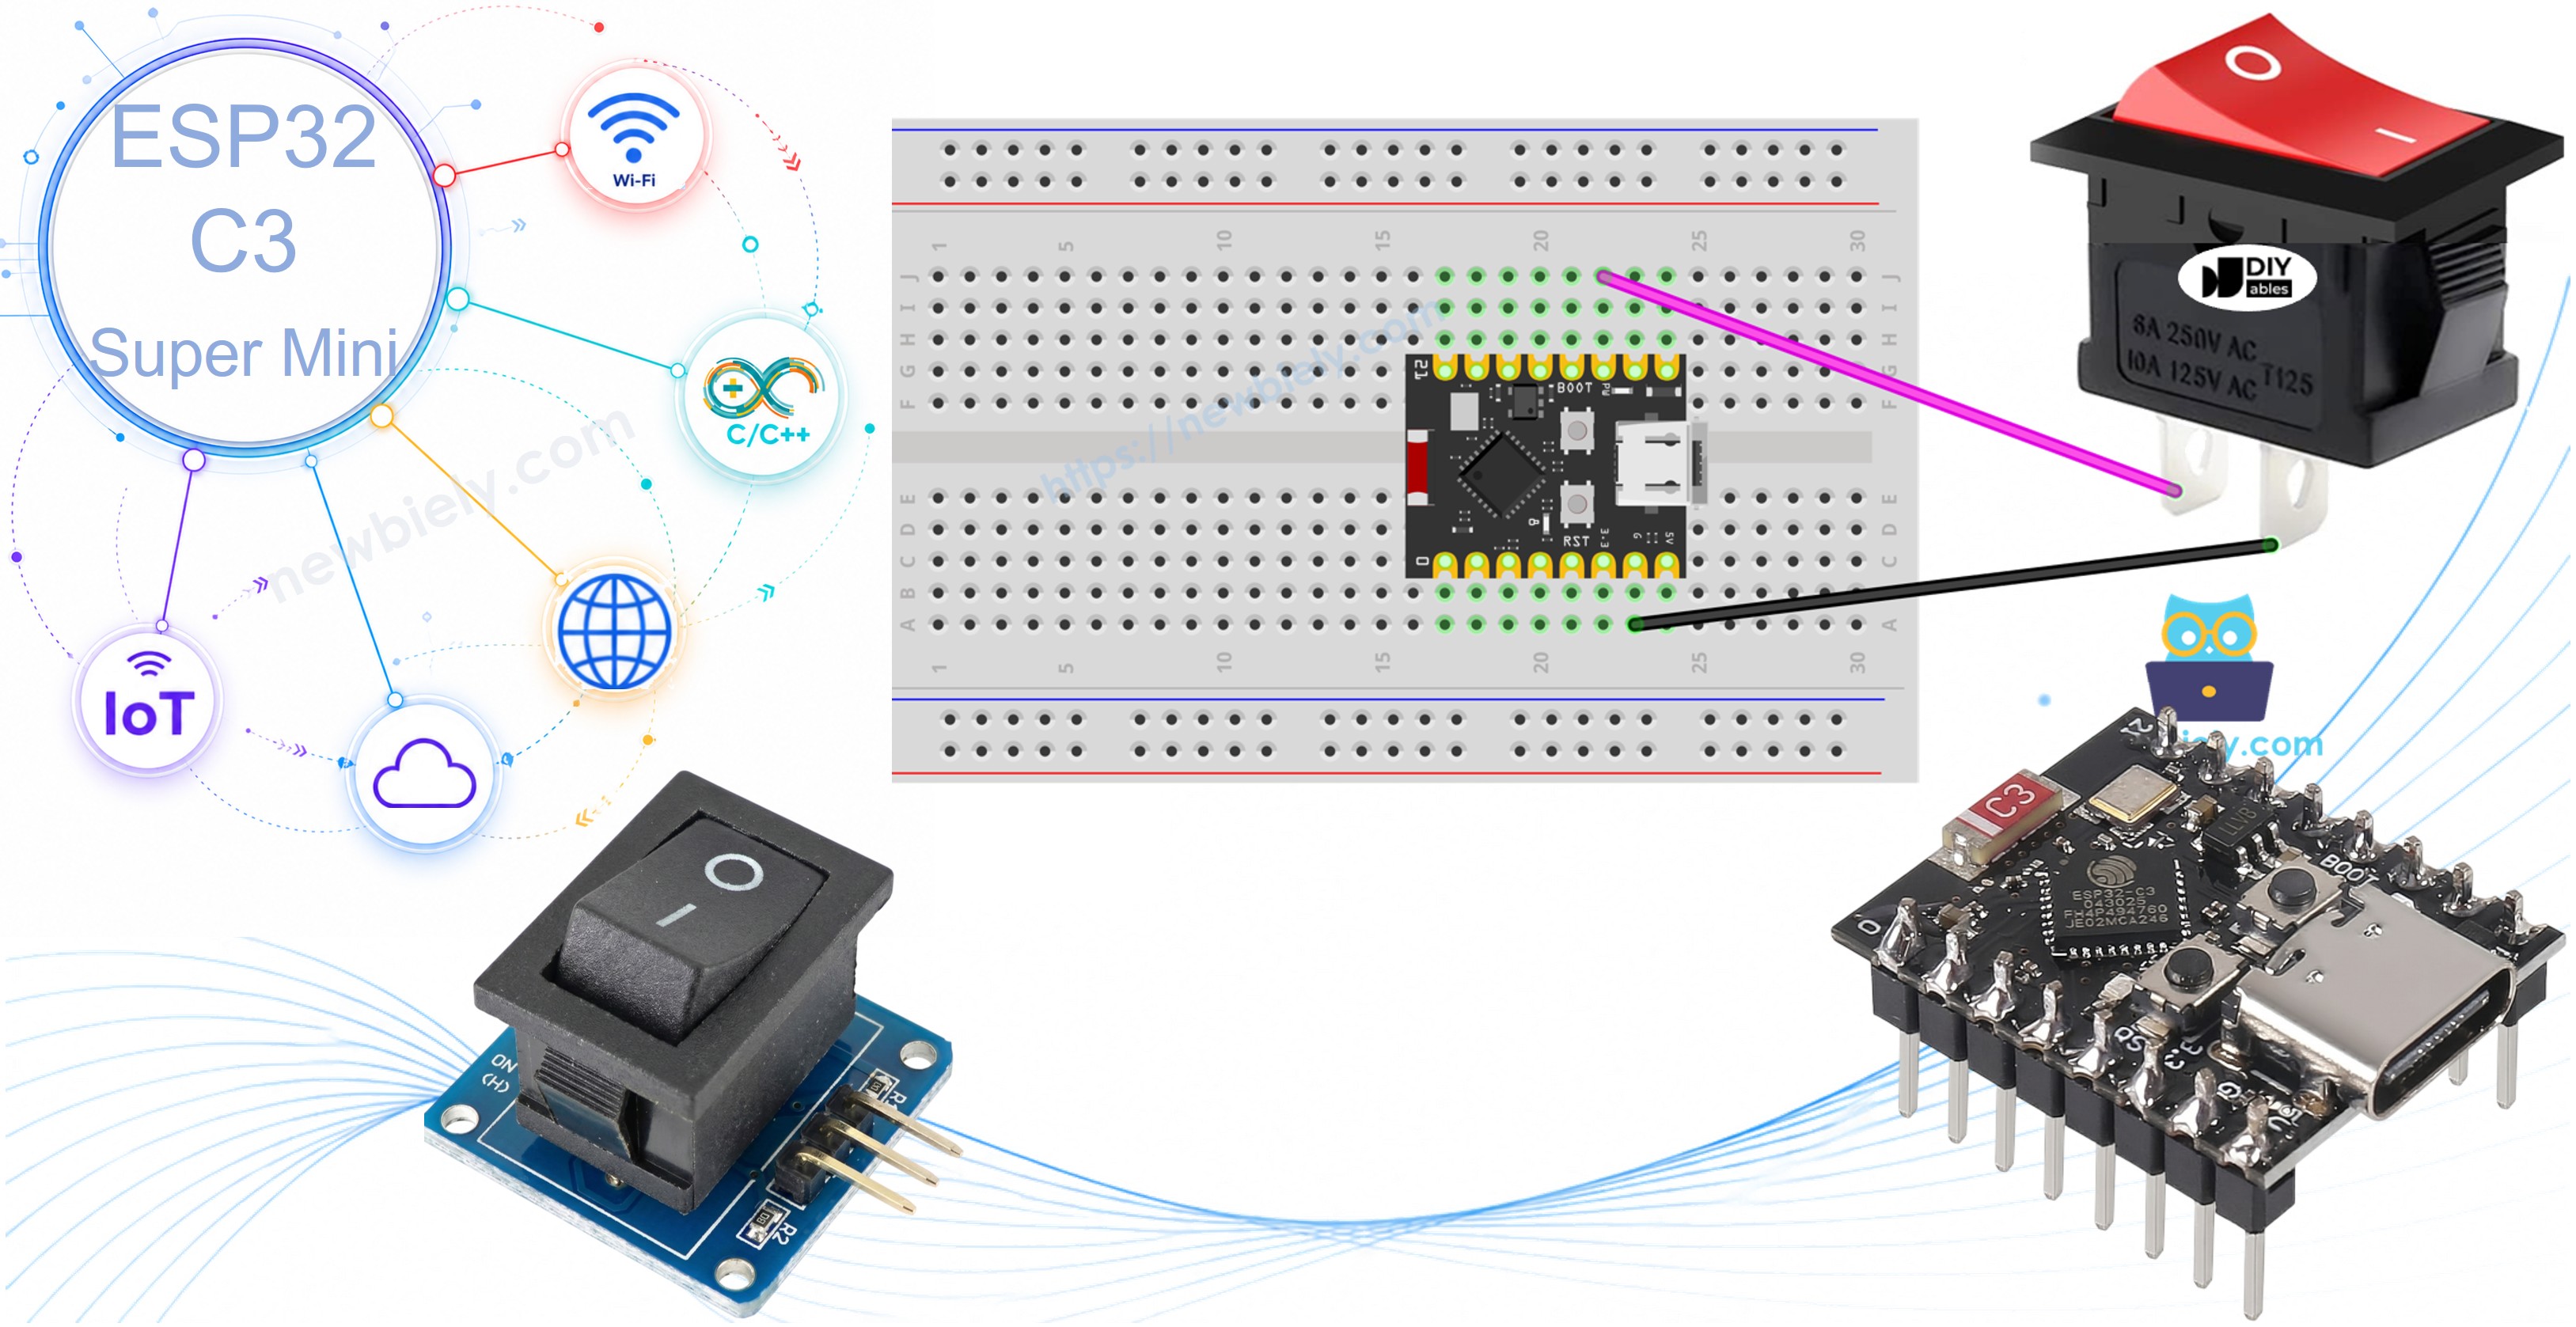
An ON/OFF switch (also called a toggle switch) has two states: ON (closed) and OFF (open). Each time you press it, the state flips and stays there even after you let go. This tutorial shows you how to use an ON/OFF switch with the ESP32 C3 Super Mini.
In this tutorial, you'll learn:
- What an ON/OFF switch is and how it works
- How to wire an ON/OFF switch to the ESP32 C3 Super Mini
- How to read the switch state with ESP32 C3 Super Mini code
- How to remove the chattering noise with the ezButton library
- Project ideas that use a toggle switch
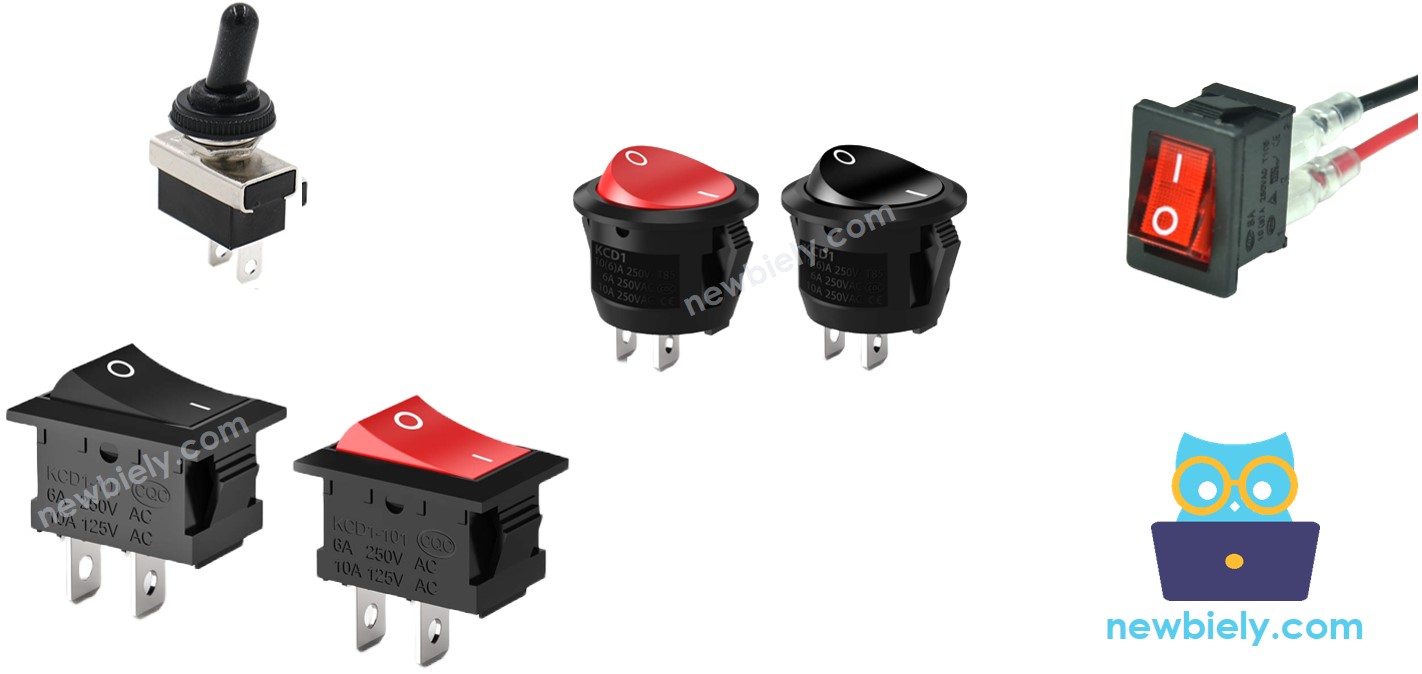
An ON/OFF switch is NOT the same as the parts below. Do not mix them up:
Hardware Preparation
Or you can buy the following kits:
| 1 | × | DIYables Sensor Kit (18 sensors/displays) |
Additionally, some of these links are for products from our own brand, DIYables .
Overview of ON/OFF Switch
An ON/OFF switch is a switch that changes state when pressed, and keeps that state after you release it.
Key Features:
- Two stable states: ON (closed) and OFF (open)
- Latching: It stays ON or OFF on its own — no need to hold it
- Press to toggle: Press again to go back to the other state
- No polarity: The two-pin type has no + or - side
- Beginner friendly: Works with the 3.3V logic of the ESP32 C3 Super Mini
Technical Specifications:
- Type: Mechanical latching switch (SPST for the two-pin type)
- Pin count: 2 pins (common) or 3 pins
- Contact resistance: Near 0 ohm when ON, very high when OFF
- Logic level used here: 3.3V from the ESP32 C3 Super Mini
- Bounce time: A few milliseconds — debounce is needed
Pinout
There are two common ON/OFF switch types: the two-pin switch and the three-pin switch. This tutorial uses the two-pin switch.
- Pin 1: One side of the contact — no special order
- Pin 2: The other side of the contact — no special order
How It Works
There are two ways to wire an ON/OFF switch to the ESP32 C3 Super Mini.
| Method | Pin 1 | Pin 2 | ESP32 C3 Super Mini Input Pin's State |
|---|---|---|---|
| 1 | GND | ESP32 C3 Super Mini input pin (with pull-up) | HIGH ⇒ OFF, LOW ⇒ ON |
| 2 | 3.3V | ESP32 C3 Super Mini input pin (with pull-down) | HIGH ⇒ ON, LOW ⇒ OFF |
This tutorial uses the first method, because the ESP32 C3 Super Mini has an internal pull-up resistor built in.
Wiring Diagram
Connect one switch pin to GPIO7 and the other switch pin to GND.
- Note: Use 3.3V only. Never feed 5V into any ESP32 C3 Super Mini GPIO pin.
- Note: The two pins of a two-pin switch can be swapped.
- Note: Do not use GPIO8 or GPIO9 — they are boot strapping pins.
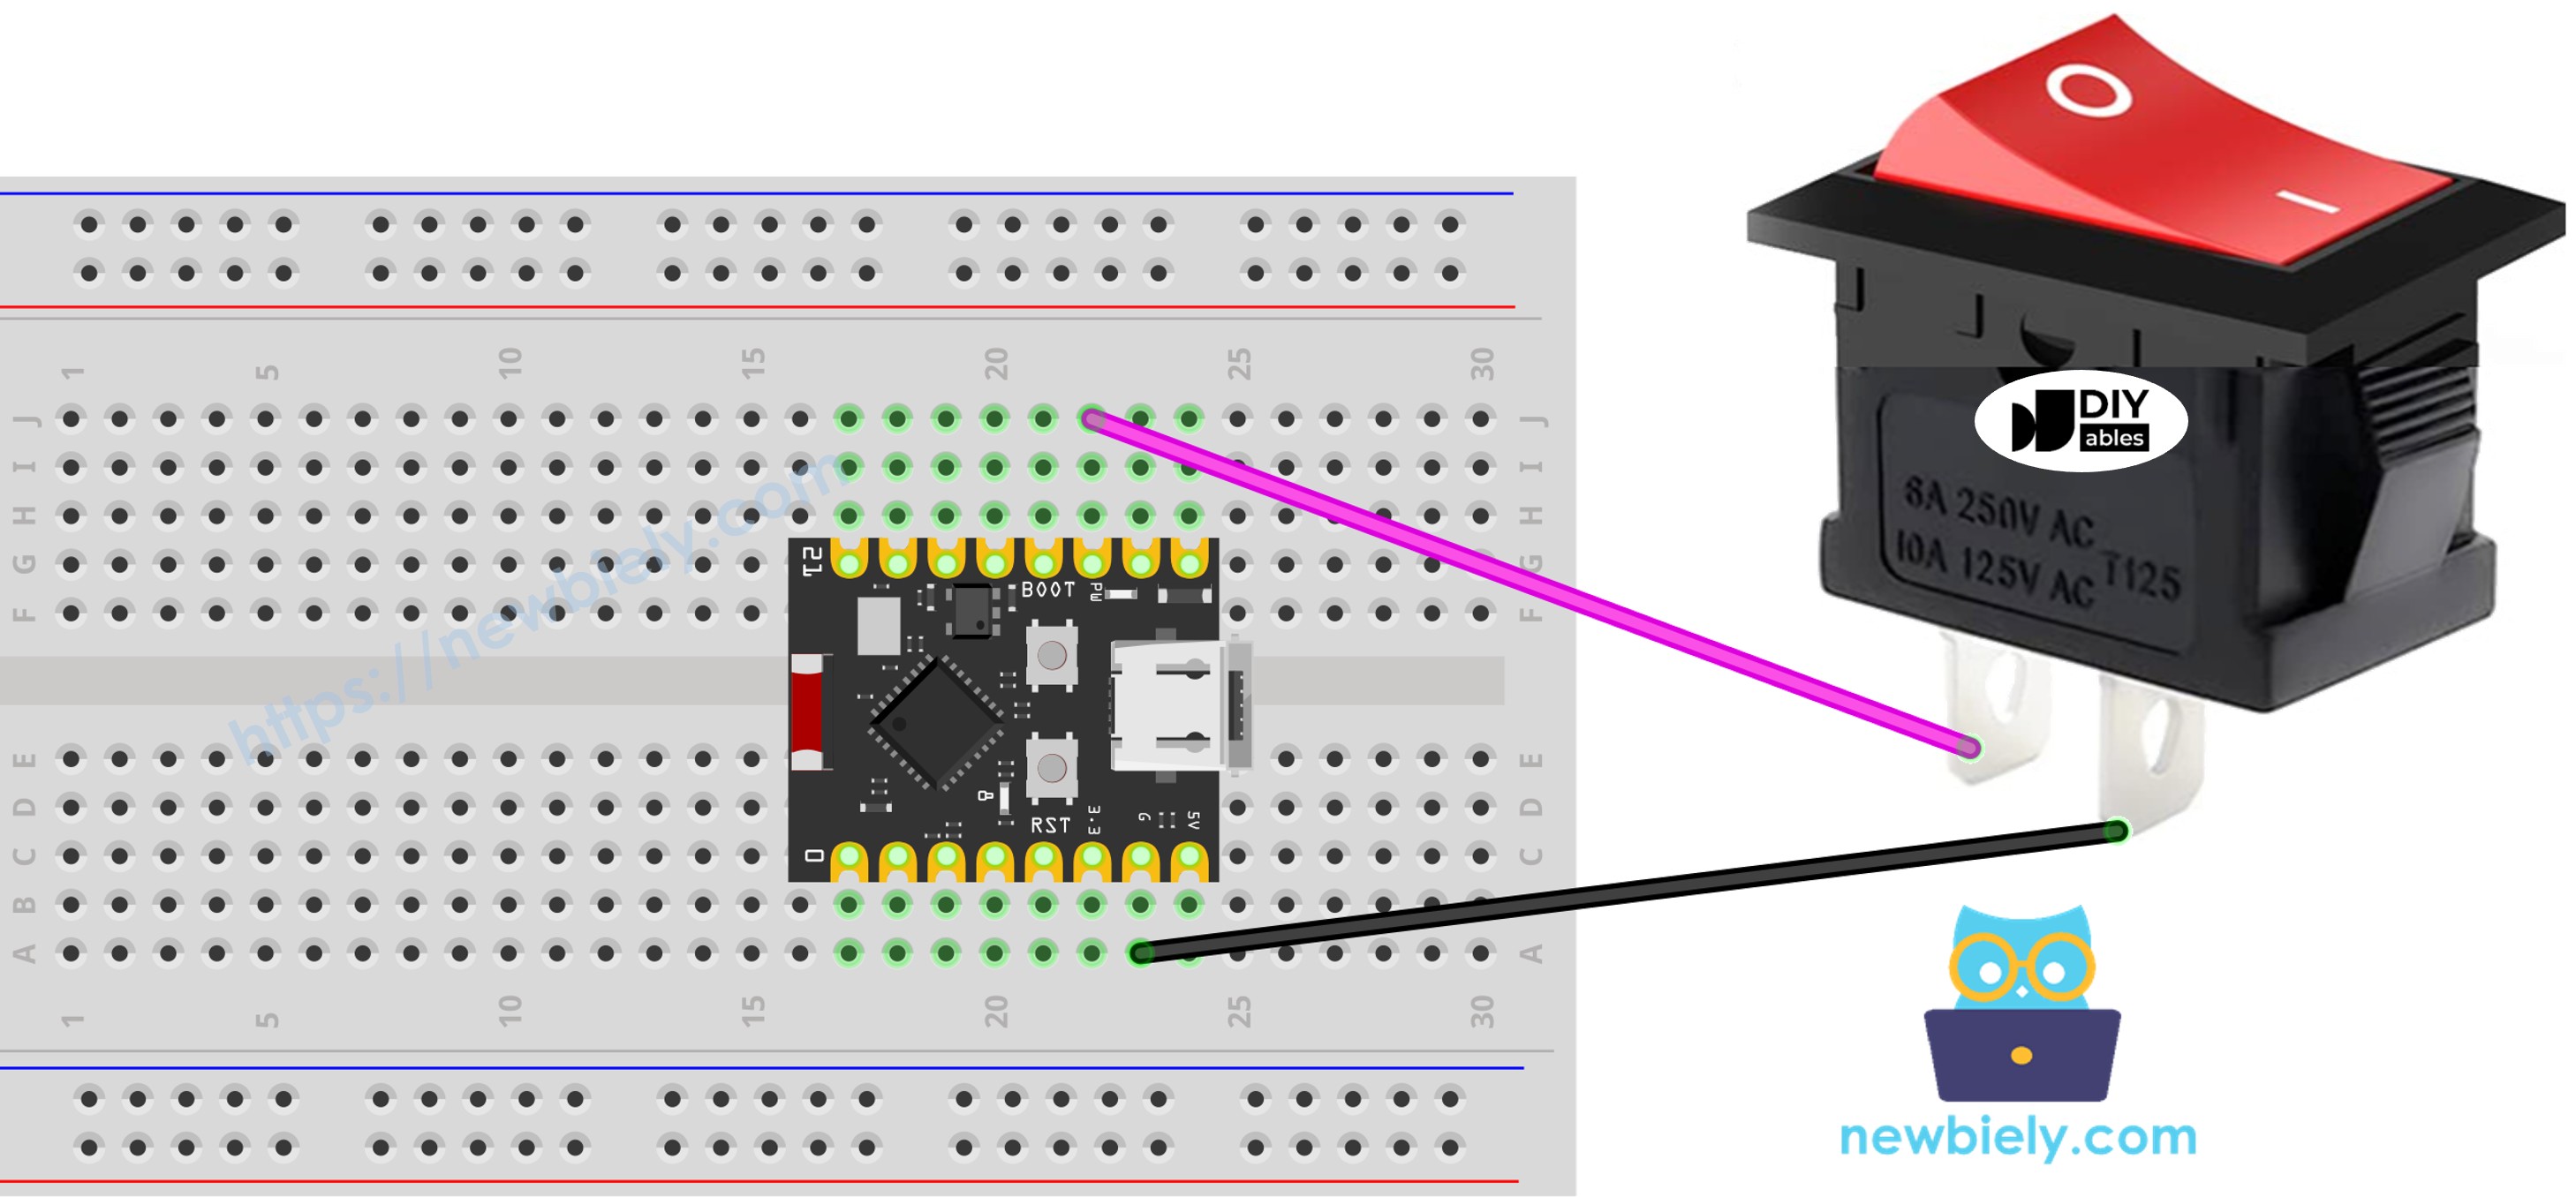
This image is created using Fritzing. Click to enlarge image
| ON/OFF Switch Pin | ESP32 C3 Super Mini Pin |
|---|---|
| Pin 1 | GPIO7 |
| Pin 2 | GND |
For a firm and stable connection, use a soldering iron to solder the wires to the ON/OFF switch pins, then cover the joints with heat shrink tubes for safety.
ESP32 C3 Super Mini Code - ON/OFF Switch
Like a button, an ON/OFF switch needs debouncing (see Why needs debounce for the button, ON/OFF switch?). Debouncing makes the code long. The ezButton library does the debouncing for you and turns on the internal pull-up resistor, so the code stays short.
What This Code Does:
- Reads the ON/OFF switch on GPIO7 of the ESP32 C3 Super Mini
- Turns on the internal pull-up resistor automatically
- Debounces the switch with a 50 ms filter
- Prints the current state (ON or OFF) to the Serial Monitor
- Prints a message each time the state changes
※ NOTE THAT:
Two common use cases for an ON/OFF switch are:
- The first use case: If the switch is in the ON state, perform a certain action. If the input state is OFF, perform the opposite action.
- The second use case: If the switch's state changes from ON to OFF (or OFF to ON), perform a specific action.
Detailed Instructions
- New to ESP32 C3 Super Mini? Complete our Getting Started with ESP32 C3 Super Mini tutorial first to set up your development environment.
- Wire the parts: Follow the wiring diagram above to connect the ON/OFF switch to the ESP32 C3 Super Mini.
- Connect the board: Plug the ESP32 C3 Super Mini into your PC with a USB Type-C cable.
- Open Arduino IDE: Launch the Arduino IDE software.
- Install the library: Install the ezButton library. See the instructions.
- Select the board: Make sure ESP32 C3 Super Mini is selected in Tools > Board.
- Select the port: Pick the COM port of your ESP32 C3 Super Mini in Tools > Port.
- Upload the code: Copy the code above, paste it into the Arduino IDE, then click the Upload button.
- Open Serial Monitor: Set the baud rate to 115200.
- Turn the switch ON: Watch the Serial Monitor output change.
- Turn the switch OFF: Watch the Serial Monitor output change back.
- Pro Tip: If the reading looks random, check that the switch is wired to GND and not left floating.
Line-by-line Code Explanation
The ESP32 C3 Super Mini code above contains line-by-line explanation. Please read the comments in the code!
Application/Project Ideas
Here are simple ways to use an ON/OFF switch with the ESP32 C3 Super Mini.
- Lamp Switch: Turn an LED or a relay lamp ON and OFF.
- Fan Control: Start and stop a fan with one press.
- Mode Selector: Pick between two program modes, like slow and fast.
- Data Logger Switch: Start and stop logging to an SD card.
- Alarm Enable: Arm or disarm a motion alarm.
- Pump Switch: Turn a water pump ON for watering plants.
Challenge Yourself
Try these steps to go further with the ESP32 C3 Super Mini and an ON/OFF switch.
- Easy: Turn the built-in LED on GPIO8 ON when the switch is ON.
- Easy: Print how many seconds the switch has stayed ON.
- Medium: Use the switch to start and stop a blinking LED on GPIO3.
- Medium: Add a second ON/OFF switch on GPIO6 and print both states.
- Advanced: Use two switches to pick 4 different modes (00, 01, 10, 11).
- Advanced: Send the switch state over Wi-Fi to a web page.