Arduino Nano ESP32 - DIYables Bluetooth App Table
Overview
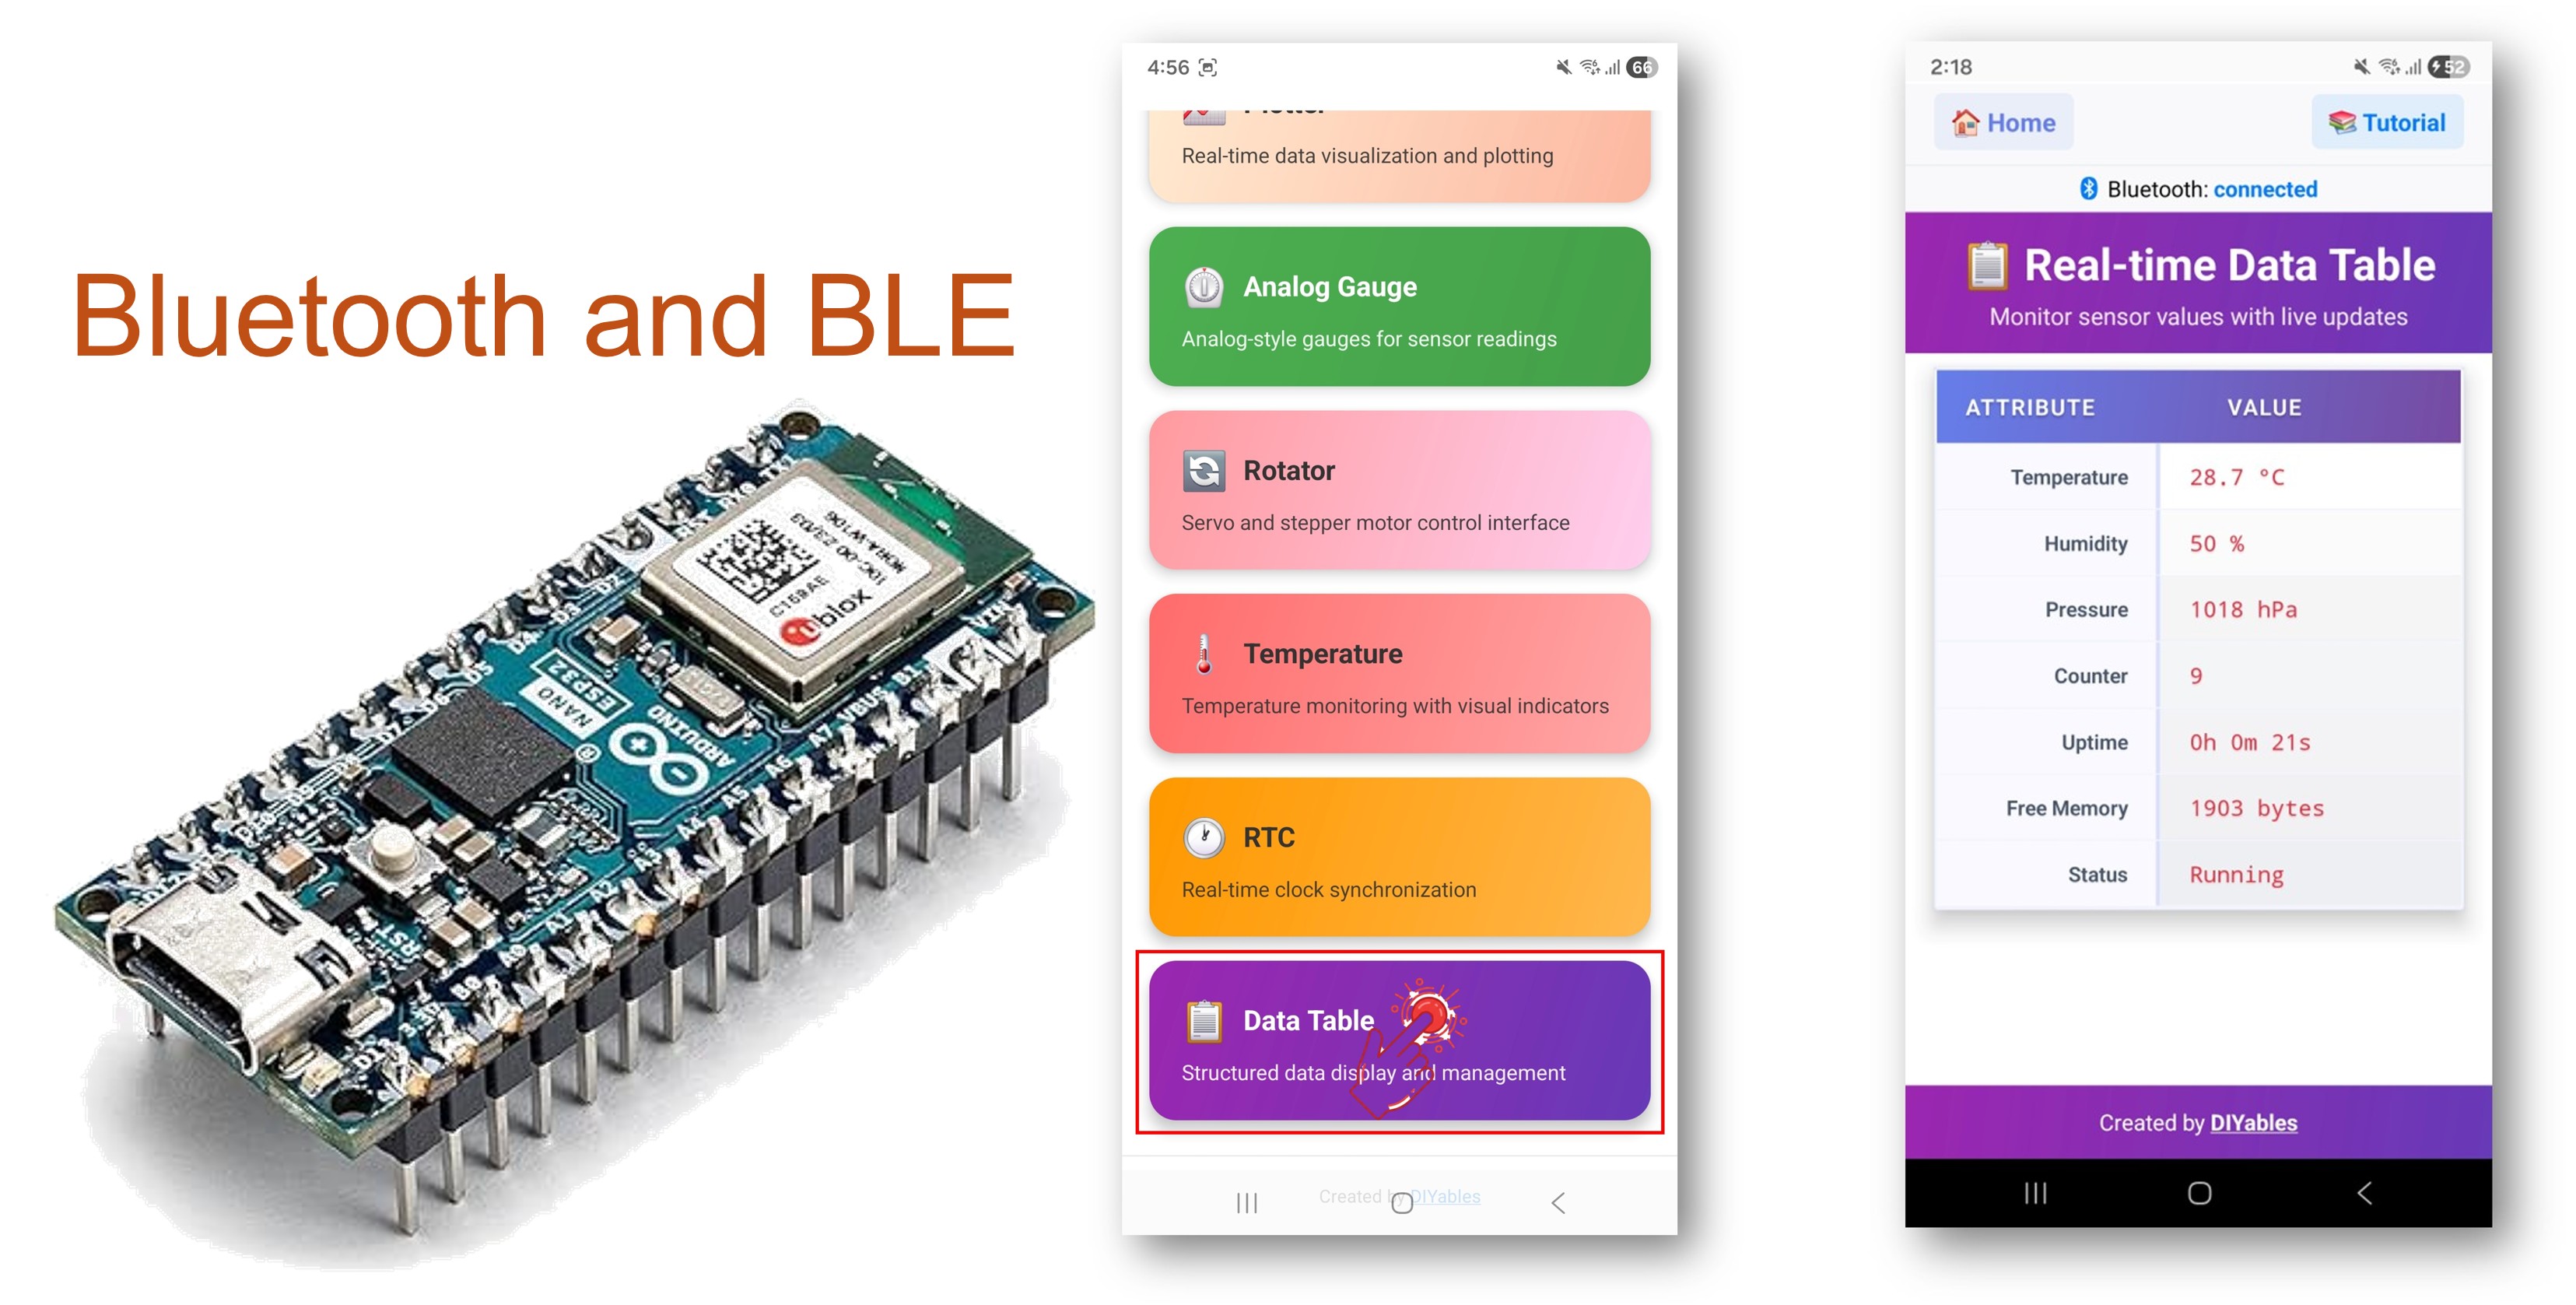
This example implements structured data display on the Arduino Nano ESP32 using BLE (Bluetooth Low Energy) via the DIYables Bluetooth STEM app. Display sensor readings, system status, and any data in a clean table format on a smartphone, with named rows and real-time value updates. Suitable for dashboards, system monitoring, and multi-sensor displays.
Note: The Arduino Nano ESP32 supports BLE only — Classic Bluetooth is not supported. The DIYables Bluetooth App works on both Android and iOS with BLE.
Features
- Named Rows: Define rows with labels (e.g., "Temperature", "Humidity")
- Real-Time Updates: Push individual value updates efficiently
- Structure Sync: Auto-send table structure on connection
- Flexible Data: Display any string or numeric data
- Up to 20 Rows: Support for multiple data fields
- Android & iOS Support: BLE is compatible with both platforms
- No Pairing Required: BLE connects without manual pairing
Hardware Preparation
Or you can buy the following kits:
| 1 | × | DIYables Sensor Kit (18 sensors/displays) |
Additionally, some of these links are for products from our own brand, DIYables .
Arduino Nano ESP32 Code
Detailed Instructions
- New to the Arduino Nano ESP32? Start with the Arduino Nano ESP32 getting started guide.
- Connect the Arduino Nano ESP32 to your computer via USB.
- Open Arduino IDE.
- Select the Arduino Nano ESP32 board and the correct COM port.
- Click the Libraries icon in the left sidebar.
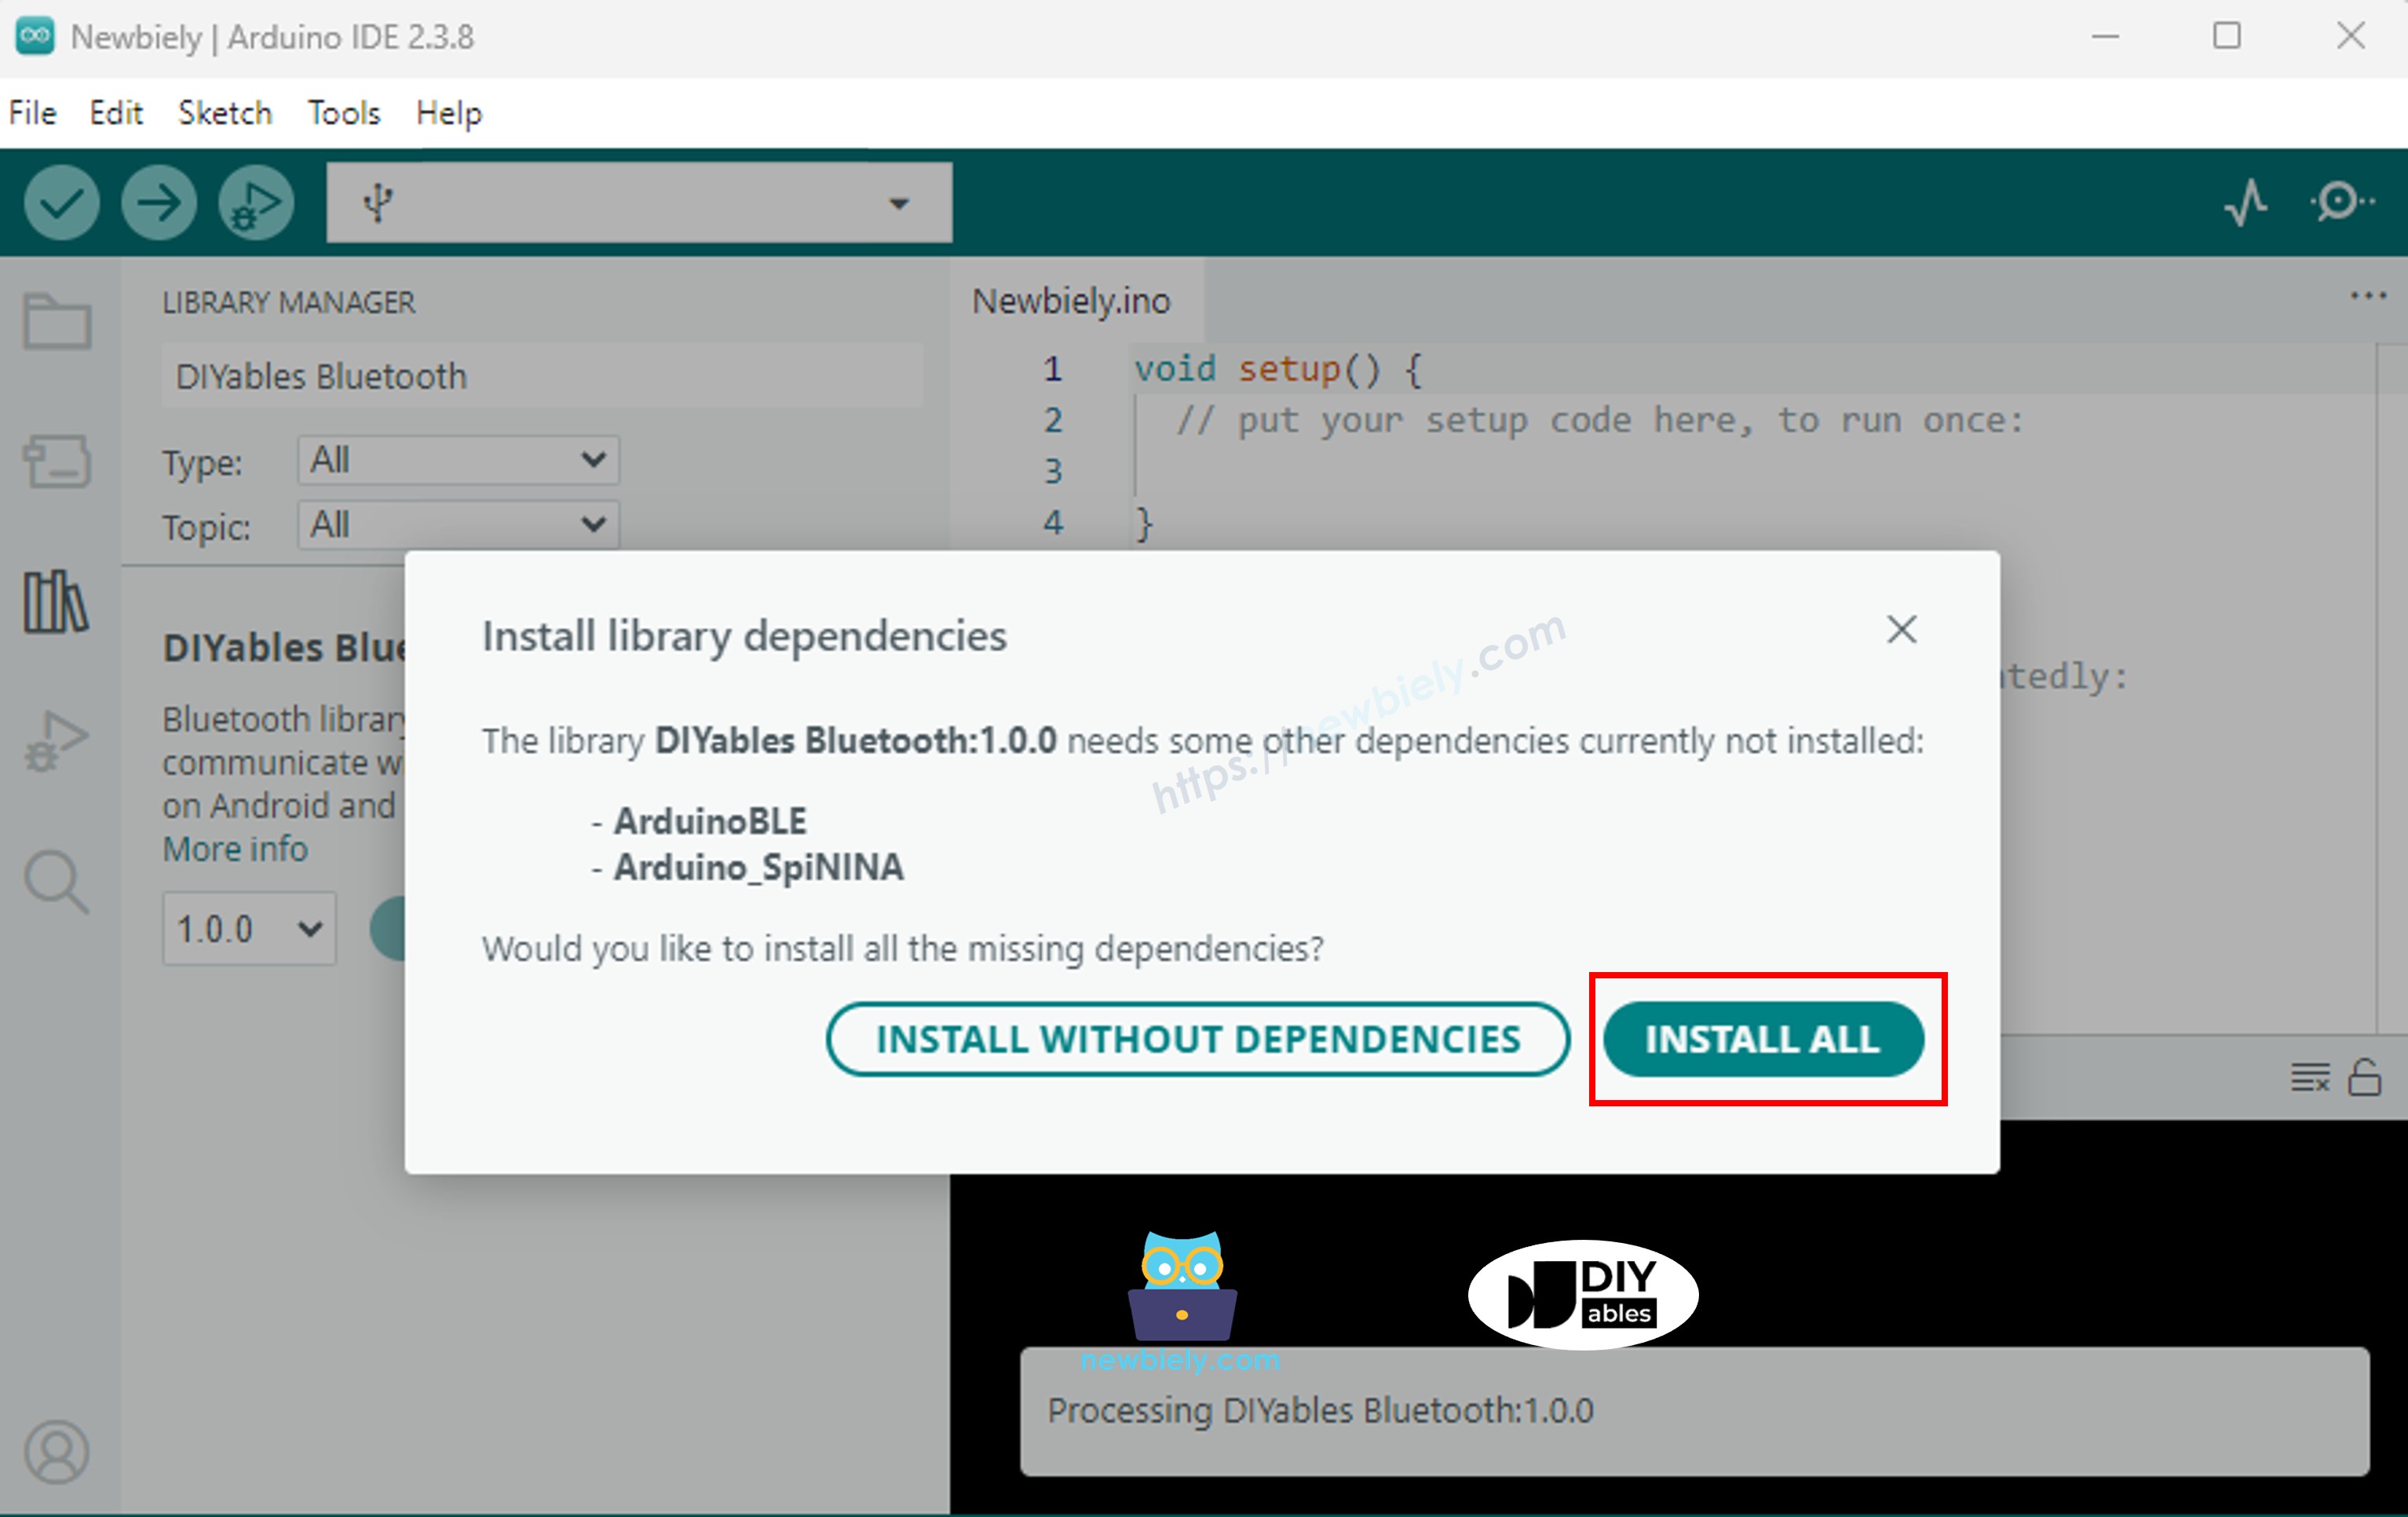
- Search for "DIYables Bluetooth" and select the DIYables Bluetooth library by DIYables.
- Click Install.

- When prompted to install dependencies, click Install All.
BLE Code
- In Arduino IDE, open File Examples DIYables Bluetooth ArduinoBLE_Table, or paste the code into the editor.
- Click Upload to flash the sketch to the board.
- Open the Serial Monitor.
- The Serial Monitor output should look like:
Mobile App
Note: The DIYables Bluetooth App works on both Android and iOS with BLE. No manual pairing is required.
- Launch the DIYables Bluetooth App.
- On first launch, grant the following permissions:
- Nearby Devices (Android 12+) / Bluetooth (iOS) — required to scan and connect to Bluetooth devices
- Location (Android 11 and below only) — required by older Android versions to scan for BLE
- Ensure Bluetooth is enabled on your device.
- Tap Connect on the home screen. The app will scan for BLE devices.

- Tap "Arduino_Table" in the scan results.
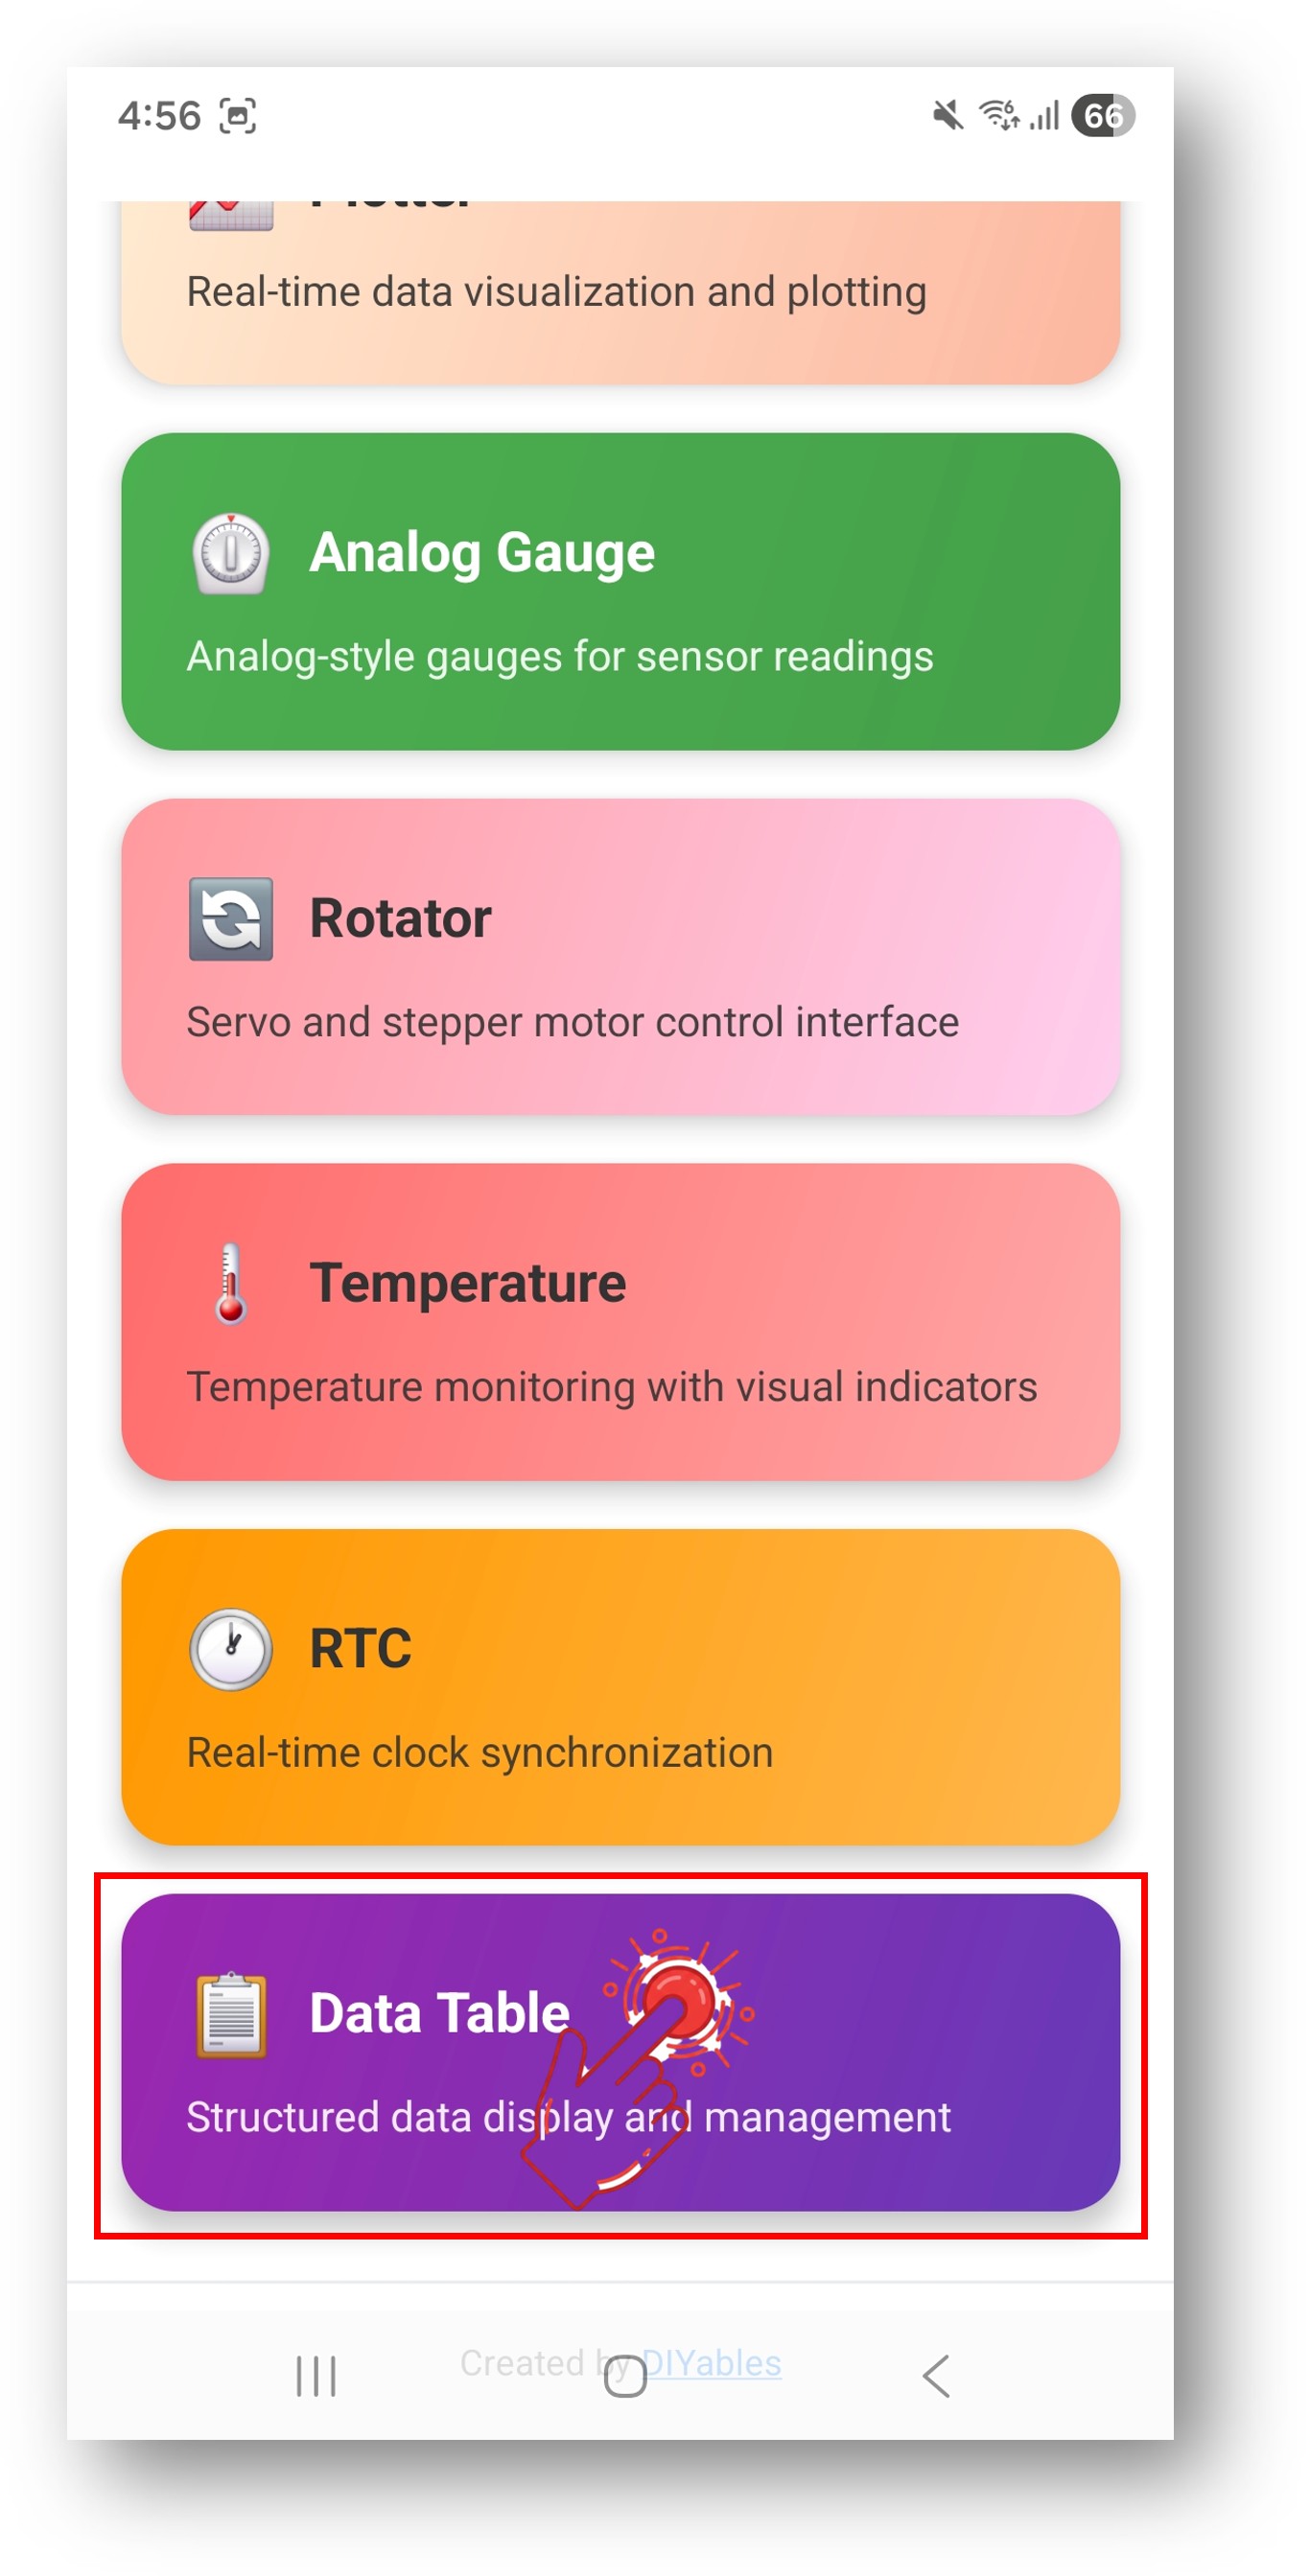
- After connecting, return to the home screen and open the Table app.
Tap the settings icon on the home screen to show or hide apps. See the DIYables Bluetooth App User Manual for details.
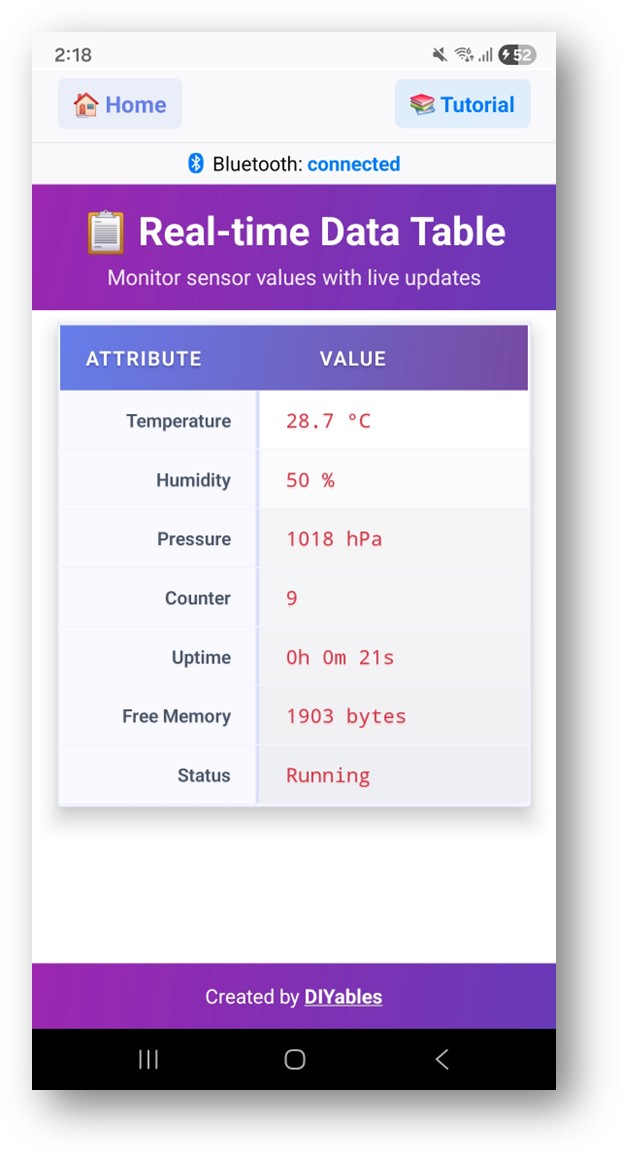
- A table displays Temperature, Humidity, Pressure, Counter, Uptime, Free Memory, and Status rows — all updating in real time.
Now look at the Serial Monitor. The output will show:
Creative Customization - Adapt the Code to Your Project
Define Table Structure
Update Values
Send Table Structure
Programming Examples
Weather Station Dashboard
System Status Monitor
Troubleshooting
Common Issues
1. Device not visible in the app
- Confirm the board is powered on and the sketch is uploaded
- Verify Bluetooth is enabled on your phone
- On Android 11 and below, enable Location services as well
2. Table is empty or rows not showing
- Ensure addRow() is called in setup() before connecting
- Implement the onDataRequest callback to re-send structure
- Verify sendTableStructure() is called
3. Values not updating
- Check that sendValueUpdate() is being called in the loop
- Verify the row name matches exactly (case-sensitive)
- Ensure bluetoothServer.loop() is called in every loop iteration
4. Row names don't match
- Row names are case-sensitive — "Temperature" ≠ "temperature"
- Use row index (0-based) as an alternative to row names
5. Upload fails or board not recognized
- Install the latest Arduino Nano ESP32 board package via Board Manager
- Try a different USB cable or port
Project Ideas
- Weather station dashboard
- System resource monitor
- Multi-sensor data display
- Device configuration panel
- IoT device status board
Next Steps
After completing the Bluetooth Table example, explore:
- Bluetooth Plotter — Graphical data visualisation
- Bluetooth Monitor — Text-based interaction
- Bluetooth Temperature — Gauge-style display
- Multiple Bluetooth Apps — Combine table with other app widgets
Support
For additional help:
- Check the API Reference documentation
- Visit DIYables tutorials
- Arduino community forums