
ESP32 C3 Super Mini - NTC Thermistor Temperature Sensor
The ESP32 C3 Super Mini is smaller than a matchbox, and this thermistor probe is thinner than a pencil. Together they make a thermometer you can hide almost anywhere: under the lid of a fish tank, beside a heat mat for seedlings, or against a water pipe. The steel end is closed and sealed, so it may even sit in the water itself. The circuit takes three pins and a single resistor, and each result is printed in Celsius, Fahrenheit and ohms.
In this tutorial, you'll learn:
- What hides in the steel tube, and why its resistance drops as it heats up
- Why the two wires carry no + or - mark, and what job the spare 10K resistor in the kit does
- How to connect the probe to 3.3V, GPIO4 and GND on a breadboard
- How the B (beta) equation converts ohms into degrees
- How to check the readings with lukewarm tap water and a handful of ice
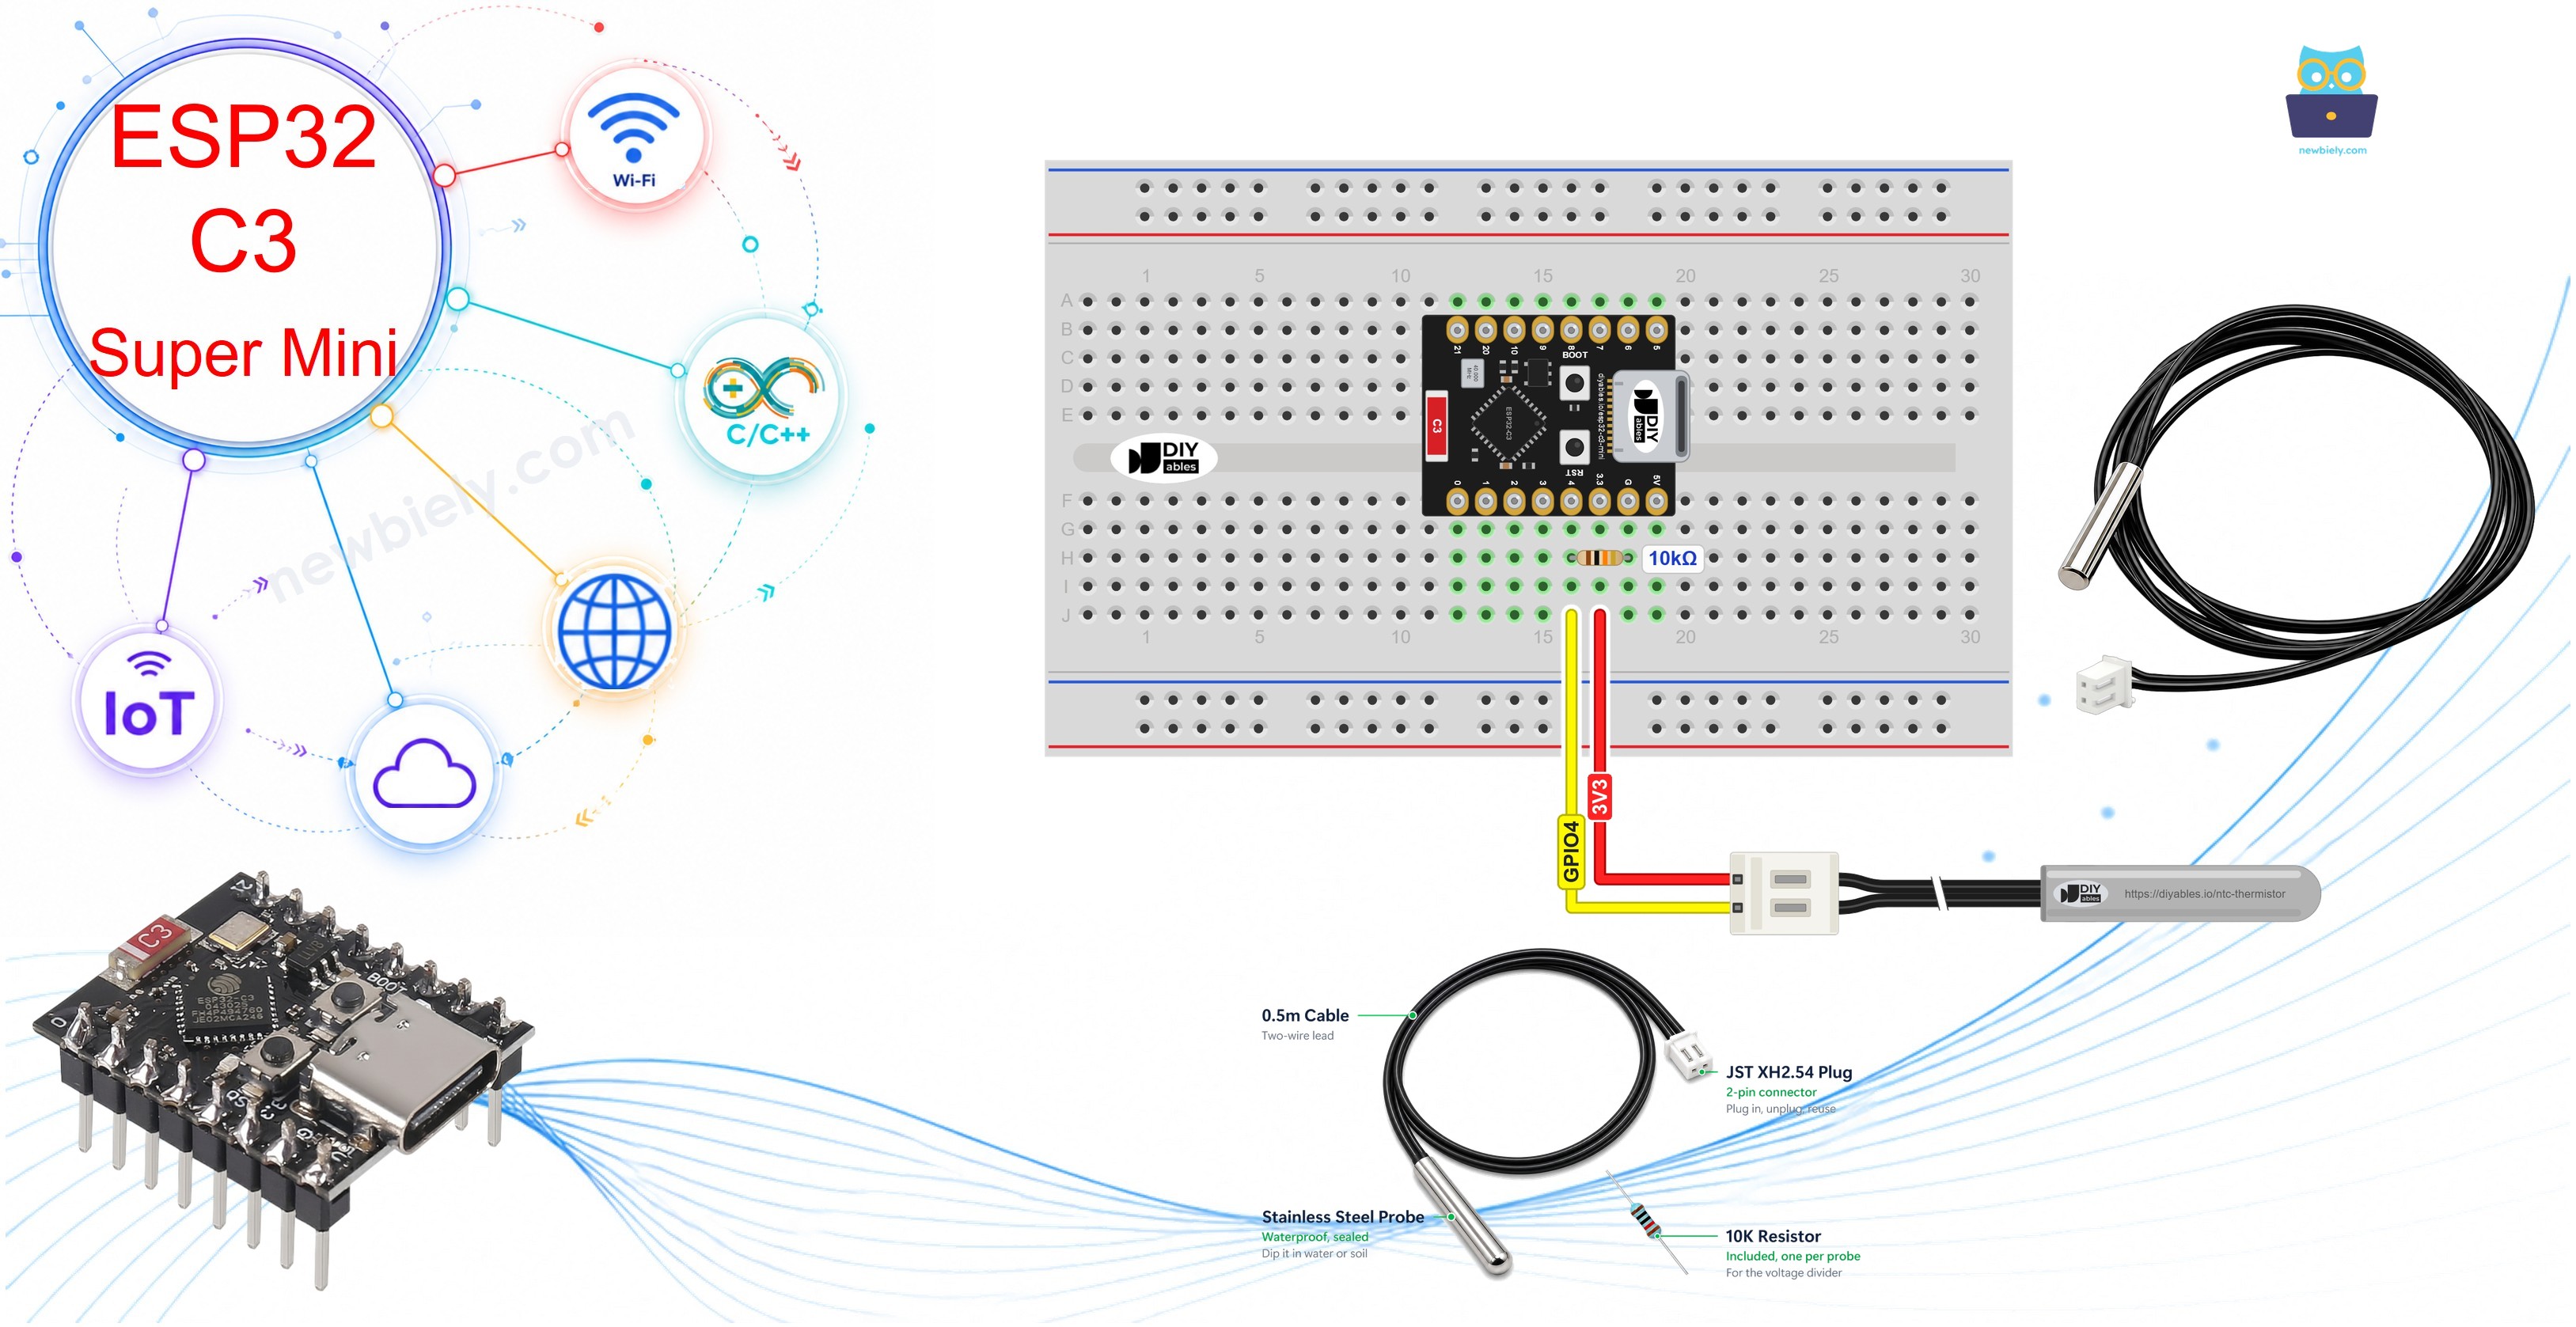
Hardware Preparation
| 1 | × | ESP32 C3 Super Mini | |
| 1 | × | USB Cable Type-A to Type-C (for USB-A PC) | |
| 1 | × | USB Cable Type-C to Type-C (for USB-C PC) | |
| 1 | × | 10K NTC Thermistor Waterproof Probe (with 10K resistor) | |
| 1 | × | Breadboard | |
| 1 | × | Jumper Wires |
Or you can buy the following kits:
| 1 | × | DIYables Sensor Kit (18 sensors/displays) |
Additionally, some of these links are for products from our own brand, DIYables .
Overview of NTC Thermistor Temperature Sensor
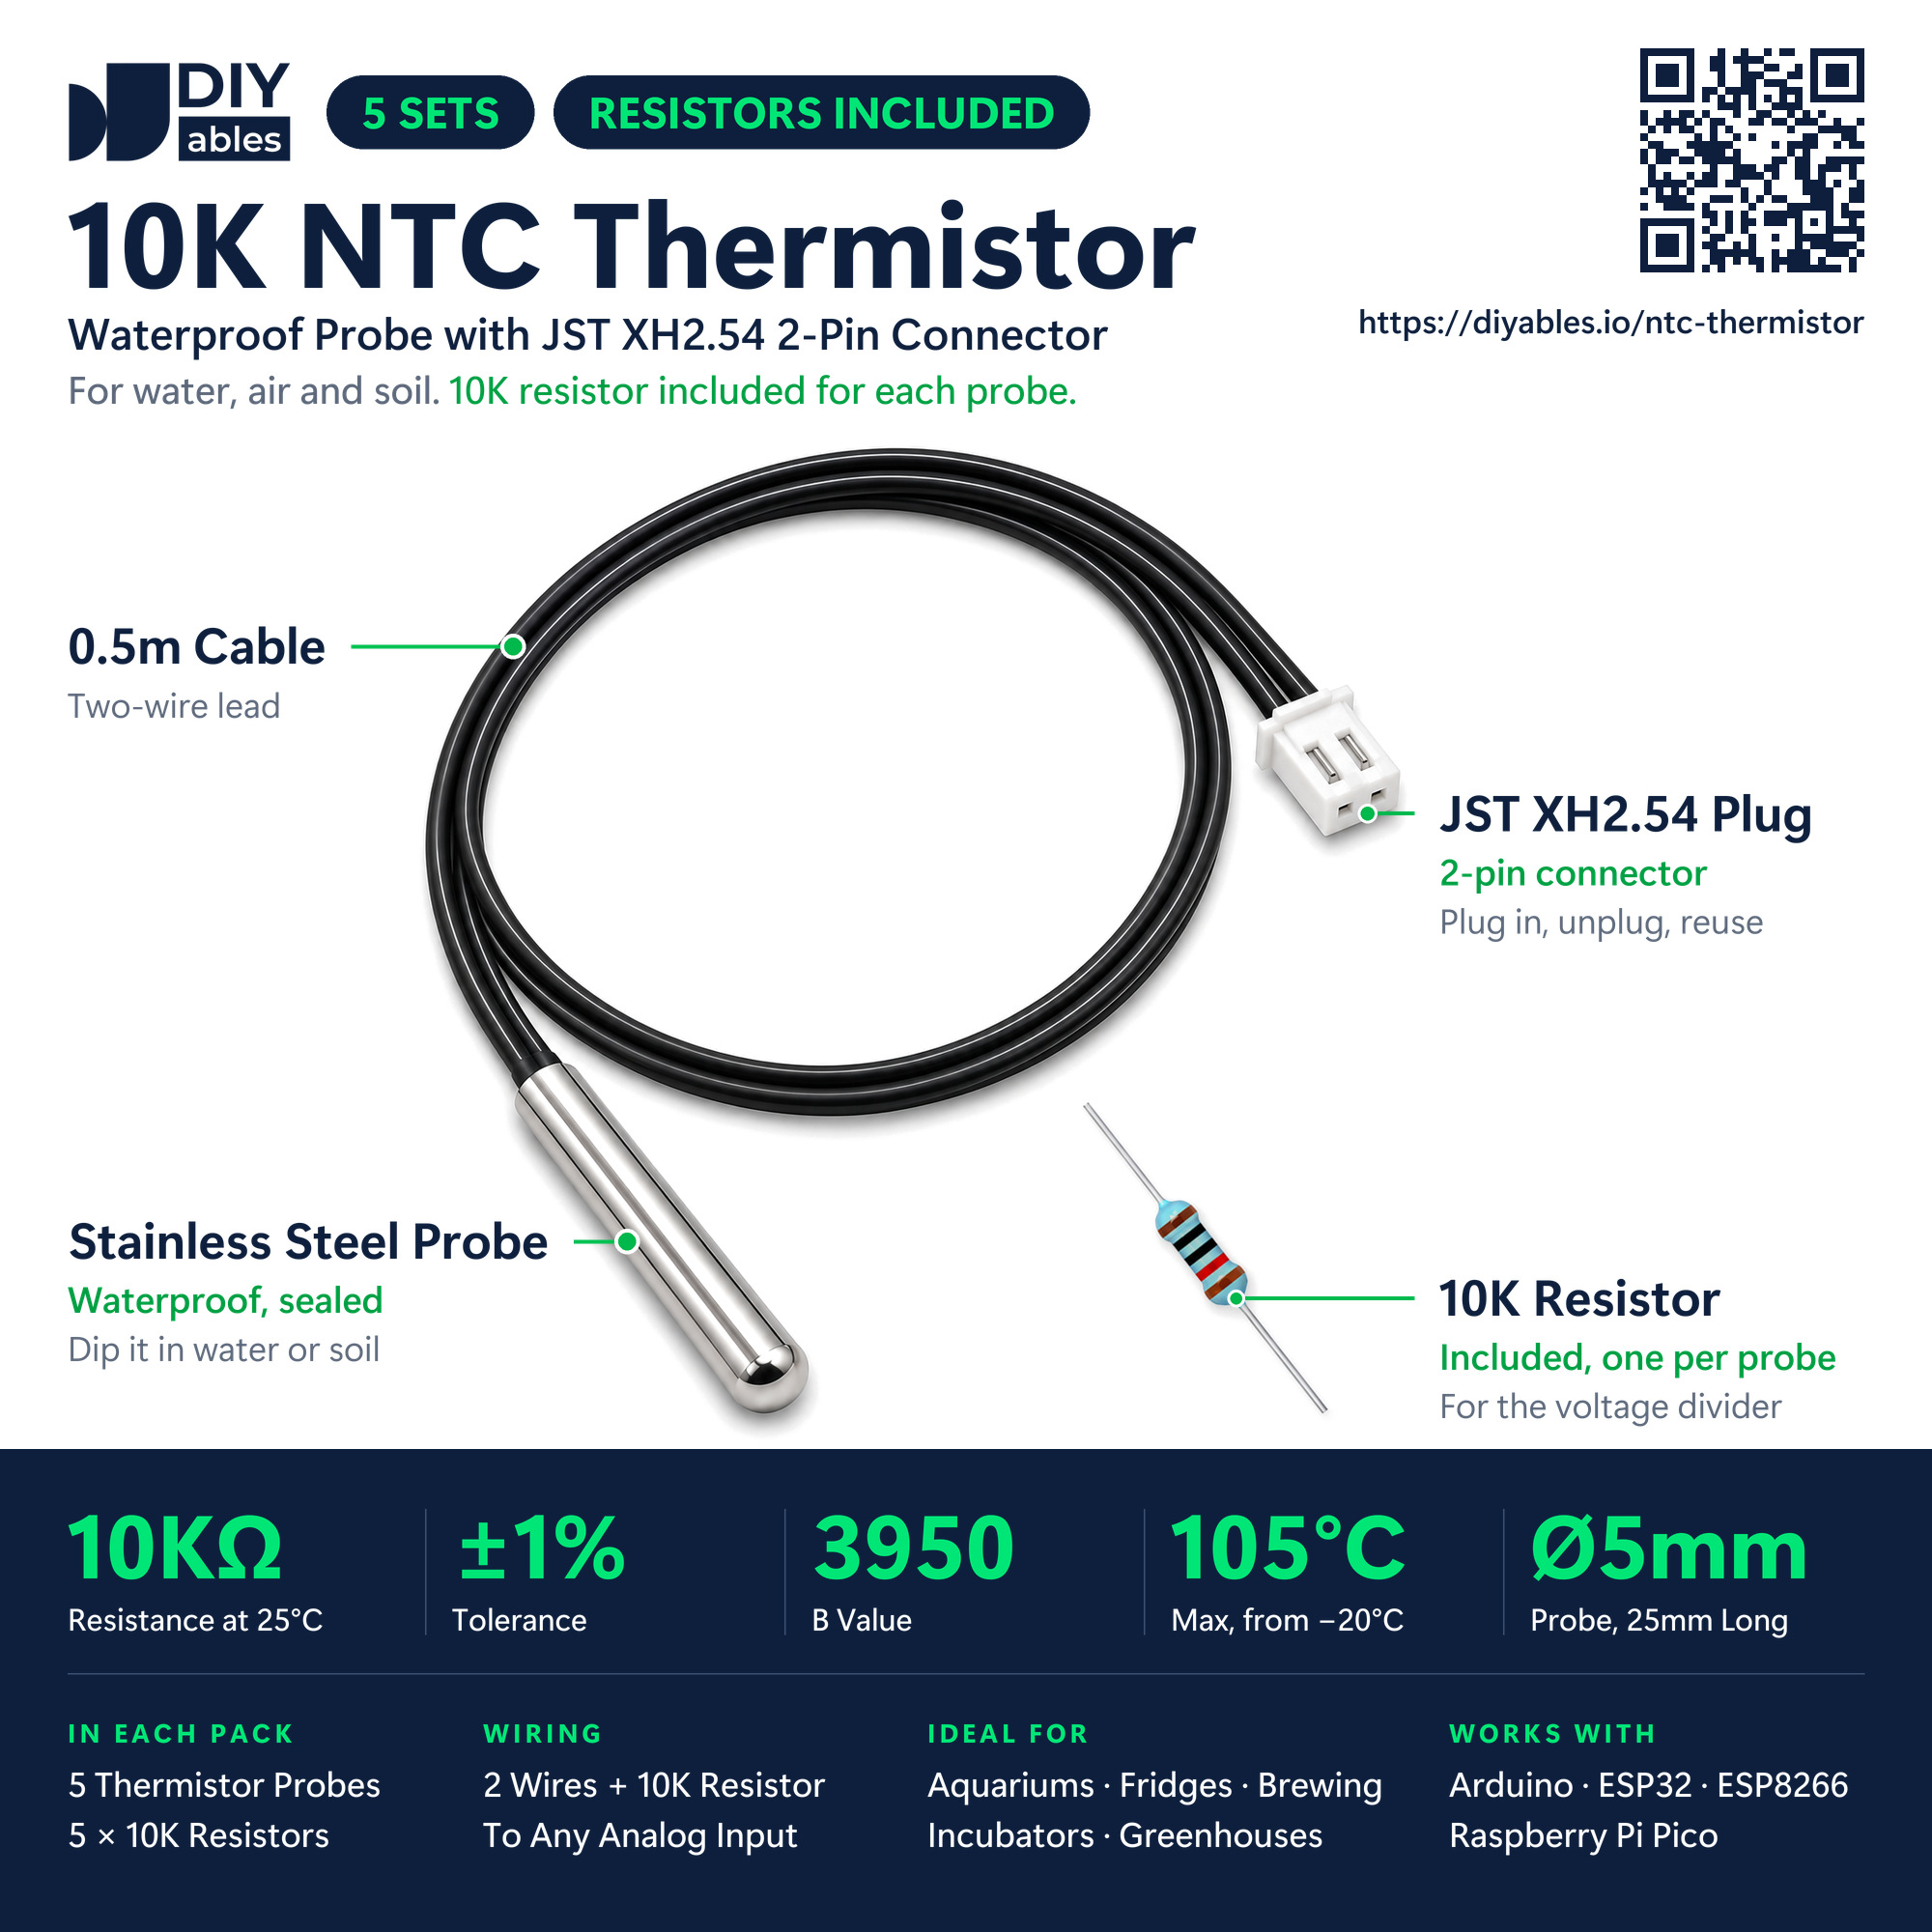
This sensor is not a module with a chip on it. It is a stainless-steel tube with one thermistor sealed inside, on the end of a thin black cable. A thermistor behaves like a resistor that is very sensitive to heat: its value moves a long way for every few degrees. The ESP32 C3 Super Mini reads that value and calculates degrees from it, so all the "smart" part of the job happens in your code.
DIYables sells the probes in packs of five. Each probe ships with a matching 10K resistor, and this circuit cannot work without it, so store the two together.
Key Features:
- Resistance of 10kΩ when the tip is at 25°C, ±1%
- B value (beta) of 3950, the number the temperature formula needs
- Range from -20°C up to 105°C
- Waterproof stainless-steel tube, 5mm x 25mm, with a round end
- 0.5m two-wire cable finished with a white JST XH2.54 2-pin plug
- Insulation resistance above 100MΩ
Why the NTC Thermistor is Great for Beginners:
- No library to install and no I2C address or timing to get right
- Three pins of the board are enough: 3.3V, GPIO4 and GND
- There is no wrong way to plug it in - the two wires are identical
- The tube can sit in water, soil or snow, while the board stays dry
- It teaches the voltage divider, a circuit you will meet again with light sensors and potentiometers
NTC Thermistor Pinout
There is no adapter board here and nothing is printed on the plug. The black cable finishes in a white connector with two small sockets, and each socket takes the metal pin of a male jumper wire. A thermistor has no direction, like any resistor, so both sockets do the same job:
- Socket A (pick either): 3.3V pin of the ESP32 C3 Super Mini
- Socket B (the remaining one): GPIO4, which the 10K resistor also touches
- 10K resistor, far end: any GND pin
How the Thermistor Turns Heat into a Number
NTC (Negative Temperature Coefficient) tells you which way the value moves. Put simply: more heat, fewer ohms. The ESP32 C3 Super Mini cannot read ohms directly; its ADC only reads voltage. The 10K resistor solves this. The thermistor goes on the 3.3V side, the resistor goes on the GND side, and GPIO4 watches the joint between them. With a warm tip, the thermistor lets more of the 3.3V through, and GPIO4 rises. When the tip is cold, GPIO4 falls.
Some values for this probe in this exact circuit:
| Tip Temperature | Thermistor Resistance | Voltage at GPIO4 |
|---|---|---|
| 5°C | about 25.9kΩ | 0.92V |
| 18°C | about 13.8kΩ | 1.39V |
| 25°C | 10.0kΩ | 1.65V |
| 40°C | about 5.3kΩ | 2.16V |
| 52°C | about 3.3kΩ | 2.48V |
In the sketch, the voltage is first turned back into the thermistor resistance R. The B-parameter (beta) equation then gives the temperature:
1/T = 1/T0 + (1/B) × ln(R/R0)
- T0 = 298.15K, which is 25°C written in kelvin
- R0 = 10000Ω, the probe's resistance at 25°C
- B = 3950, from the probe's specification
The answer T comes out in kelvin, and the code takes 273.15 away from it for °C. There is also a three-constant formula called Steinhart-Hart, which follows the real curve a bit more closely. For a 3950 probe like this one, the simpler beta version is accurate enough. Around room temperature, a reading within about 1°C of the real value is normal. Your 10K resistor and the C3's ADC decide the rest.
Need something different? A DS18B20 waterproof probe gives the temperature as a ready digital number, no formula needed: see ESP32 C3 Super Mini - Temperature Sensor. Measuring an oven, a grill or anything hotter than 105°C? A thermocouple fits better: see ESP32 C3 Super Mini - MAX6675 Thermocouple Module.
Wiring Diagram between NTC Thermistor and ESP32 C3 Super Mini
The ESP32 C3 Super Mini sits in the middle of the breadboard, and the 10K resistor goes into the same breadboard, right under the board. One leg sits in a free hole of the GPIO4 column (the pin printed 4), the other leg in a free hole of the G column, two columns to the right. The resistor jumps over the 3.3 column without touching it, so no extra GND wire is needed. Two jumper wires go to the white plug of the probe: the red one from the 3.3 column, the yellow one from the GPIO4 column. Every hole holds only one wire or leg.
Why GPIO4? It is connected to ADC1. GPIO5 (A5) uses ADC2, which Espressif advises against on the ESP32-C3 because it can give wrong results.
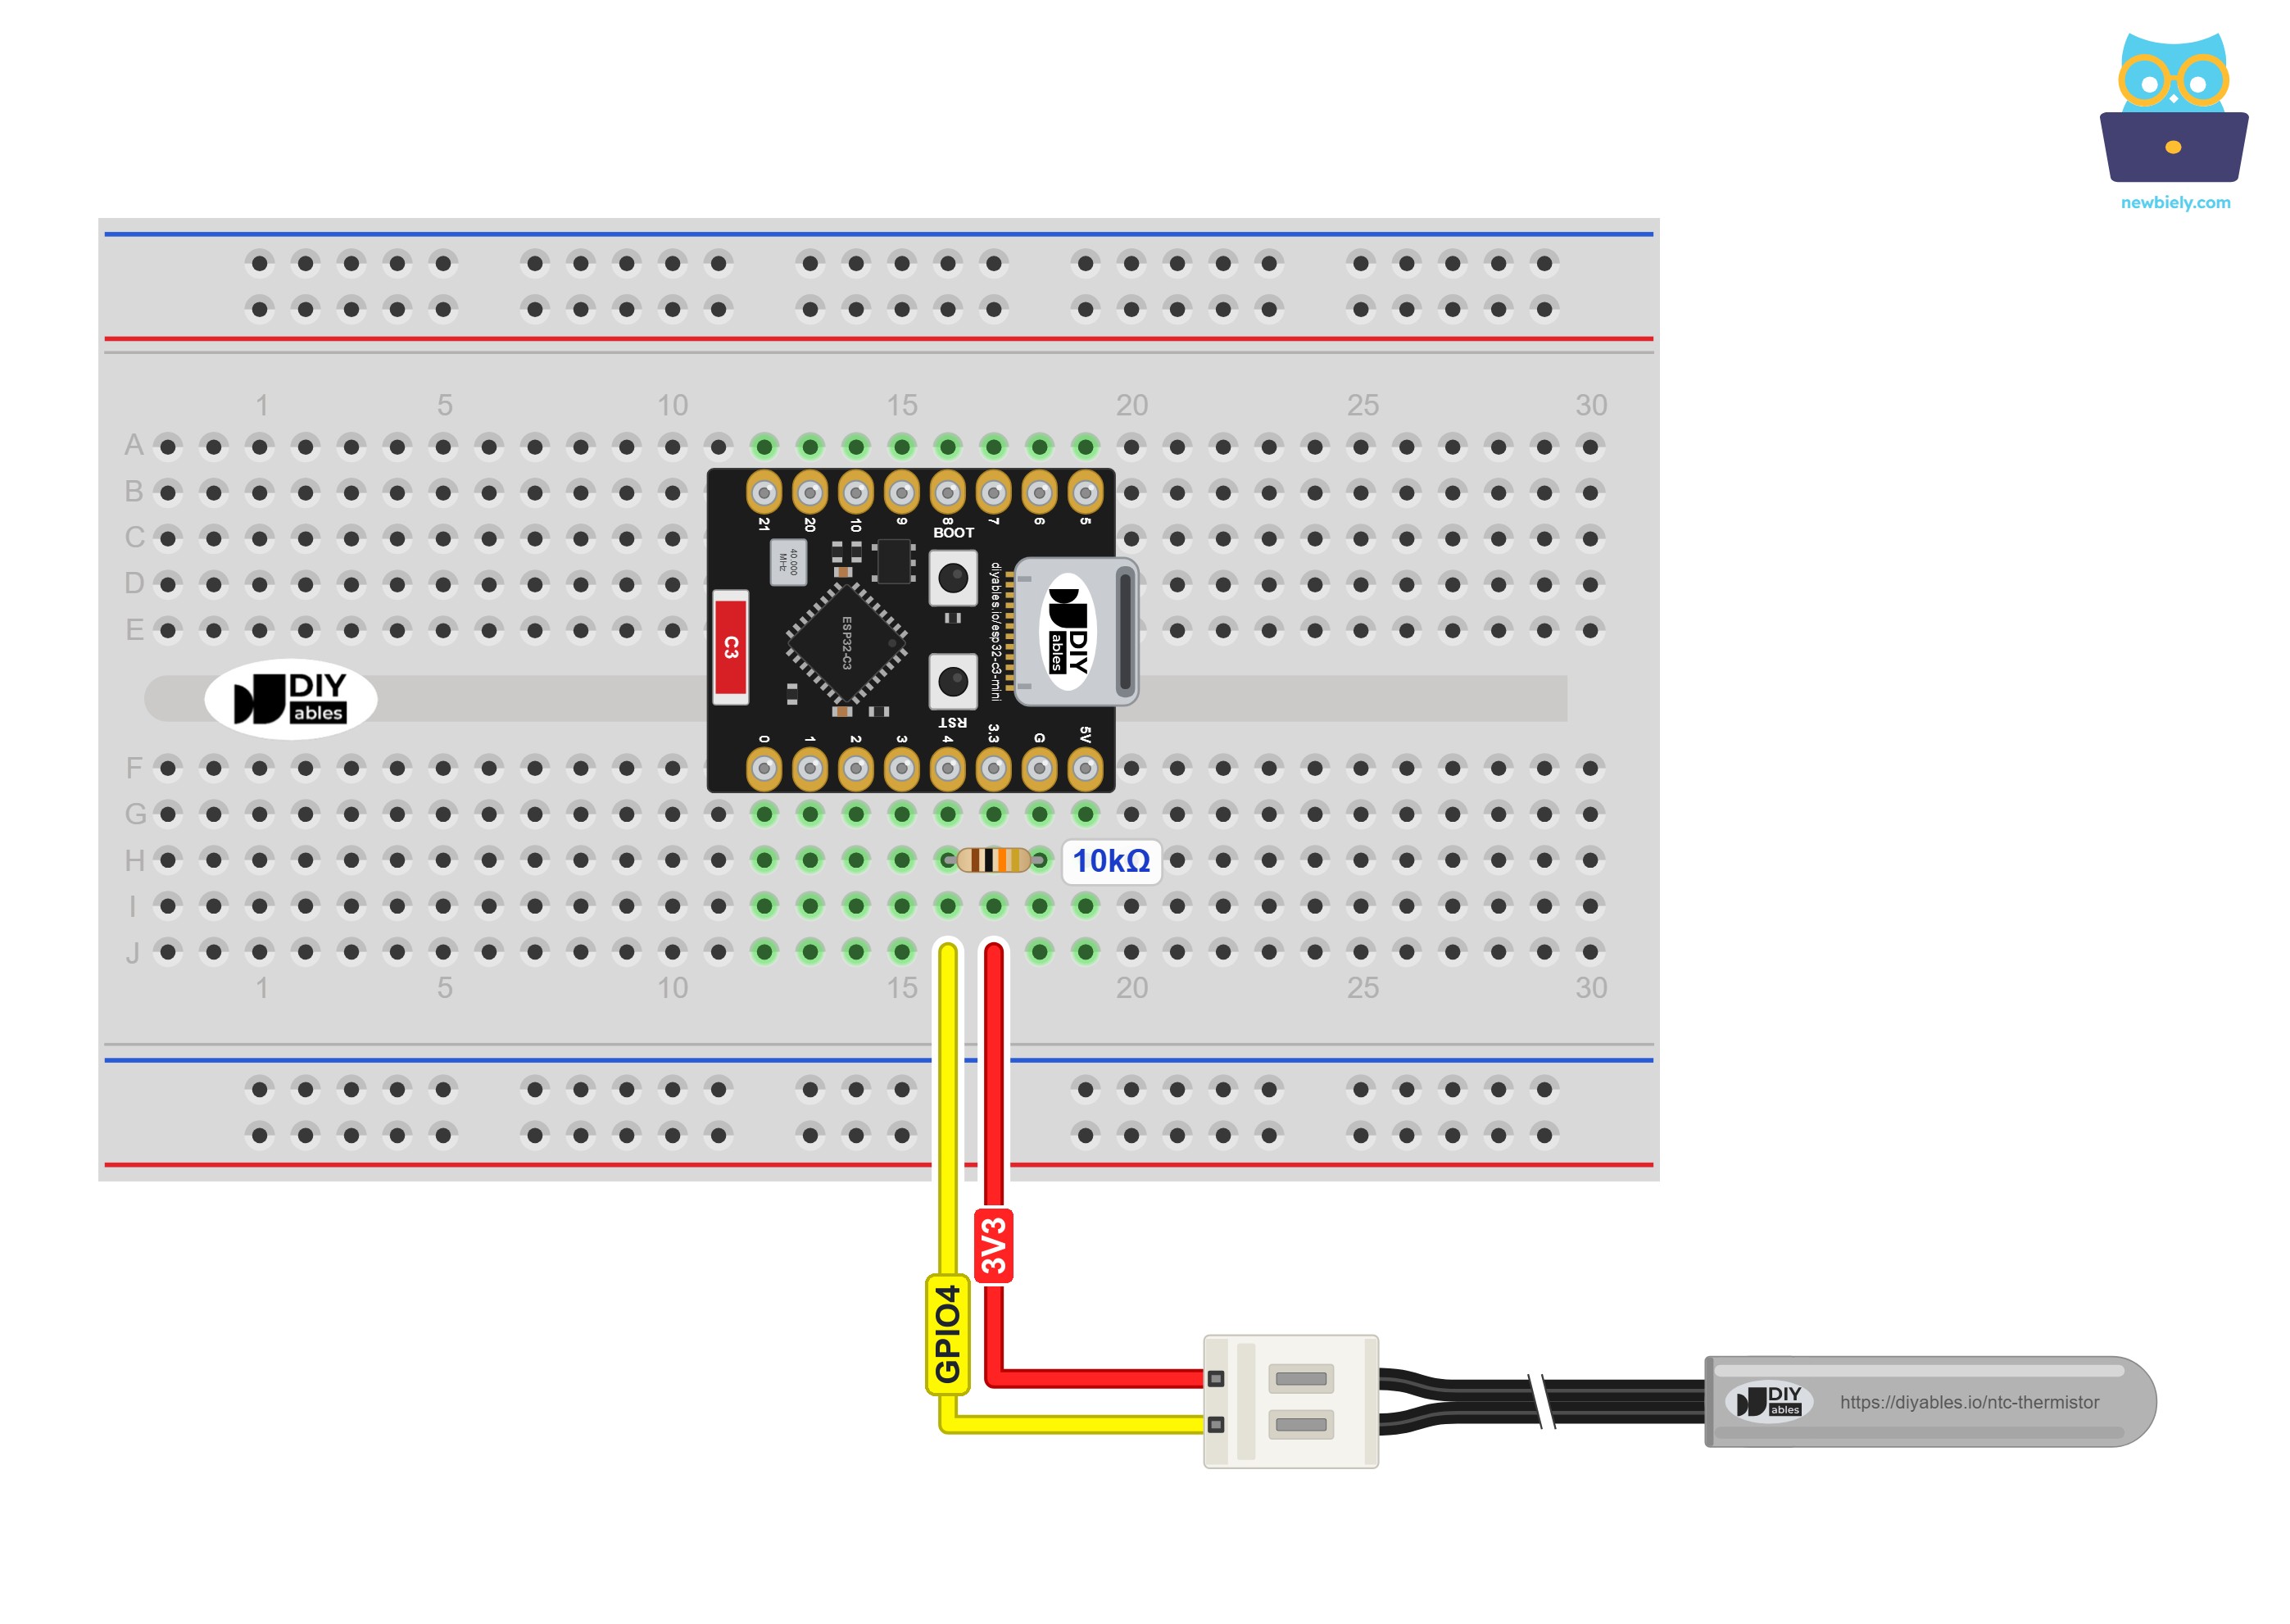
This image is created using Fritzing. Click to enlarge image
| Probe Side | ESP32 C3 Super Mini Pin |
|---|---|
| Probe lead 1 (either lead) | 3.3V |
| Probe lead 2 | A4 (GPIO4 / ADC1) |
| 10K resistor, first leg | A4 (GPIO4 / ADC1) |
| 10K resistor, second leg | GND |
※ NOTE THAT:
3.3V in, never 5V. The code assumes the divider starts at 3300mV, so any other supply shifts every temperature. More important, a hot thermistor has little resistance, and GPIO4 then climbs toward whatever voltage feeds the divider. Feed it 5V and a hot probe could put more than 3.3V on GPIO4 - more than the ESP32-C3 pins accept.
ESP32 C3 Super Mini Code - NTC Thermistor Temperature Sensor
One sketch covers everything. Once a second it samples GPIO4, calculates the thermistor resistance and prints a numbered line holding the temperature, the resistance and the pin voltage. When a wire is loose or two wires touch, a plain-English warning replaces the numbers.
What the code does:
- Sets 11 dB ADC attenuation, the widest input range of the ESP32-C3
- Averages 10 analogReadMilliVolts(4) readings, because a single sample jumps around a little
- Converts millivolts to thermistor ohms with the divider rule R = 10000 × (3300 - mV) / mV
- Converts ohms to kelvin with the B equation, then to °C and °F
- Prints a warning if GPIO4 is close to 0V (probe unplugged) or at the ADC's maximum (short circuit)
- Repeats every 1000 milliseconds
Detailed Instructions
- New to the ESP32 C3 Super Mini? Work through Getting Started with ESP32 C3 Mini once, so the ESP32 board package is ready in the Arduino IDE.
- Build the circuit: Seat the board on the breadboard, then add the probe and the 10K resistor following the wiring table.
- Plug in: Join the ESP32 C3 Super Mini and the PC with a USB Type-C cable.
- Board and port: Under Tools, select ESP32C3 Dev Module and the COM port that appeared for the board.
- Paste the sketch: Start a new sketch and paste the code. Nothing has to be installed from the Library Manager.
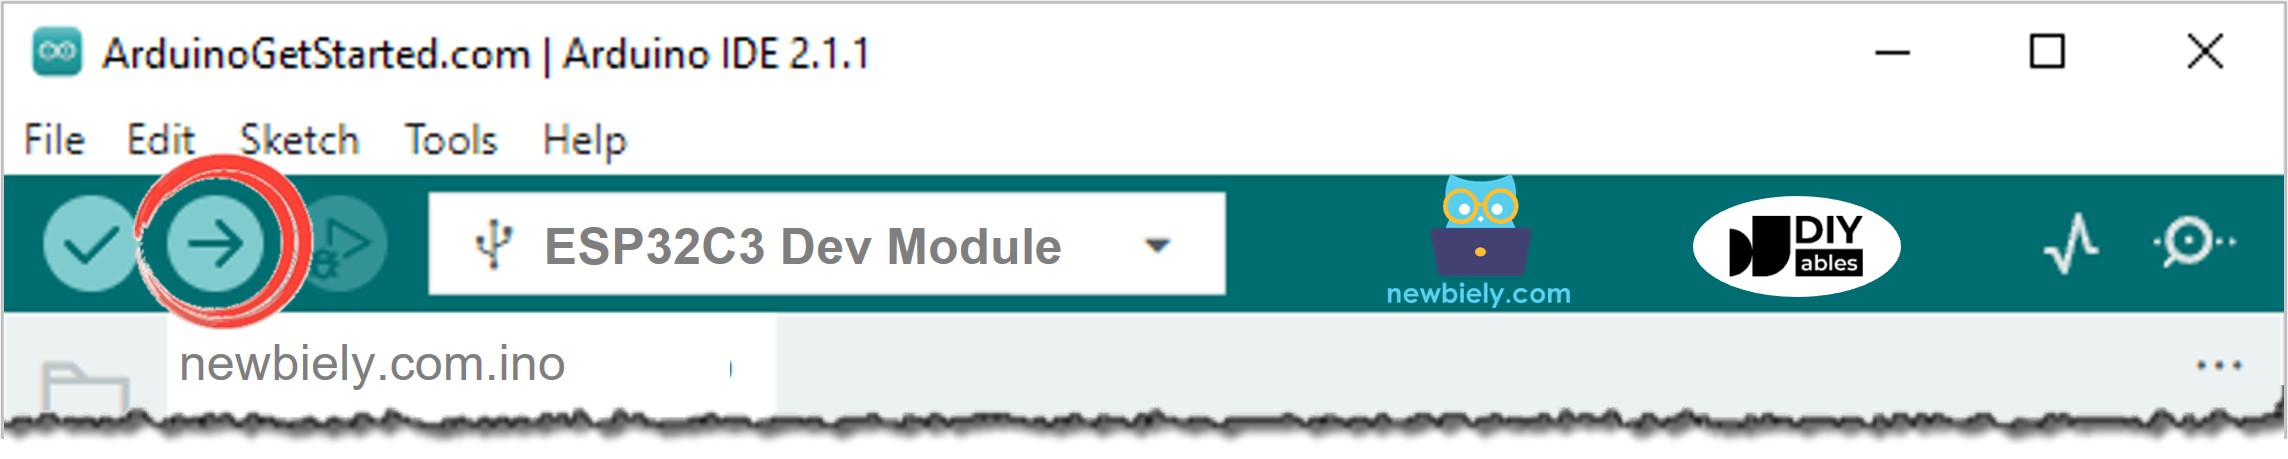
- Upload: Press Upload and wait until "Done uploading" shows.
- Serial Monitor: Open it at 115200 baud.
- Warm, then cold: Leave the probe on the table for the first few readings. Next, dip only the steel end into a mug of lukewarm tap water. As soon as the value stops climbing, add a handful of ice cubes and stir gently with the probe. Everything except the steel end must stay dry, so hold the connector and the breadboard side well above the mug.
How to read this result:
- [1] to [3]: room air on a cool morning, close to 18.4°C.
- [4] to [8]: the steel end is in the warm water. The number climbs for about four seconds and settles at 33.4°C. The metal tube needs that moment to reach the water temperature, so read the value only after it has settled.
- [12] to [66]: the ice is in. Many lines were cut out here, and the counter at the start shows how many readings have gone by. As the ice melts, the water slowly gets colder.
- Watch the R column: it grows while T drops. This is the NTC behaviour from the table above.
- Pro Tip: If nothing appears in the Serial Monitor, set USB CDC On Boot to Enabled in the Tools menu, then upload once more. The message "GPIO4 is near 0V" usually means a jumper wire has left one of the plug sockets, or the probe is not on 3.3V. The message "GPIO4 is at the top of the ADC" points to two probe wires that touch, or to a resistor leg that misses GND.
Line-by-line Code Explanation
The above ESP32 C3 Super Mini code contains line-by-line explanation. Please read the comments in the code!
※ NOTE THAT:
Espressif specifies the ESP32-C3 ADC, at 11 dB attenuation, for roughly 0V to 2.5V. With this circuit, GPIO4 gets to 2.5V at about 52°C, so treat C3 readings above about 50°C as rough. Below that, analogReadMilliVolts() corrects most of the ADC error. For hot liquids or higher precision, an external ADC such as the ADS1115 helps. Whatever you measure, keep the probe at 105°C or below.
Applications and Project Ideas
The ESP32 C3 Super Mini also has WiFi and Bluetooth LE, so the temperature can go further than the Serial Monitor. Some ideas:
- Aquarium watch: keep the steel end under water and get a phone alert when the tank drifts outside 24°C to 28°C
- Fridge door alarm: rest the probe on a fridge shelf and beep when it stays above 8°C for a few minutes
- Seedling heat mat: bury the tip in the potting mix and switch the mat with a relay
- Home brewing log: save the temperature of a fermenting bucket each minute on a small web page
- Solar water heater check: fix the probe on the hot-water outlet to see when the heater is working
- Hydroponics reservoir: watch the nutrient water, because roots do not like it too warm
Video Tutorial
Watch the video below for a visual walkthrough of this project.
Challenge Yourself
Try these tasks to go further:
- Easy: Add "Too cold!" to the end of the line whenever the temperature drops under 15°C
- Easy: Track the lowest temperature since the board started and show it on every line
- Medium: Warn when GPIO4 goes above 2500mV, the top of the C3 ADC's best range
- Medium: Light an LED module on another pin while the temperature is outside 20°C to 28°C
- Advanced: Send the temperature to a gauge on your phone over Bluetooth LE, using the ESP32 C3 Super Mini Bluetooth Temperature Gauge example
- Advanced: Serve a small web page over WiFi that shows the temperature and refreshes every 5 seconds