
Arduino UNO R4 - MAX6675 Thermocouple Module
If you want to measure temperature with an Arduino UNO R4, there are many sensors to choose from. Some of the popular options include the DHTxx series, DS18B20, LM35, and TMP36, among others, each offering unique features and capabilities to suit your specific project needs.
But what if you want to measure the temperature of something as hot as a volcano (which can reach well over 1000°C or 1800°F) or something super-cold like liquid nitrogen (which can be around −195.8°C or −320°F)? In such cases, a normal temperature sensor will either melt or freeze completely.
So, how do you measure extremely hot or cold things? With a cunning pair of electric cables called a Thermocouple. A thermocouple is a type of temperature sensor that uses the thermoelectric effect to measure temperatures ranging from -330°F to +2460°F.
This tutorial will guide you on how to interface the MAX6675 thermocouple module - one of the most commonly used, inexpensive, yet accurate thermocouple modules - to an Arduino UNO R4. But first, let's take a quick refresher on the basics of thermocouples.
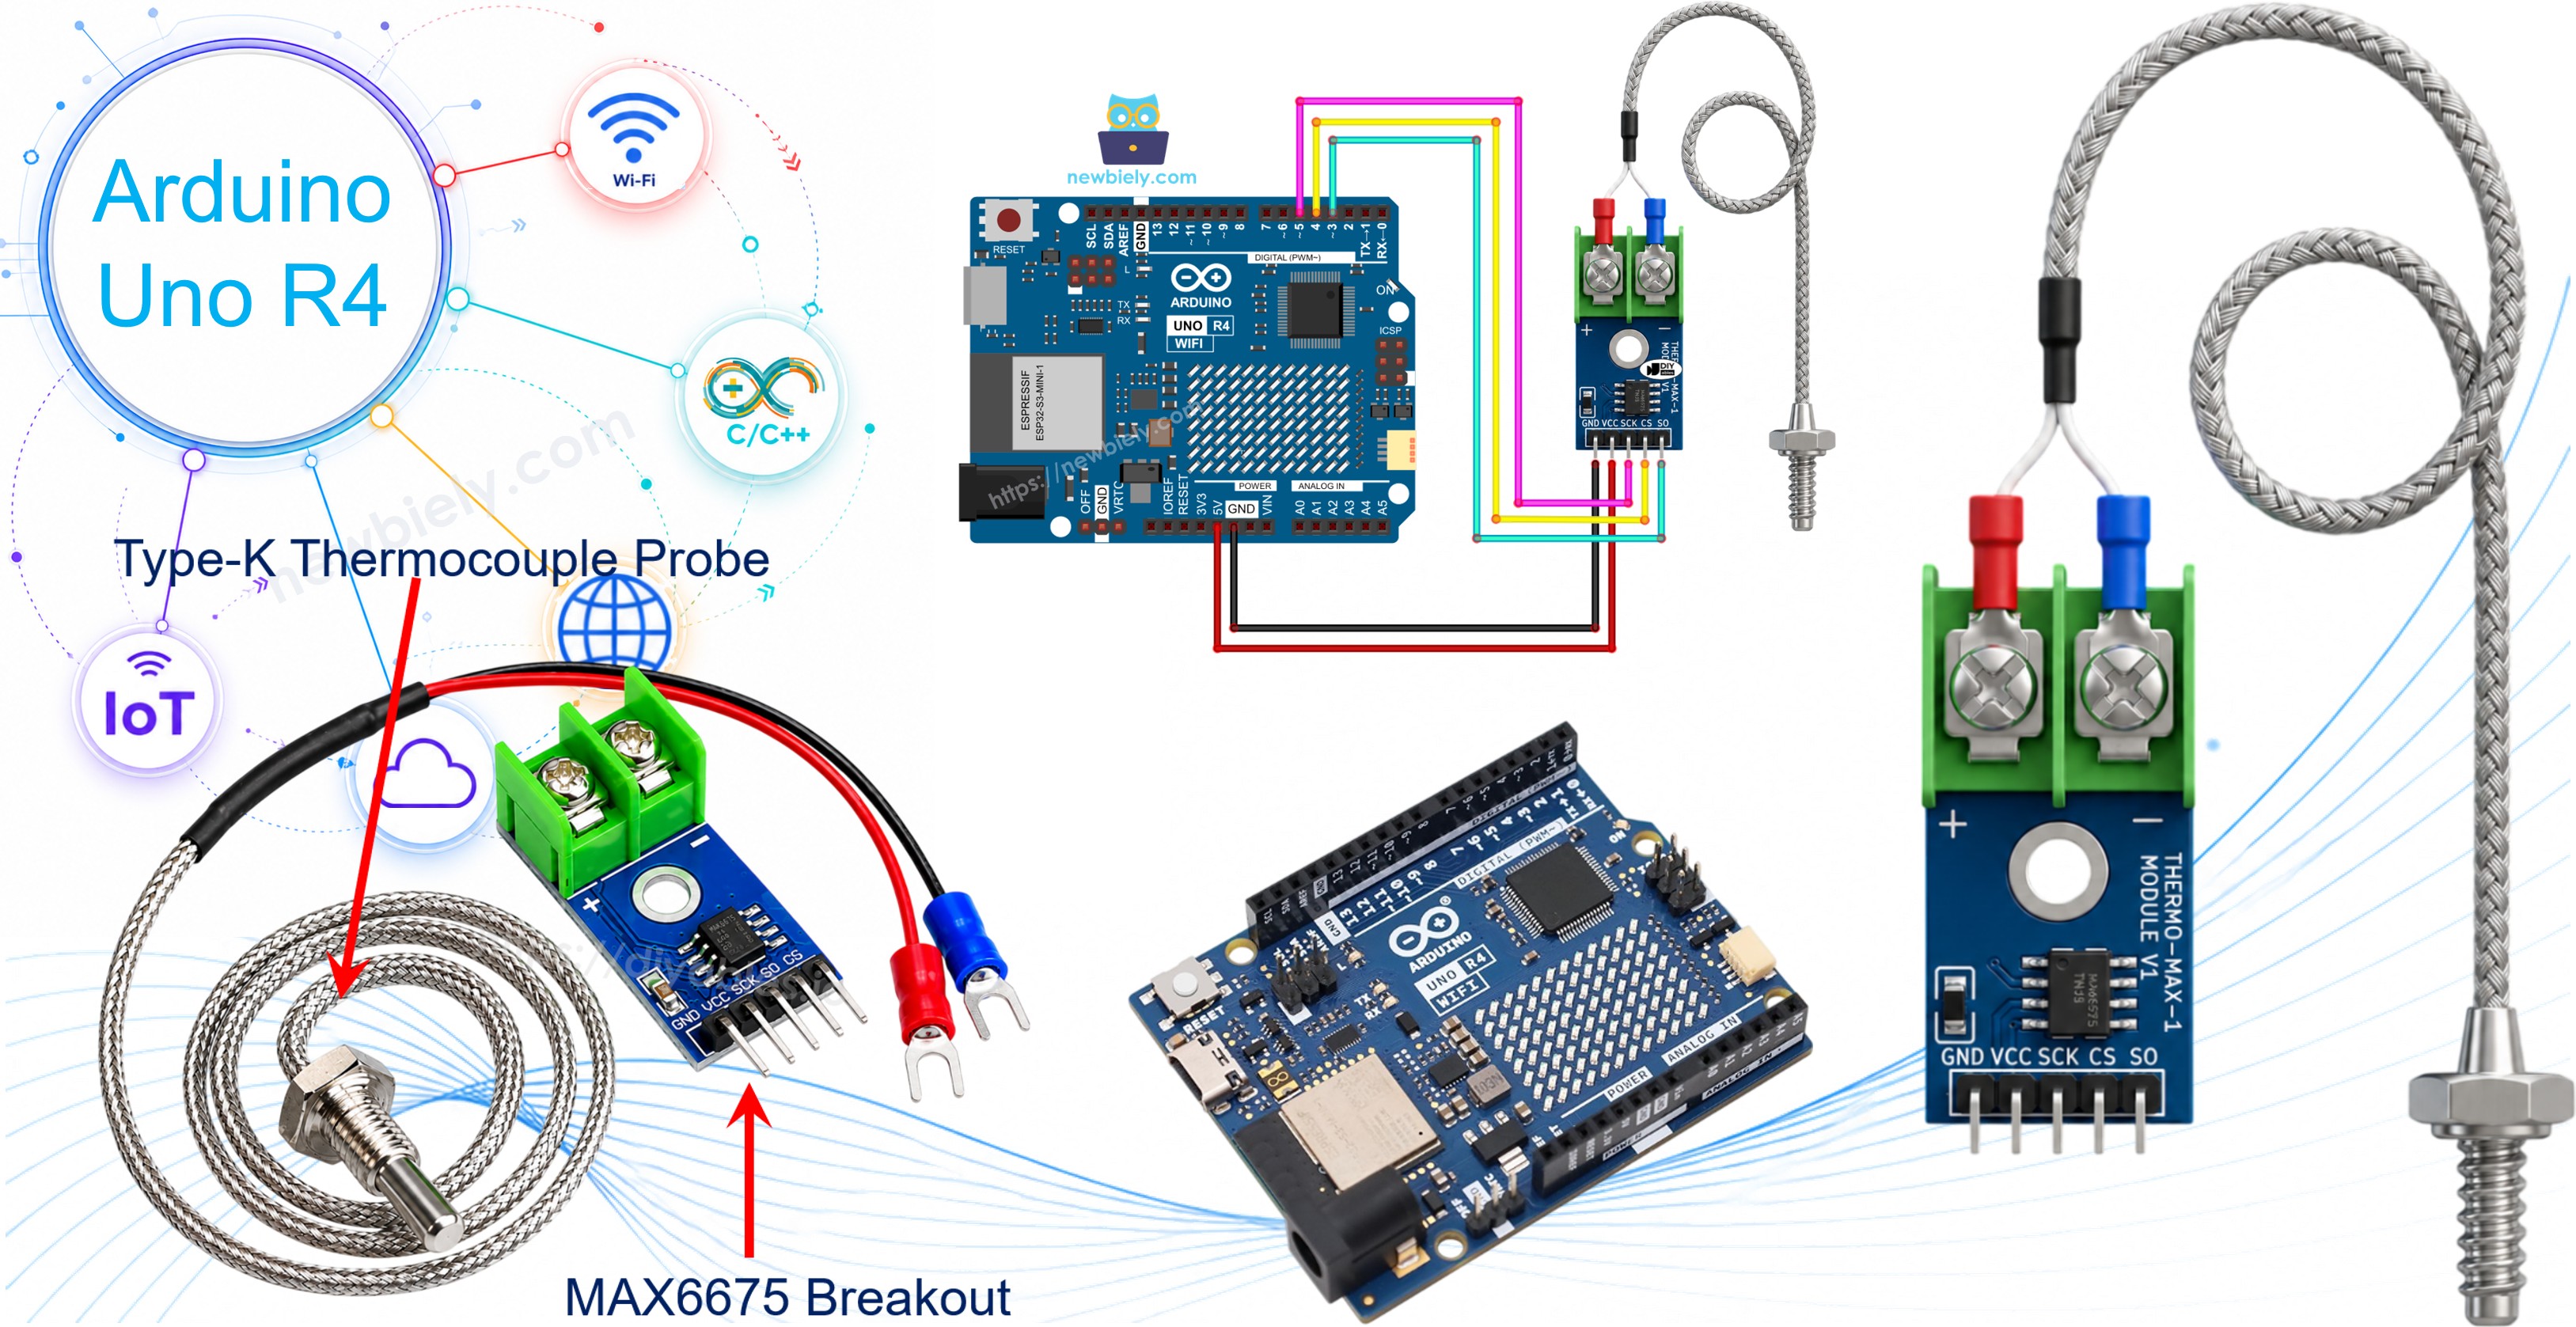
Hardware Preparation
Or you can buy the following kits:
| 1 | × | DIYables STEM V4 IoT Starter Kit (Arduino included) | |
| 1 | × | DIYables STEM V4B IoT Starter Kit (Arduino included) | |
| 1 | × | DIYables Sensor Kit (18 sensors/displays) |
Additionally, some of these links are for products from our own brand, DIYables .
Overview of MAX6675 Thermocouple Module
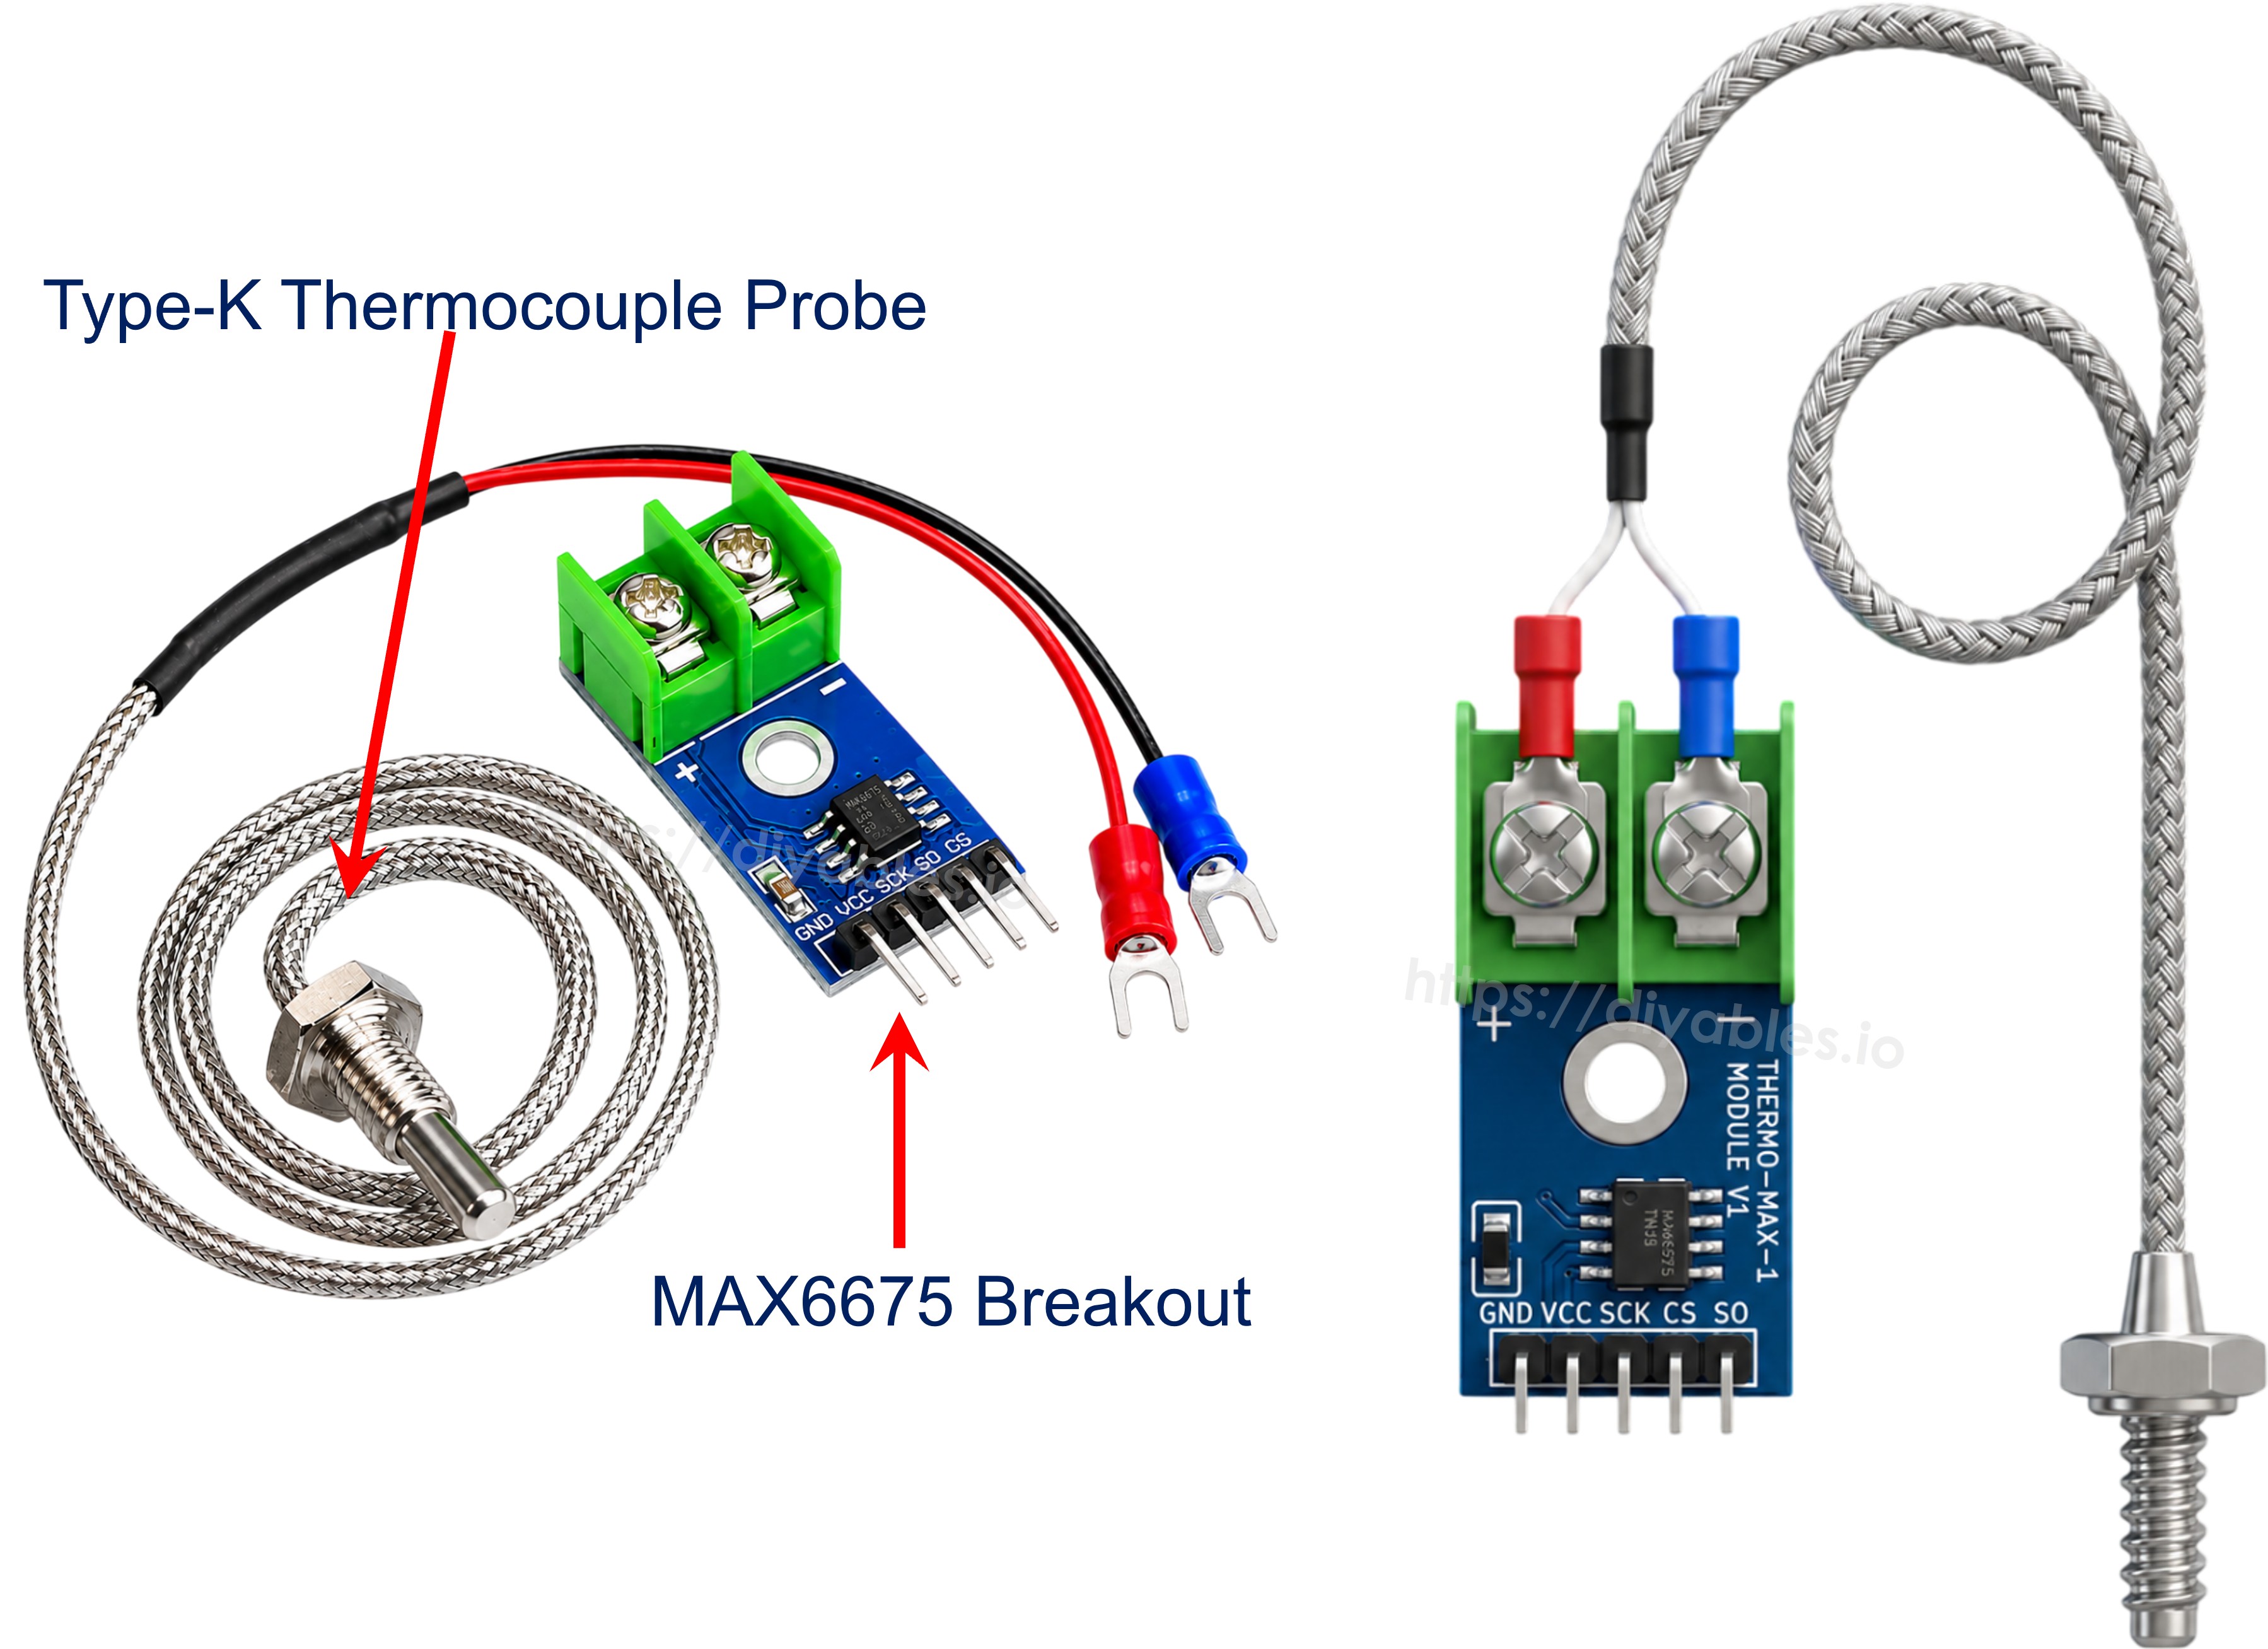
The MAX6675 thermocouple module includes a MAX6675 breakout board and a Type-K thermocouple probe.
Basics of Thermocouples
A thermocouple is a temperature sensor made of two different metal wires joined together at one end, called the hot junction. When the hot junction is heated, it produces a tiny voltage that changes with temperature. This simple principle allows a thermocouple to measure extremely high or low temperatures that would damage other types of sensors.
There are a few common thermocouple types (J, K, E, T, etc.), each made from a different pair of metals. The most widely used one is the Type-K thermocouple, which is made of Chromel and Alumel wires and can measure a very wide temperature range, roughly -328°F to +2300°F.
The voltage produced by a thermocouple is extremely small and not simple to convert into a temperature reading directly. That is why we need a dedicated chip to do this job for us - and that's exactly what the MAX6675 IC does.
MAX6675 Module Pinout
The breakout board reads the signal from the thermocouple probe, converts it into a temperature value, and sends it to the Arduino UNO R4 over SPI. It can measure temperatures from 0°C to +1024°C with an accuracy of about ±3°C, and it works with a power supply of 3.0V to 5.5V.
- VCC: power pin, connect to 3V - 5V.
- GND: ground pin.
- SCK: SPI clock pin.
- CS: chip select pin.
- SO: data pin, sends the temperature reading to the Arduino UNO R4.
On the other side of the module, there is a 2-pin terminal block for the thermocouple probe: connect the red wire to + and the blue wire to -.
Type-K Thermocouple Probe
The probe included with the module is about 18 inches long and can measure temperatures from 0°C to 80°C. The red wire is the positive lead, and the blue wire is the negative lead.
Technical Specifications
- Operating Voltage: 3.0V to 5.5V
- Interface: SPI
- Temperature Range: 0 – 1024°C (MAX6675), 0 – 80°C (supplied probe)
- Accuracy: ±3°C
Wiring Diagram
Connect the VCC pin on the module to 5V on the Arduino UNO R4 and the GND pin to ground. Then connect three digital pins on the Arduino UNO R4 to use as the SPI interface. Finally, attach the thermocouple probe to the module: connect the red wire to the '+' terminal of the module, and the blue wire to the '-' terminal.
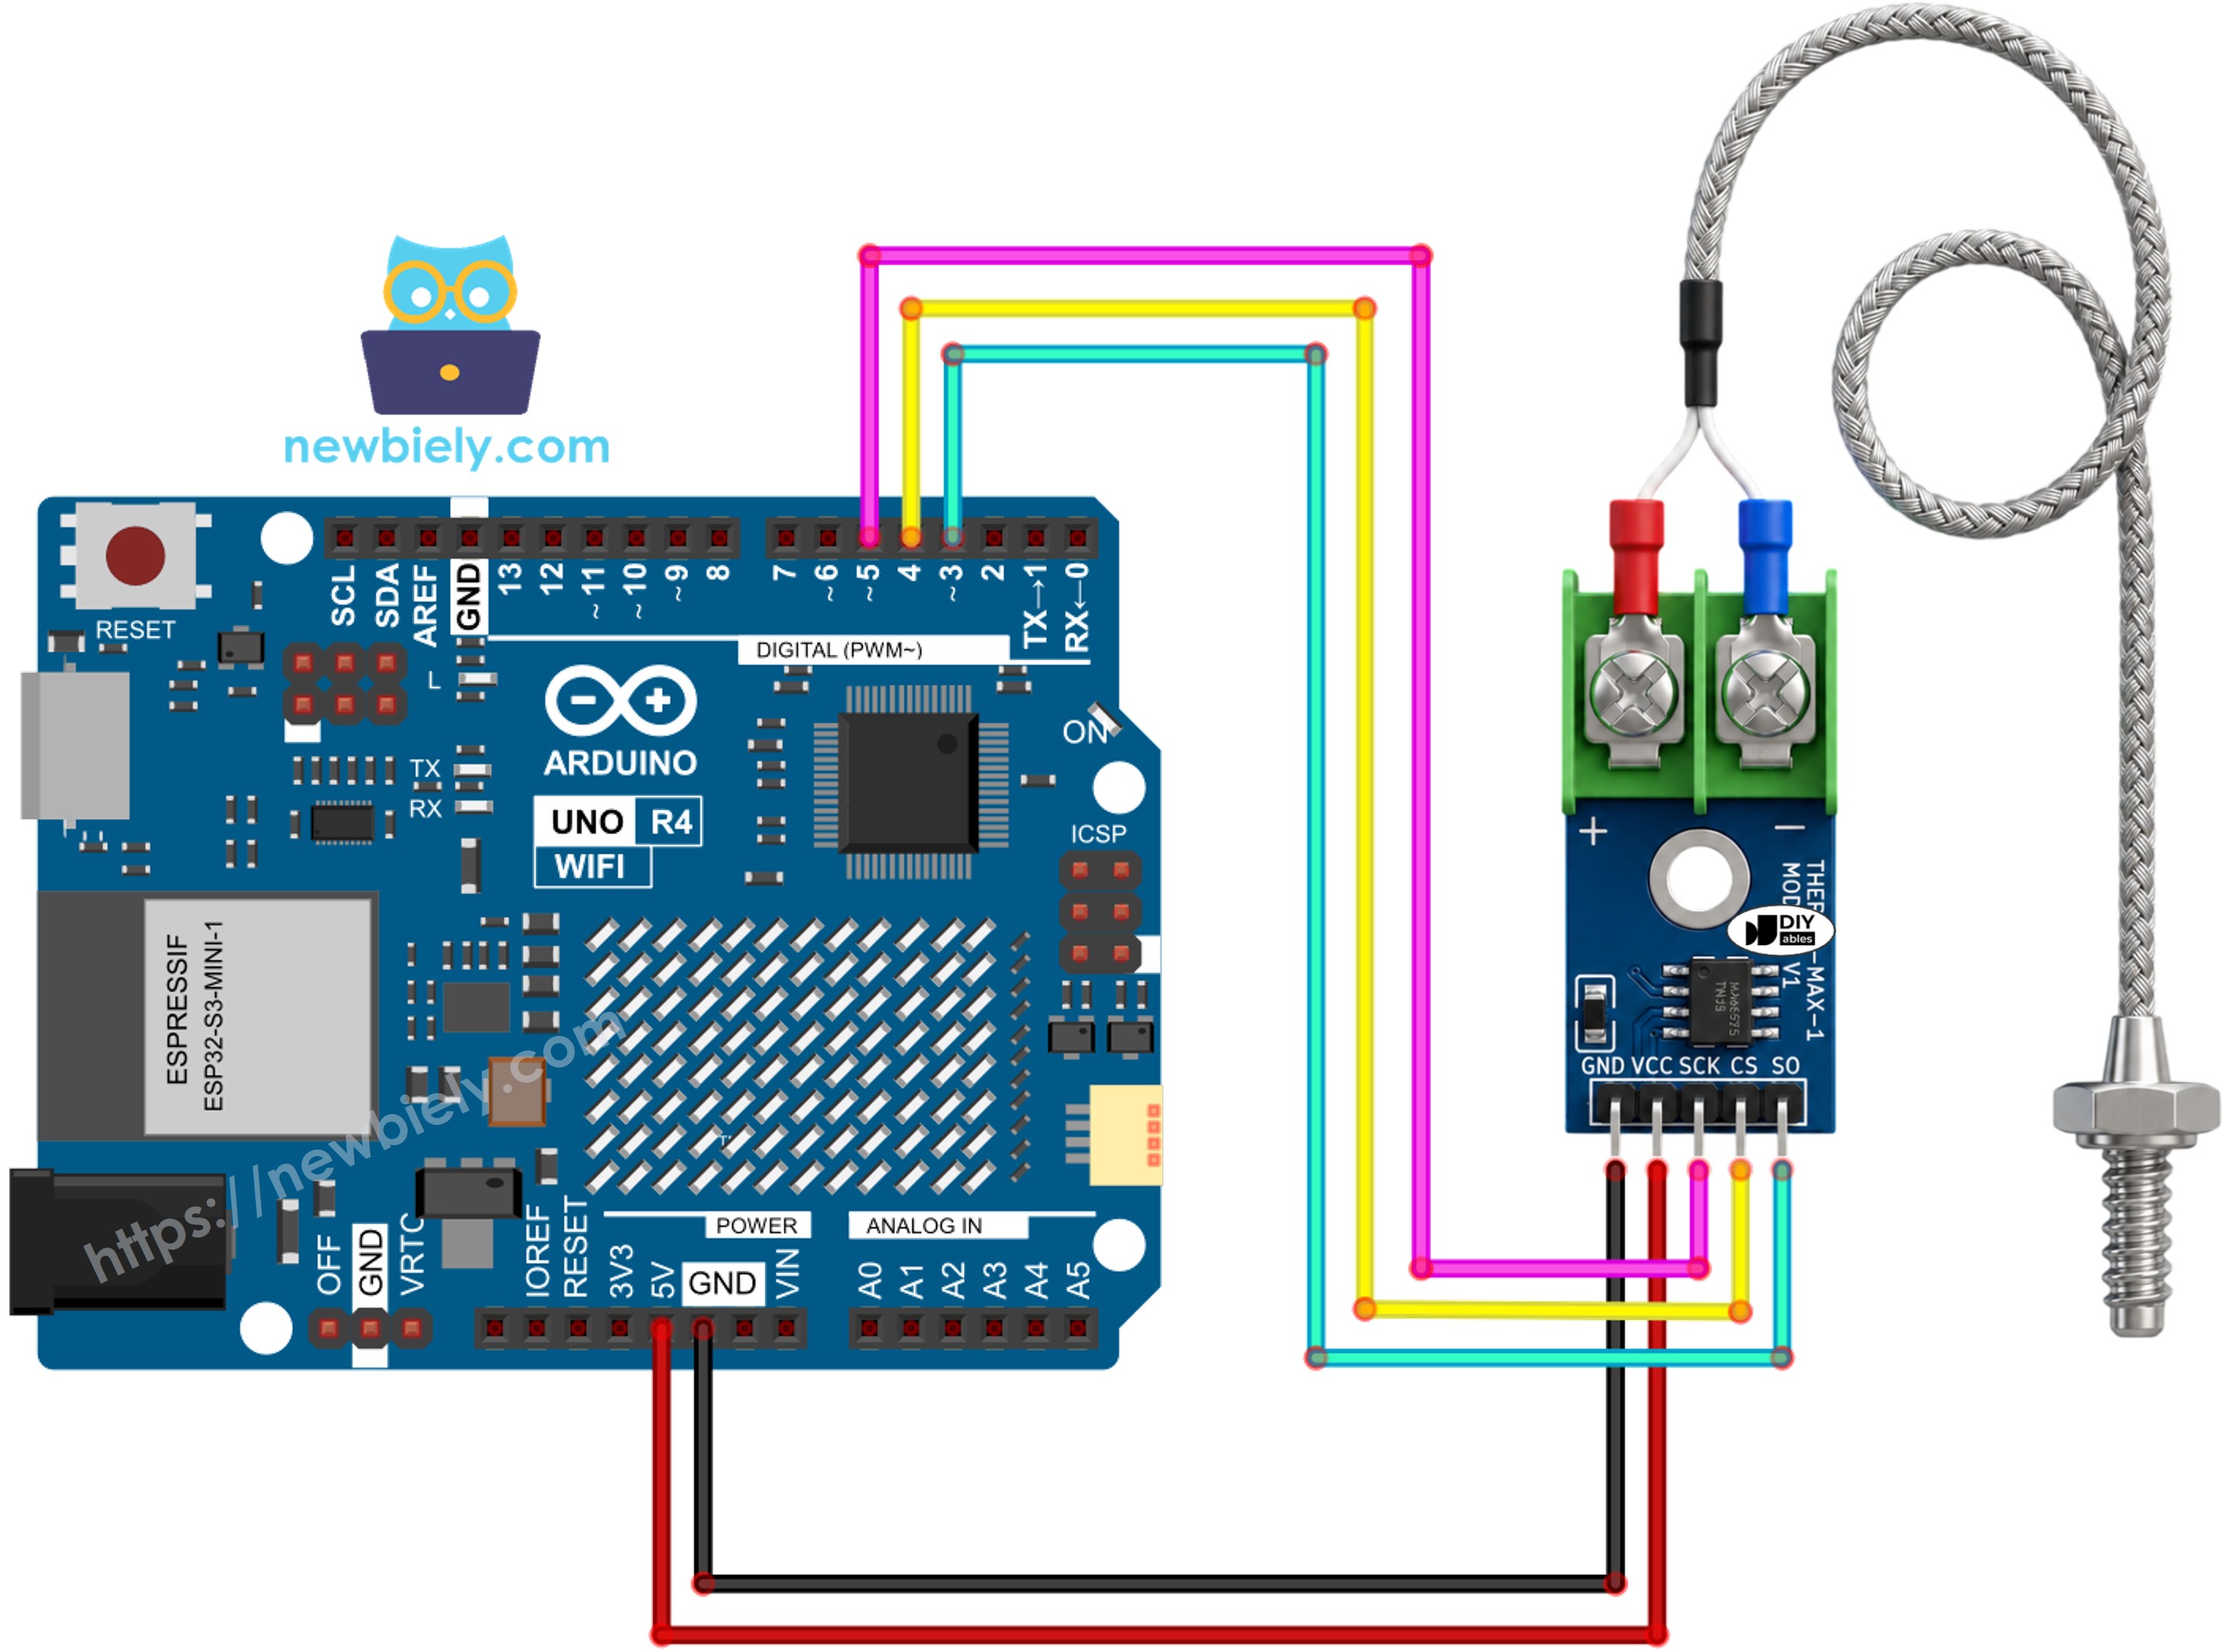
This image is created using Fritzing. Click to enlarge image
See The best way to supply power to the Arduino Uno R4 and other components.
Wiring table of MAX6675 Module and Arduino UNO R4
| MAX6675 Module | Arduino UNO R4 |
|---|---|
| VCC | → 5V |
| GND | → GND |
| SCK | → 5 |
| CS | → 4 |
| SO | → 3 |
Arduino UNO R4 Code
Detailed Instructions
Follow these instructions step by step:
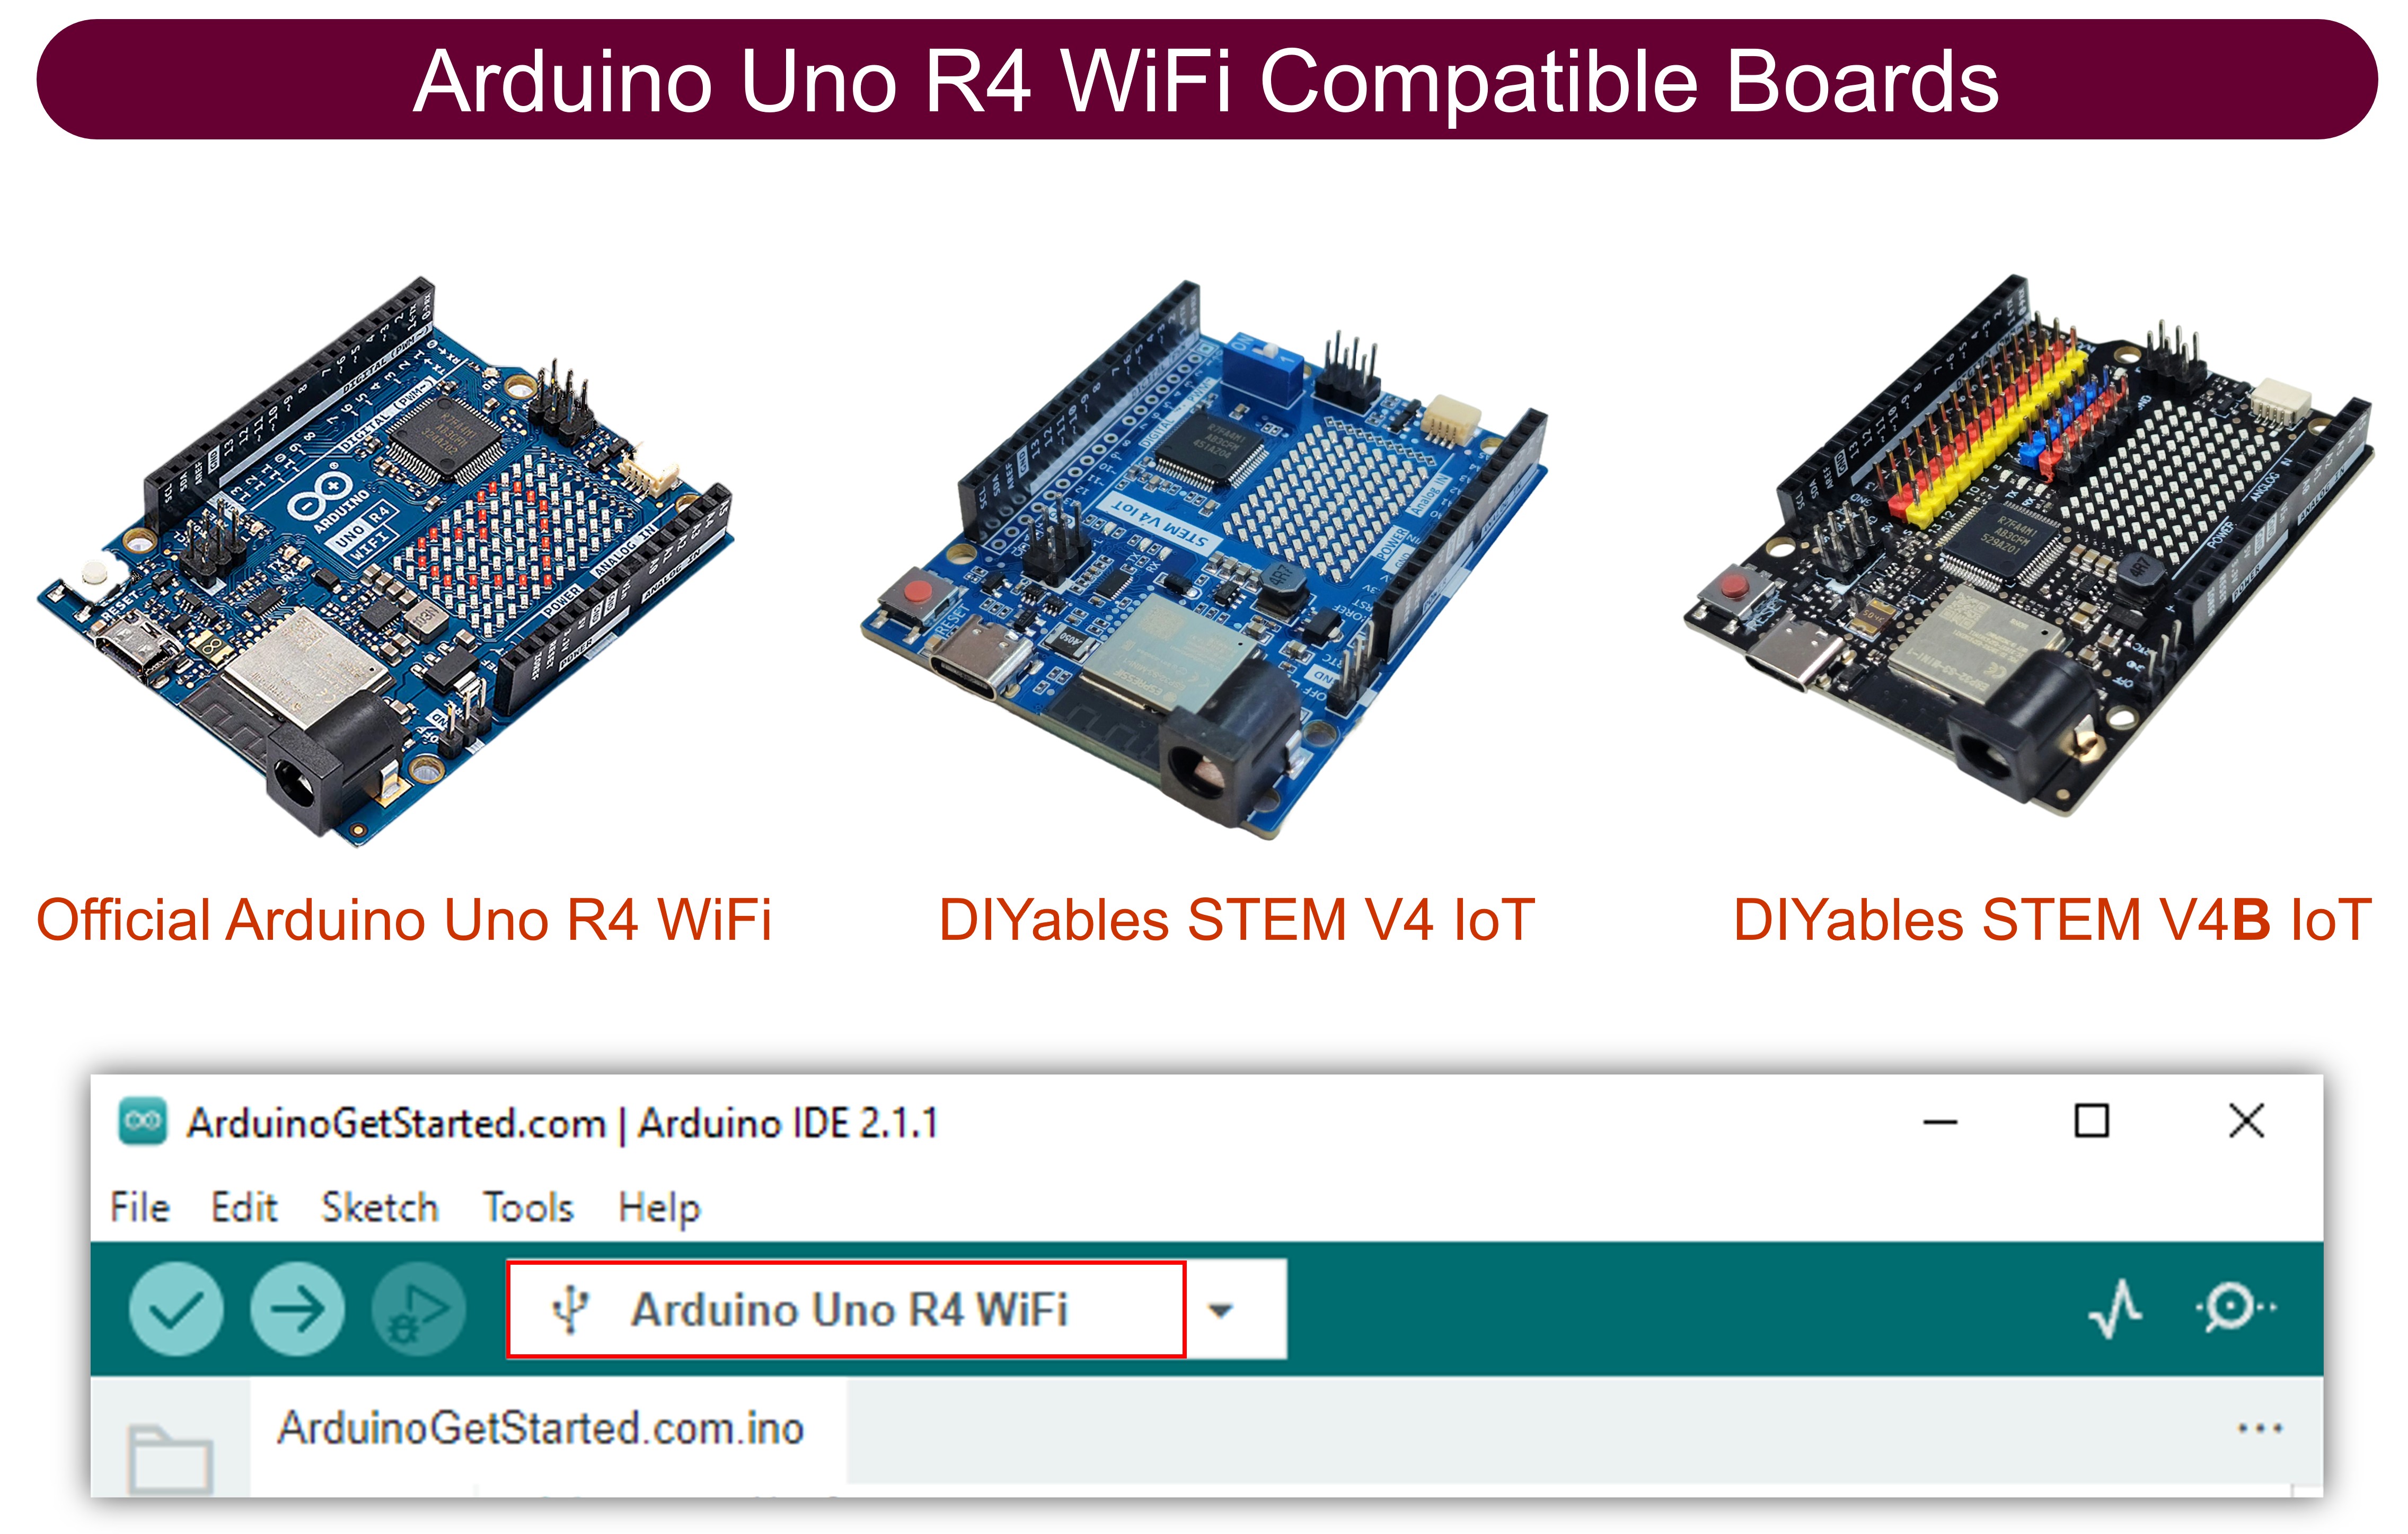
- If this is your first time using the Arduino Uno R4 WiFi/Minima, refer to the tutorial on setting up the environment for Arduino Uno R4 WiFi/Minima in the Arduino IDE.
- Connect the MAX6675 module to the Arduino Uno R4 according to the provided diagram.
- Connect the Arduino Uno R4 board to your computer using a USB cable.
- Launch the Arduino IDE on your computer.
- Select the appropriate Arduino Uno R4 board (e.g., Arduino Uno R4 WiFi) and COM port.
- Go to the Libraries icon on the left side of the Arduino IDE.
- Search for "MAX6675" and locate the library by Adafruit.
- Click the Install button to add the MAX6675 library.
- Search for MAX6675 library created by Adafruit and click the Install button.
- Copy the code above and open it in Arduino IDE.
- Click the Upload button in Arduino IDE to upload the code to Arduino UNO R4.
- Place the thermocouple in contact with the material to be measured.
- Open the Serial Monitor.
- Check the results on the Serial Monitor.
※ NOTE THAT:
If the temperature displayed on the Serial Monitor does not change or seems incorrect, double check the wiring between the module and the Arduino UNO R4, and make sure the Type-K thermocouple probe is firmly connected to the '+' and '-' terminals.
Code Explanation
The sketch begins by including the MAX6675 header file. It allows the Arduino UNO R4 to interact with the MAX6675 module.
In the global area, three integers SO_PIN, CS_PIN, and SCK_PIN are declared, specifying the Arduino UNO R4 pins connected to the module's serial out (SO), chip select (CS), and clock (SCK) pins.
Next, an instance of the MAX6675 class called thermocouple is created. It initializes the thermocouple object with the defined SCK, CS, and SO pins.
The setup() function initializes the serial communication with the computer at a baud rate of 9600.
In the loop(), we read from the MAX6675 thermocouple and print the result to the Serial Monitor using two library functions:
- Thermocouple.readCelsius(): returns the temperature in Celsius.
- Thermocouple.readFahrenheit(): returns the temperature in Fahrenheit.
The loop continues executing indefinitely, repeatedly reading and printing the temperature every second.