Arduino Nano - HTTP Request
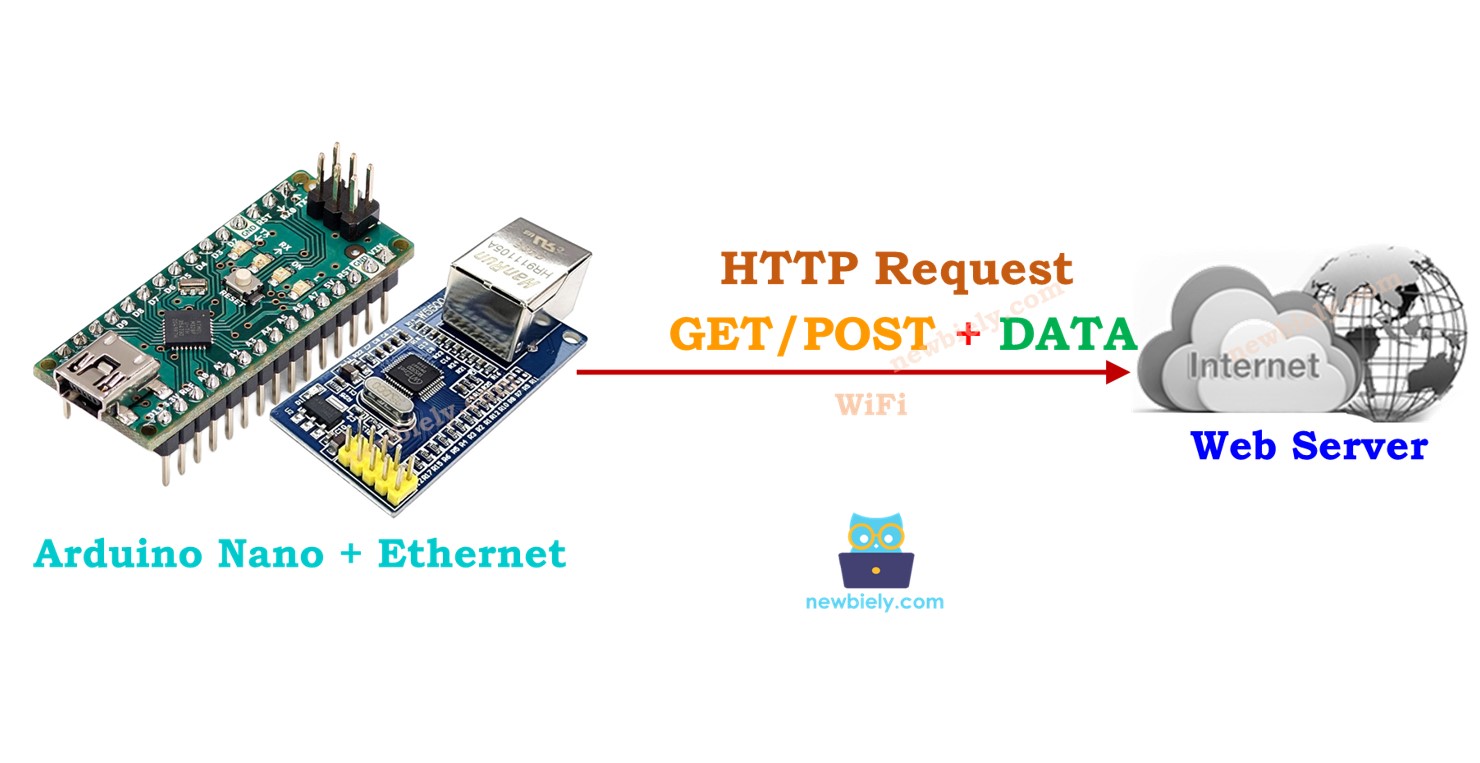
Arduino Nano can act as a web client, sending HTTP requests to a web server. This web server could be a website, Web API, REST API, or Web service...
This tutorial instructs you how to use Arduino Nano to make HTTP Request to a web server. In detail, we will learn:
- The fundamentals of web client and web server
- How to create an HTTP request (GET and POST)
- How to send data to a web server (a website, WEB API or REST API)
- Arduino Nano code:
- Making HTTP GET/POST requests using Arduino Nano and Ethernet module
- Making HTTP GET request and sending data using Arduino Nano and Ethernet module
- Making HTTP POST request and sending data using Arduino Nano and Ethernet module
- Create a web client object.
- Establish a connection to the web server.
- If connected to the server, send an HTTP request.
- Retrieve the response data from the web server.
- HTTP GET request:
- Data can only be sent in the query string.
- The data is appended to the URL.
- HTTP POST request:
- Data can be sent in various formats like query string, JSON, XML, images, etc.
- The data is placed in the HTTP request body.
- Construct the query string (if needed).
- Build the HTTP request.
- Send the request.
- Construct the query string
- Build the code for sending Data in the HTTP request
- HTTP GET: add a query string to the pathname
- HTTP POST: transmit the query string in the HTTP body
- Retrieve the response data from the web server.
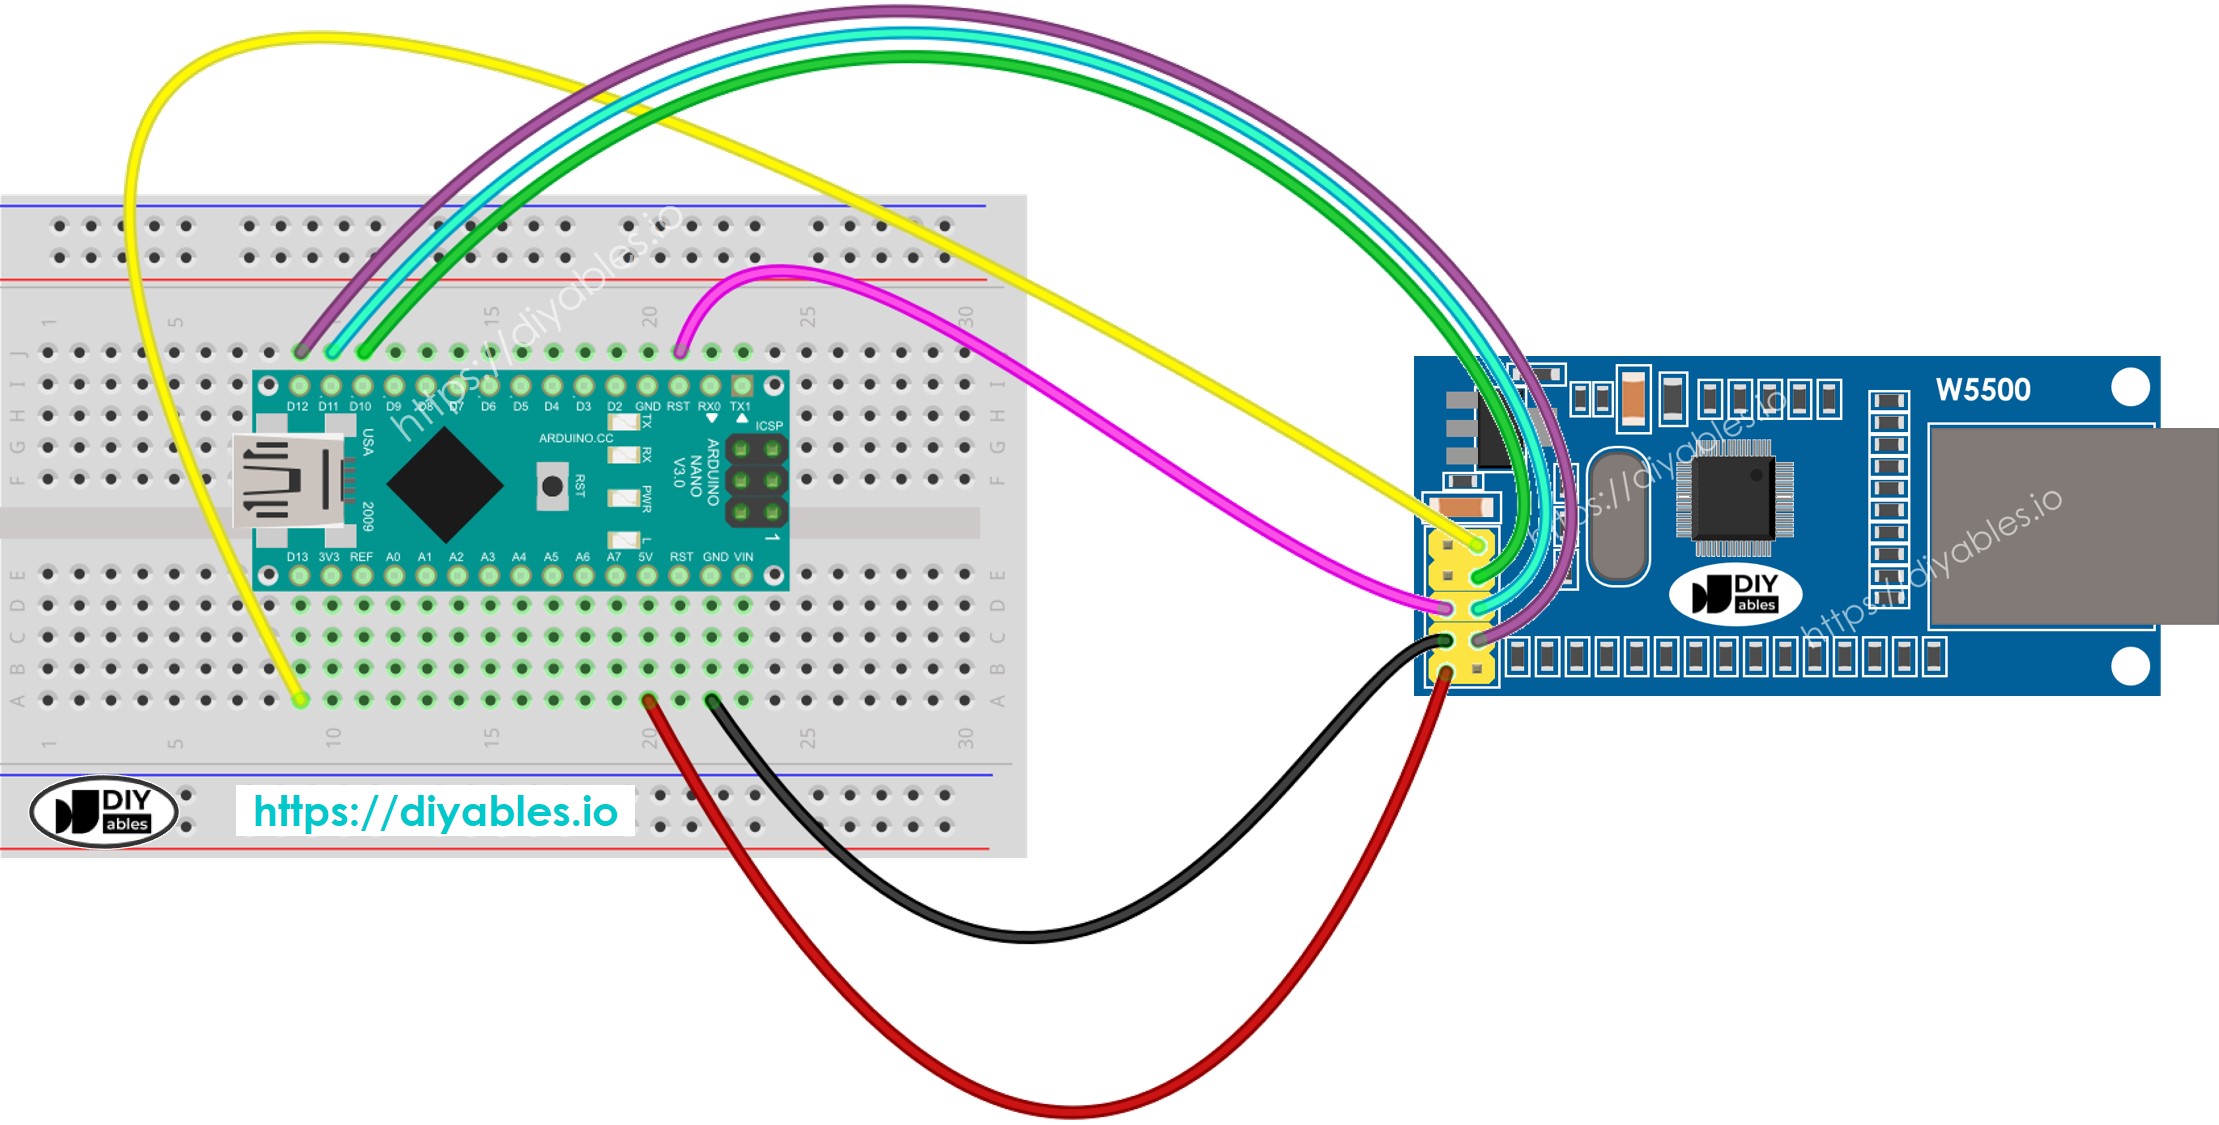
- Connect the Arduino Nano to the Ethernet module according to the above wiring diagram.
- Connect an Ethernet Cable to the Ethernet module.
- Connect the Arduino Nano to a PC using a USB cable.
- Launch the Arduino IDE on your PC.
- Select Arduino Nano board and corresponding COM port
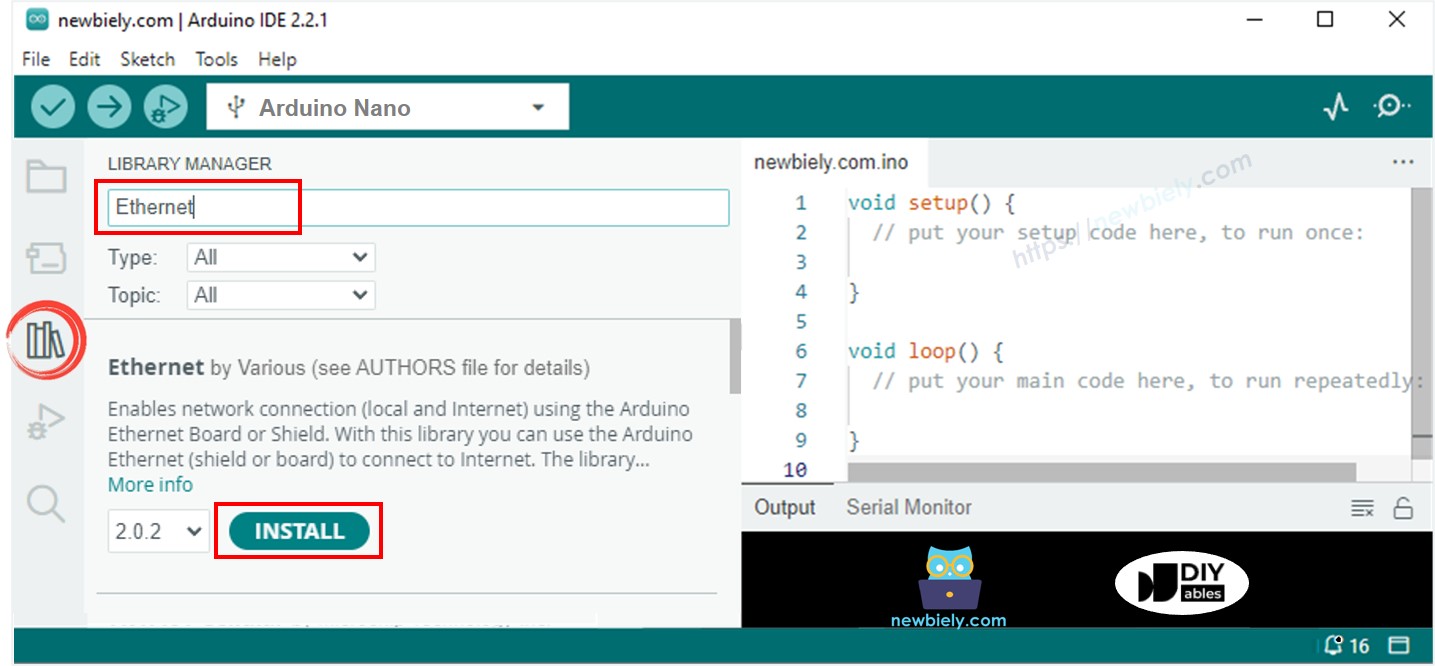
- Click to the Libraries icon on the left bar of the Arduino IDE.
- Search “Ethernet”, then find the Ethernet library by Various
- Click Install button to install Ethernet library.
- Copy the above code and open with Arduino IDE
- Click Upload button on Arduino IDE to upload code to Arduino Nano
- Open the Serial Monitor
- Check out the result on Serial Monitor.

Hardware Preparation
Or you can buy the following kits:
| 1 | × | DIYables Sensor Kit (30 sensors/displays) | |
| 1 | × | DIYables Sensor Kit (18 sensors/displays) |
Additionally, some of these links are for products from our own brand, DIYables .
Basic Concepts of Web Client and Web Server
Some key web concepts include web address (URL), hostname, pathname, query string, and HTTP request. You can learn more about these in detail in the HTTP tutorial.
Wiring Diagram between Arduino Nano and W5500 Ethernet module

This image is created using Fritzing. Click to enlarge image
See The best way to supply power to the Arduino Nano and other components.
How to Make an HTTP Request using Arduino and Ethernet module
Declare the request method, port for HTTP, hostname, pathname, query string and headers that are related to the code.
How to Send Data to a Web Server
We can include data in an HTTP request, and the format depends on the HTTP request method:
Steps to send an HTTP request:
For example:
Arduino Nano Code - Making HTTP Request
This is the full Arduino Nano code for making HTTP GET and POST requests.
Detailed Instructions

Please note that the above code demonstrates how to make an HTTP request. You need to replace the URL and queryString with your own values to make it work.
