Arduino Nano - Micro SD Card
This tutorial instructs you how to use the Micro SD Card with Arduino Nano. In detail, we will learn:
- How to connect a Micro SD Card to Arduino Nano.
- How to program Arduino Nano to open a file on the Micro SD Card and create it if it does not already exist.
- How to program Arduino Nano to write data to a file on the Micro SD Card.
- How to program Arduino Nano to read a file on the Micro SD Card character-by-character.
- How to program Arduino Nano to read a file on the Micro SD Card line-by-line.
- How to program Arduino Nano to append content to an existing file on the Micro SD Card.
- How to program Arduino Nano to overwrite a file on the Micro SD Card.
Hardware Preparation
Or you can buy the following kits:
| 1 | × | DIYables Sensor Kit (18 sensors/displays) |
Additionally, some of these links are for products from our own brand, DIYables .
Overview of Micro SD Card Module
The Micro SD Card Module is a connection between Arduino Nano and a Micro SD Card. It facilitates communication between the two, allowing the Arduino Nano to access the Micro SD Card.
The Micro SD Card Module Pinout
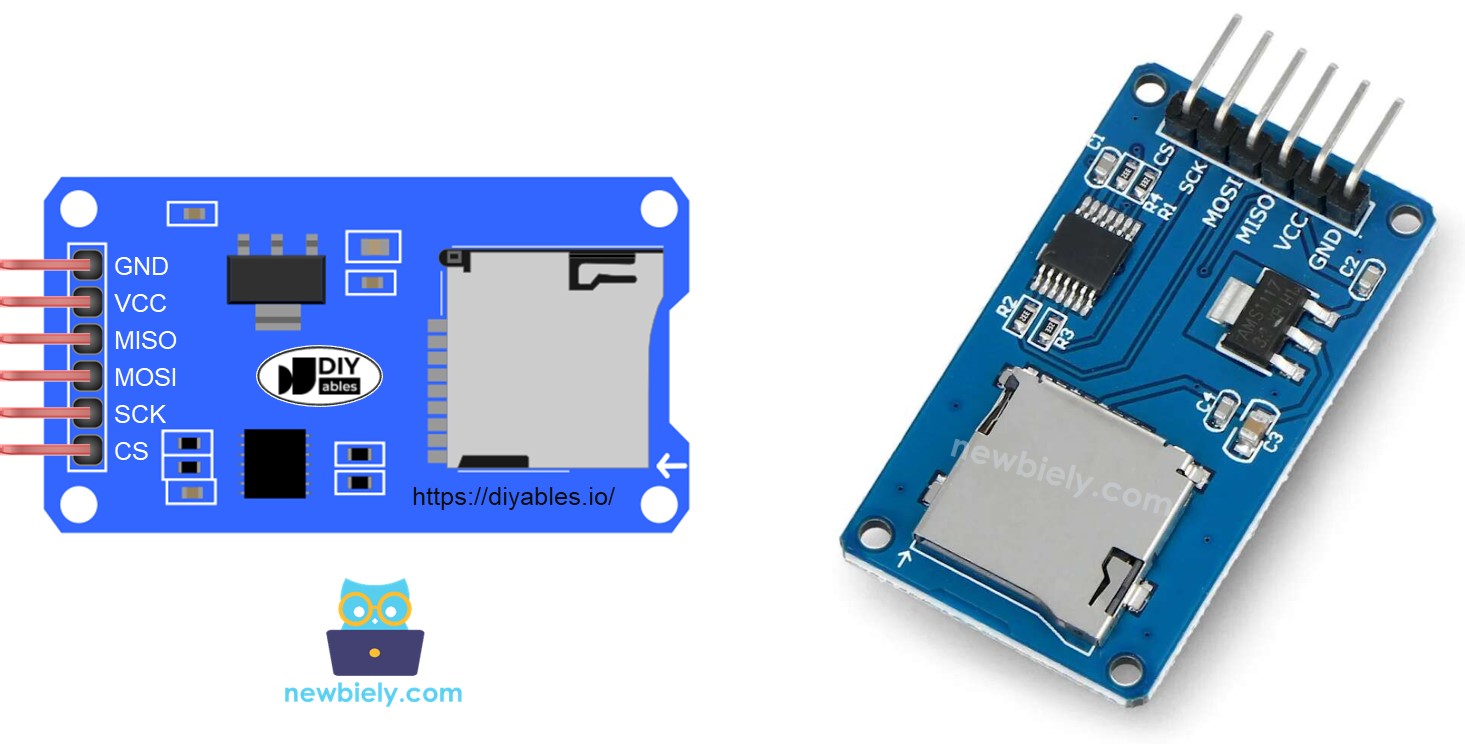
The Micro SD Card Module has 6 pins:
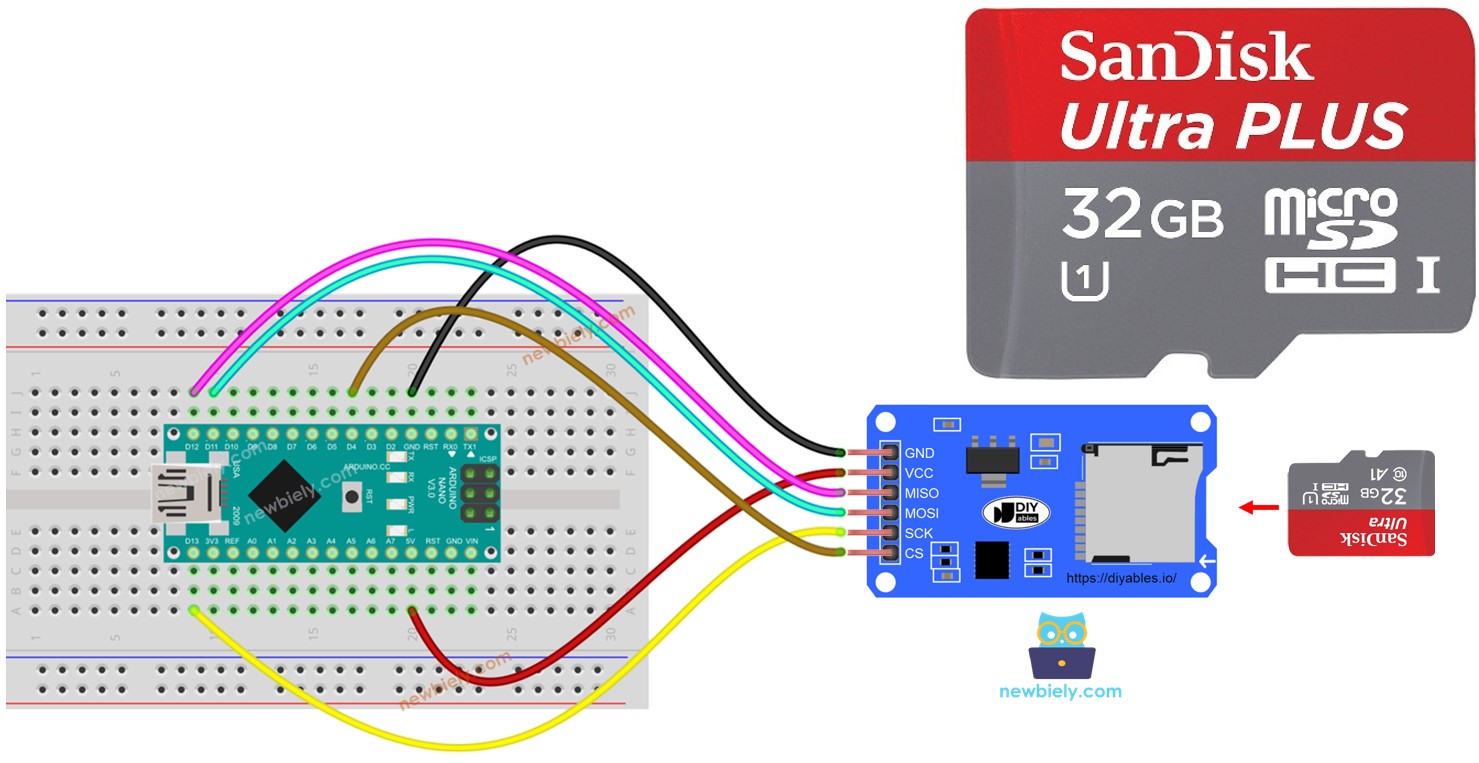
- VCC pin: This should be connected to the Arduino's 5V pin.
- GND pin: This should be connected to the Arduino's GND.
- MISO pin: (Master In Slave Out) This should be connected to the Arduino's MOSI pin.
- MOSI pin: (Master Out Slave In) This should be connected to the Arduino's MISO pin.
- SCK pin: This should be connected to the Arduino's SCK pin.
- SS pin: (Slave Select) This should be connected to the pin specified in Arduino Nano code as a SS pin.
Preparation
Make sure that the Micro SD Card is formatted as either FAT16 or FAT32 (search online for more information).
Wiring Diagram
- You can use male-to-female jumper wires to connect the micro SD Card module to Arduino Nano
This image is created using Fritzing. Click to enlarge image
- Or you can plug the micro SD Card module to breadboard and then use the male-to-male jumper wires
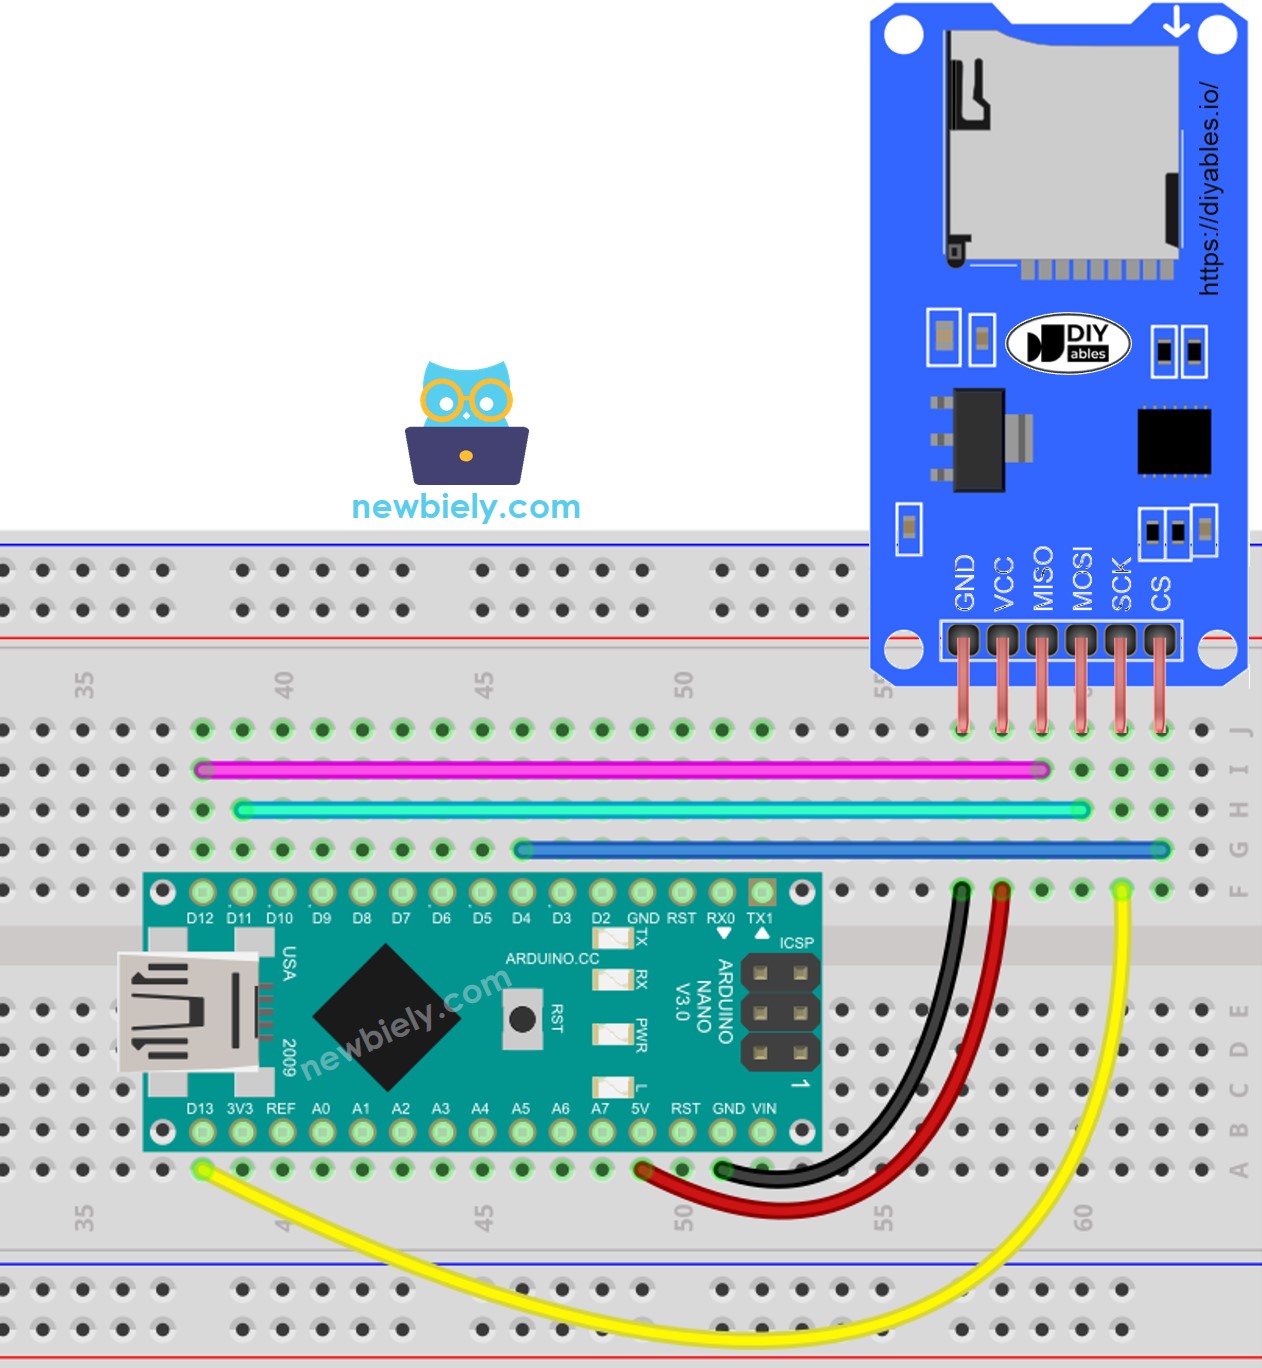
This image is created using Fritzing. Click to enlarge image
See The best way to supply power to the Arduino Nano and other components.
Arduino Nano - How to open a file on Micro SD Card and create if not existed
Arduino Nano Code
Detailed Instructions
- Place the Micro SD Card into the Micro SD Card module.
- Follow the wiring diagram to connect the Micro SD Card module to the Arduino Nano.
- Connect the Arduino Nano to a computer using a USB cable.
- Open the Arduino IDE and select the appropriate board and port.
- Open the Serial Monitor in the Arduino IDE.
- Copy and paste the code below into the Arduino IDE.
- Click the Upload button on the Arduino IDE to compile and upload the code to the Arduino Nano.
- Check the Serial Monitor for the output of the first execution.
- The output that will appear on the Serial Monitor for subsequent executions
※ NOTE THAT:
You may not observe the output on the Serial Monitor if the first upload is done before opening the Serial Monitor.
- Remove the Micro SD Card from the module.
- Put the Micro SD Card into an USB SD Card reader.
- Link the USB SD Card reader to the PC.
- Verify if the file is present or not.
Arduino Nano - How to write/read data to/from a file on Micro SD Card
The following code:
- Saves data to a file
- Reads the content of the file character-by-character and displays it on the Serial Monitor
- The Serial Monitor displayed the contents of the file.
※ NOTE THAT:
By default, the data will be added to the end of the file. If you restart Arduino Nano with the code above, the text will be added to the file again. This will result in the Serial Monitor displaying more lines as follows:
You can remove the Micro SD Card from the module and view its contents on your computer using a USB SD Card reader.
Arduino Nano - How to read a file on Micro SD Card line-by-line
- The outcome displayed on the Serial Monitor.
※ NOTE THAT:
You may observe additional lines on the Serial Monitor if the file's content is not erased beforehand.
Arduino Nano - How to overwrite a file on Micro SD Card
By default, the content will be added to the end of the file. The easiest way to overwrite a file is to delete the existing file and create a new one with the same name.
- The outcome displayed on the Serial Monitor.
- Restart Arduino Nano
- Verify if the material in the file is added to the Serial Monitor or not.
You can remove the Micro SD Card from the module and view its contents on your PC. A USB SD Card reader is required for this.