How to Power Arduino Nano
You might have come across information online about two different methods to power the Arduino Nano: using the USB port, or the Vin pin. But which method is the safest and most effective, especially when you need to power additional components like sensors, displays, or motors? In this tutorial, we will explore the best ways to power your Arduino Nano for both simple and more complex projects, ensuring all your devices remain stable and protected.

In detail, we will cover:
- Two methods to power the Arduino Nano
- The most effective way to power the Arduino Nano
- Powering the Arduino Nano along with external components
- A recommended setup using a power splitter
Hardware Preparation
Or you can buy the following kits:
| 1 | × | DIYables Sensor Kit (30 sensors/displays) | |
| 1 | × | DIYables Sensor Kit (18 sensors/displays) |
Additionally, some of these links are for products from our own brand, DIYables .
Two Ways to Power the Arduino Nano

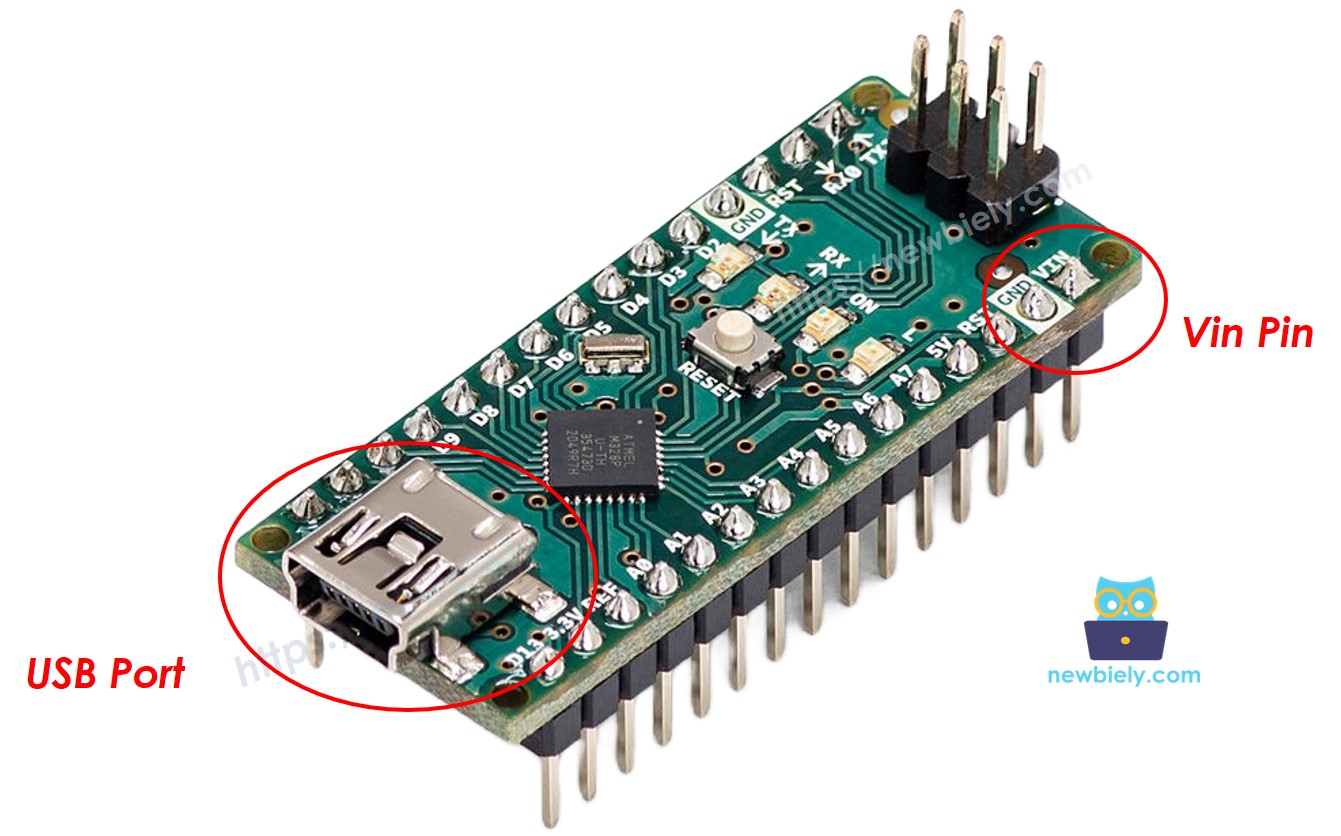
- Power via USB Port (5V): This method delivers a consistent 5V directly from your computer or a USB power adapter. It is straightforward and safe for most Arduino projects since the voltage remains regulated without additional adjustments.
- Power via Vin Pin (6-24V): When you supply 6-24V through the Vin pin, the Arduino’s onboard regulator converts it down to 5V. However, commonly available power adapters are typically 9V or 12V, which can cause the Arduino to become quite warm due to the higher input voltage.
What Is the Best Way to Power the Arduino Nano?
If powering the Arduino Nano through the Vin pin, you need to use a voltage within the 6-24V range. However, most available power adapters are 5V, 9V, or 12V:
- If using 5V Power Source via Vin Pin: While it might work, this setup can be unstable because the voltage may be insufficient for the onboard regulator to function properly.
- If using 9V or 12V Power Source via Vin Pin: This provides a more stable power supply, but it often causes the Arduino board to become hot.
Therefore, the best option is to power the Arduino Nano using a 5V power source through the USB port.
Powering External Components
Many projects require not only the Arduino but also other components like sensors, displays, and motors. Powering these external parts directly from the Arduino’s 5V pin is not recommended because it can draw too much current through the board’s regulator, potentially damaging the Arduino Nano.
Instead, you should power the external components—such as sensors, displays, and motors—separately. The next section will demonstrate how to achieve this.
Recommended Setup with a Power Splitter
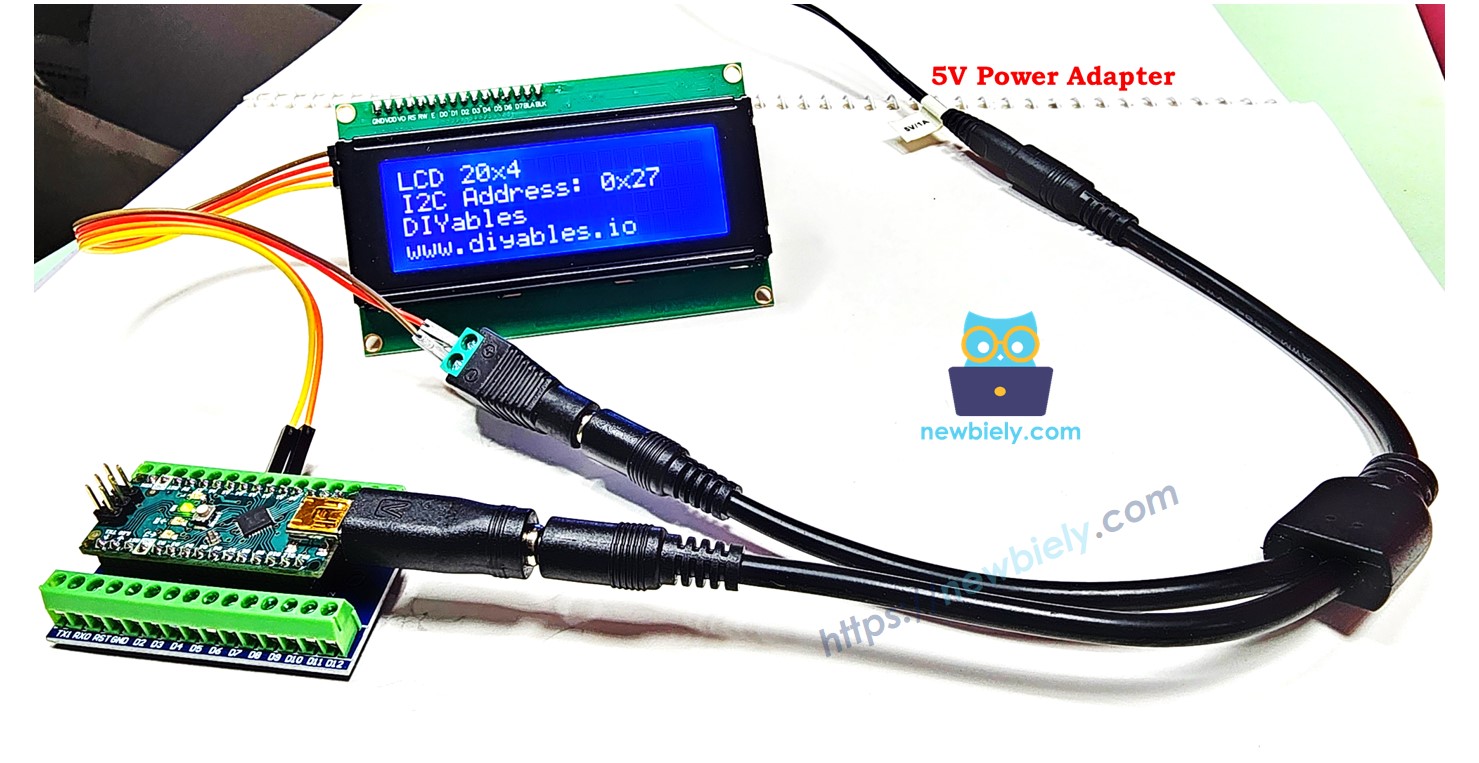
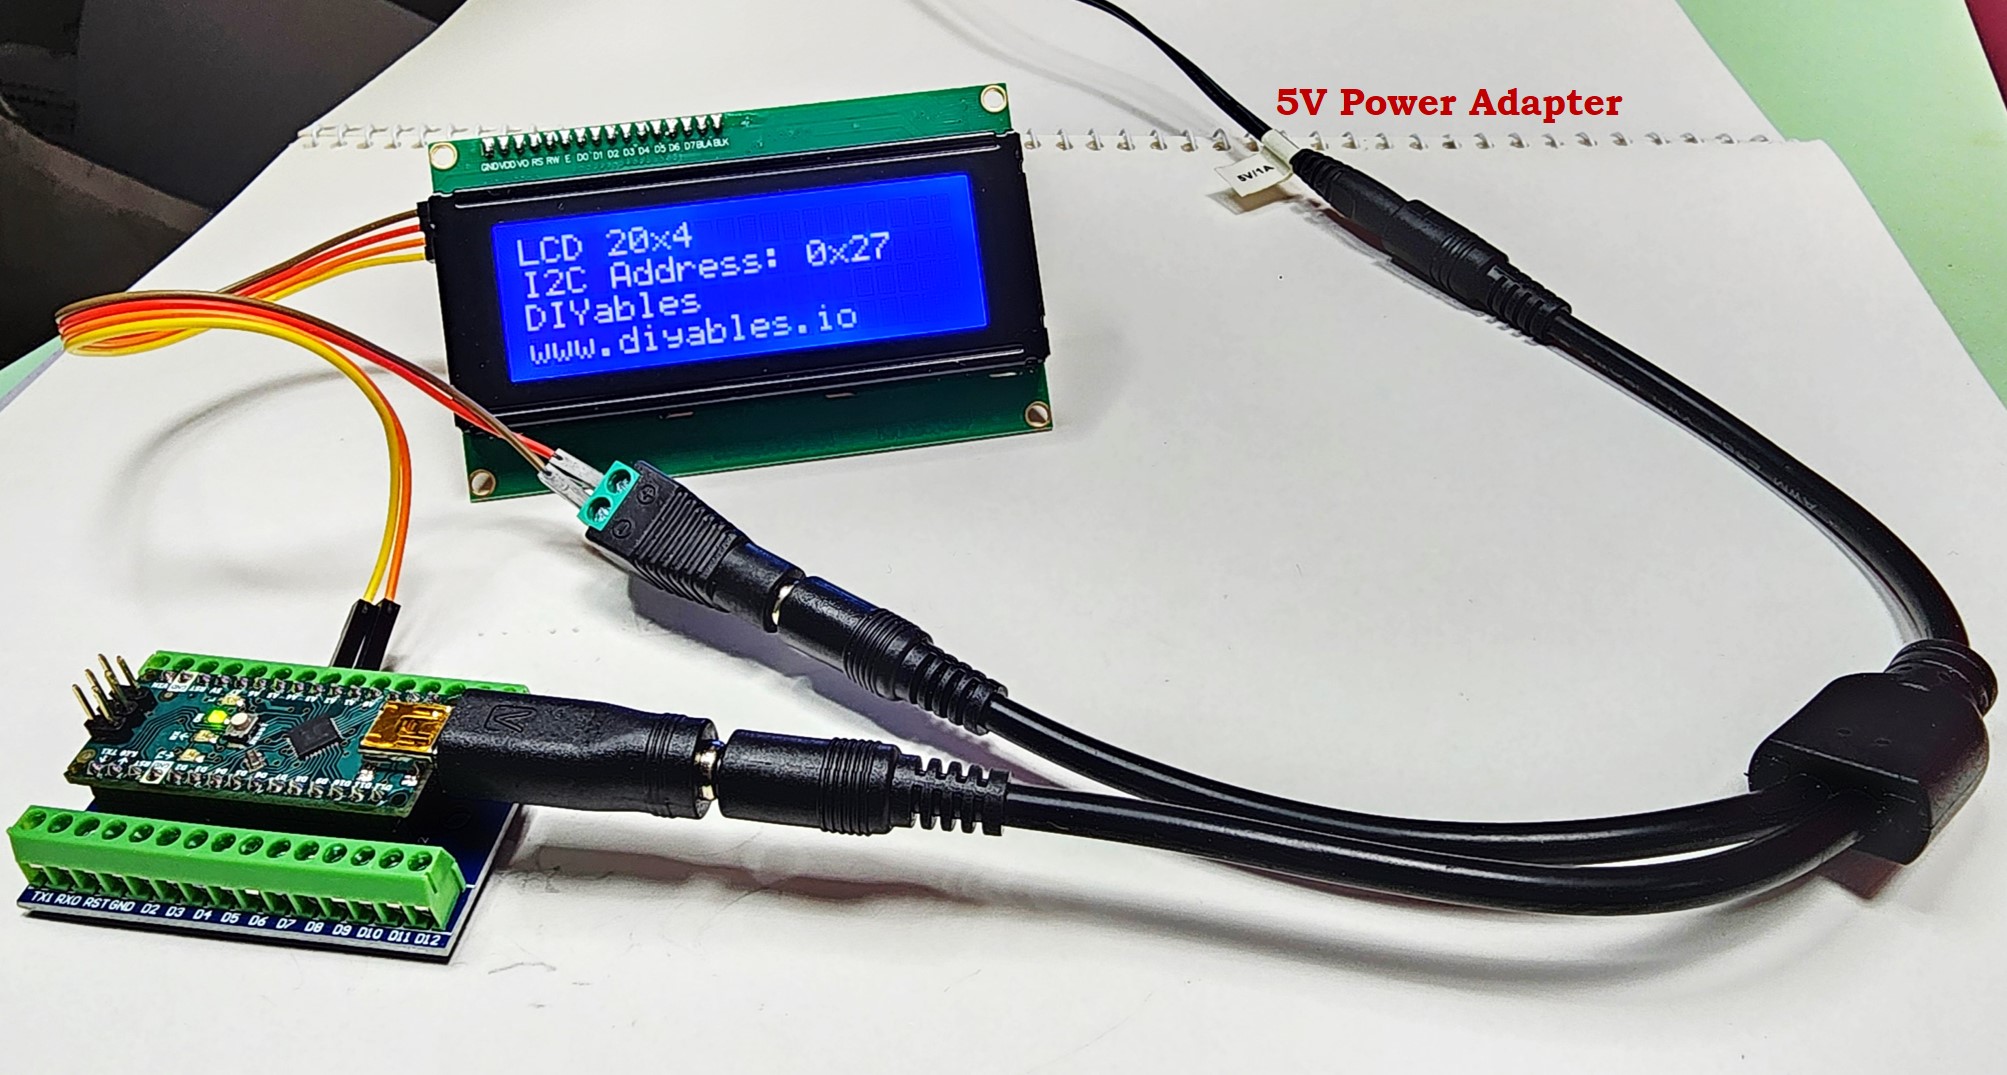
The optimal solution is to use a 5V power source in combination with a power splitter set. This splitter divides the 5V output into two separate lines:
- USB-Mni Connector: Powers the Arduino Nano through the USB port.
- Screw Terminal Block: Supplies power to external components and sensors.
This setup ensures that each part of your project receives a stable 5V supply without risking damage to the Arduino Nano.
Wiring Diagram
Below is an example of the best way to power both the Arduino Nano and an LCD display:

Practical Example
In this photo, you can see how to power the Arduino Nano and additional components in a real project:

