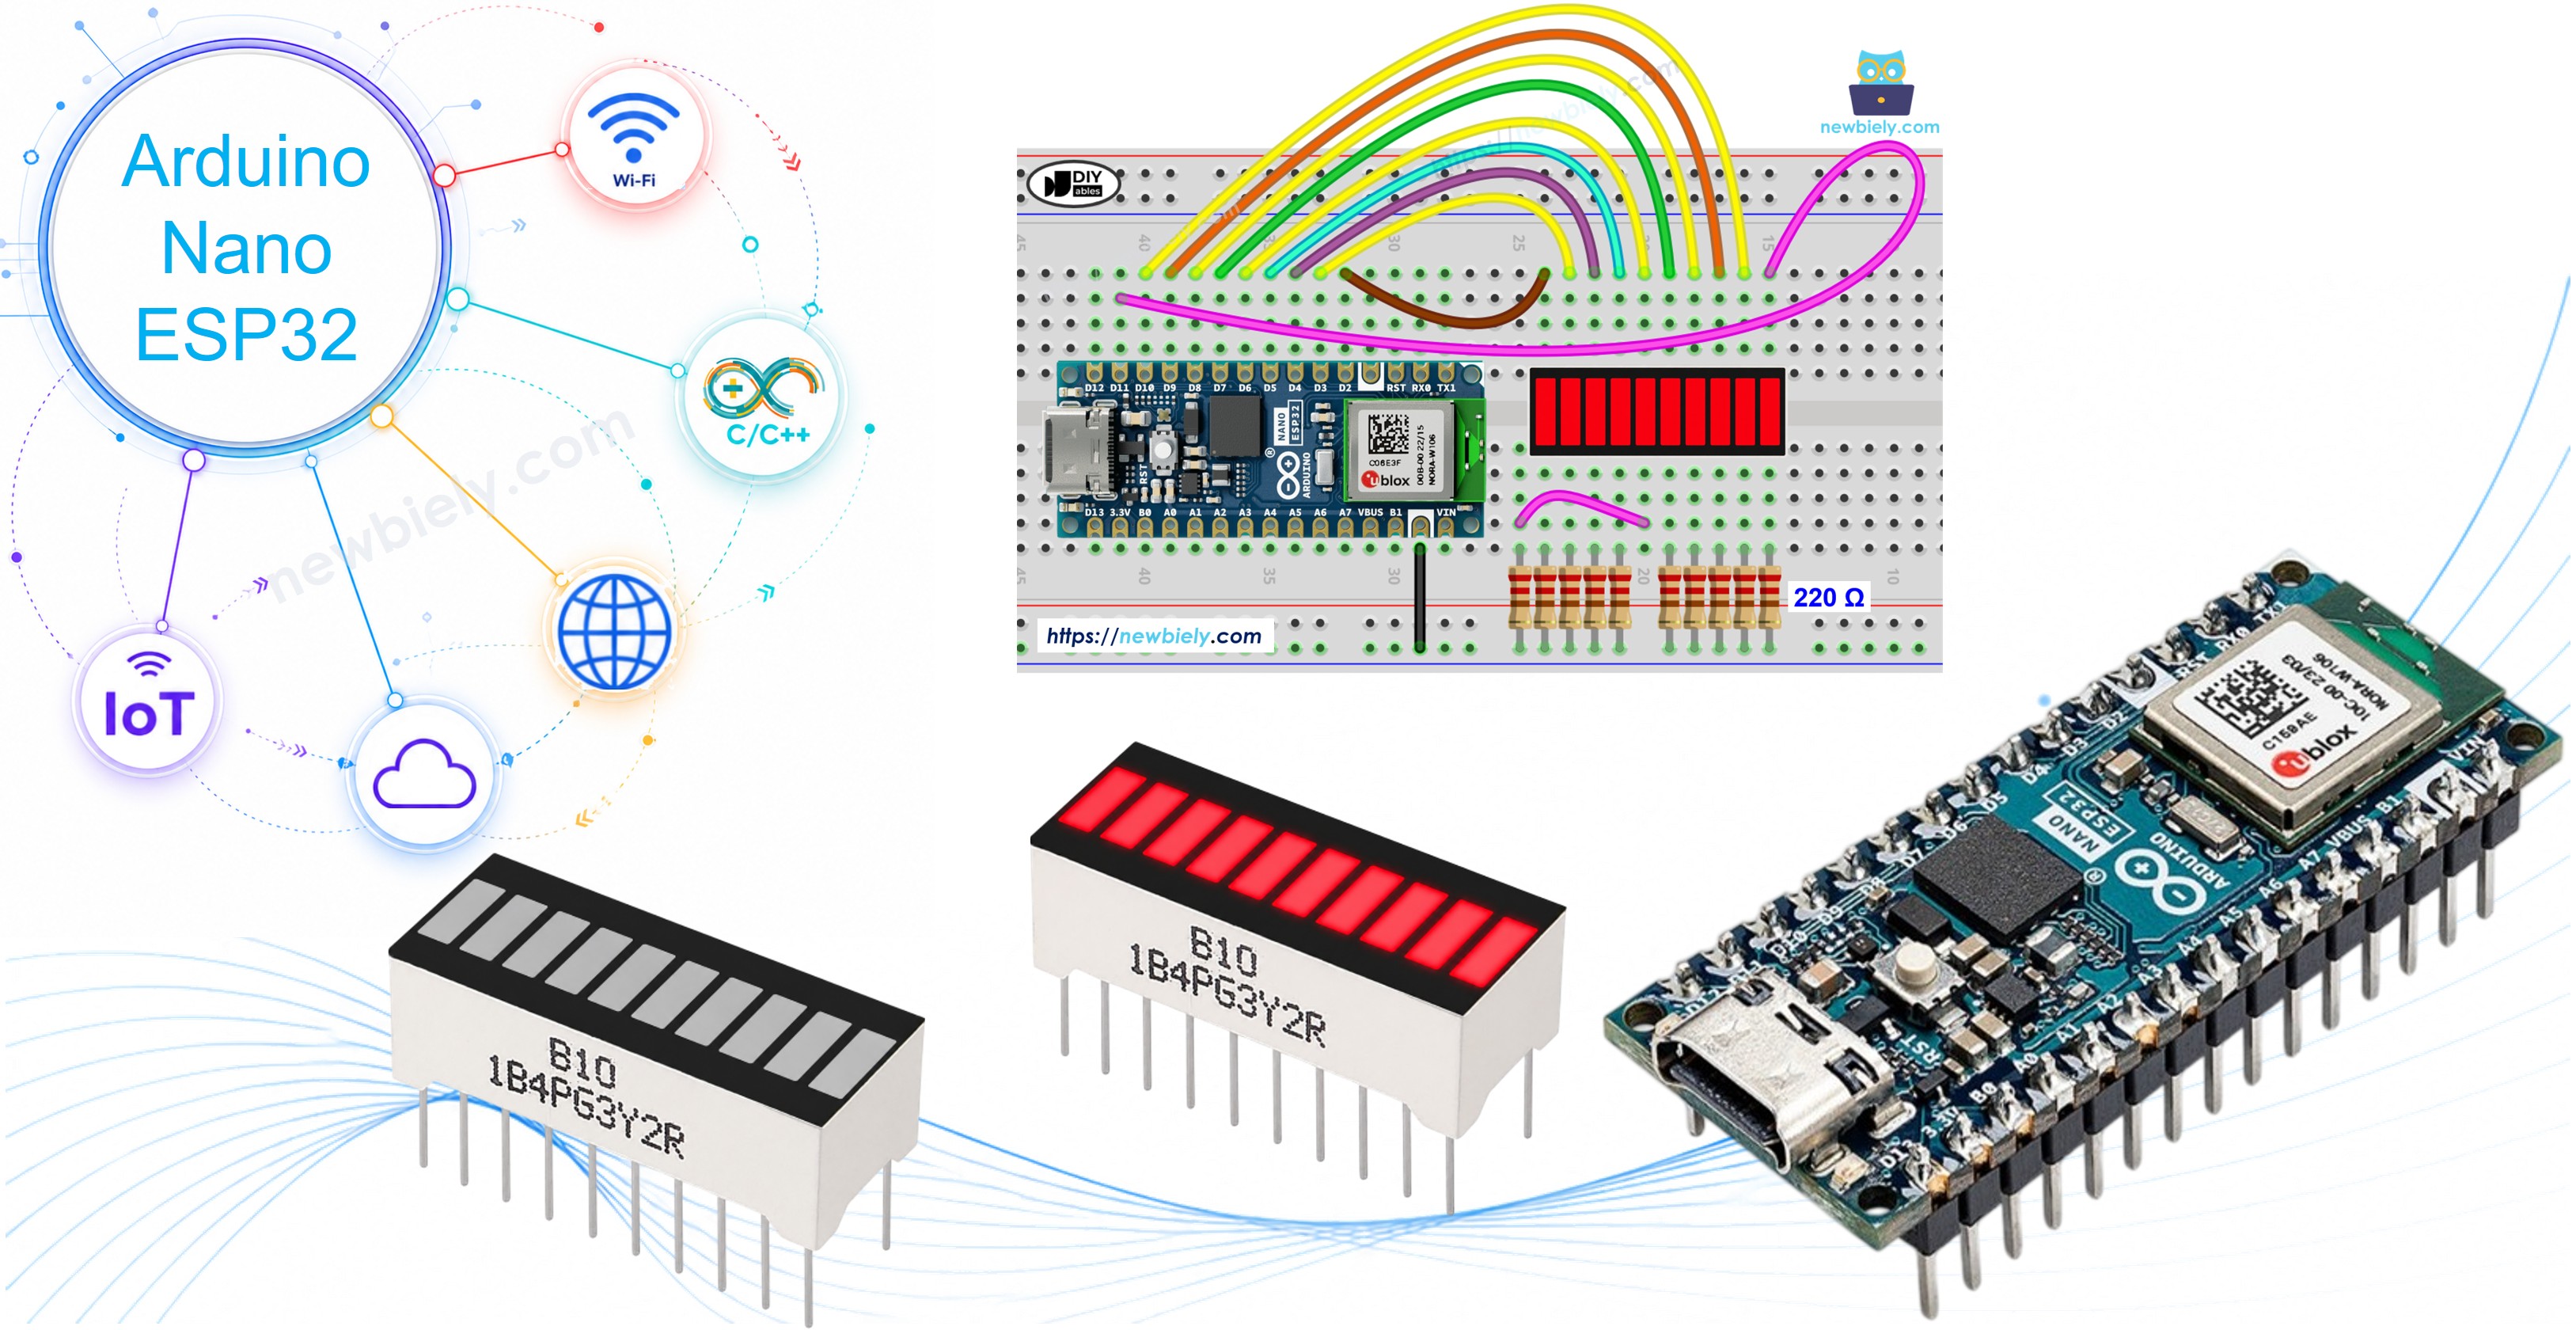
Arduino Nano ESP32 - 10 Segment LED Bar Graph
In this guide, we will learn how to use the 10 Segment LED Bar Graph with the Arduino Nano ESP32. In detail, we will learn:
- How to connect the 10 Segment LED Bar Graph to the Arduino Nano ESP32.
- How to write a program for the Arduino Nano ESP32 to control the LED bar display.
Or you can buy the following kits:
| 1 | × | DIYables Sensor Kit (18 sensors/displays) |
Disclosure: Some of the links provided in this section are Amazon affiliate links. We may receive a commission for any purchases made through these links at no additional cost to you.
Additionally, some of these links are for products from our own brand, DIYables .
Additionally, some of these links are for products from our own brand, DIYables .
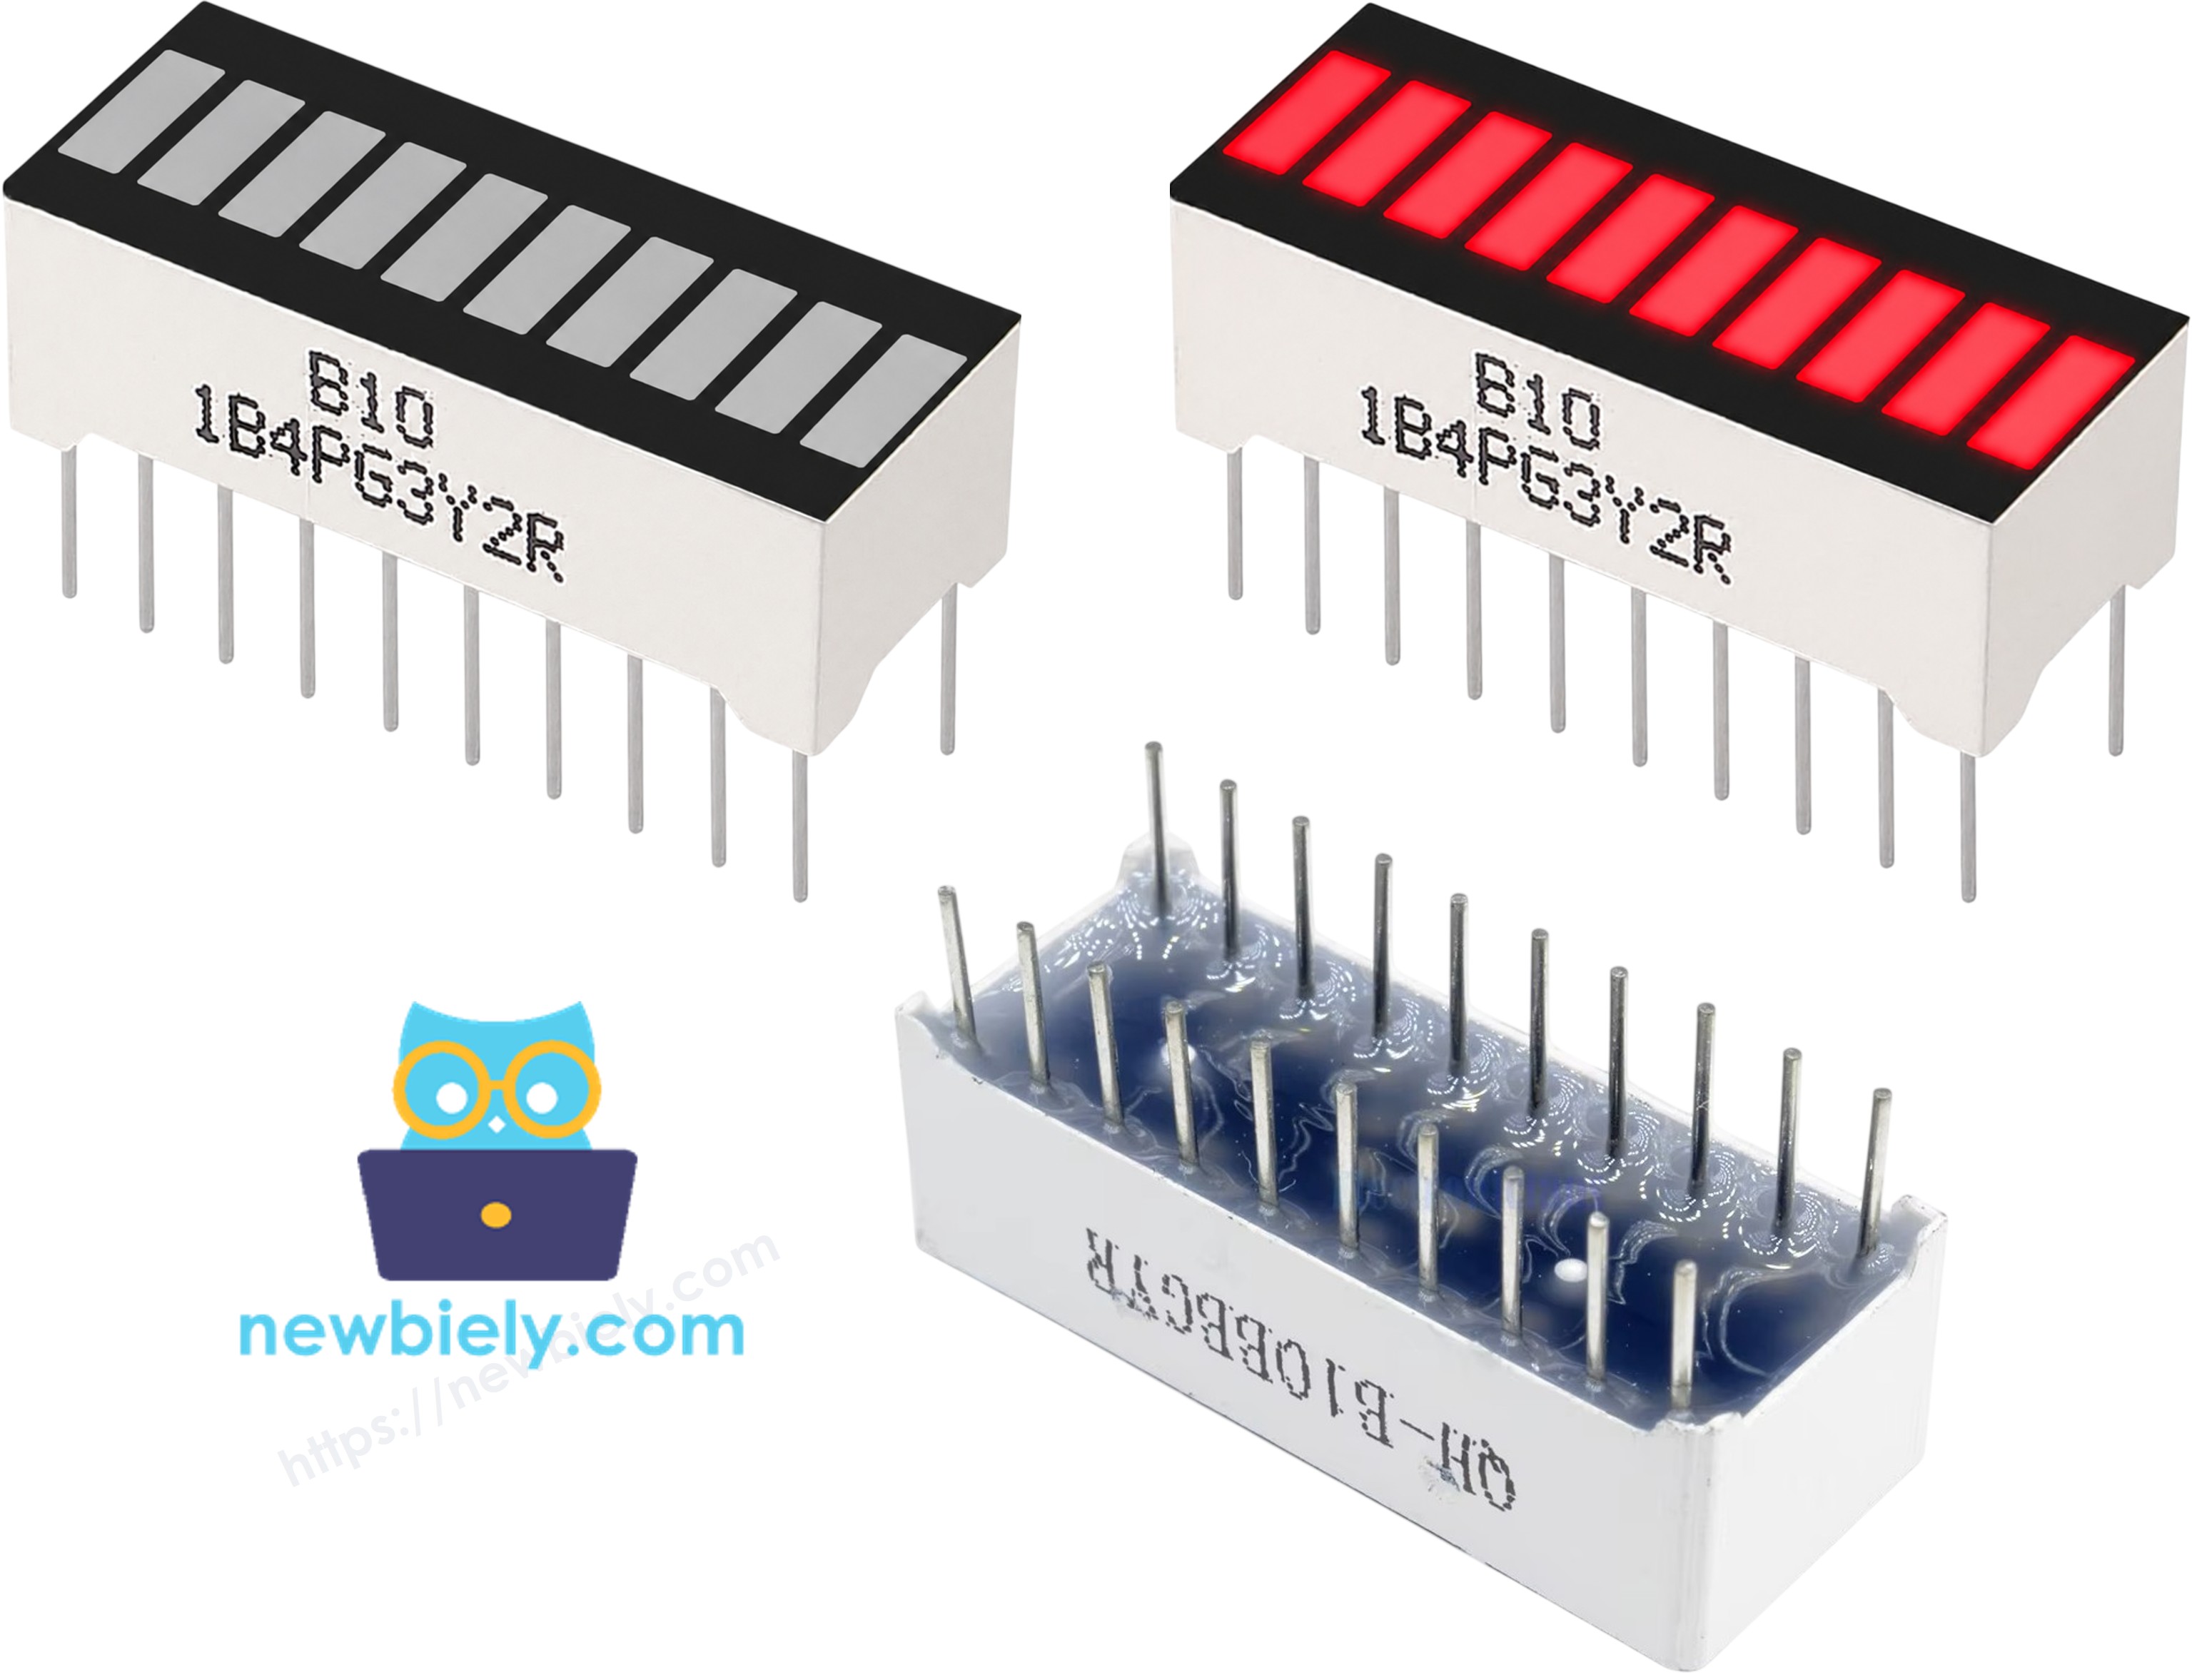
Overview of 10 Segment LED Bar Graph
| 10 Segment LED Bar Graph | |
|---|---|
| Number of Segments | 10 |
| LED Color | Bright red |
| Forward Voltage | ~2V per segment |
| Forward Current | 20mA max per segment |
| Resistor Required | 220Ω per segment |
Pinout
- Anode pins (A1–A10): connect to GPIO pins via 220Ω resistors
- Cathode pins (K1–K10): connect to GND
Wiring Diagram between 10 Segment LED Bar Graph and Arduino Nano ESP32
The 10 Segment LED Bar Graph connects directly to the Arduino Nano ESP32 — there's no need for additional components beyond the 220Ω resistors.
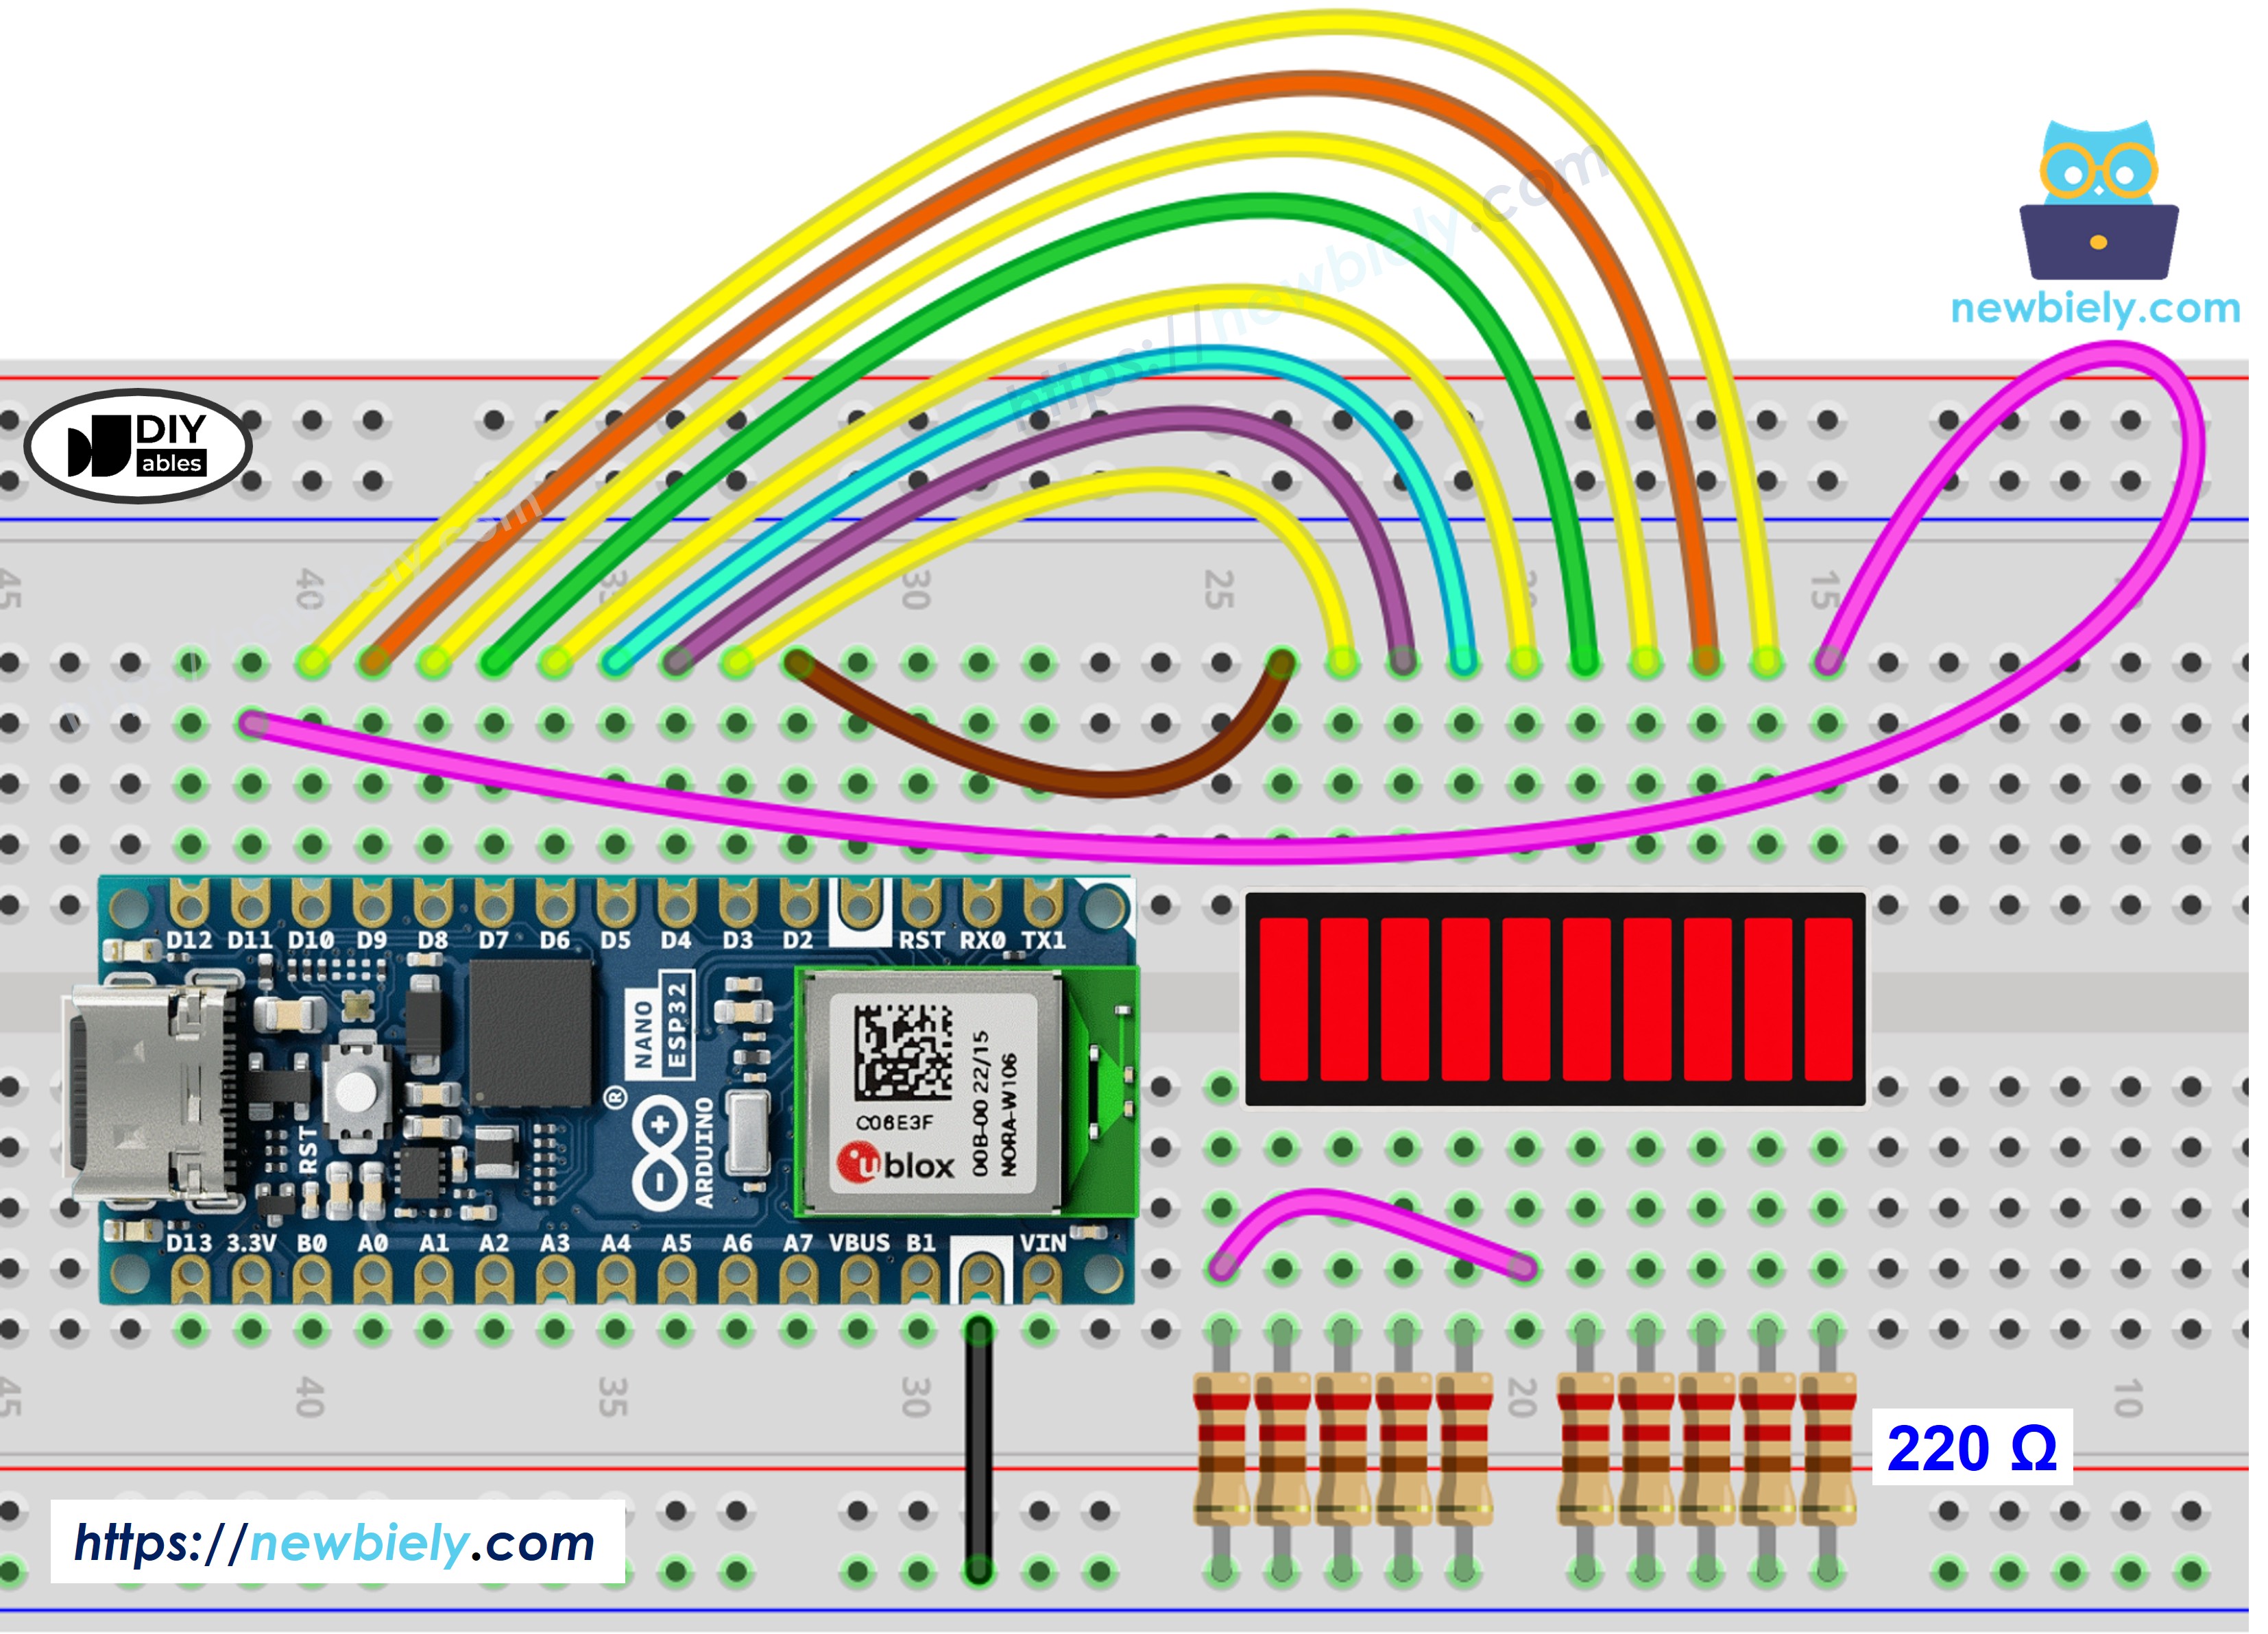
This image is created using Fritzing. Click to enlarge image
| LED Bar Graph | Arduino Nano ESP32 Pin |
|---|---|
| A1 (Anode 1) | Pin 2 (via 220Ω) |
| A2 (Anode 2) | Pin 3 (via 220Ω) |
| A3 (Anode 3) | Pin 4 (via 220Ω) |
| A4 (Anode 4) | Pin 5 (via 220Ω) |
| A5 (Anode 5) | Pin 6 (via 220Ω) |
| A6 (Anode 6) | Pin 7 (via 220Ω) |
| A7 (Anode 7) | Pin 8 (via 220Ω) |
| A8 (Anode 8) | Pin 9 (via 220Ω) |
| A9 (Anode 9) | Pin 10 (via 220Ω) |
| A10 (Anode 10) | Pin 11 (via 220Ω) |
| K1–K10 (Cathodes) | GND |
How To Program Arduino Nano ESP32 for 10 Segment LED Bar Graph
No library is needed to control the 10 Segment LED Bar Graph — the Arduino Nano ESP32 drives it directly using digital output pins.
- Define the pin array for the 10 anode connections: const int ledPins[10] = {2, 3, 4, 5, 6, 7, 8, 9, 10, 11};
- Set each pin as an output: pinMode(ledPins[i], OUTPUT);
- Turn a segment on: digitalWrite(ledPins[i], HIGH);
- Turn a segment off: digitalWrite(ledPins[i], LOW);
Arduino Nano ESP32 Code - 10 Segment LED Bar Graph
/*
* This Arduino Nano ESP32 code was developed by newbiely.com
*
* This Arduino Nano ESP32 code is made available for public use without any restriction
*
* For comprehensive instructions and wiring diagrams, please visit:
* https://newbiely.com/tutorials/arduino-nano-esp32/arduino-nano-esp32-10-segment-led-bar-graph
*/
const int NUM_SEGMENTS = 10;
const int ledPins[NUM_SEGMENTS] = {2, 3, 4, 5, 6, 7, 8, 9, 10, 11};
void printBar(int litCount) {
Serial.print("Bar: [");
for (int i = 0; i < NUM_SEGMENTS; i++) {
Serial.print(i < litCount ? "*" : " ");
}
Serial.println("]");
}
void setup() {
Serial.begin(9600);
for (int i = 0; i < NUM_SEGMENTS; i++) {
pinMode(ledPins[i], OUTPUT);
digitalWrite(ledPins[i], LOW);
}
}
void loop() {
for (int i = 0; i < NUM_SEGMENTS; i++) {
digitalWrite(ledPins[i], HIGH);
printBar(i + 1);
delay(100);
}
delay(500);
for (int i = NUM_SEGMENTS - 1; i >= 0; i--) {
digitalWrite(ledPins[i], LOW);
printBar(i);
delay(100);
}
delay(500);
}
Detailed Instructions
Follow these instructions step by step:
- LINK_GETTING_STARTED_ARDUINO_NANO_ESP32
- Wire the components according to the provided diagram.
- Launch the Arduino IDE on your computer.
- Select the appropriate Arduino Nano ESP32 board and COM port.
- Copy the code above and paste it into the Arduino IDE.
- Click the Upload button to upload the code to the Arduino Nano ESP32.
- Open the Serial Monitor.
- Observe the LED bar filling up and emptying repeatedly, and check the output in the Serial Monitor.
Serial Monitor Output
8
Serial.println("Hello World!");
Message (Enter to send message to 'Arduino Nano ESP32' on 'COM15')
New Line
9600 baud
Bar: [* ]
Bar: [** ]
Bar: [*** ]
Bar: [**** ]
Bar: [***** ]
Bar: [****** ]
Bar: [******* ]
Bar: [******** ]
Bar: [********* ]
Bar: [**********]
Bar: [********* ]
Bar: [******** ]
Bar: [******* ]
Bar: [****** ]
Bar: [***** ]
Bar: [**** ]
Bar: [*** ]
Bar: [** ]
Bar: [* ]
Bar: [ ]