Arduino Nano ESP32 - Web Apps Web Joystick
Overview
This tutorial covers the DIYablesWebJoystickPage class from the DIYables ESP32 WebApps Library. The browser page renders a touch- and mouse-capable virtual joystick that sends X/Y coordinates to the Arduino Nano ESP32 over WebSocket. The sketch registers a callback that receives these values and can apply them to motor drivers, servo controllers, or any directional hardware.

What This Tutorial Covers
- Instantiating the joystick page with auto-return and sensitivity settings
- Receiving X/Y position values in a sketch callback
- Using coordinates to control a differential-drive motor system
- Returning the current joystick position to the browser on request
Hardware Preparation
Or you can buy the following kits:
| 1 | × | DIYables Sensor Kit (18 sensors/displays) |
Disclosure: Some of the links provided in this section are Amazon affiliate links. We may receive a commission for any purchases made through these links at no additional cost to you.
Additionally, some of these links are for products from our own brand, DIYables .
Additionally, some of these links are for products from our own brand, DIYables .
Steps
Follow these instructions step by step:
- If this is your first time using the Arduino Nano ESP32, refer to the tutorial on setting up the Arduino Nano ESP32 development environment.
- Connect the Arduino Nano ESP32 board to your computer using a USB cable.
- Launch the Arduino IDE on your computer.
- Select the appropriate board (e.g. Arduino Nano ESP32) and COM port.
- Navigate to the Libraries icon on the left bar of the Arduino IDE.
- Search "DIYables ESP32 WebApps", then find the DIYables ESP32 WebApps Library by DIYables
- Click Install button to install the library.
- Search for DIYables ESP32 WebApps created by DIYables and click the Install button.
1
void setup() {
- You will be asked for installing some other library dependencies
- Click Install All button to install all library dependencies.
- On Arduino IDE, Go to File Examples DIYables ESP32 WebApps WebJoystick example, or copy the above code and paste it to the editor of Arduino IDE
/*
* DIYables WebApp Library - Web Joystick Example
*
* This example demonstrates the Web Joystick feature:
* - Interactive joystick control via web interface
* - Real-time X/Y coordinate values (-100 to +100)
* - Control pins based on joystick position
*
* Hardware: ESP32 Boards
*
* Setup:
* 1. Update WiFi credentials below
* 2. Upload the sketch to your Arduino
* 3. Open Serial Monitor to see the IP address
* 4. Navigate to http://[IP_ADDRESS]/webjoystick
*/
#include <DIYables_ESP32_Platform.h>
#include <DIYablesWebApps.h>
// WiFi credentials - UPDATE THESE WITH YOUR NETWORK
const char WIFI_SSID[] = "YOUR_WIFI_SSID";
const char WIFI_PASSWORD[] = "YOUR_WIFI_PASSWORD";
// Create WebApp server and page instances
// MEMORY SAFETY FIX: Use static factory to avoid stack object lifetime issues
static ESP32ServerFactory serverFactory; // Static ensures lifetime matches program
DIYablesWebAppServer webAppsServer(serverFactory, 80, 81);
DIYablesHomePage homePage;
// Configure joystick with autoReturn=false and sensitivity=5 (minimum 5% change to trigger updates)
DIYablesWebJoystickPage webJoystickPage(false, 5);
// Variables to store current joystick values
int currentJoystickX = 0;
int currentJoystickY = 0;
void setup() {
Serial.begin(9600);
delay(1000);
// TODO: initialize your hardware pins here
Serial.println("DIYables ESP32 WebApp - Web Joystick Example");
// Add home and web joystick pages
webAppsServer.addApp(&homePage);
webAppsServer.addApp(&webJoystickPage);
// Optional: Add 404 page for better user experience
webAppsServer.setNotFoundPage(DIYablesNotFoundPage());
// Start the WebApp server
if (!webAppsServer.begin(WIFI_SSID, WIFI_PASSWORD)) {
while (1) {
Serial.println("Failed to start WebApp server!");
delay(1000);
}
}
// Set up joystick callback for position changes
webJoystickPage.onJoystickValueFromWeb([](int x, int y) {
// Store the received values
currentJoystickX = x;
currentJoystickY = y;
// Print joystick position values (-100 to +100)
Serial.println("Joystick - X: " + String(x) + ", Y: " + String(y));
// TODO: Add your control logic here based on joystick position
// Examples:
// - Control motors: if (x > 50) { /* move right */ }
// - Control servos: servo.write(map(y, -100, 100, 0, 180));
// - Control LEDs: analogWrite(LED_PIN, map(abs(x), 0, 100, 0, 255));
// - Send commands to other devices via Serial, I2C, SPI, etc.
});
// Optional: Handle requests for current joystick values (when web page loads)
webJoystickPage.onJoystickValueToWeb([]() {
// Send the stored joystick values back to the web client
webJoystickPage.sendToWebJoystick(currentJoystickX, currentJoystickY);
Serial.println("Web client requested values - Sent to Web: X=" + String(currentJoystickX) + ", Y=" + String(currentJoystickY));
});
// You can change configuration at runtime:
// webJoystickPage.setAutoReturn(false); // Disable auto-return
// webJoystickPage.setSensitivity(10.0); // Only send updates when joystick moves >10% (less sensitive)
}
void loop() {
// Handle WebApp server communications
webAppsServer.loop();
// TODO: Add your main application code here
delay(10);
}
- Update the WiFi credentials in the sketch:
const char WIFI_SSID[] = "YOUR_WIFI_NETWORK";
const char WIFI_PASSWORD[] = "YOUR_WIFI_PASSWORD";
- Click Upload button on Arduino IDE to upload code to Arduino Nano ESP32
- Open the Serial Monitor
- The Serial Monitor output should resemble the following:
8
Serial.println("Hello World!");
Message (Enter to send message to 'Arduino Nano ESP32' on 'COM15')
New Line
9600 baud
DIYables WebApp - Web Joystick Example
INFO: Added app /
INFO: Added app /web-joystick
DIYables WebApp Library
Platform: Arduino Nano ESP32
Network connected!
IP address: 192.168.0.2
HTTP server started on port 80
Configuring WebSocket server callbacks...
WebSocket server started on port 81
WebSocket URL: ws://192.168.0.2:81
WebSocket server started on port 81
==========================================
DIYables WebApp Ready!
==========================================
Web Interface: http://192.168.0.2
WebSocket: ws://192.168.0.2:81
Available Applications:
Home Page: http://192.168.0.2/
Web Joystick: http://192.168.0.2/web-joystick
==========================================
- If nothing appears, press the reset button on the board.
- Enter the IP address from the Serial Monitor into a browser on the same network.
- Example: http://192.168.0.2
- The home page displays a card for the joystick application:
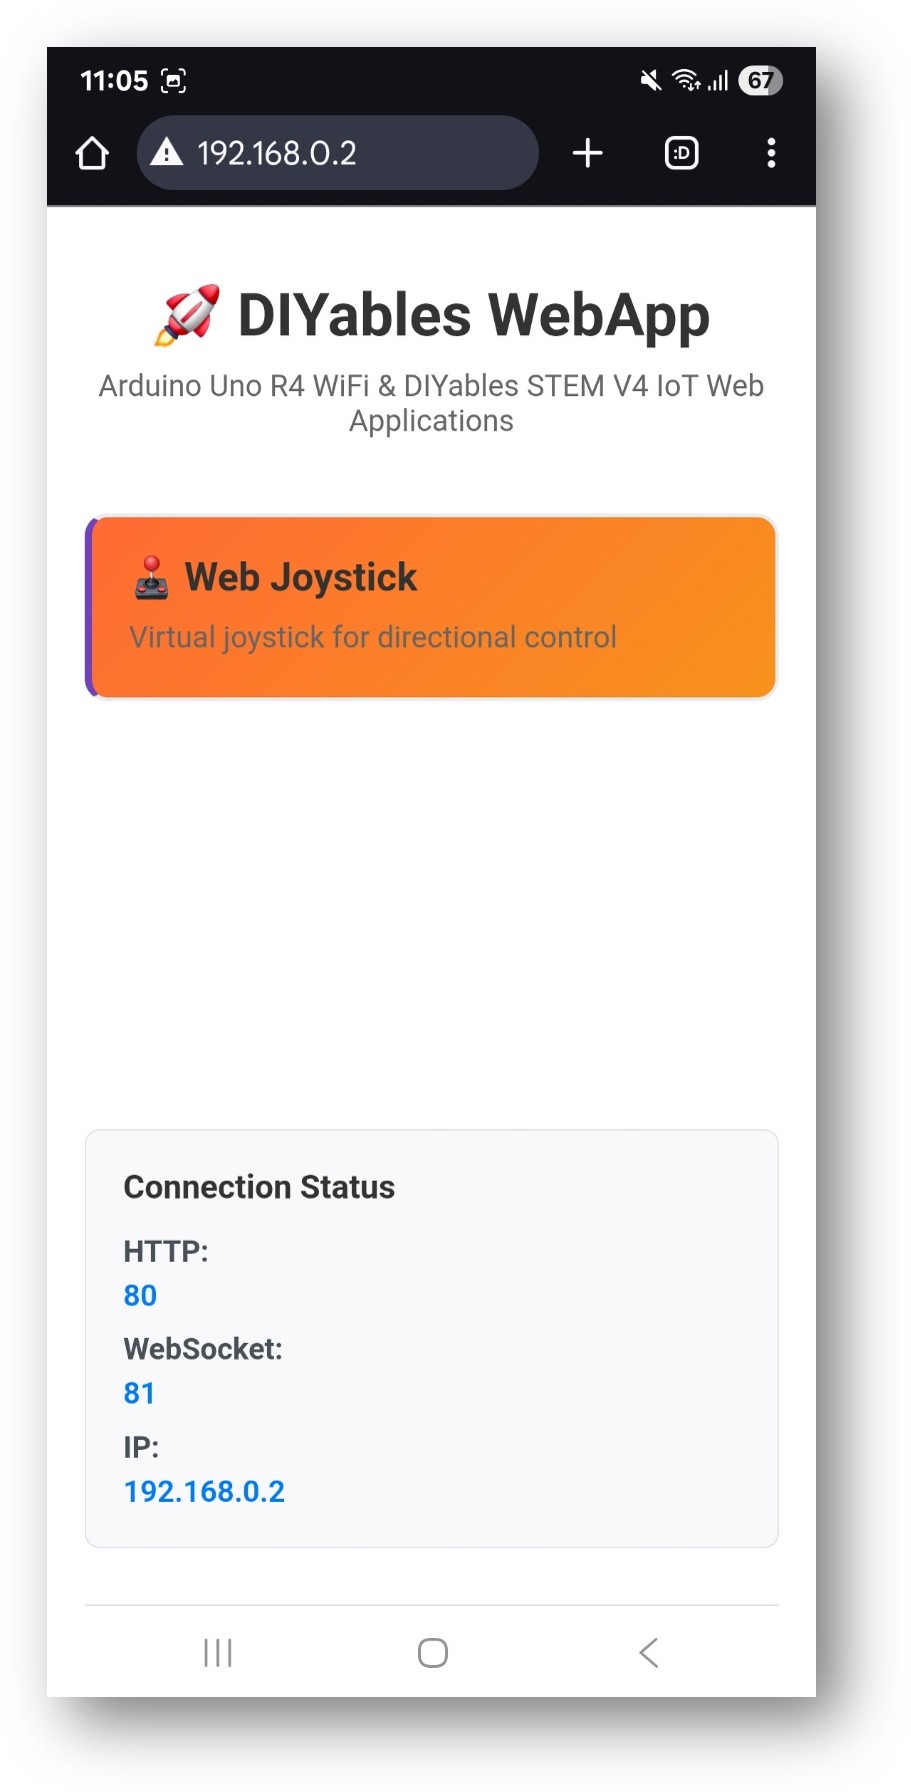
- Select the Web Joystick card to open the control page:

- The page is also accessible directly at http://192.168.0.2/web-joystick.
- Drag the joystick and observe the X/Y values printed in the Serial Monitor.
Joystick Configuration
Default Settings
// autoReturn defaults to true, sensitivity defaults to 10.0
DIYablesWebJoystickPage webJoystickPage;
Custom Settings
// autoReturn=false: joystick holds position after release
// sensitivity=5: updates only when displacement exceeds 5%
DIYablesWebJoystickPage webJoystickPage(false, 5);
Coordinate System
- X-axis: –100 (full left) to +100 (full right)
- Y-axis: –100 (full down) to +100 (full up)
- Center: X = 0, Y = 0 (neutral)
Callbacks
Receiving Position Updates
webJoystickPage.onJoystickValueFromWeb([](int x, int y) {
currentJoystickX = x;
currentJoystickY = y;
Serial.println("X: " + String(x) + " Y: " + String(y));
// Apply to hardware here
});
Supplying Position to the Browser
Called when a browser connects and requests the current state:
webJoystickPage.onJoystickValueToWeb([]() {
webJoystickPage.sendToWebJoystick(currentJoystickX, currentJoystickY);
});
Motor Control Example
Map joystick X/Y to a differential-drive motor system:
const int MOTOR_LEFT_PIN1 = 2;
const int MOTOR_LEFT_PIN2 = 3;
const int MOTOR_RIGHT_PIN1 = 4;
const int MOTOR_RIGHT_PIN2 = 5;
webJoystickPage.onJoystickValueFromWeb([](int x, int y) {
// Tank drive mixing
int leftSpeed = constrain(y + (x / 2), -100, 100);
int rightSpeed = constrain(y - (x / 2), -100, 100);
// Forward direction for left motor
digitalWrite(MOTOR_LEFT_PIN1, leftSpeed > 0 ? HIGH : LOW);
digitalWrite(MOTOR_LEFT_PIN2, leftSpeed < 0 ? HIGH : LOW);
analogWrite(MOTOR_LEFT_PIN1, abs(leftSpeed) * 255 / 100);
// Forward direction for right motor
digitalWrite(MOTOR_RIGHT_PIN1, rightSpeed > 0 ? HIGH : LOW);
digitalWrite(MOTOR_RIGHT_PIN2, rightSpeed < 0 ? HIGH : LOW);
analogWrite(MOTOR_RIGHT_PIN1, abs(rightSpeed) * 255 / 100);
});
Troubleshooting
Joystick moves in the browser but Serial Monitor shows nothing
- Check that onJoystickValueFromWeb is registered before webAppsServer.begin()
- Confirm the WebSocket status indicator shows "connected" in the browser
Joystick does not snap back to center
- autoReturn must be true in the constructor (it defaults to true)
- The browser handles the snap-back animation; the board only receives position events
Too many updates per second causing lag
- Increase the sensitivity parameter (e.g., change from 5 to 15)
- Add a minimum interval check in the callback before executing hardware actions
Board not reachable
- Both the board and the browser device must be on the same 2.4 GHz network
- Confirm the IP address from the Serial Monitor is correct