ESP32 S3 Camera - Browse Photos on SD Card from Web Browser
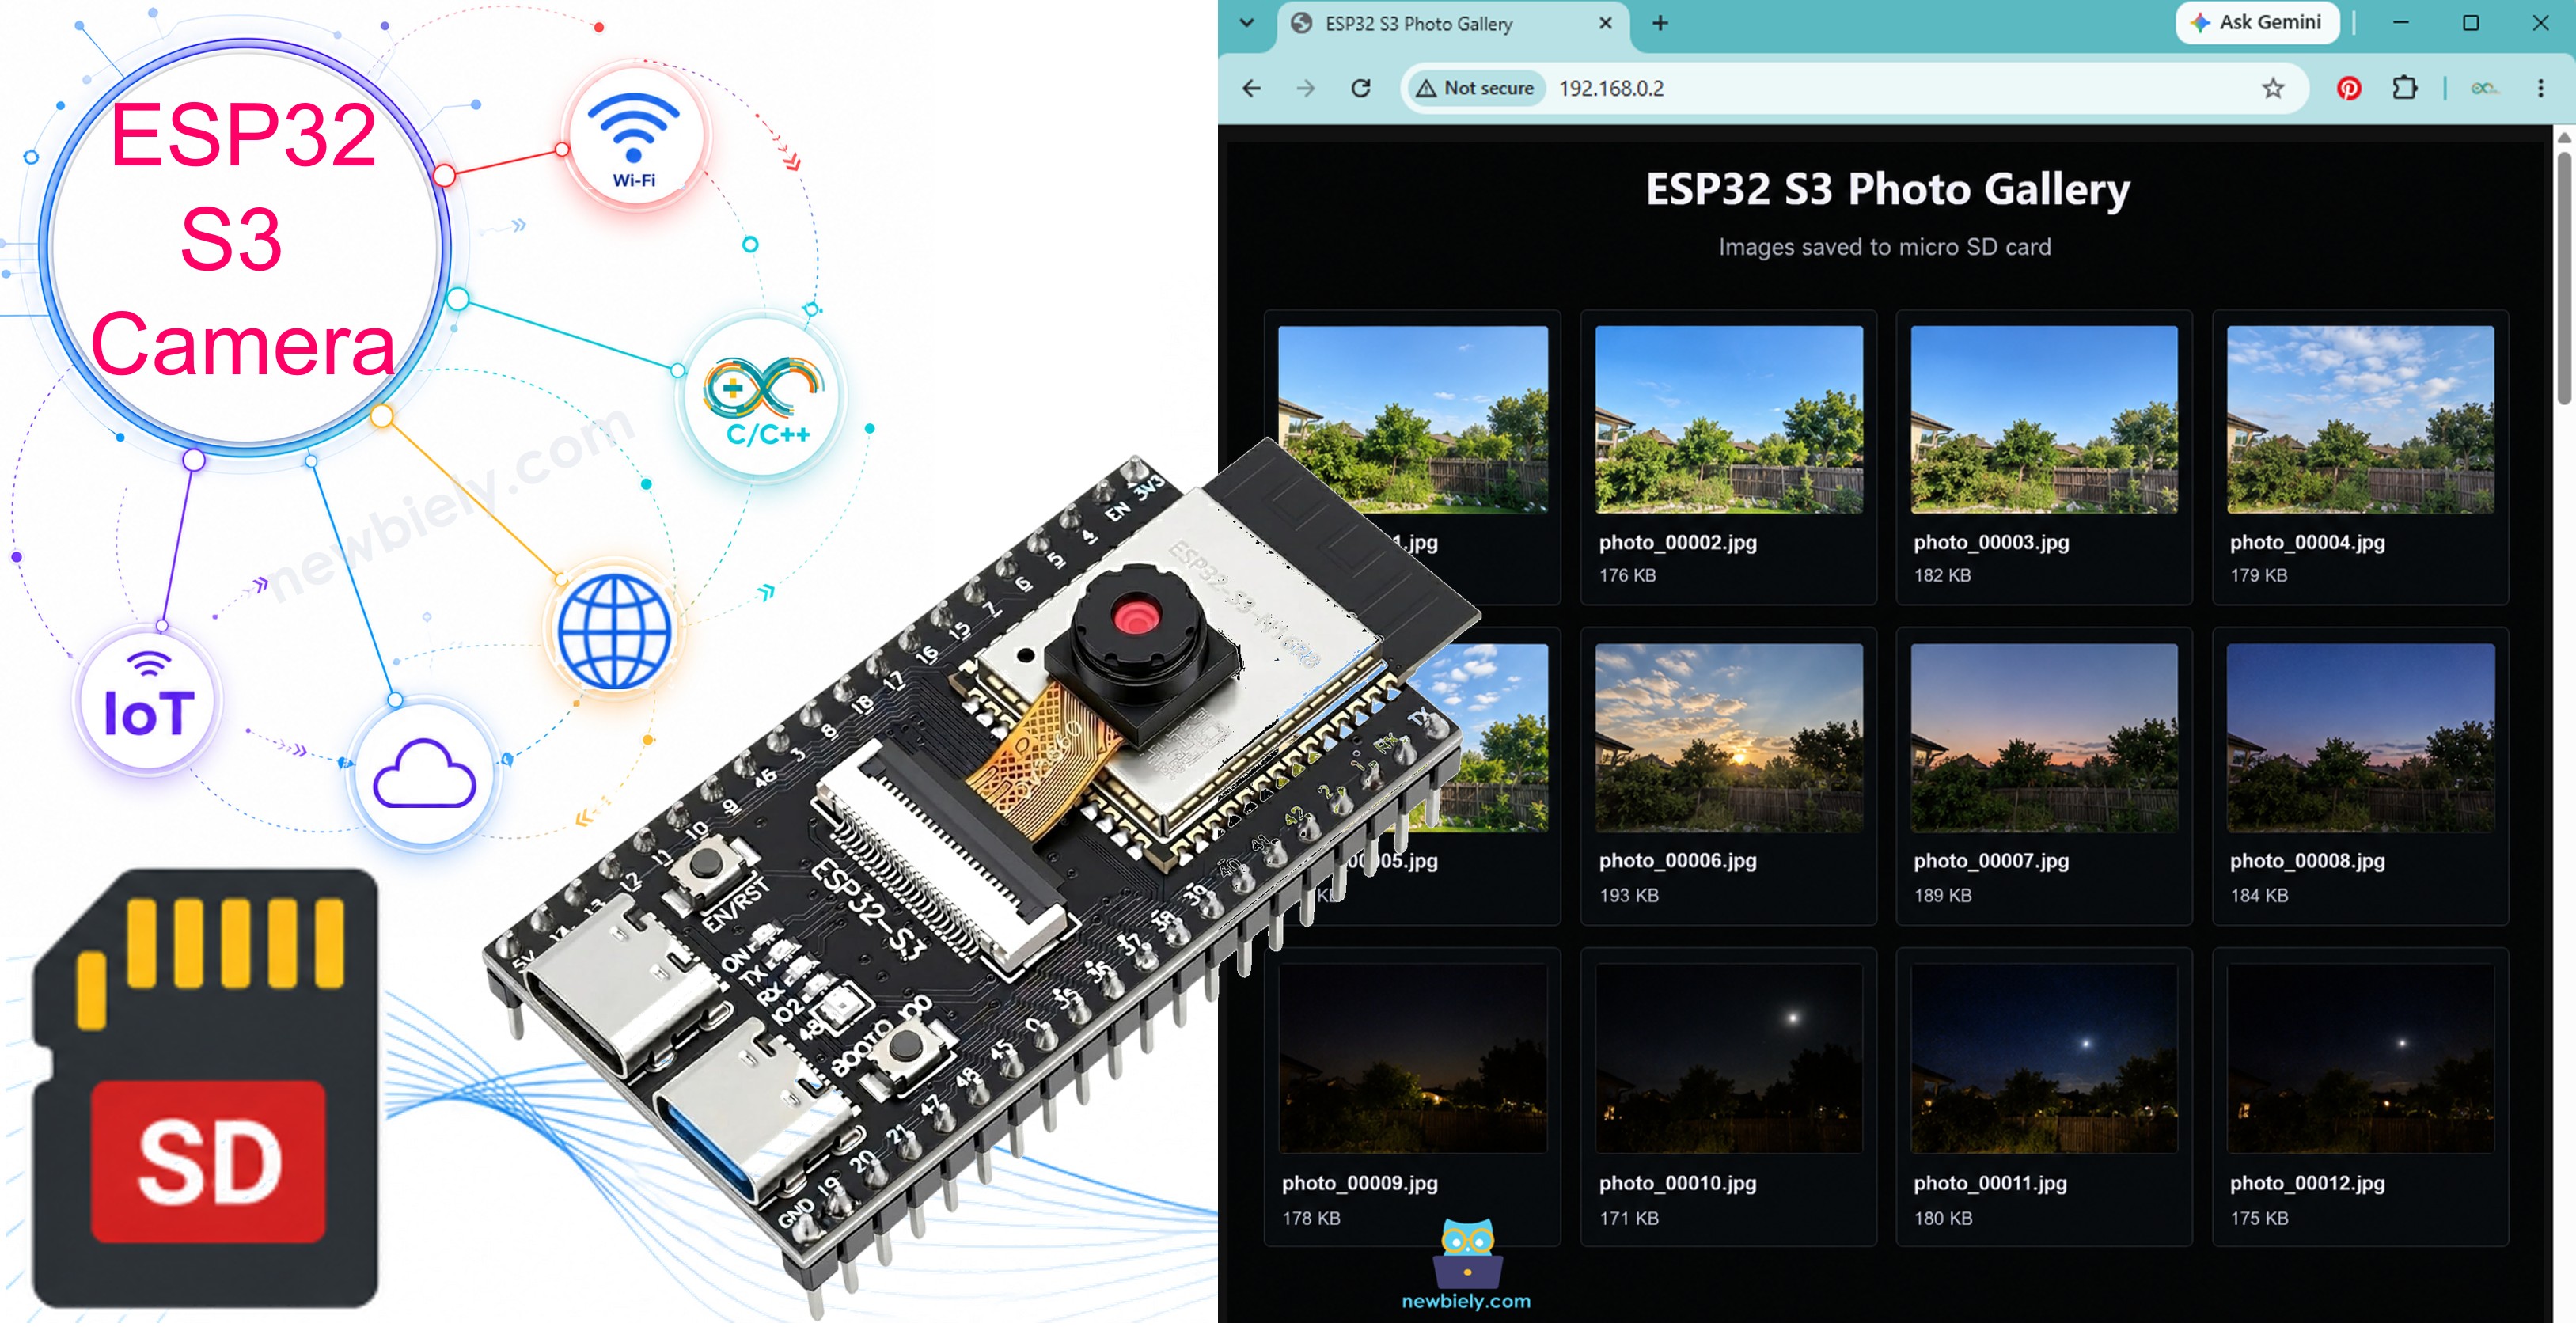
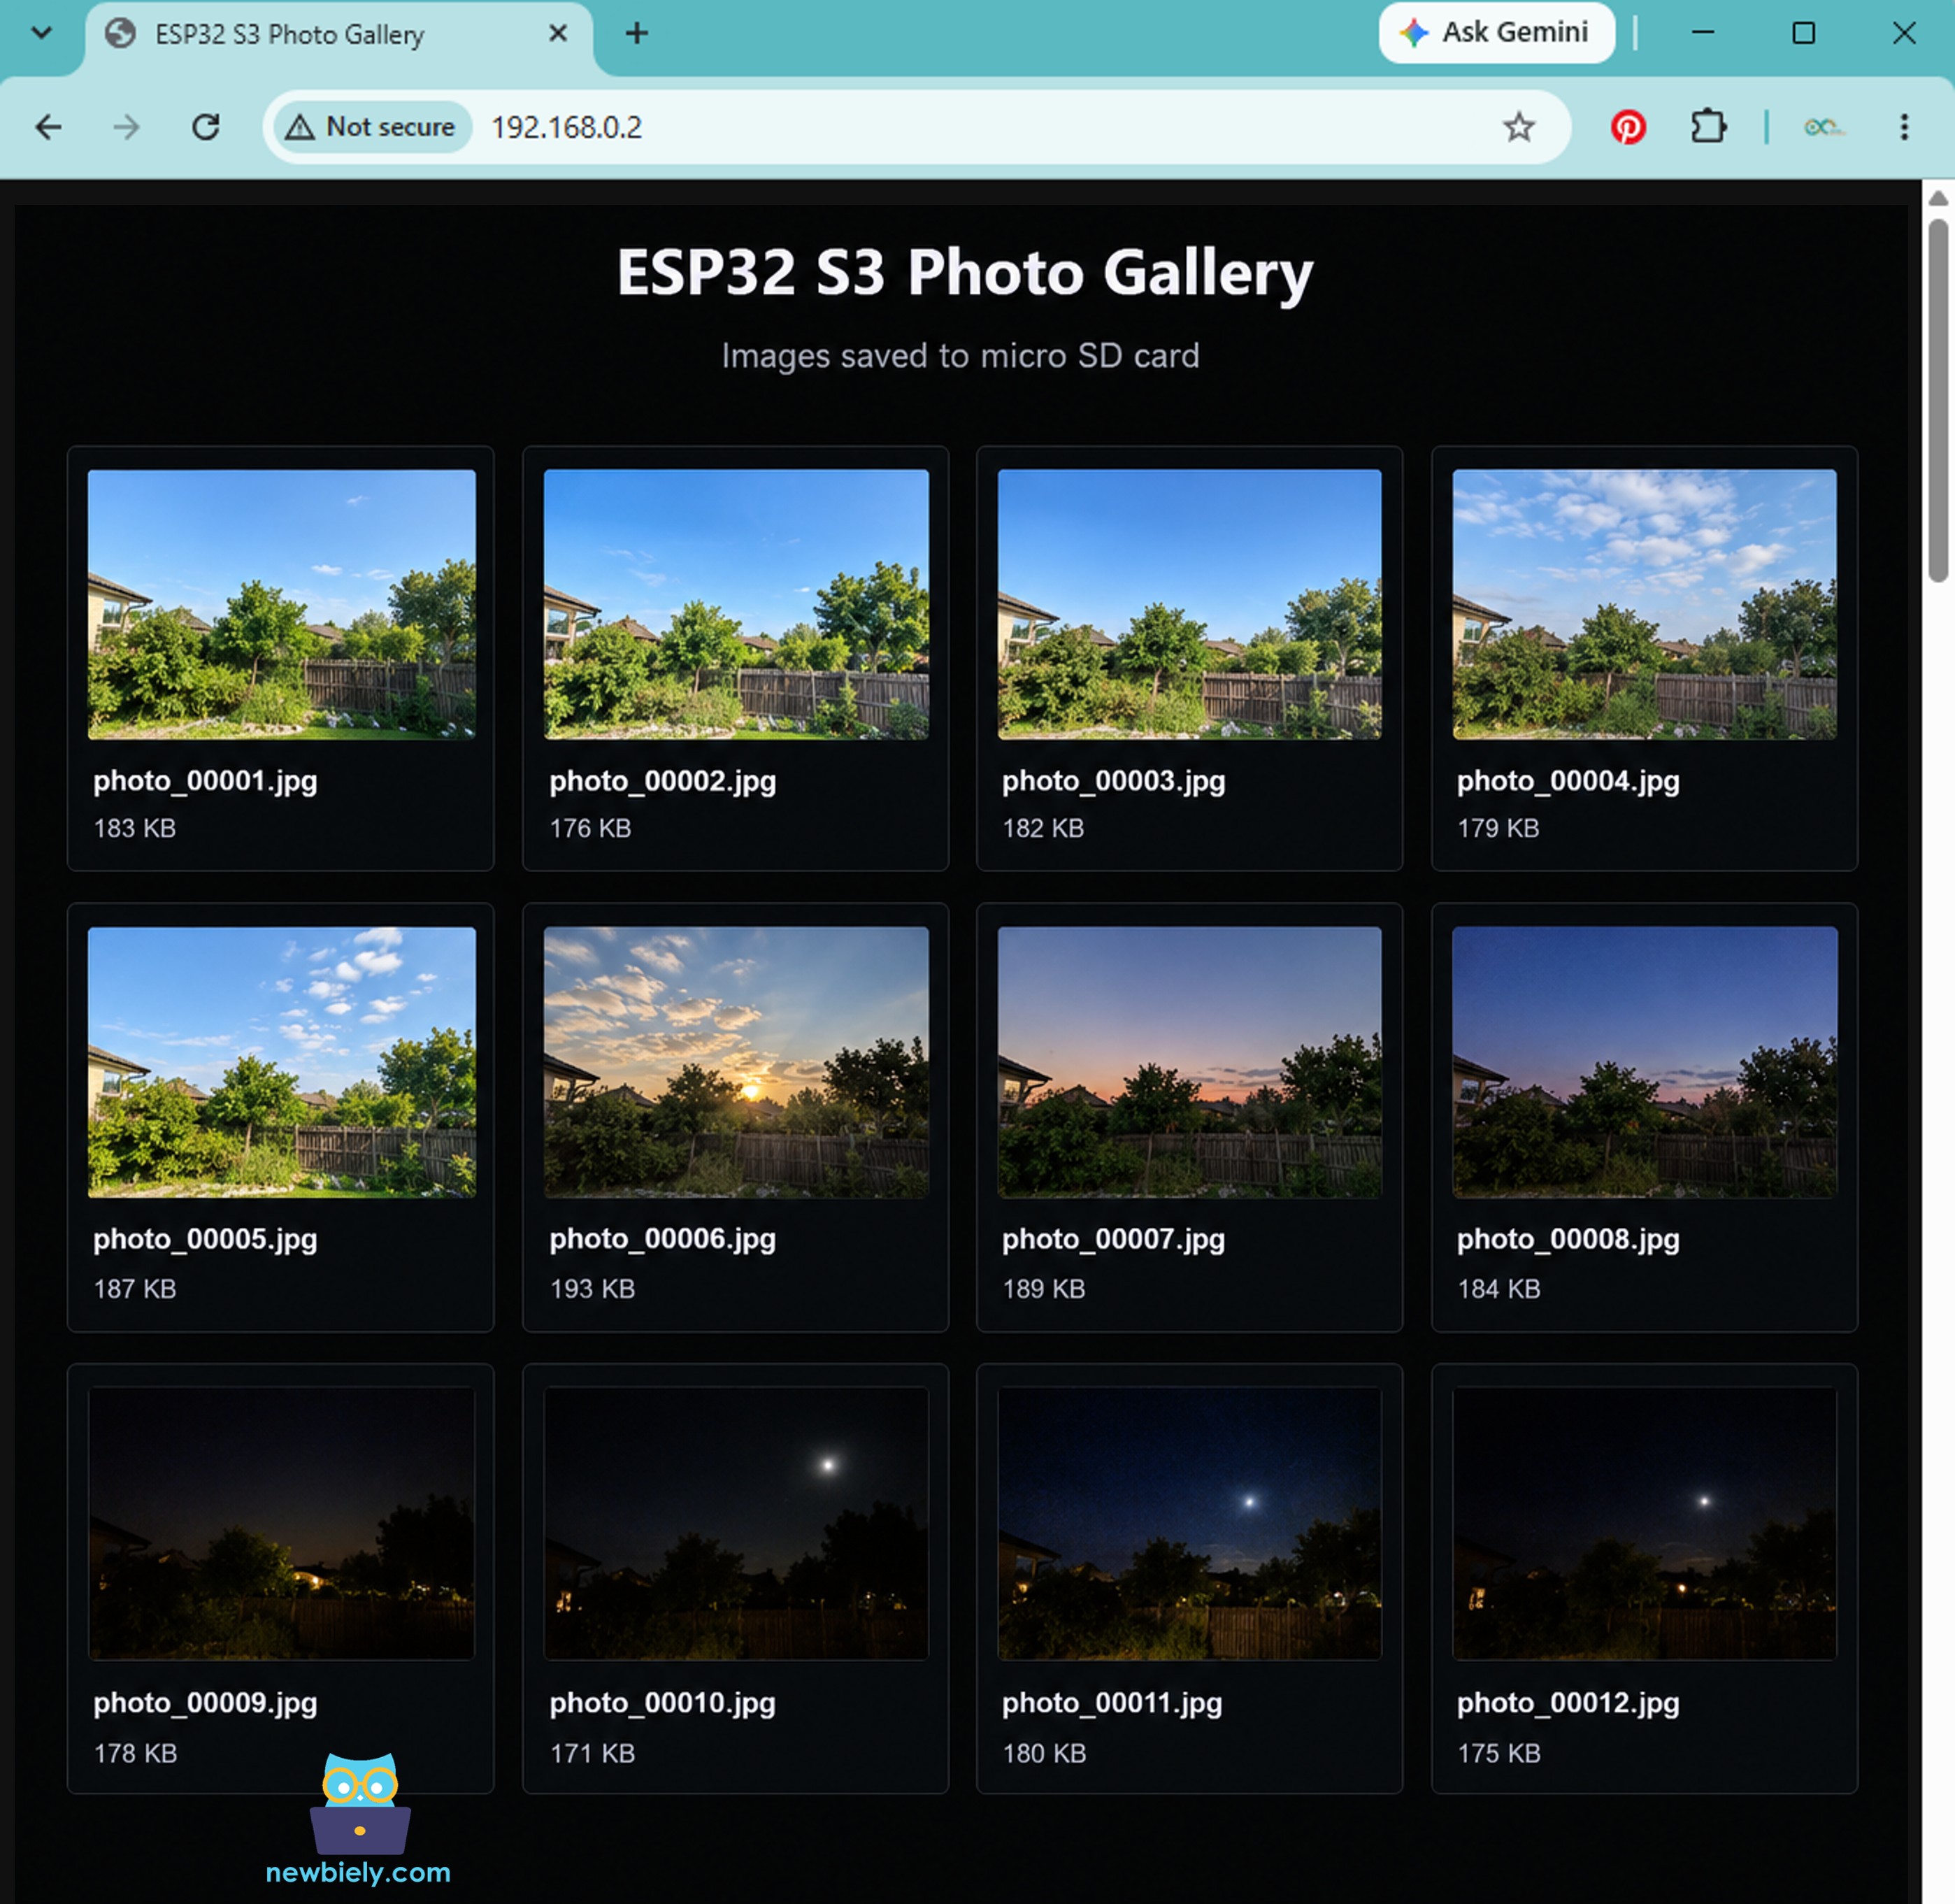
In the other SD card tutorials, you must unplug the board and take the card to your computer to see the photos. This tutorial fixes that. The ESP32 S3 takes photos to the microSD card and runs a small photo gallery. Open the address in any web browser and all the photos are there, on your phone or on your computer.
What you'll build:
An ESP32 S3 camera that saves one photo every 30 seconds to the microSD card
A photo gallery web page that shows every photo on the card
A click on a photo to open it in full size, and to save it
A camera you never have to open again to get the pictures out
Disclosure: Some of the links provided in this section are Amazon affiliate links. We may receive a commission for any purchases made through these links at no additional cost to you. Additionally, some of these links are for products from our own brand, DIYables .
※ NOTE THAT:
The ESP32 S3 camera board has 40 pins, but the screw terminal block and the breakout board have 44 pins. They still work together. Put the camera board in the center of the 44-pin board, so 2 pins stay free on the left side and 2 pins stay free on the right side.
The screw terminal block lets you connect wires with a screwdriver, with no soldering. The breakout board gives you easy pin headers for a breadboard.
How It Works
The web server has two addresses, and they work together:
Address
What it does
http://<IP>/
Reads the card, and builds a page with one small picture per photo
http://<IP>/photo?n=00001
Sends one photo file from the card
The gallery page does not hold any photo itself. It only writes many <img> lines, and each one asks the board for a different file:
So the web browser asks for the photos one after another, and the ESP32 S3 only has to read one file at a time. This is why a board with a small memory can show a card full of pictures.
※ NOTE THAT:
A photo of 180 KB does not fit in the memory of the ESP32 S3 in one piece. The code reads the file in pieces of 1024 bytes and sends each piece at once:
SD_MMC.open("/") opens the top folder, and openNextFile() walks through it:
File root = SD_MMC.open("/");File entry = root.openNextFile();while (entry) {Stringname = String(entry.name());// ... use the name ... entry.close(); entry = root.openNextFile();}
※ NOTE THAT:
Always call entry.close() inside the loop. The ESP32 S3 can only hold a few open files at the same time, and the list stops in the middle if you forget.
Wiring Diagram
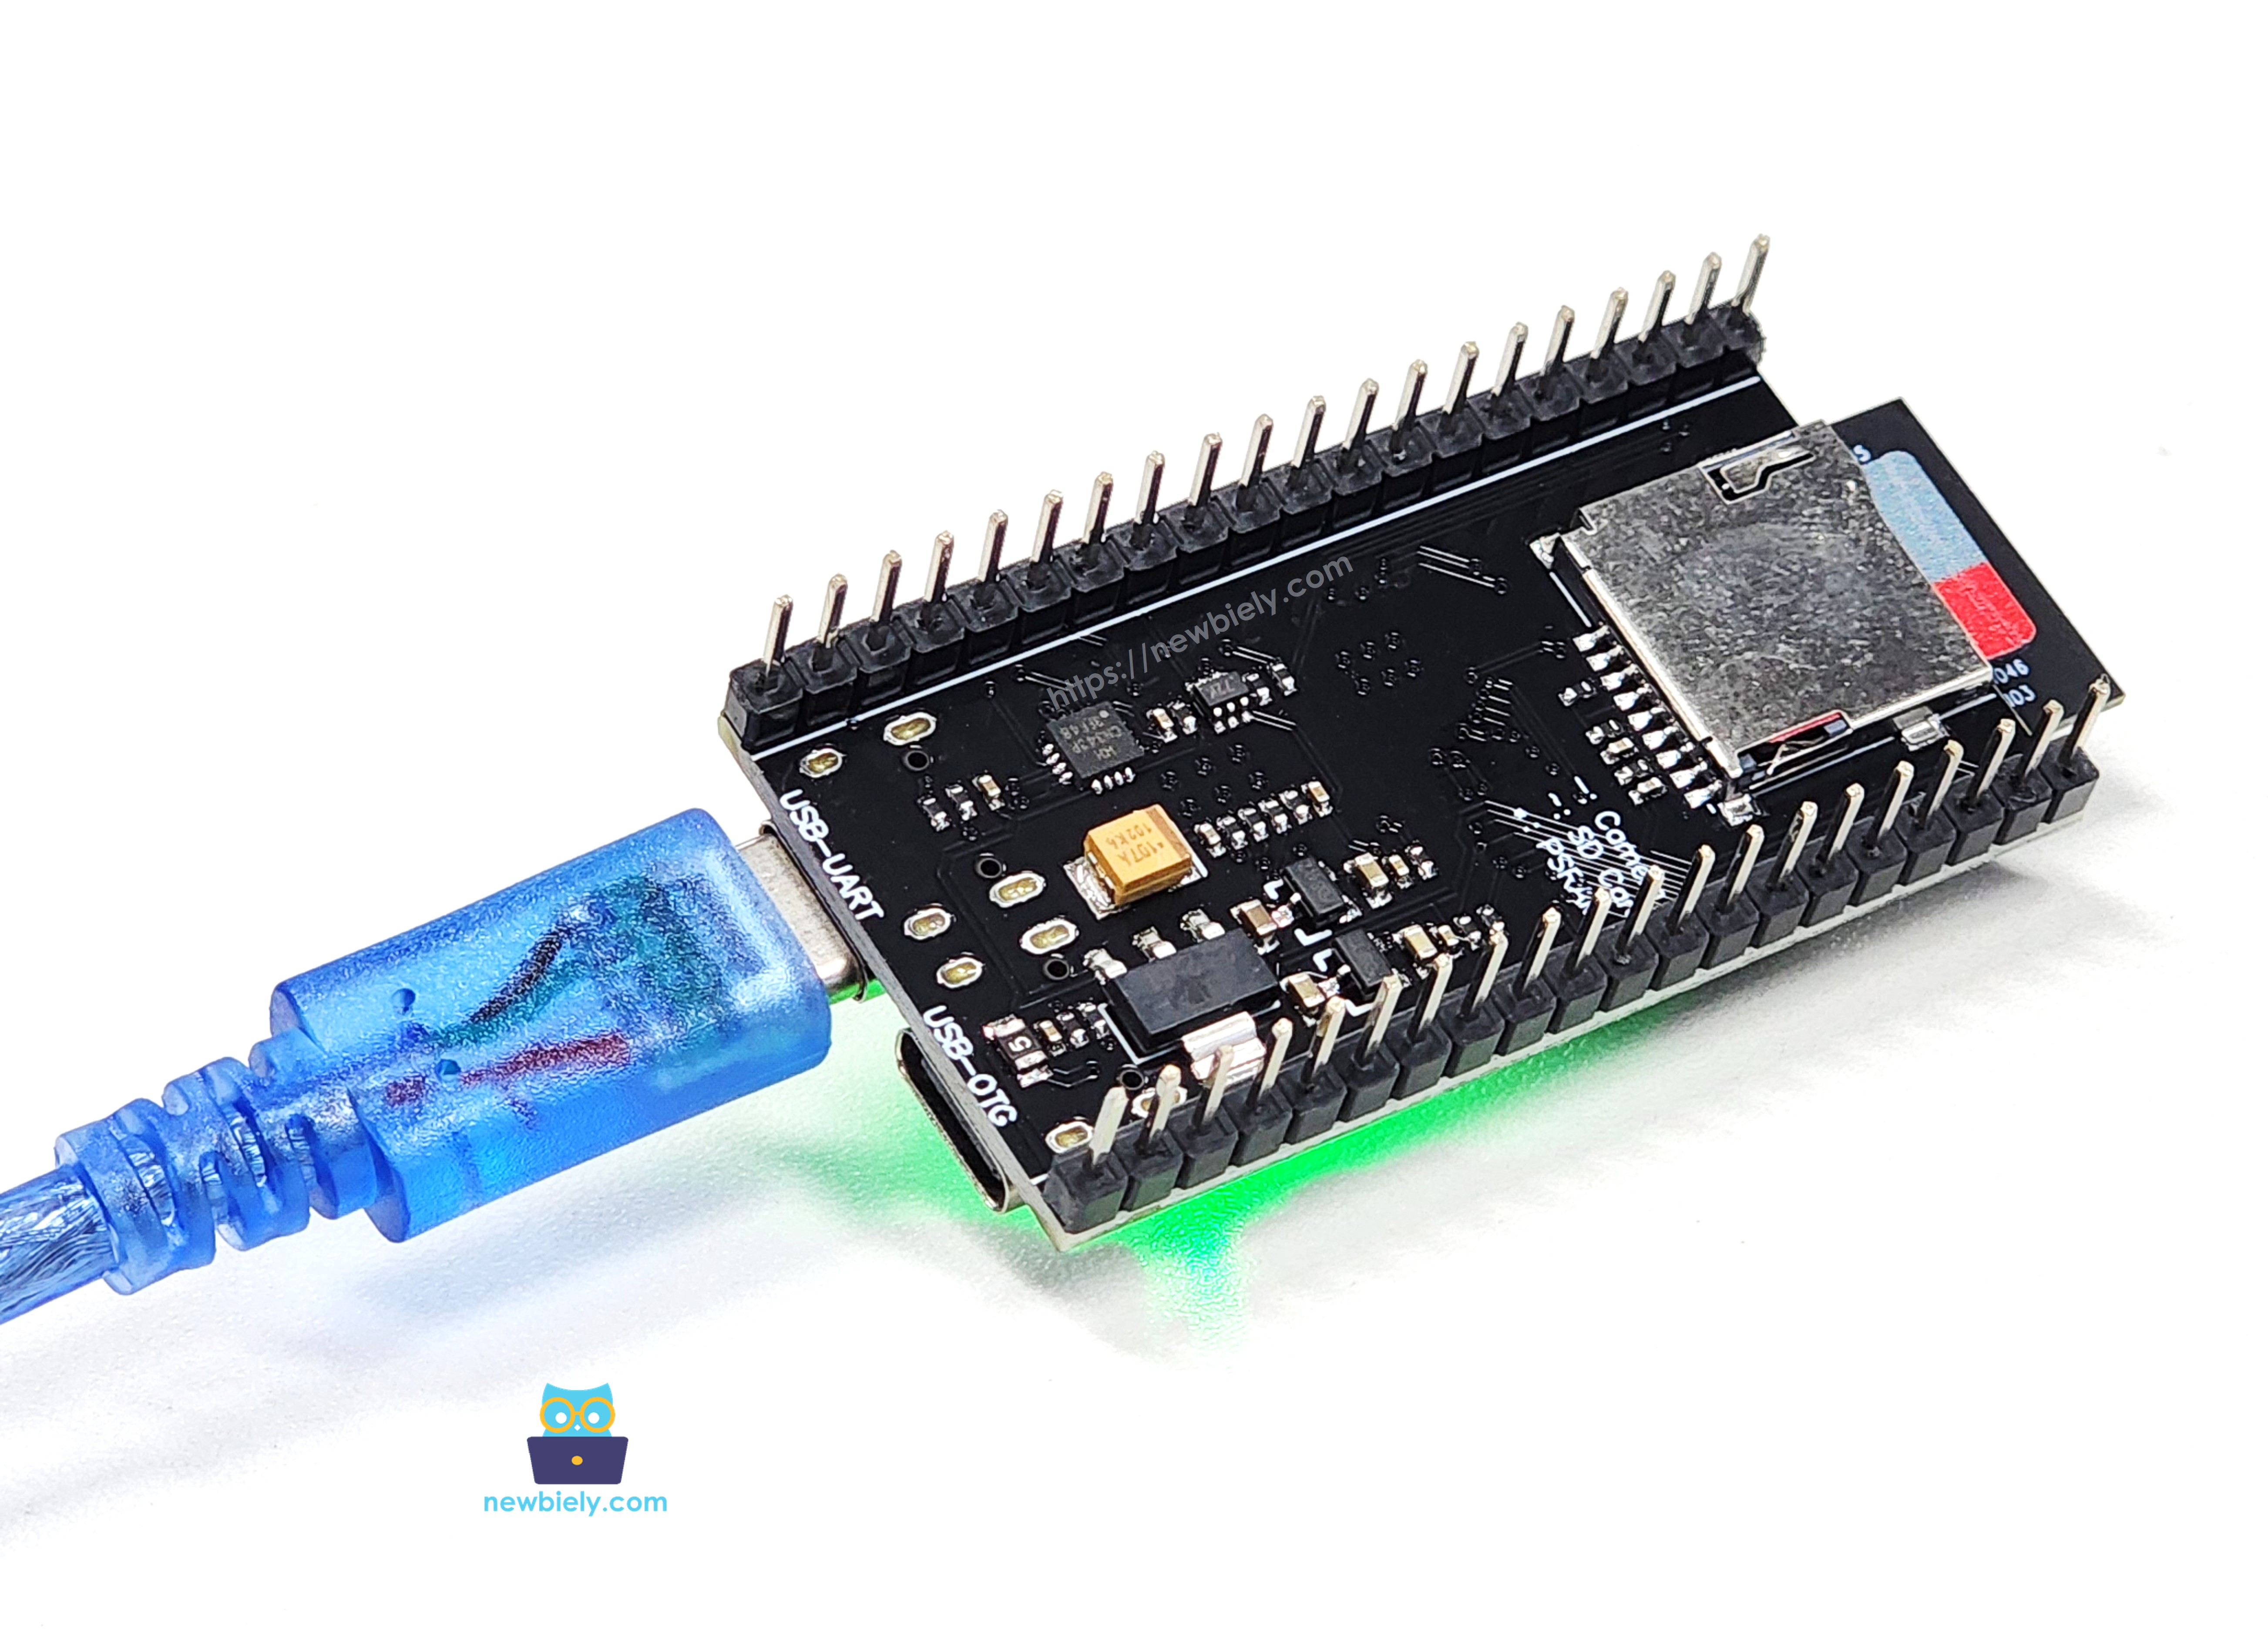
There is no wiring in this project. You only put the microSD card into the slot.
This image is created using Fritzing. Click to enlarge image
Unplug the USB cable.
Make sure the camera module is connected with its flat cable.
Push the microSD card into the slot until you hear a small click.
Plug in the USB cable.
Safety Notes
Never take the card out while the board is writing a photo. The photo, and sometimes the whole card, becomes broken. Always unplug the USB cable first, wait two seconds, then take the card out.
Arduino IDE Settings for ESP32 S3 Camera
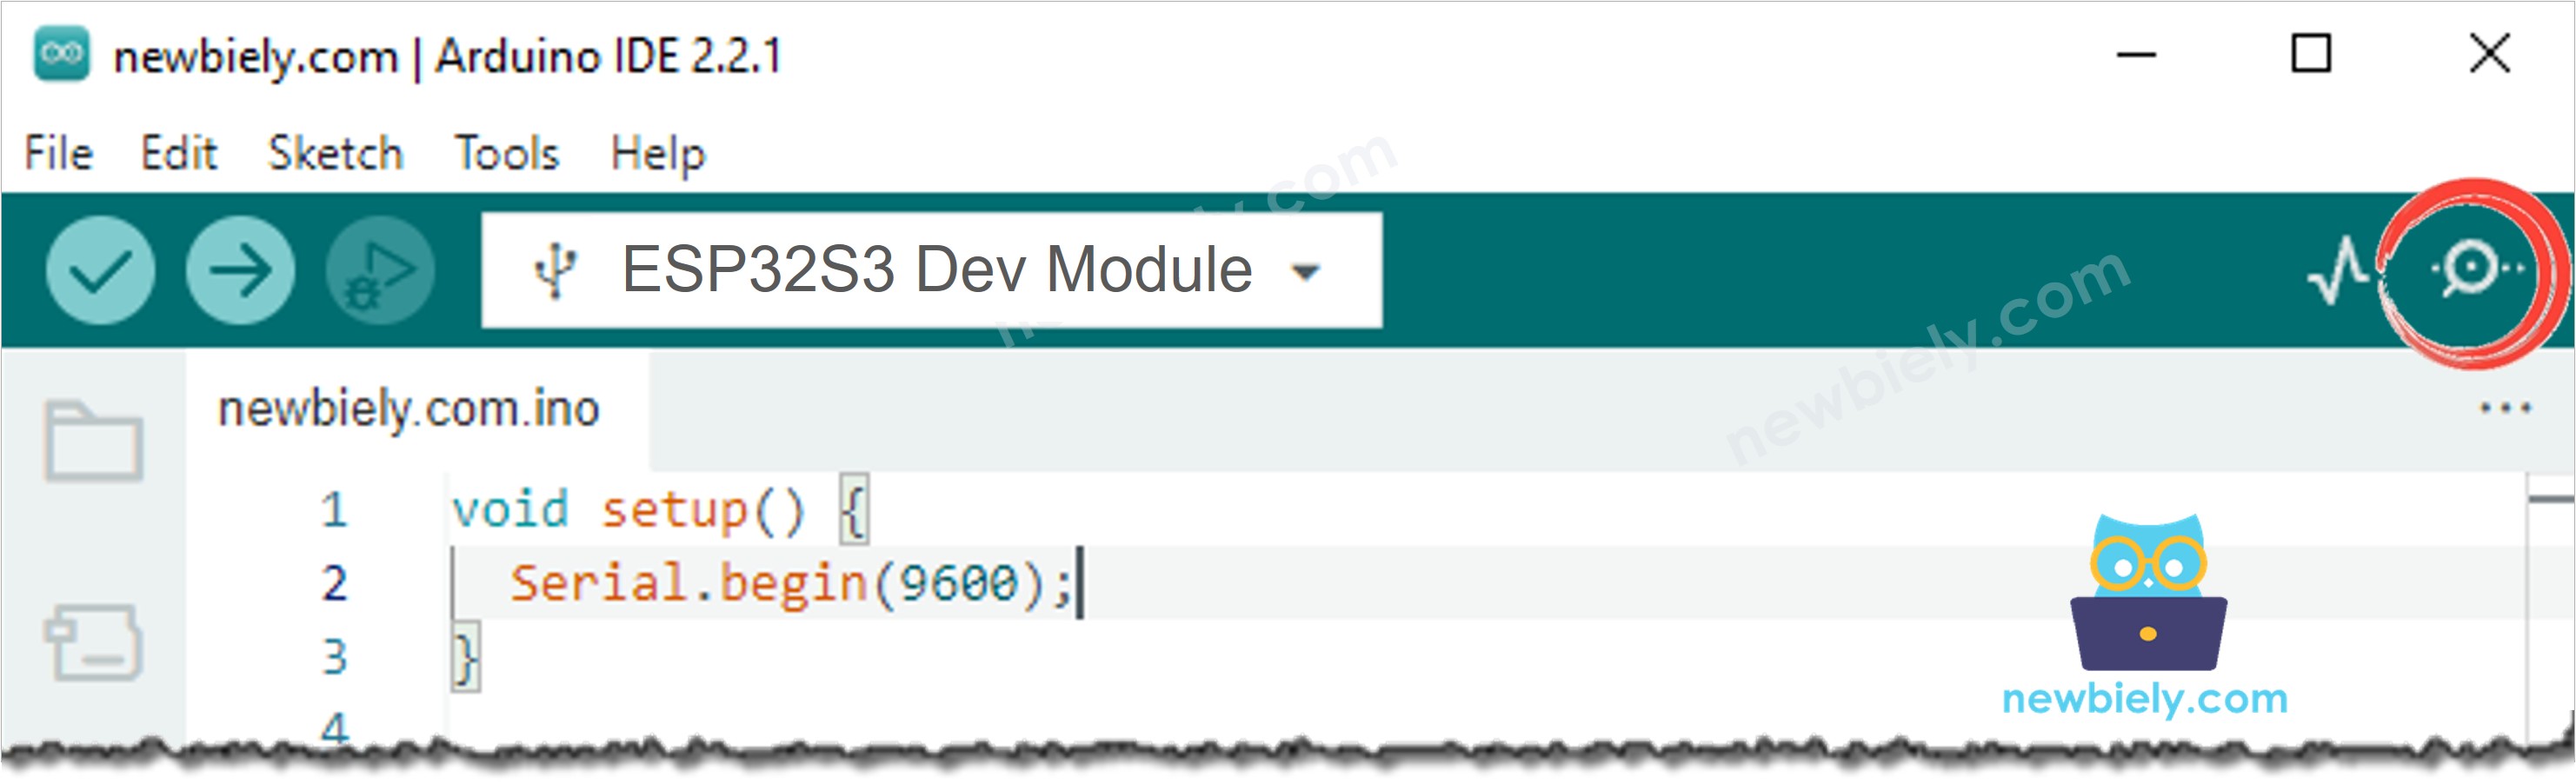
The camera does not work with the default settings of the Arduino IDE. You must change some items in the Tools menu before you upload the code.
Tools Menu Item
Select This
Board
ESP32S3 Dev Module
Flash Size
16MB (128Mb)
PSRAM
OPI PSRAM
Partition Scheme
Huge APP (3MB No OTA/1MB SPIFFS)
CPU Frequency
240MHz (WiFi)
USB Mode
Hardware CDC and JTAG
Upload Mode
UART0 / Hardware CDC
Upload Speed
921600
USB CDC On Boot
Enabled
※ NOTE THAT:
PSRAM must be OPI PSRAM, and Partition Scheme must be Huge APP. Change Flash Size first, because the list of Partition Scheme options changes after that.
Install DIYables ESP32 WebServer Library
Open the Arduino IDE.
Click the Libraries icon on the left bar.
Type DIYables ESP32 WebServer into the search box.
Find the library by DIYables.io and click INSTALL.
Search for DIYables ESP32 WebServer created by DIYables.io and click the Install button.
Newbiely | Arduino IDE 2.3.8
──
☐
✕
File
Edit
Sketch
Tools
Help
ESP32S3 Dev Module
Library Manager
DIYables ESP32 WebServer
Type:
All
Topic:
All
DIYables ESP32 WebServerby DIYables.io
DIYables ESP32 WebServer library designed for ESP32 boards. It includes multi-page web server capabilities and WebSocket support for real-time communication, perfect for IoT projects and DIYables ESP32 boards.
More info
1.0.1
INSTALL
Newbiely.ino
···
1
voidsetup() {
Output
Serial Monitor
Ln 1, Col 1
ESP32S3 Dev Module on COM15
1
SD_MMC and esp_camera are already inside the ESP32 board package.
How To Program the Photo Gallery
Write one function for each address, and add them in setup().
Read the number out of the address \/photo?n=00001. The library has already cut the address into keys and values for you.
String number = "";for (int i = 0; i < params.count; i++)if (String(params.params[i].key) == "n") number = String(params.params[i].value);String fileName = "/photo_" + number + ".jpg";
※ NOTE THAT:
We send only the five digits, not the whole file name. The library keeps a value shorter than 16 letters, and 00001 is short and safe.
Take the five digits out of a file name, to build the link on the gallery page.
The web server answers one web browser at a time. While it sends a big photo, the next photo of the camera waits a moment. This is normal for a small board.
ESP32 S3 Code
The code saves one photo every 30 seconds and shows all of them in the gallery. To change the time, change the line #define PHOTO_INTERVAL 30000.
/* * This ESP32 S3 code was developed by newbiely.com * * This ESP32 S3 code is made available for public use without any restriction * * For comprehensive instructions and wiring diagrams, please visit: * https://newbiely.com/tutorials/esp32-s3/esp32-s3-camera-browse-photos-on-sd-card-from-web-browser */#include <WiFi.h>#include <DIYables_ESP32_WebServer.h> // DIYables ESP32 WebServer library#include"esp_camera.h"#include"FS.h"#include"SD_MMC.h"constchar *WIFI_SSID = "YOUR_WIFI_SSID"; // CHANGE ITconstchar *WIFI_PASSWORD = "YOUR_WIFI_PASSWORD"; // CHANGE IT#define PHOTO_INTERVAL 30000 // take one photo every 30 seconds (30000 milliseconds)// Camera pins of the ESP32-S3-N16R8 camera board.// The same pins work for the OV2640, OV3660 and OV5640 versions.#define PWDN_GPIO_NUM -1#define RESET_GPIO_NUM -1#define XCLK_GPIO_NUM 15#define SIOD_GPIO_NUM 4#define SIOC_GPIO_NUM 5#define Y9_GPIO_NUM 16#define Y8_GPIO_NUM 17#define Y7_GPIO_NUM 18#define Y6_GPIO_NUM 12#define Y5_GPIO_NUM 10#define Y4_GPIO_NUM 8#define Y3_GPIO_NUM 9#define Y2_GPIO_NUM 11#define VSYNC_GPIO_NUM 6#define HREF_GPIO_NUM 7#define PCLK_GPIO_NUM 13// Pins of the microSD card slot on the board#define SD_CLK_GPIO_NUM 39#define SD_CMD_GPIO_NUM 38#define SD_D0_GPIO_NUM 40DIYables_ESP32_WebServer server(80);int photoNumber = 1;unsignedlong lastPhotoTime = 0;// Returns the name of the camera sensor that is installed on the boardconstchar *getSensorName(int pid) {switch (pid) {case OV2640_PID: return"OV2640 (2 MP, max UXGA 1600x1200)";case OV3660_PID: return"OV3660 (3 MP, max QXGA 2048x1536)";case OV5640_PID: return"OV5640 (5 MP, max QSXGA 2592x1944)";default: return"Unknown sensor"; }}bool initCamera() { camera_config_t config;config.ledc_channel = LEDC_CHANNEL_0;config.ledc_timer = LEDC_TIMER_0;config.pin_d0 = Y2_GPIO_NUM;config.pin_d1 = Y3_GPIO_NUM;config.pin_d2 = Y4_GPIO_NUM;config.pin_d3 = Y5_GPIO_NUM;config.pin_d4 = Y6_GPIO_NUM;config.pin_d5 = Y7_GPIO_NUM;config.pin_d6 = Y8_GPIO_NUM;config.pin_d7 = Y9_GPIO_NUM;config.pin_xclk = XCLK_GPIO_NUM;config.pin_pclk = PCLK_GPIO_NUM;config.pin_vsync = VSYNC_GPIO_NUM;config.pin_href = HREF_GPIO_NUM;config.pin_sccb_sda = SIOD_GPIO_NUM;config.pin_sccb_scl = SIOC_GPIO_NUM;config.pin_pwdn = PWDN_GPIO_NUM;config.pin_reset = RESET_GPIO_NUM;config.xclk_freq_hz = 20000000;config.pixel_format = PIXFORMAT_JPEG;config.frame_size = FRAMESIZE_SVGA; // 800x600config.jpeg_quality = 12; // 0 to 63, a lower number means a better imageconfig.fb_count = 1;config.fb_location = CAMERA_FB_IN_DRAM;config.grab_mode = CAMERA_GRAB_WHEN_EMPTY;if (psramFound()) {config.fb_location = CAMERA_FB_IN_PSRAM;config.jpeg_quality = 10;config.fb_count = 2;config.grab_mode = CAMERA_GRAB_LATEST; } else {config.frame_size = FRAMESIZE_QVGA;Serial.println("WARNING: PSRAM not found. Please set PSRAM to OPI PSRAM in the Tools menu."); } esp_err_t err = esp_camera_init(&config);if (err != ESP_OK) {Serial.printf("Camera init failed with error 0x%x\n", err);returnfalse; } sensor_t *s = esp_camera_sensor_get();Serial.printf("Camera sensor: %s\n", getSensorName(s->id.PID));// Each sensor needs slightly different settingsswitch (s->id.PID) {case OV2640_PID: s->set_vflip(s, 0); s->set_hmirror(s, 0);break;case OV3660_PID: s->set_vflip(s, 1); // the OV3660 image is upside down by default s->set_brightness(s, 1); // make the image a little brighter s->set_saturation(s, -2); // make the colors a little softerbreak;case OV5640_PID: s->set_vflip(s, 0); s->set_hmirror(s, 0);break;default:break; }returntrue;}bool initSDCard() { SD_MMC.setPins(SD_CLK_GPIO_NUM, SD_CMD_GPIO_NUM, SD_D0_GPIO_NUM);// true means 1-bit mode. The camera uses the other pins, so we cannot use 4-bit mode.if (!SD_MMC.begin("/sdcard", true)) {Serial.println("SD card not found. Please check the card and push it in again.");returnfalse; }if (SD_MMC.cardType() == CARD_NONE) {Serial.println("No SD card inside the slot");returnfalse; }Serial.printf("SD card size: %llu MB\n", SD_MMC.cardSize() / (1024 * 1024));returntrue;}// Makes a file name like /photo_00001.jpgString makeFileName(int number) {charname[32]; sprintf(name, "/photo_%05d.jpg", number);returnString(name);}// Looks for the first free file name, so old photos are never lostvoid findFirstFreeNumber() {while (SD_MMC.exists(makeFileName(photoNumber))) photoNumber++;Serial.printf("The next photo will be photo_%05d.jpg\n", photoNumber);}void takeAndSavePhoto() { camera_fb_t *fb = esp_camera_fb_get();if (!fb) {Serial.println("Photo capture failed");return; }String fileName = makeFileName(photoNumber);File file = SD_MMC.open(fileName.c_str(), FILE_WRITE);if (file) { file.write(fb->buf, fb->len); file.close();Serial.printf("Saved %s (%u bytes)\n", fileName.c_str(), fb->len); photoNumber++; } else {Serial.printf("Cannot write the file %s\n", fileName.c_str()); } esp_camera_fb_return(fb);}// Shows the list of photos that are on the cardvoid handleGallery(WiFiClient &client, constString &method, constString &request, constQueryParams ¶ms, constString &jsonData) { client.print("HTTP/1.1 200 OK\r\n"); client.print("Content-Type: text/html\r\n"); client.print("Connection: close\r\n\r\n"); client.print(F("<!DOCTYPE html><html><head><meta charset=\"utf-8\">")); client.print(F("<meta name=\"viewport\" content=\"width=device-width, initial-scale=1\">")); client.print(F("<title>ESP32 S3 Photo Gallery</title><style>")); client.print(F("body{background:#111;color:#eee;font-family:sans-serif;text-align:center;margin:0;padding:16px}")); client.print(F("a{color:#4da3ff;text-decoration:none}")); client.print(F(".card{display:inline-block;margin:8px;padding:8px;background:#222;border-radius:8px}")); client.print(F("img{width:240px;border-radius:6px;display:block}")); client.print(F(".note{color:#aaa;font-size:14px;margin-top:-8px}")); client.print(F("</style></head><body><h2>ESP32 S3 Photo Gallery</h2>")); client.print(F("<p class=\"note\">Images saved to Micro SD card</p>"));File root = SD_MMC.open("/");int count = 0;if (root) {File entry = root.openNextFile();while (entry) {Stringname = String(entry.name());// We only show our own photosif (name.startsWith("photo_") && name.endsWith(".jpg")) {String number = name.substring(6, 11); // the 5 digits inside photo_00001.jpg client.print(F("<div class=\"card\"><a href=\"/photo?n=")); client.print(number); client.print(F("\" target=\"_blank\"><img src=\"/photo?n=")); client.print(number); client.print(F("\"></a><br>")); client.print(name); client.print(F(" - ")); client.print(entry.size() / 1024); client.print(F(" KB</div>")); count++; } entry.close(); entry = root.openNextFile(); } root.close(); }if (count == 0) client.print(F("<p>No photo on the card yet. Please wait.</p>")); client.print(F("<p>")); client.print(count); client.print(F(" photos. <a href=\"/\">Reload</a></p></body></html>"));Serial.printf("The gallery was opened. %d photos on the card.\n", count);}// Sends one photo file from the card to the web browservoid handlePhoto(WiFiClient &client, constString &method, constString &request, constQueryParams ¶ms, constString &jsonData) {String number = "";for (int i = 0; i < params.count; i++)if (String(params.params[i].key) == "n") number = String(params.params[i].value);String fileName = "/photo_" + number + ".jpg";File file = SD_MMC.open(fileName.c_str(), FILE_READ);if (!file) {Serial.printf("The file %s was not found\n", fileName.c_str()); server.sendResponse(client, "Photo not found", "text/plain");return; } client.print("HTTP/1.1 200 OK\r\n"); client.print("Content-Type: image/jpeg\r\n"); client.printf("Content-Length: %u\r\n", (unsigned)file.size()); client.print("Connection: close\r\n\r\n");// Send the file in small pieces, because it does not fit in the memory at onceuint8_tbuffer[1024];while (file.available()) { size_t read = file.read(buffer, sizeof(buffer)); client.write(buffer, read); } file.close();Serial.printf("Sent %s\n", fileName.c_str());}voidsetup() {Serial.begin(115200);delay(1000);if (!initCamera()) {Serial.println("Stopped");while (true)delay(1000); }if (!initSDCard()) {Serial.println("Stopped");while (true)delay(1000); } findFirstFreeNumber();WiFi.mode(WIFI_STA);WiFi.begin(WIFI_SSID, WIFI_PASSWORD);Serial.print("Connecting to WiFi");while (WiFi.status() != WL_CONNECTED) {delay(500);Serial.print("."); }Serial.println(); server.addRoute("/", handleGallery); server.addRoute("/photo", handlePhoto); server.begin();Serial.print("Gallery is ready. Open this address in your web browser: http://");Serial.println(WiFi.localIP()); takeAndSavePhoto(); lastPhotoTime = millis();}voidloop() { server.handleClient();if (millis() - lastPhotoTime >= PHOTO_INTERVAL) { lastPhotoTime = millis(); takeAndSavePhoto(); }}
Format your microSD card as FAT32 on your computer.
Unplug the USB cable, then put the card into the slot.
Install the DIYables ESP32 WebServer library.
Copy the above code and paste it into the Arduino IDE.
Change WIFI_SSID and WIFI_PASSWORD to your own WiFi.
Change the settings in the Tools menu. See the table above.
Compile and upload the code to the ESP32 S3 board by clicking the Upload button in Arduino IDE.
Open the Serial Monitor in Arduino IDE.
Press the RESET button one time, and read the IP address.
Wait two minutes, so the board saves a few photos.
Type the address into your web browser. The gallery appears.
Serial Monitor
The following readings were captured in 2026:
Newbiely | Arduino IDE 2.3.8
──
☐
✕
File
Edit
Sketch
Tools
Help
ESP32S3 Dev Module
Newbiely.ino
···
8Serial.println("Hello World!");
Output
Serial Monitor
Message (Enter to send message to 'ESP32S3 Dev Module' on 'COM15')
New Line
9600 baud
[2026-09-28 12:00:01] Camera sensor: OV5640 (5 MP, max QSXGA 2592x1944)
[2026-09-28 12:00:01] SD card size: 15193 MB
[2026-09-28 12:00:01] The next photo will be photo_00001.jpg
[2026-09-28 12:00:04] Gallery is ready. Open this address in your web browser: http://192.168.0.2
[2026-09-28 12:00:05] Saved /photo_00001.jpg (51353 bytes)
[2026-09-28 12:00:35] Saved /photo_00002.jpg (51259 bytes)
[2026-09-28 12:01:05] Saved /photo_00003.jpg (52104 bytes)
[2026-09-28 12:01:20] The gallery was opened. 3 photos on the card.
[2026-09-28 12:01:21] Sent /photo_00001.jpg
[2026-09-28 12:01:21] Sent /photo_00002.jpg
[2026-09-28 12:01:22] Sent /photo_00003.jpg
Ln 11, Col 1
ESP32S3 Dev Module on COM15
2
Troubleshooting
The gallery page opens but says "No photo on the card yet".
Wait 30 seconds and reload. The gallery only shows files whose name starts with photo_ and ends with .jpg. Photos made by the other tutorials, such as motion_00001.jpg, are not shown. Change the line name.startsWith("photo_") if you want to see them.
The small pictures stay grey and never appear.
The board is showing full size photos as small pictures, so a page with 50 photos is very slow. Wait, or lower config.frame_size to FRAMESIZE_VGA so the files are smaller.
The page loads, but some photos are missing.
The ESP32 S3 can only hold a few open files at once. Make sure entry.close() is inside the loop.
The page is very slow with many photos.
This is normal. The board sends one photo at a time. For a card with hundreds of photos, it is faster to take the card out and read it on a computer.
The Serial Monitor shows SD card not found.
Format the card as FAT32, use a card of 32 GB or smaller, and push the card in again.
The page does not open at all.
Your computer and your ESP32 S3 must be on the same WiFi network. Type http://, not https://.
The Serial Monitor shows nothing after the boot messages.
If your USB cable is in the port named UART, set USB CDC On Boot to Disabled. If it is in the port named USB, set it to Enabled.
Applications
A camera that shows its own photos over WiFi saves you a trip to the board every time. Here are practical projects you can build with this code:
Time-lapse camera you can check from your desk: See how the pictures look before you leave it running for a week.
Building site camera: Show today's photos to a customer on a phone, right at the site.
Plant and greenhouse watcher: Look at the growth of your plants without opening the greenhouse.
Shop and office record: A manager can look at the photos from another room.
Classroom camera: Every student can open the gallery on their own phone.
Machine and 3D printer log: Check the last photos when a print failed, with no cable.
Aquarium watcher: Look at your fish from the sofa.
Weather and sky camera: Show the sky of the whole day as a page of small pictures.
Door camera with a record: Look at who came, and save only the photos you want to keep.
Holiday home camera: Check the pictures over the local WiFi when you arrive.
Video Tutorial
Watch the step-by-step video walkthrough for this ESP32 S3 project below.
Challenges
Beginner: Change the gallery to show the newest photo first.
Intermediate: Add a /delete?n=00001 address that removes one photo from the card with SD_MMC.remove().
Advanced: Show only 20 photos on one page, and add Next and Back links, so a card with a thousand photos still opens quickly.
Please feel free to share the link of this tutorial. However, Please do not use our content on any other websites. We invested a lot of effort and time to create the content, please respect our work!