
ESP32 S3 - LED - Fade
The ESP32 S3 makes it straightforward to control LED brightness through PWM signals, enabling smooth fade-in and fade-out effects with just a few lines of code. This tutorial walks you through three different fade methods — from a simple delay-based approach to a non-blocking millis() technique — so you can choose the best fit for your project.
What you'll build:
- A circuit connecting an LED to the ESP32 S3 with a current-limiting resistor
- A basic fade sketch using delay() for simple brightness cycling
- A smooth fade-in effect over a set time period without blocking other code
- A smooth fade-out effect using millis() for precise non-blocking timing control
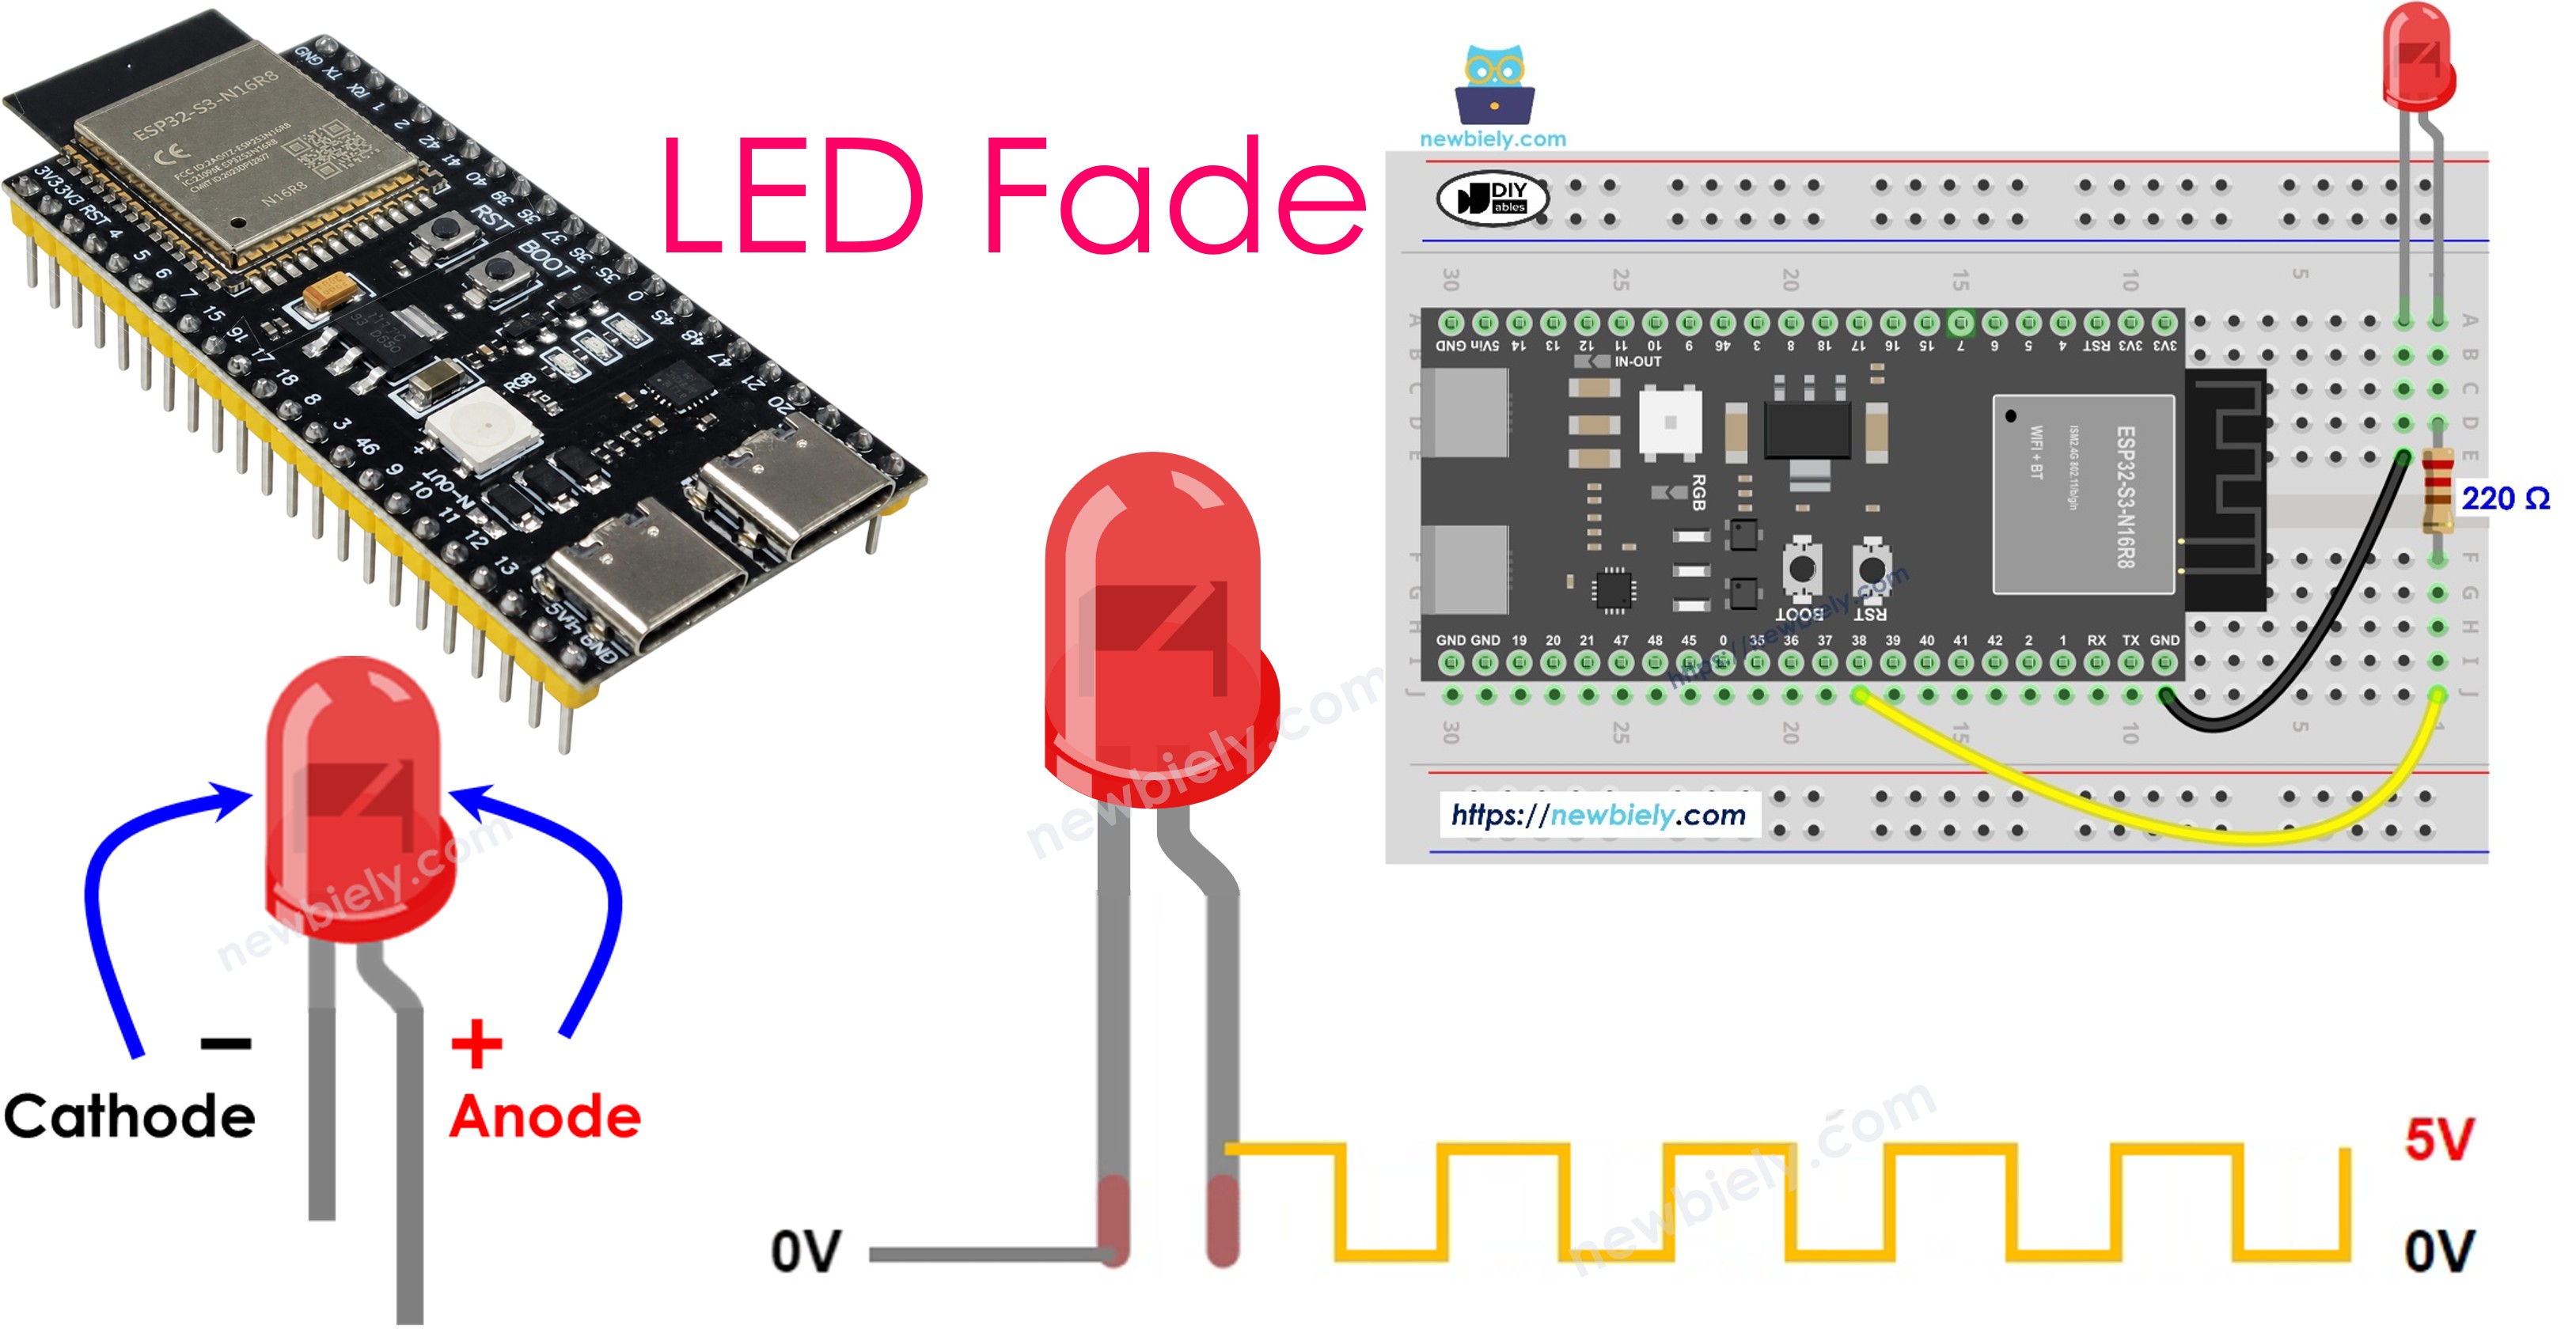
Hardware Preparation
Or you can buy the following kits:
| 1 | × | DIYables ESP32 S3 Starter Kit (ESP32 S3 included) | |
| 1 | × | DIYables Sensor Kit (18 sensors/displays) |
Additionally, some of these links are for products from our own brand, DIYables .
Buy Note: Use the LED Module for easier wiring. It includes an integrated resistor.
Overview of LED
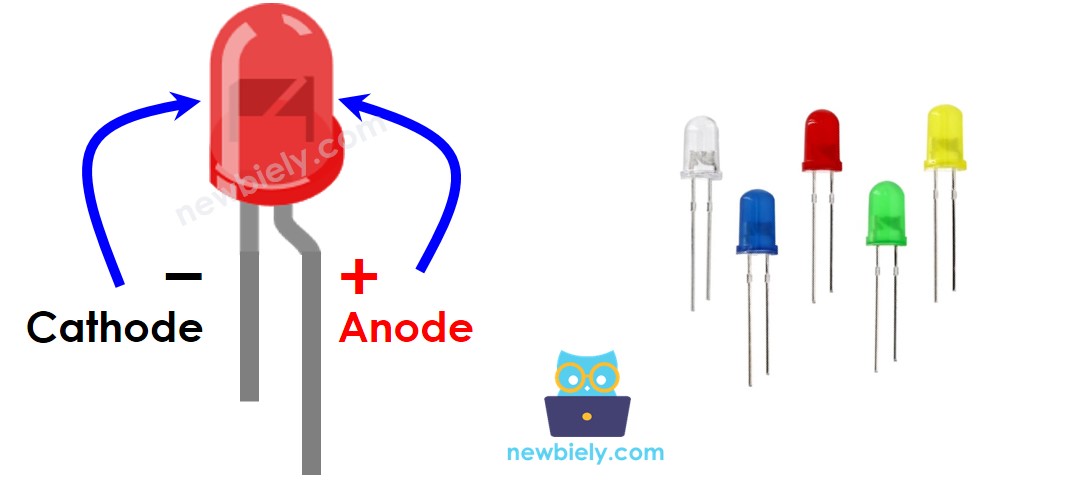
An LED (light-emitting diode) emits light when current flows through it in the forward direction. It has two terminals: the anode (positive, longer leg) and the cathode (negative, shorter leg), and its brightness can be smoothly controlled by varying the duty cycle of a PWM signal from the ESP32 S3.
Key Specifications
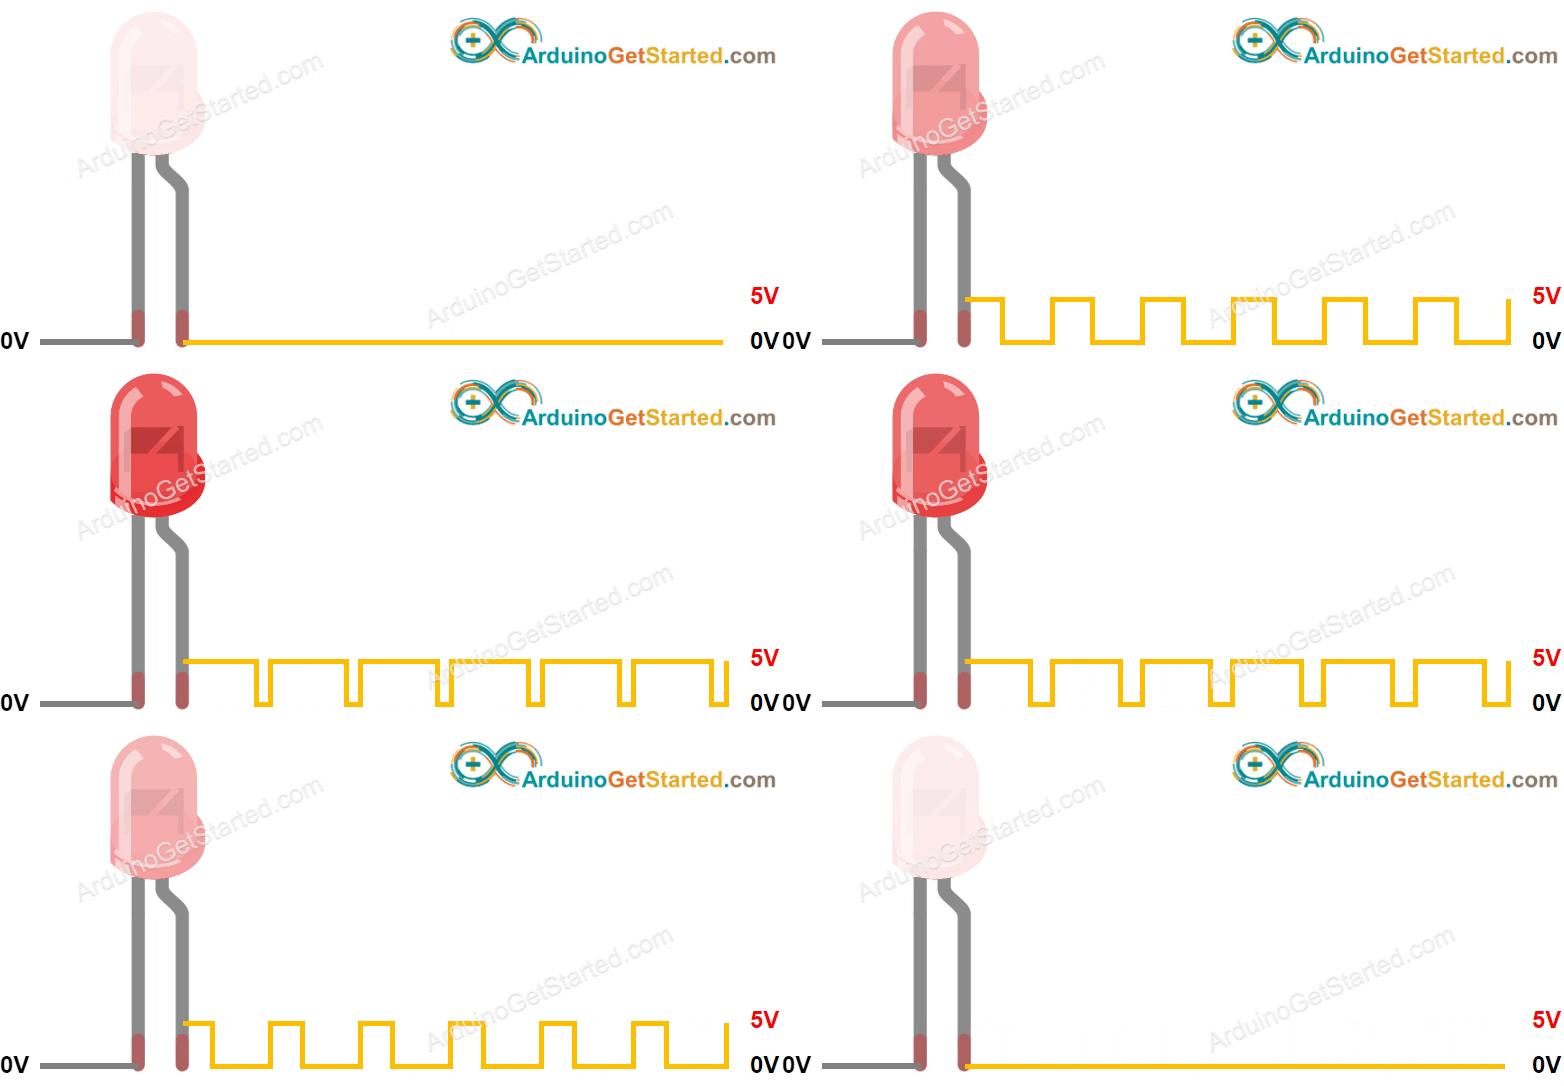
LEDs operate at a typical forward voltage of 2–3 V depending on color, and they require a current-limiting resistor — usually 220 ohm — wired in series to prevent excess current from burning them out. The ESP32 S3 uses a PWM duty cycle range of 0 to 255: a value of 0 is equivalent to GND (LED off), 255 is equivalent to full supply voltage (LED at maximum brightness), and values in between produce proportional brightness levels.
LED Pinout
The LED has two pins, each with a distinct role:
- Anode (+): The longer leg — connect this to the ESP32 S3 output pin through a 220 ohm resistor
- Cathode (-): The shorter leg with a flat edge on the housing — connect this to GND
How LED Works
The LED's brightness is determined by the voltage (or PWM average) applied to its anode after the cathode is grounded. When the ESP32 S3 sends a PWM signal, it rapidly switches the pin between HIGH and LOW, and the LED perceives the average as a continuous brightness level.
※ NOTE THAT:
Always use a resistor (typically 220 ohm) in series with the LED to limit current and prevent burnout. The resistance value depends on the LED's specification and supply voltage.
ESP32 S3 - Fade LED
The ESP32 S3's digital output pins support PWM output natively, making them well suited for driving LED fade effects. You connect the LED anode to any PWM-capable pin on the ESP32 S3, connect the cathode through a 220 ohm resistor to GND, and then gradually change the analogWrite() duty cycle value in your sketch. Increasing the duty cycle from 0 to 255 produces a fade-in; decreasing it from 255 to 0 produces a fade-out.
Wiring Diagram between LED and ESP32 S3
Connect the LED to the ESP32 S3 by routing the anode through a 220 ohm resistor to pin D7, and connecting the cathode directly to GND. Ensuring the resistor is always in the circuit protects both the LED and the ESP32 S3 output pin from overcurrent.
Safety Notes
Never connect an LED directly between a power pin and ground without a current-limiting resistor — even a brief short can permanently damage the LED or the microcontroller pin. The 220 ohm resistor used here is suitable for most standard 5 mm LEDs operating at 3.3 V; if you use a different LED color or supply voltage, adjust the resistor value accordingly.
| LED Pin | ESP32 S3 Pin |
|---|---|
| Anode (+) (longer leg) | D7 (through 220Ω resistor) |
| Cathode (-) (shorter leg) | GND |
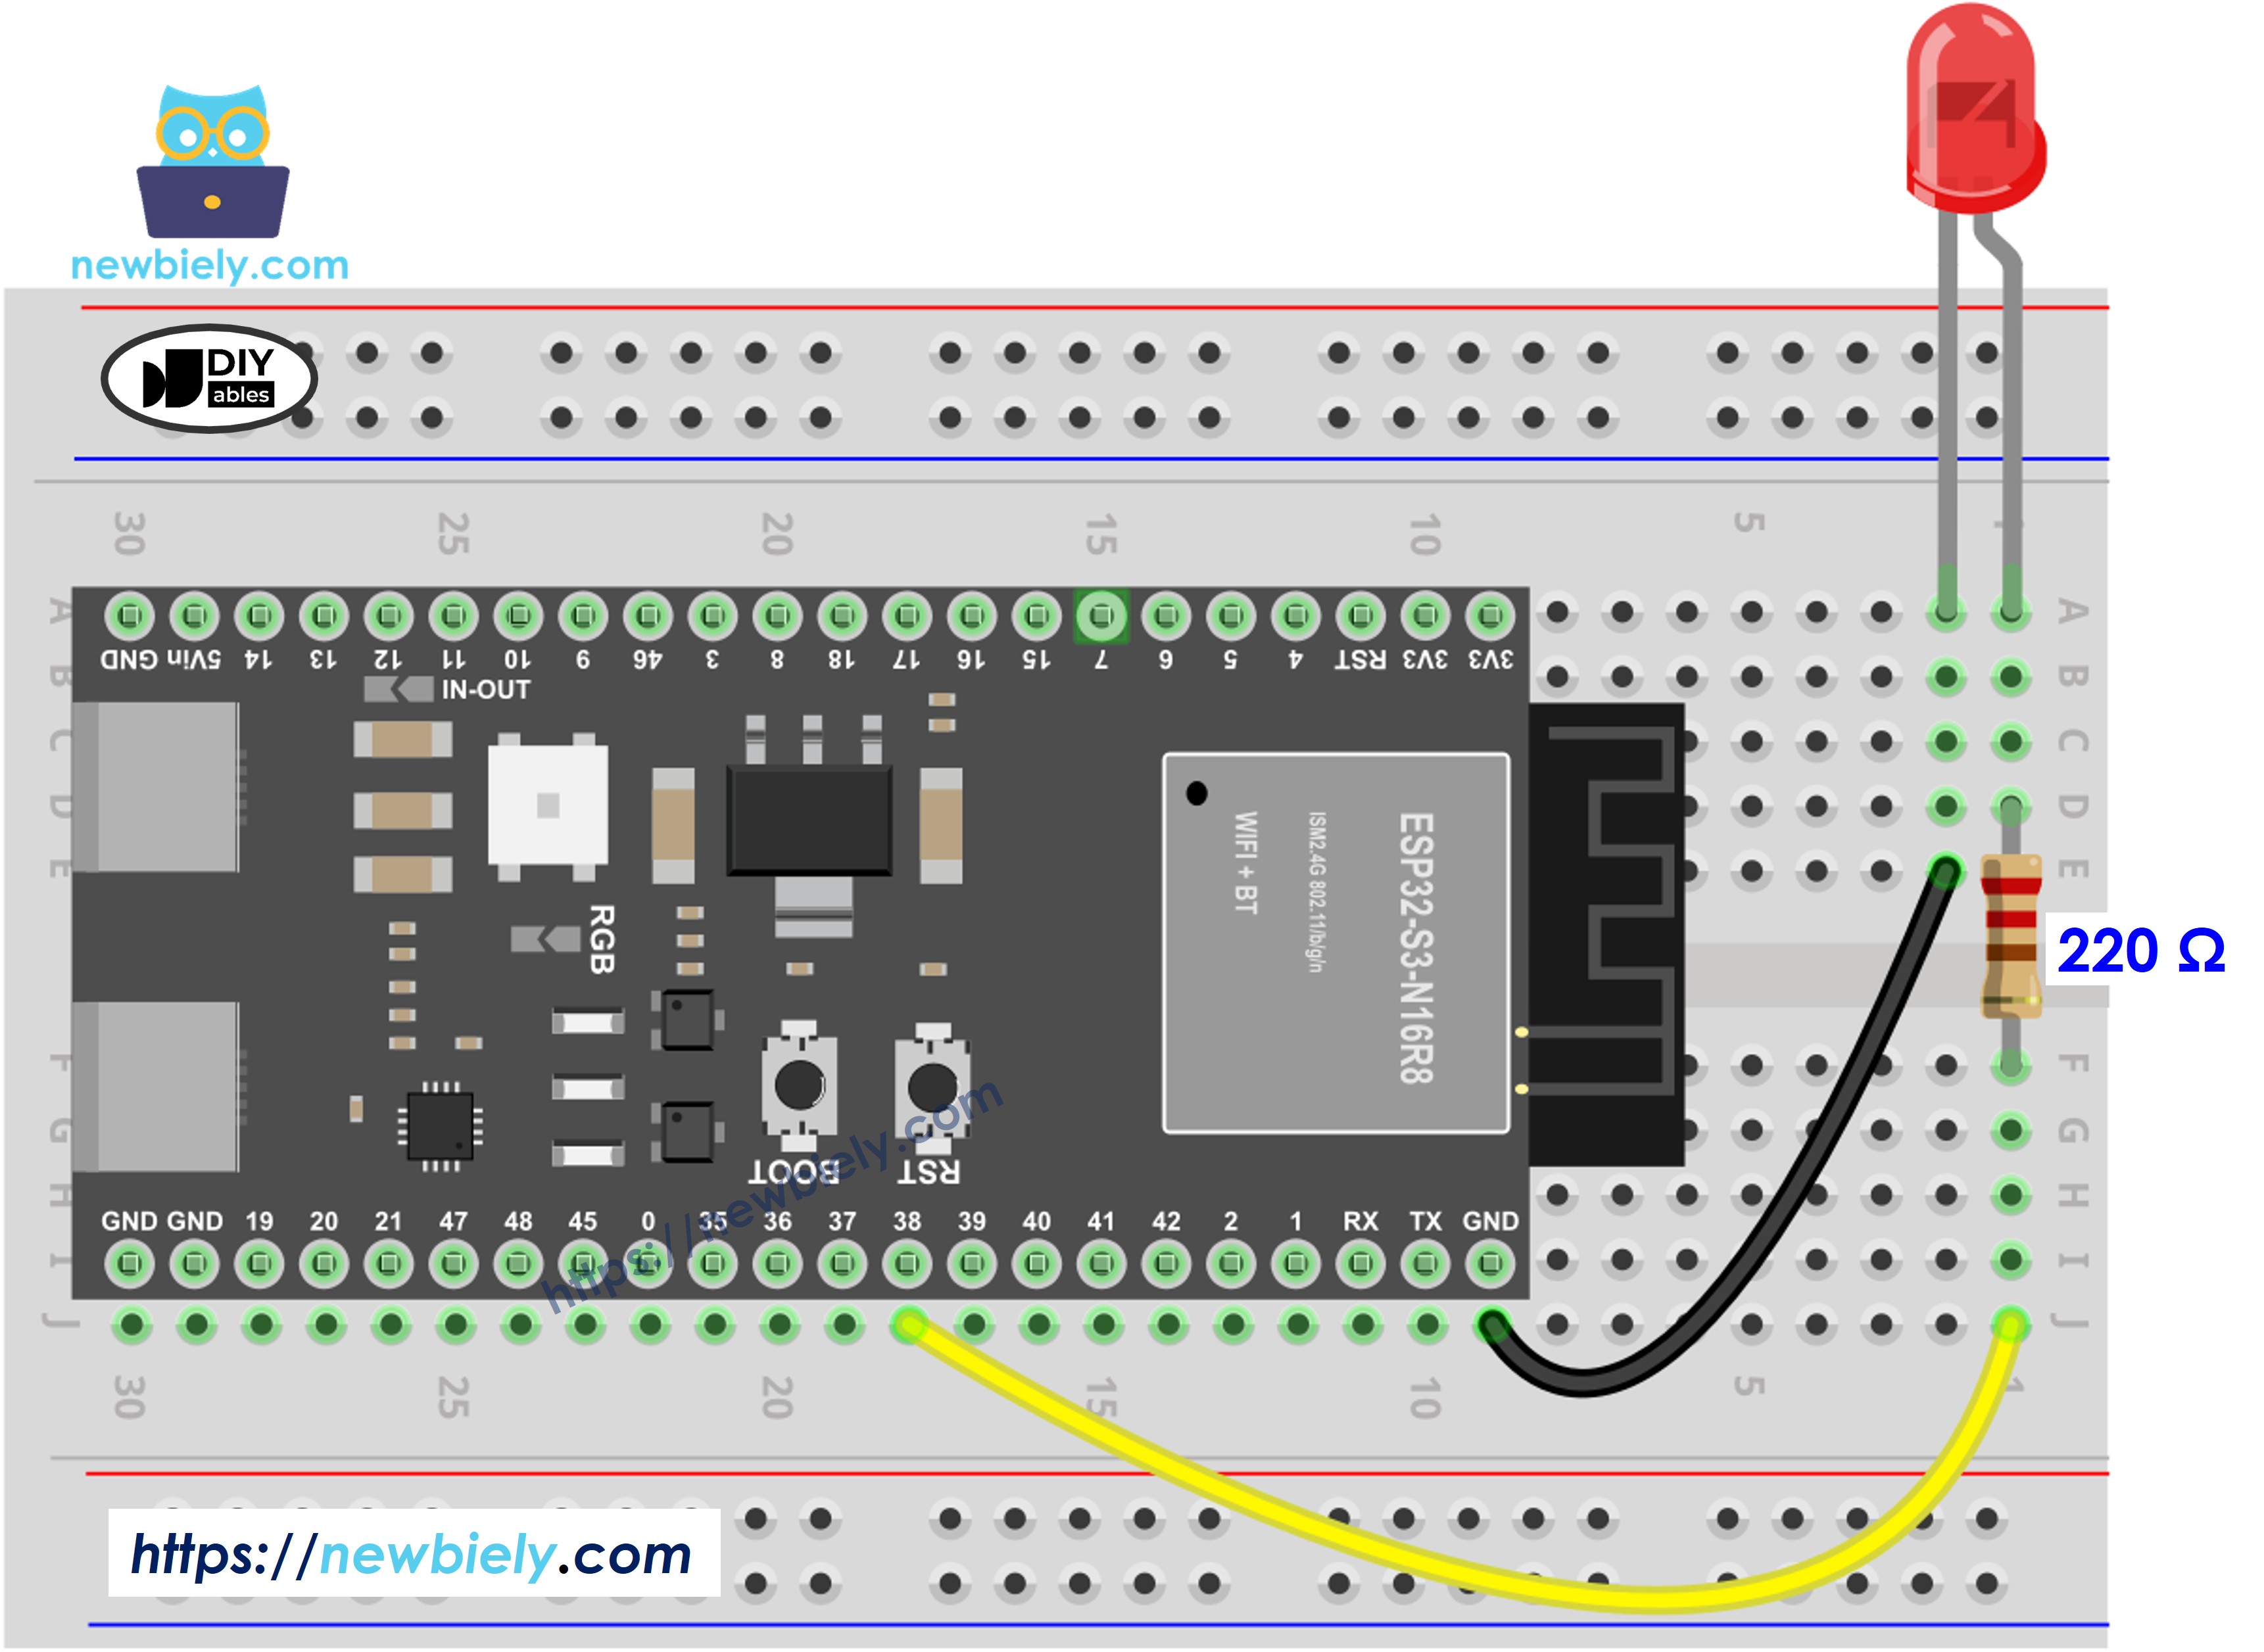
This image is created using Fritzing. Click to enlarge image
How To Program
Programming the ESP32 S3 to fade an LED involves two core functions. First, declare the pin as an output using pinMode(), then control brightness by passing a value between 0 and 255 to analogWrite(). The example below uses pin D7:
Where brightness is an integer from 0 (LED off) to 255 (maximum brightness). Incrementing this value over time creates a fade-in; decrementing it creates a fade-out.
ESP32 S3 Code - Simple Fade Example
The following code demonstrates the most straightforward approach to LED fading on the ESP32 S3: it steps the brightness from 0 to 255 for a fade-in, then from 255 back to 0 for a fade-out, using delay() to set the pace between each step. This is a great starting point for understanding how PWM duty cycle values translate to perceived LED brightness before moving on to non-blocking techniques.
Detailed Instructions
- New to ESP32 S3? Complete our Getting Started with ESP32 S3 guide first.
- Wire the components: follow the wiring diagram above to connect the LED to pin D7 through a 220 ohm resistor.
- Connect the board: plug your ESP32 S3 into your computer using a USB Type-C cable.
- Open Arduino IDE: launch the Arduino IDE software on your computer.
- Select board and port: choose "ESP32S3 Dev Module" (or your specific ESP32 S3 variant) as the board and select the correct COM port.
- Copy the code: copy the sketch below and paste it into a new Arduino IDE project.
- Upload the code: click the Upload button to compile and transfer the sketch to your ESP32 S3.
- Observe the result: watch the LED smoothly fade in and out in a continuous cycle.
- Pro Tip: Try adjusting the delay() values to speed up or slow down the fade, or change the brightness increment step size for a more gradual or dramatic effect.

Line-by-line Code Explanation
The above ESP32 S3 code contains line-by-line explanation. Please read the comments in the code!
※ NOTE THAT:
The above example uses the delay() function to fade-in and fade-out. The delay() function makes the LED fade less smoothly and blocks other code from running during the fade. In the next parts, we will learn how to fade-in and fade-out smoothly without blocking other code by using the millis() function for non-blocking timing control.
How to Fade-in LED in a Period Without Using delay()
This sketch creates a smooth fade-in effect by using millis() to calculate the current brightness based on how much time has elapsed since the fade started. Because it never calls delay(), the ESP32 S3 remains free to handle other tasks — reading sensors, updating a display, or responding to button presses — while the LED brightness rises steadily in the background.
How to Fade-out LED in a Period Without Using delay()
This sketch mirrors the fade-in approach but in reverse: it maps elapsed time to a decreasing brightness value, fading the LED from full brightness to off over a configurable duration. Combining this with the fade-in sketch gives you complete, non-blocking fade cycles on the ESP32 S3 that play well with the rest of your application logic.
Applications and Project Ideas
LED fading is a surprisingly versatile technique, and once you master it on the ESP32 S3 it opens the door to a wide range of practical projects:
- Breathing night light: Create a soothing ambient lamp that gently fades in and out on a slow cycle to help with relaxation or sleep.
- Status indicator: Represent different device states with distinct fade speeds — a slow pulse for standby, a fast pulse for active processing.
- Alarm clock: Gradually ramp up LED brightness to simulate a natural sunrise, providing a gentler wake-up experience.
- Music visualizer: Sync LED fade levels with audio amplitude data for a simple but effective sound-reactive light display.
- Smart home mood lighting: Integrate fade control with a Wi-Fi command to adjust LED brightness remotely and set the right atmosphere.
- Battery level indicator: Map remaining battery charge to fade speed so users can read power status at a glance.
Video Tutorial
Watch the step-by-step video walkthrough for this ESP32 S3 project below.
Challenge Yourself
Once you have the basic fade working, these challenges will push your ESP32 S3 skills further and help you think about timing, concurrency, and sensor integration:
- Beginner: Modify the fade duration to produce a slow, relaxing breathing effect that completes a full cycle in 5 seconds.
- Beginner: Change the code to fade between two non-zero brightness levels (for example, 50 to 200) instead of always starting from fully off.
- Intermediate: Control multiple LEDs simultaneously with different fade patterns, all running without any blocking delay() calls.
- Intermediate: Add a push button that lets the user start, pause, or switch between different fade speed presets.
- Advanced: Drive an RGB LED with overlapping fade curves on each color channel to produce a smooth rainbow cycling effect.
- Advanced: Read an analog sensor (such as a light sensor or potentiometer) on the ESP32 S3 and use its value to dynamically control the fade speed or target brightness in real time.