
ESP32 S3 - Motion Sensor - LED Strip
This tutorial shows you how to use the ESP32 S3 together with an HC-SR501 motion sensor to automatically control a DotStar LED strip based on human presence detection. By combining passive infrared sensing with an addressable LED strip, you will gain a practical understanding of how to build lighting automation systems that respond to real-world movement events on the ESP32 S3.
What you'll build:
- A circuit connecting an HC-SR501 motion sensor and a DotStar LED strip to the ESP32 S3
- A sketch that continuously monitors the motion sensor's output and detects human presence
- A system that automatically turns the LED strip on when motion is detected and off when the area is clear
- A foundation for building staircase lighting, under-bed illumination, and other presence-triggered automation projects
Hardware Preparation
Or you can buy the following kits:
| 1 | × | DIYables ESP32 S3 Starter Kit (ESP32 S3 included) | |
| 1 | × | DIYables Sensor Kit (18 sensors/displays) |
Additionally, some of these links are for products from our own brand, DIYables .
Overview of LED Strip and Motion Sensor
The HC-SR501 passive infrared motion sensor and a DotStar RGB LED strip are a powerful pairing for building presence-triggered lighting systems on the ESP32 S3. The sensor detects changes in infrared radiation caused by human movement and outputs a digital HIGH signal to the ESP32 S3, which then drives the LED strip through a dedicated SPI-based library to create vivid, controllable lighting effects. You have the flexibility to use NeoPixel, WS2812B, or DotStar LED strips; this tutorial uses the DotStar strip for straightforward wiring, and adapting the code to other strip types is covered in the dedicated component tutorials listed below.
Key Specifications
We have dedicated tutorials covering each component in depth. Each tutorial contains detailed information and step-by-step instructions about hardware pinout, working principle, wiring connection to the ESP32 S3, and Arduino code. Learn more about them at the following links:
Wiring Diagram
Connect the HC-SR501 motion sensor and DotStar LED strip to your ESP32 S3 by following the diagram below. The LED strip requires a separate 5V power supply via a DC power jack — do not attempt to power it directly from the ESP32 S3's onboard regulator, as the strip draws more current than the board can safely supply.
https://newbiely.com/images/tutorial/esp32-s3-motion-sensor-led-strip-wiring-diagram.jpg
Initial Setting
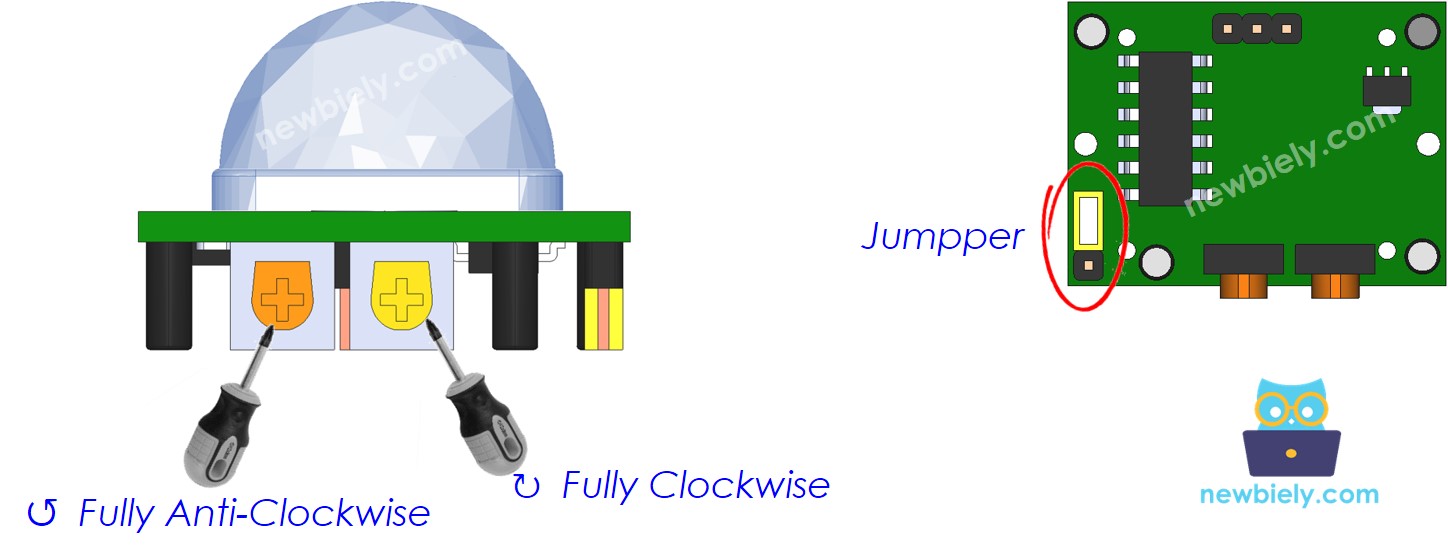
Before mounting the sensor, set the adjusters as shown below to ensure reliable detection range and timing behaviour for indoor lighting automation.
| Time Delay Adjuster | Screw it in anti-clockwise direction fully. |
| Detection Range Adjuster | Screw it in clockwise direction fully. |
| Repeat Trigger Selector | Put jumper as shown on the image. |
Safety Notes
Always power the DotStar LED strip from an external 5V power adapter via the DC power jack and connect only the data and clock signal lines to the ESP32 S3 GPIO pins, sharing a common GND between the strip's power supply and the ESP32 S3. The HC-SR501 sensor operates from a supply voltage of 5V to 12V; use the ESP32 S3 board's 5V output pin for the sensor's VCC and connect the sensor's signal output directly to a 3.3V-compatible GPIO pin on the ESP32 S3 without a level shifter, as the sensor's output is safely within the ESP32 S3 input range.
| Component | Pin | ESP32 S3 Pin |
|---|---|---|
| Motion Sensor | VCC | 5V |
| Motion Sensor | GND | GND |
| Motion Sensor | OUT | GPIO6 |
| DotStar LED Strip | 5V | External 5V Power Supply |
| DotStar LED Strip | GND | GND (shared) |
| DotStar LED Strip | CI (Clock) | GPIO40 |
| DotStar LED Strip | DI (Data) | GPIO39 |
ESP32 S3 Code
The following code monitors the HC-SR501 motion sensor output on the ESP32 S3 and immediately drives the DotStar LED strip on when motion is detected, then switches it off once the sensor's output returns LOW. The strip colour and brightness are defined as constants at the top of the sketch, making it straightforward to customise the lighting effect without modifying the core detection logic.
Detailed Instructions
- New to ESP32 S3? Complete our Getting Started with ESP32 S3 guide first.
- Set the motion sensor adjusters as described in the Initial Setting section above.
- Wire the components following the wiring diagram shown above.
- Connect the ESP32 S3 board to your PC using a USB Type-C cable.
- Open Arduino IDE on your PC.
- Select the correct ESP32 S3 board and COM port from the Tools menu.
- Click the Libraries icon on the left bar of the Arduino IDE.
- Search "Adafruit DotStar", then find the DotStar library by Adafruit.
- Click Install button to install the DotStar library.
- Search for Adafruit DotStar created by Adafruit and click the Install button.
- When asked to install dependencies, click Install All.
- Copy the above code and paste it into Arduino IDE.
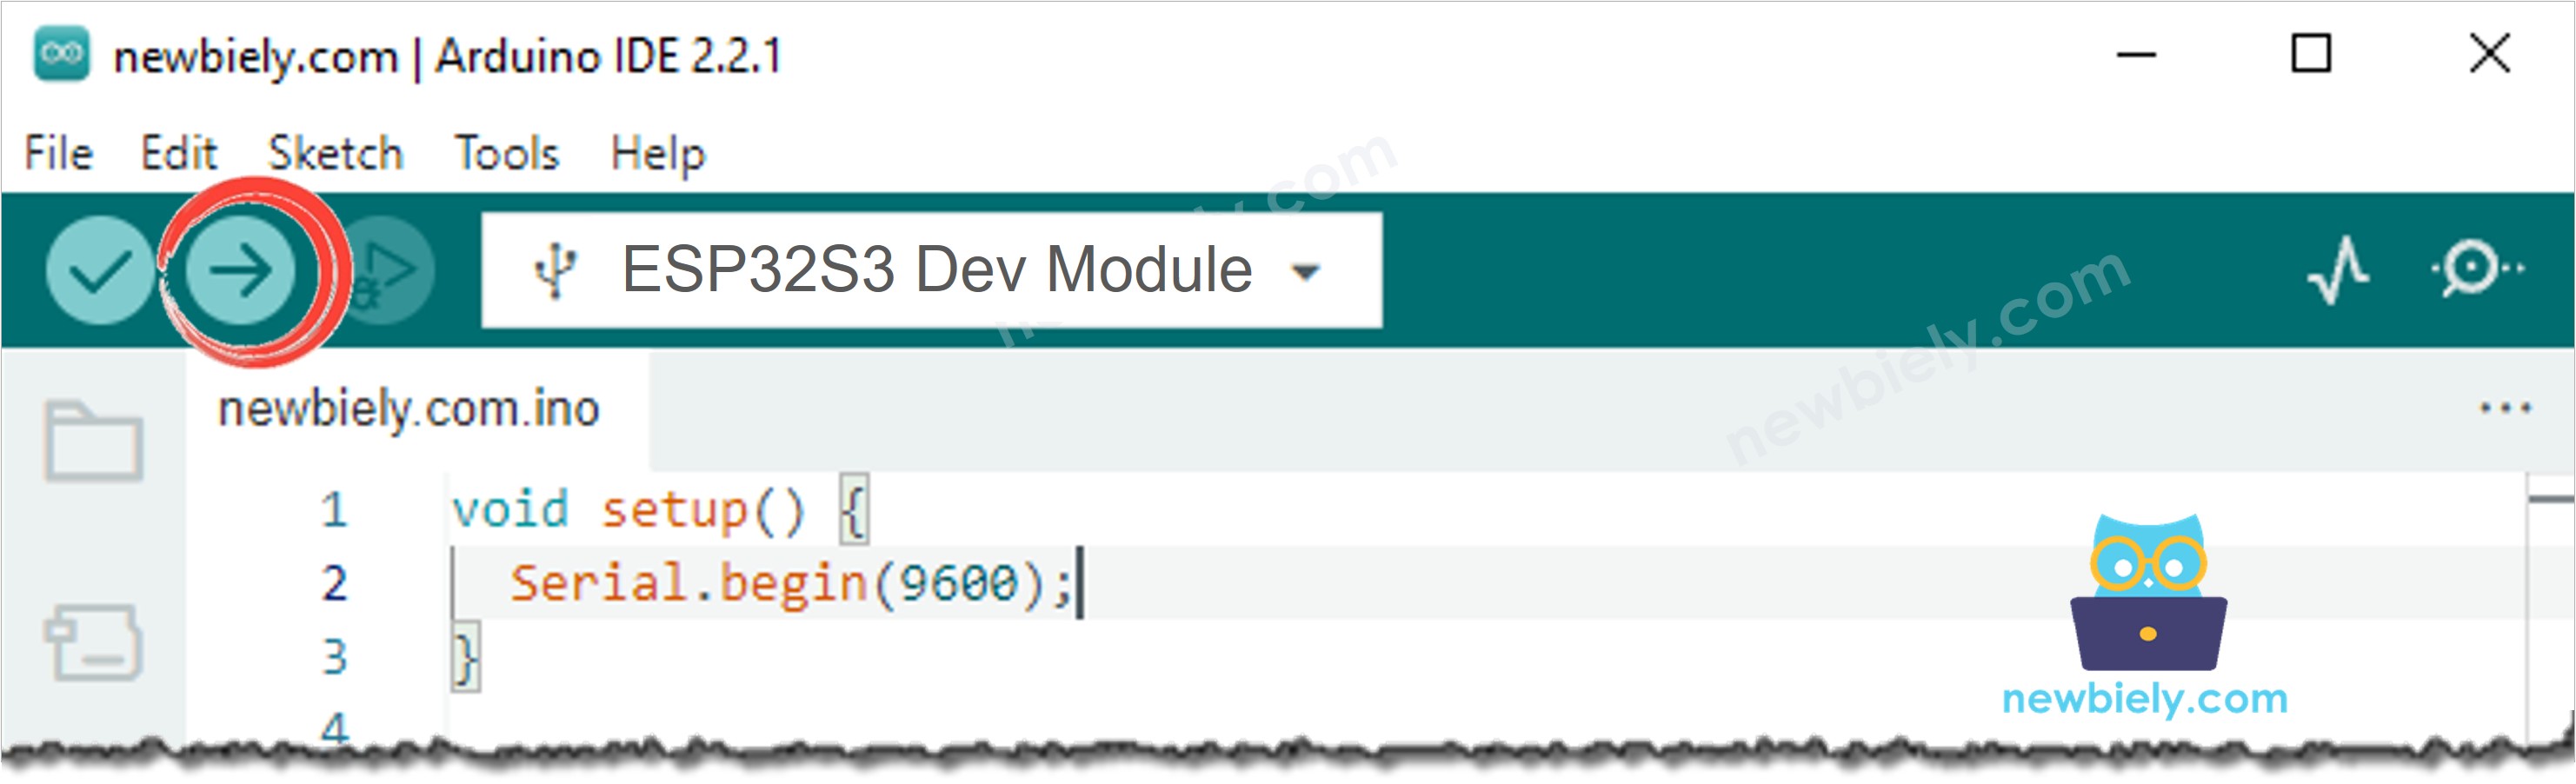
- Click the Upload button to compile and upload the code to the ESP32 S3.
- Move your hand in front of the motion sensor and observe the LED strip light up.
- Hold still and wait for the sensor's time delay to expire, then observe the LED strip turn off.
- Open the Serial Monitor at 115200 baud to see motion detection events printed in real time.
- Pro Tip: Try adjusting the Time Delay Adjuster on the HC-SR501 to change how long the LED strip remains on after the last detected motion — rotating it clockwise increases the hold time, which is useful for staircase or corridor lighting where you want the light to stay on long enough for a person to walk through.
Serial Monitor Output
The following Serial Monitor output shows the ESP32 S3 reading motion detection events from the HC-SR501 sensor in real time. Each line displays the current sensor state and the corresponding LED strip state triggered by the detection logic.
Application and Project Ideas
Once you can trigger an LED strip from a motion sensor on the ESP32 S3, you can apply this pattern to a wide range of presence-activated and lighting automation projects.
- Staircase lighting: Mount sensors at the top and bottom of a staircase and activate an LED strip along the handrail as a person approaches, providing safe illumination without manual switches.
- Under-bed night light: Install the sensor and LED strip beneath a bed so the light activates automatically when a person's feet touch the floor, ideal for safe navigation in the dark.
- Christmas tree display: Trigger animated LED strip lighting effects on a Christmas tree only when people are present in the room, saving energy when the room is empty.
- Corridor or hallway automation: Install sensors along a hallway and switch LED strip sections on and off sequentially as a person walks through, creating a follow-me lighting effect.
- Security indicator: Combine motion detection with a colour change in the LED strip to provide a visible alert — for example, switching the strip to red when unexpected motion is detected in a restricted area.
- Retail display enhancer: Activate eye-catching LED strip effects on a product display shelf when a customer approaches, drawing attention without running the lighting continuously.
Video Tutorial
Watch the step-by-step video walkthrough for this ESP32 S3 project below.
Challenge Yourself
Now that you can control a LED strip with a motion sensor on the ESP32 S3, try these progressively challenging extensions to deepen your understanding and build more capable presence-triggered lighting systems.
- Beginner: Change the LED strip colour in the code from white to a different colour of your choice and observe the result, then add a Serial Monitor message that prints the active colour name when the strip turns on.
- Beginner: Adjust the Time Delay Adjuster on the HC-SR501 and observe how the hold-on duration of the LED strip changes, then add a timestamp to the Serial Monitor output so you can measure the delay precisely.
- Intermediate: Replace the solid colour with an animated lighting effect — such as a colour wipe or rainbow cycle from the Adafruit DotStar library — that plays when motion is detected and stops when the area is clear.
- Intermediate: Add an I2C OLED screen to display the current motion state and how many motion events have been detected since power-on, removing the dependency on a connected PC for status monitoring.
- Advanced: Use the ESP32 S3 WiFi capability to serve a simple web page that shows the live motion sensor state and the total on-time of the LED strip, and allows you to toggle the strip on or off remotely from a browser.
- Advanced: Store a configurable LED strip colour and brightness in ESP32 S3 non-volatile storage (Preferences library) so the lighting settings persist across power cycles and can be updated over a simple web interface without re-uploading code.