
ESP32 S3 - Gmail
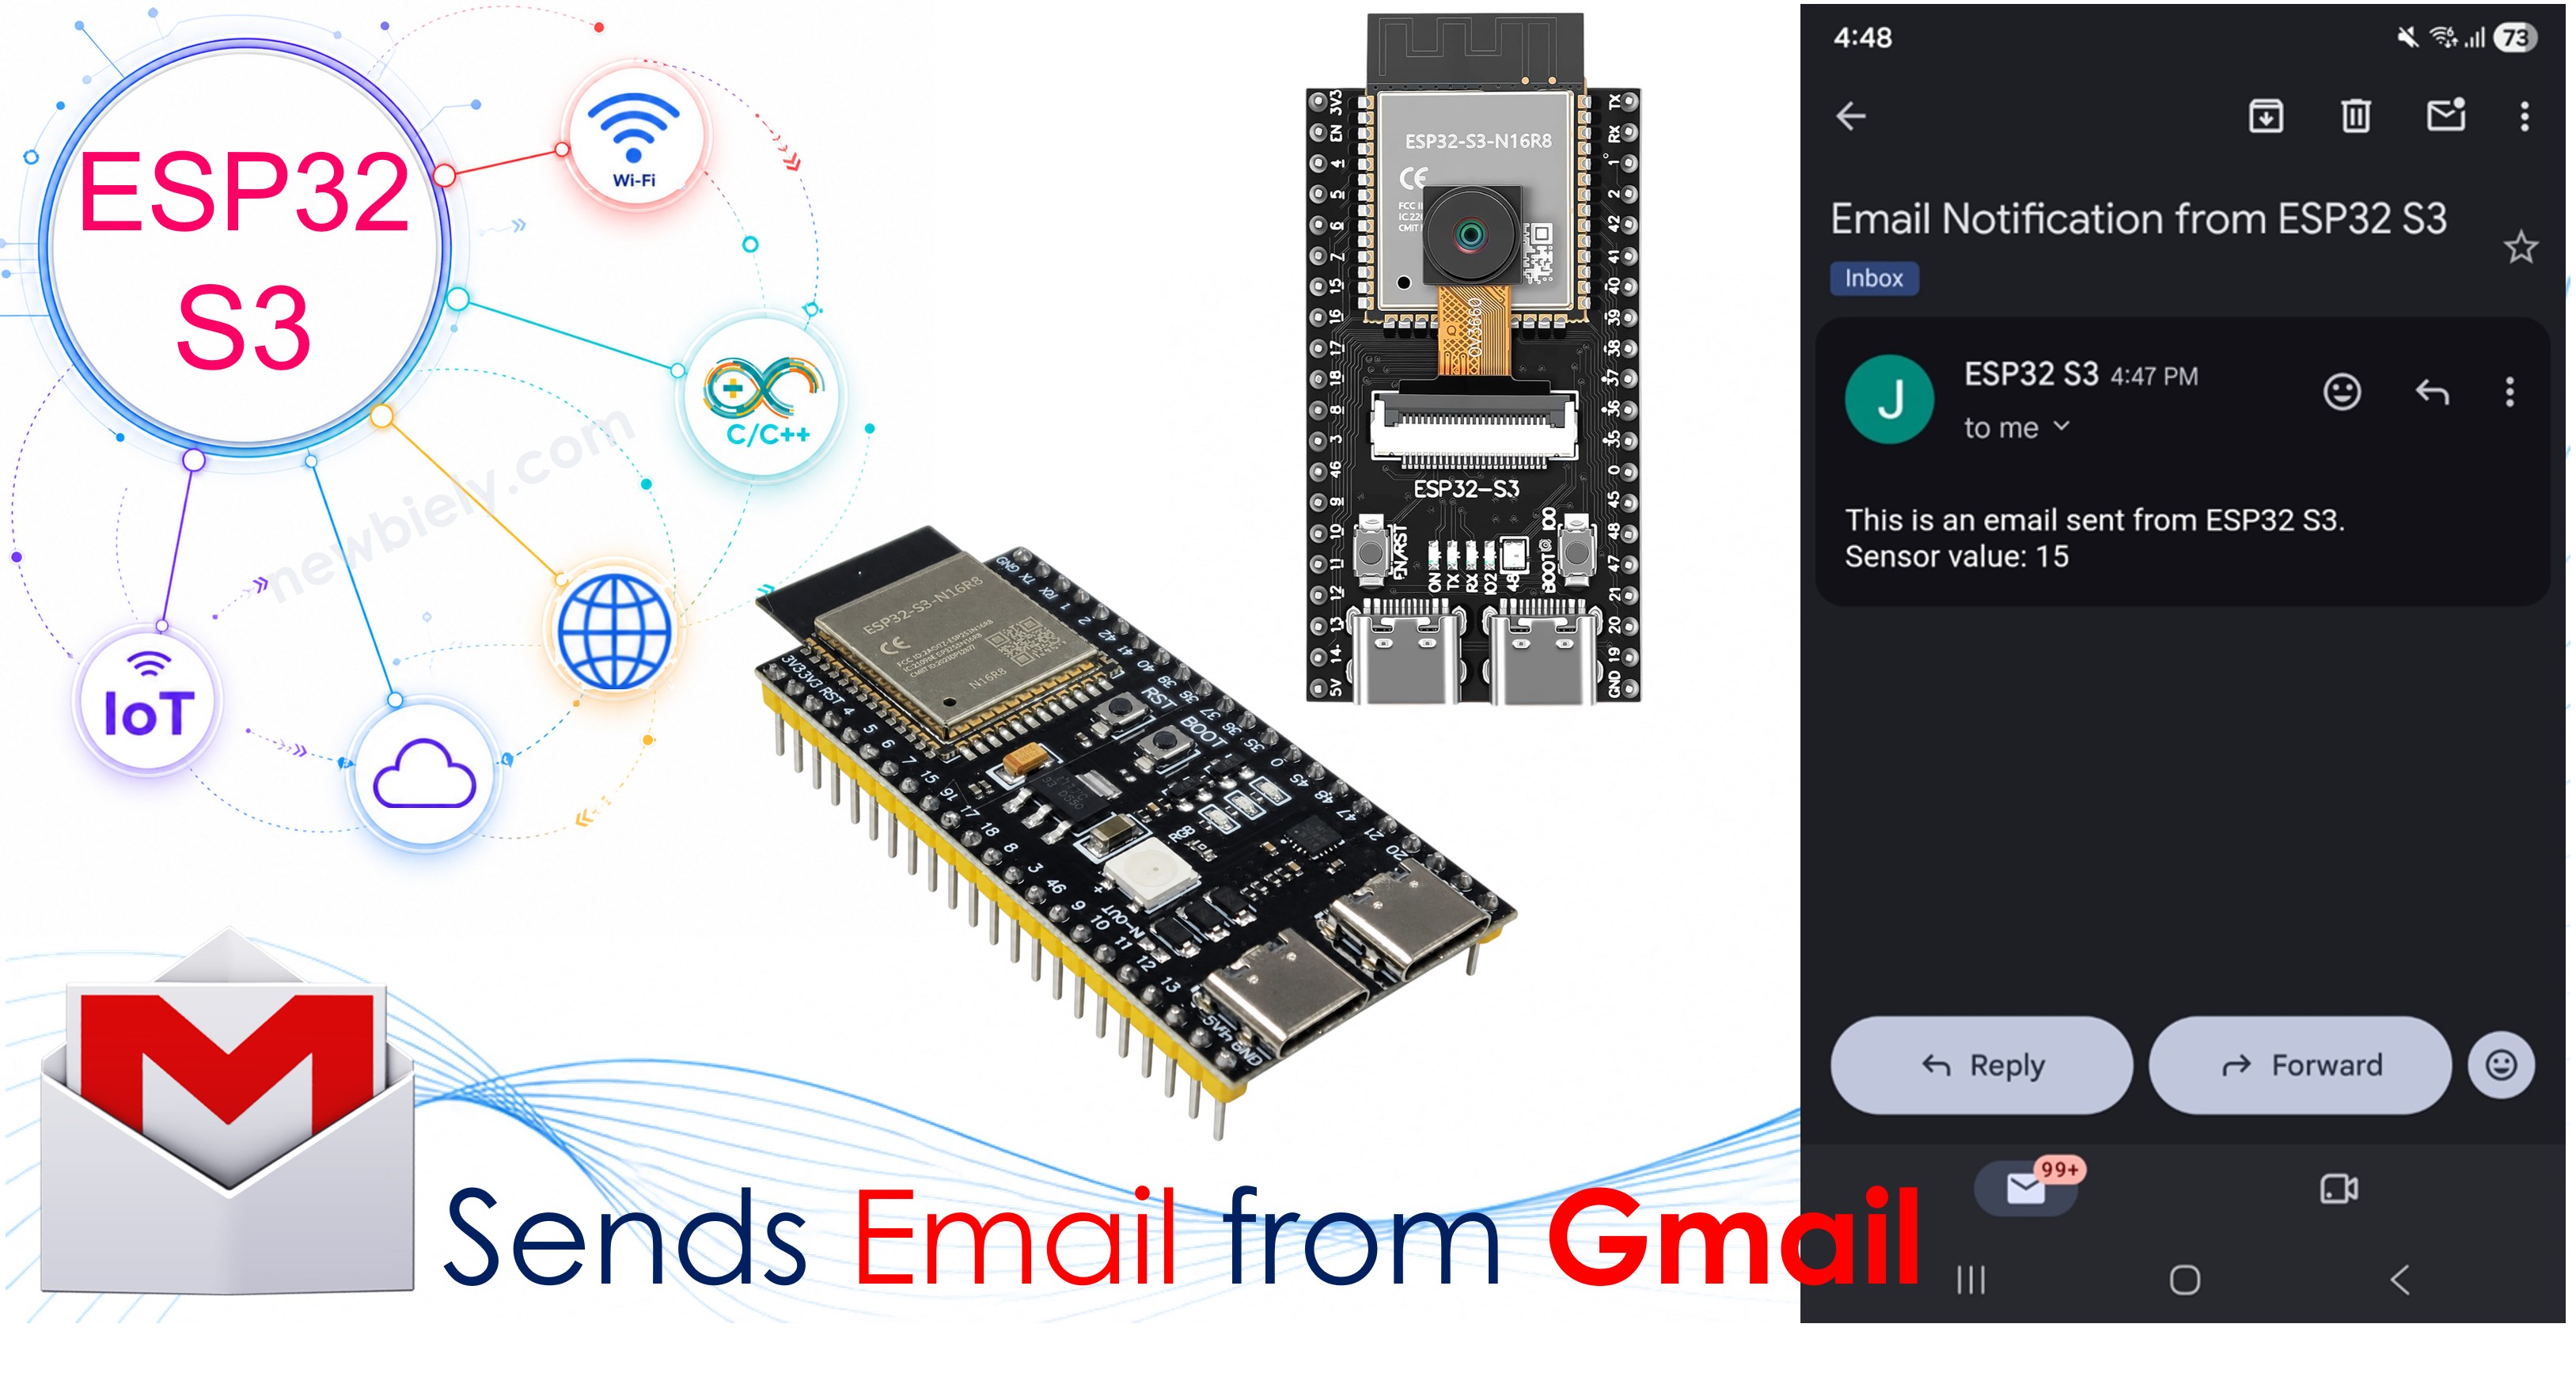
This tutorial shows you how to make the ESP32 S3 send an email through your Gmail account. The message is sent from a Gmail address, but it can be delivered to any email provider.
What you'll build:
- An ESP32 S3 project that joins your Wi-Fi network
- A sender that logs in to Gmail using an App Password
- A notification system that sends email to any address you choose
- A starting point you can expand to send emails when a sensor or event is triggered
Hardware Preparation
Or you can buy the following kits:
| 1 | × | DIYables ESP32 S3 Starter Kit (ESP32 S3 included) | |
| 1 | × | DIYables Sensor Kit (18 sensors/displays) |
Additionally, some of these links are for products from our own brand, DIYables .
Pre-Preparation
Before you start coding, you need a Gmail account and an App Password for it. Please read the points below first.
- Do not use your main Gmail account. Make a new account just for testing, so your personal account stays safe.
- The ESP32 S3 code does not use your normal Gmail login password. Instead, it uses a special "App Password" that you create in your Google Account settings.
Follow these steps:
- Sign up for a new Gmail account.
- Sign in with the new account.
- Open your Google Account page.
- Go to the "Security" section.
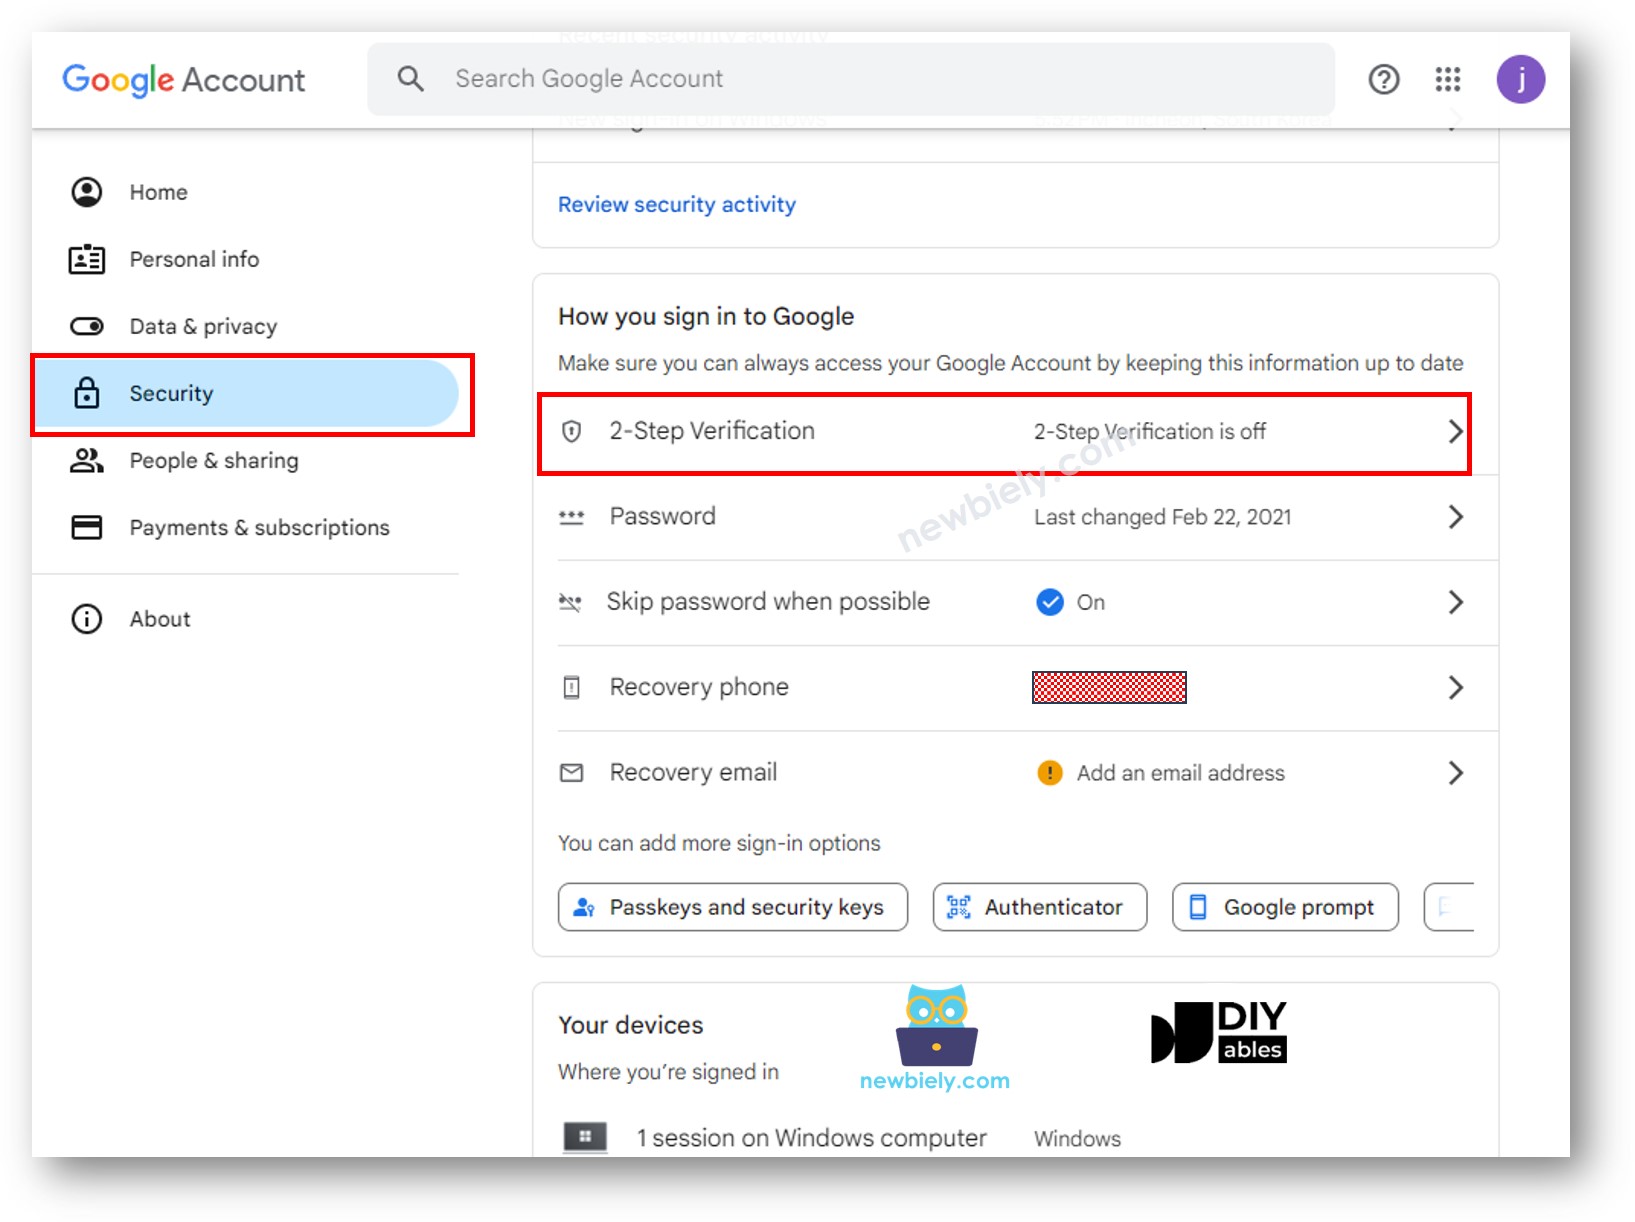
- Turn on 2-Step Verification. App Passwords are only available when 2-Step Verification is active.
- Open the Google App Passwords page and make a new app password. Any name is fine.
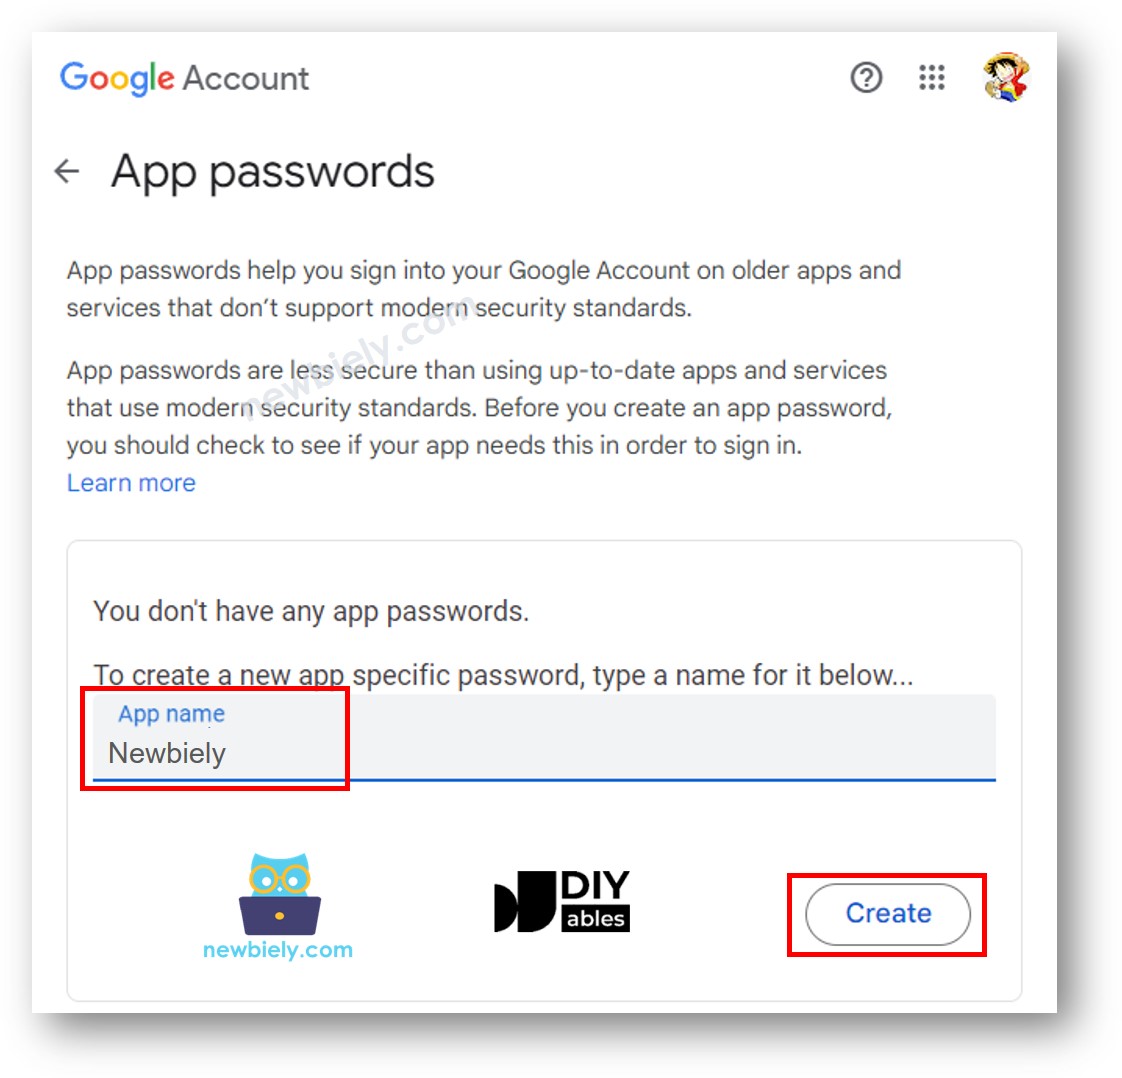
- Press the Create button. Google will show you a 16-character password like the one below:
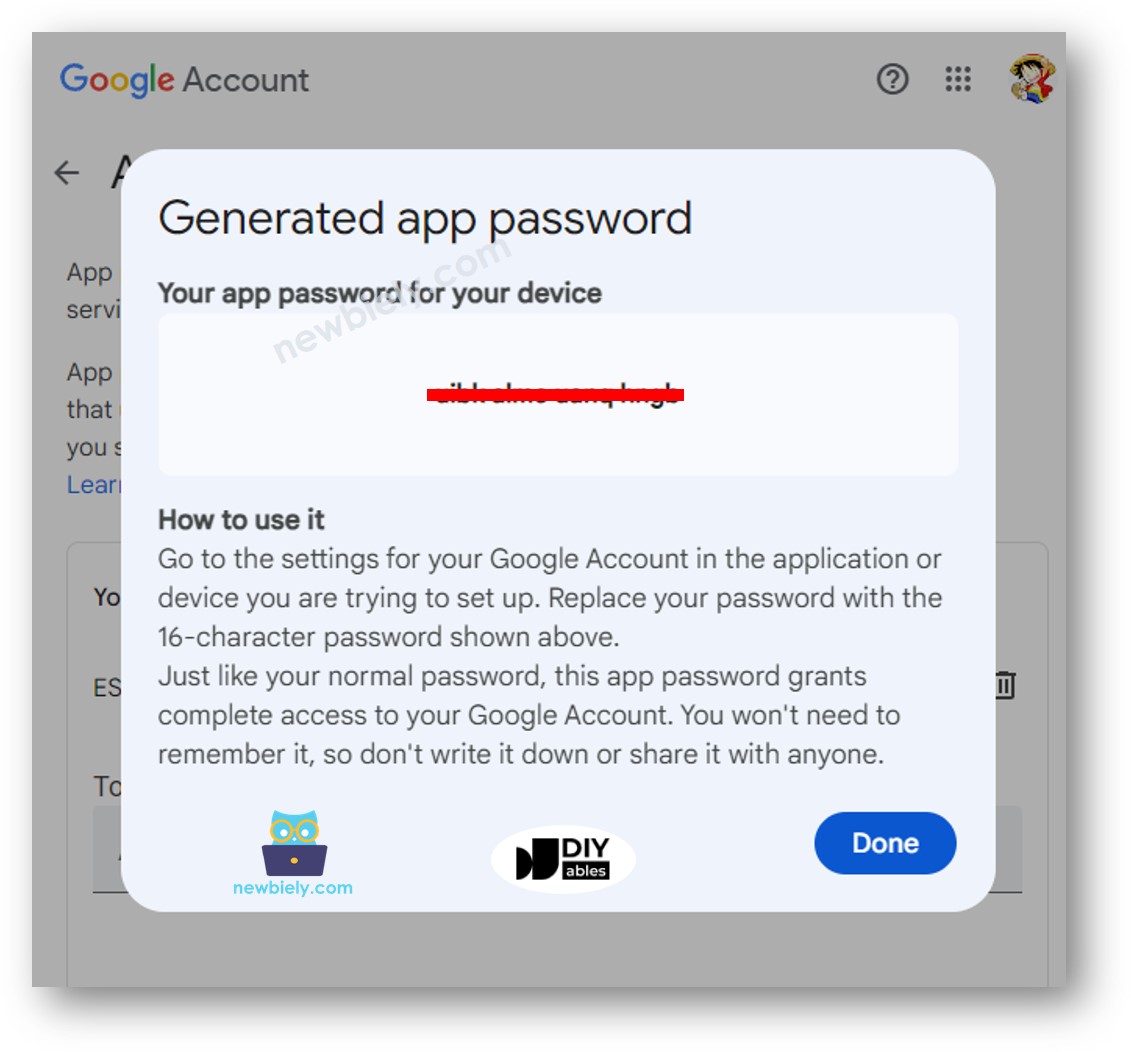
- Copy this 16-character password and keep it somewhere safe. You will put it into the ESP32 S3 code in the next section.
※ NOTE THAT:
Google sometimes updates the look of its pages. If the steps above do not lead you to "App Passwords," search online for "How to get Google App Passwords" to find the newest guide.
ESP32 S3 Code
The code below sets up the ESP32 S3 to connect to Wi-Fi and send an email through Gmail with the ESP Mail Client library. Before you upload it, enter your Wi-Fi details, the sender Gmail address, the App Password, and the recipient email address.
Detailed Instructions
- First time using the ESP32 S3? Go through our Getting Started with ESP32 S3 guide before you continue.
- Plug the ESP32 S3 board into your computer with a USB cable.
- Launch the Arduino IDE on your computer.
- Choose the correct ESP32 S3 board and COM port.
- Click the Library Manager icon on the left side of the Arduino IDE to open it.
- Type ESP Mail Client in the search box, then look for the ESP Mail Client library by Mobizt.
- Press the Install button to add the ESP Mail Client library.
- Search for ESP Mail Client created by Mobizt and click the Install button.
- Copy the code above and paste it into the Arduino IDE.
- Replace the Wi-Fi name and password with your own by editing the two constants WIFI_SSID and WIFI_PASSWORD.
- Replace the sender email and password with your own by editing the two constants SENDER_EMAIL and SENDER_PASSWORD.
- Replace the recipient email with your own by editing the constant RECIPIENT_EMAIL. You can use the same address as the sender.
※ NOTE THAT:
- The sender email MUST be a Gmail address
- The sender password is the App Password you created earlier
- The recipient email can be from any email provider
- Press the Upload button in the Arduino IDE to send the code to the ESP32 S3.
- Open the Serial Monitor.
- Look at the output on the Serial Monitor.
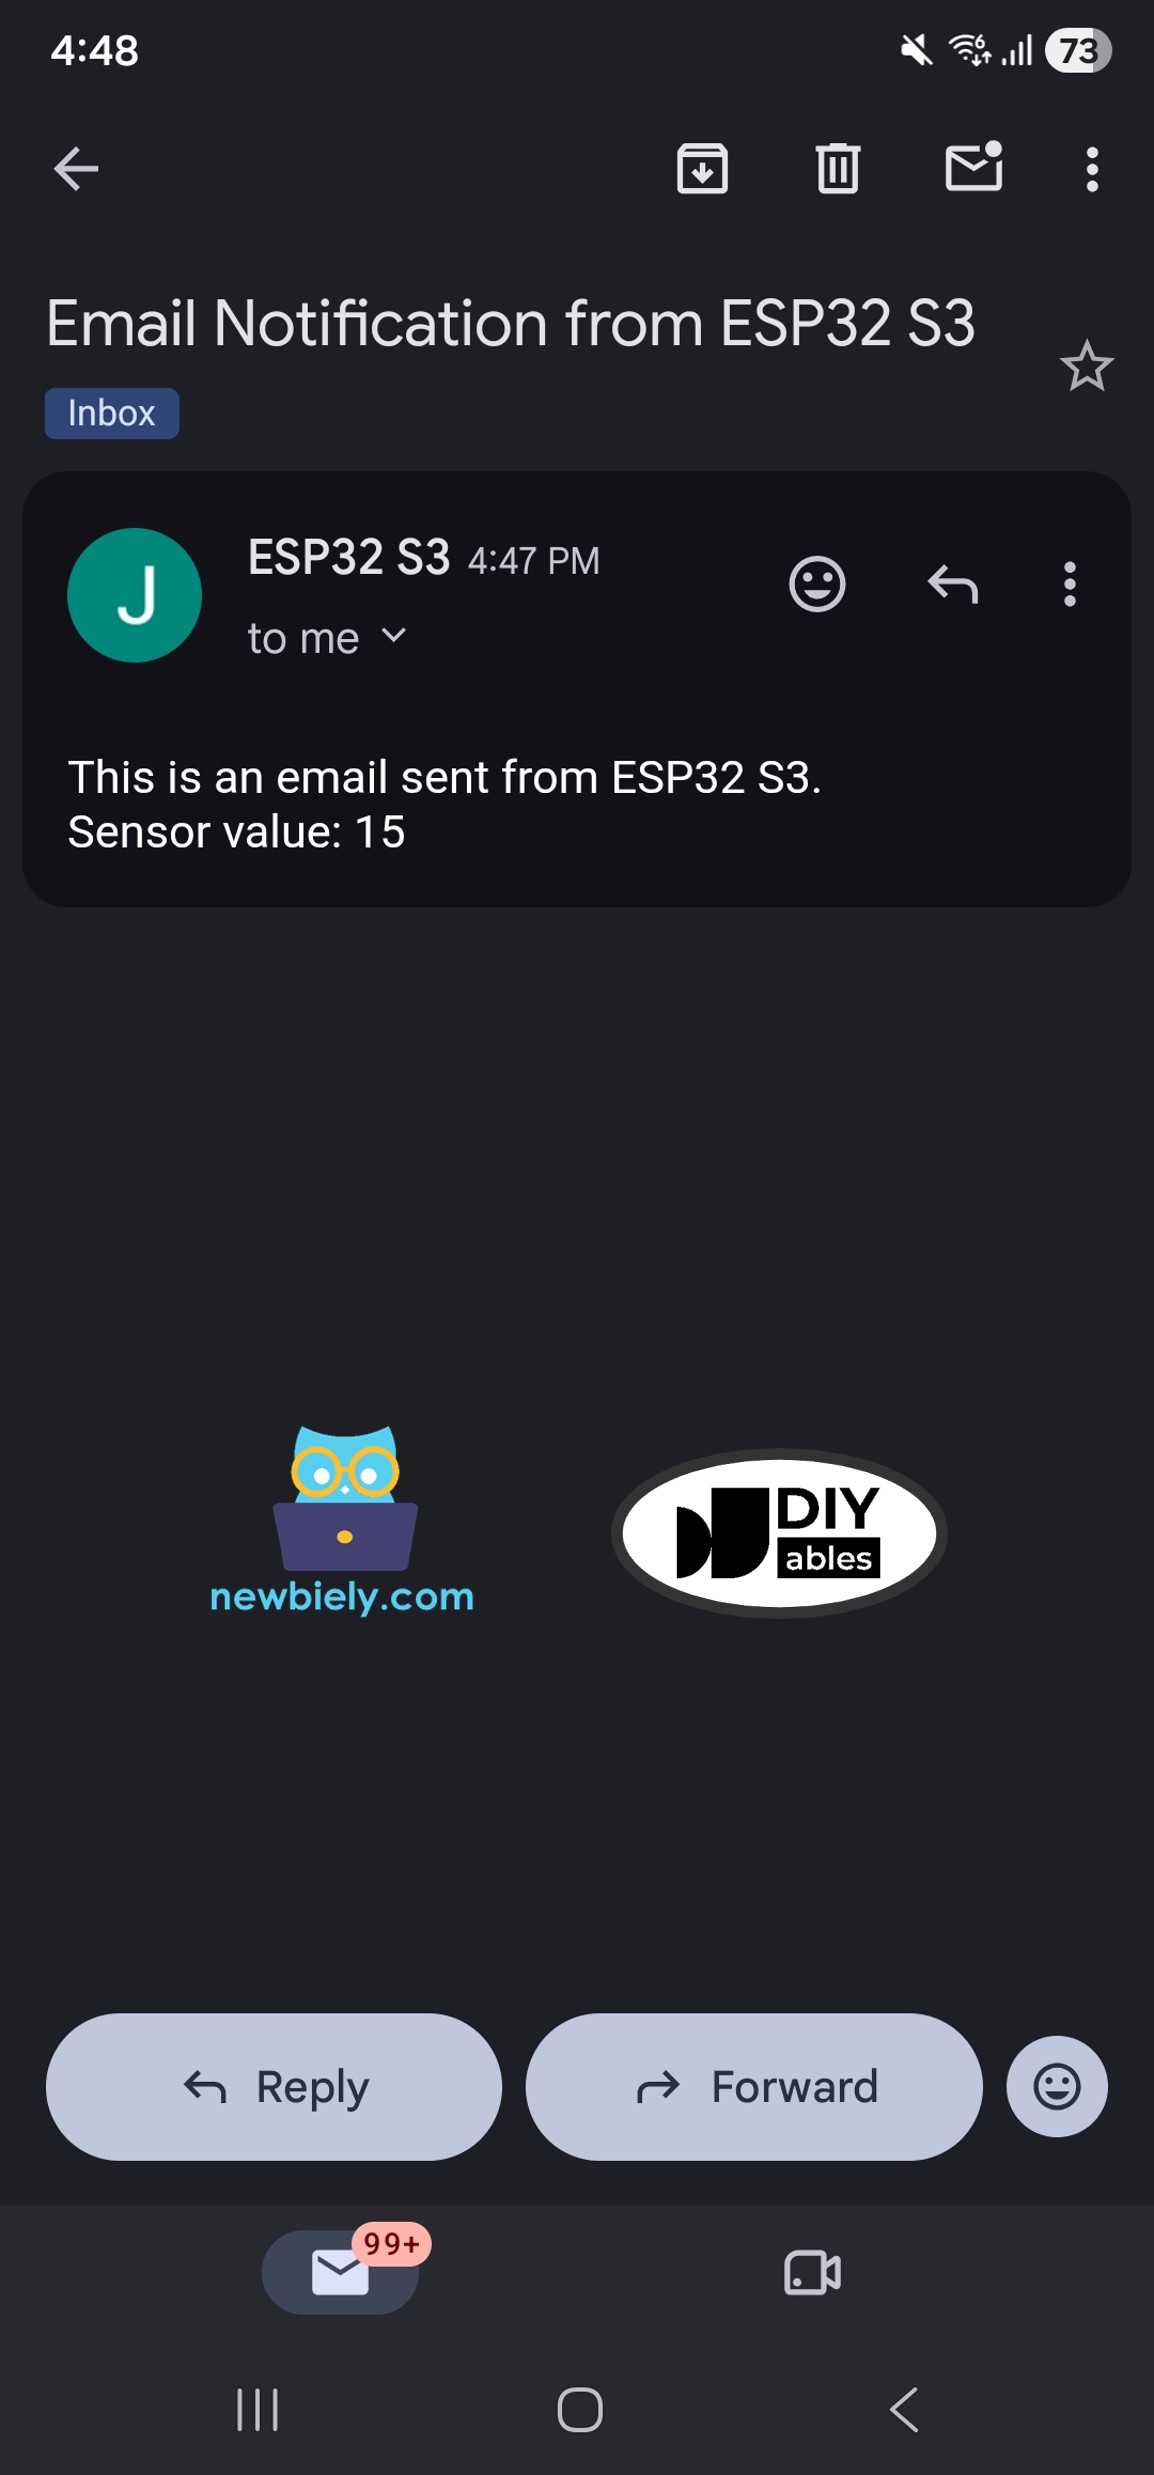
- Open the inbox of the recipient email. You should see an email like the one below.
- Pro Tip: Put your login details in a separate config header file and list that file in .gitignore. This way, you will not share your private information by mistake.
Applications
Sending email from the ESP32 S3 is useful in many IoT alert projects. Below are some popular examples:
- Security Alerts: Get an email right away when a motion sensor or door sensor is activated.
- Environmental Monitoring: Get notified when temperature, humidity, or air quality goes past a set limit.
- Water Leak Detection: Get an alert as soon as a water sensor finds moisture.
- Device Status Reports: Send regular emails to confirm that a remote device is still online and working.
- Event Logging: Send a summary of sensor readings or events by email on a fixed schedule.
Video Tutorial
The video below walks you through this ESP32 S3 project step by step.
Challenges
After you get basic email sending to work, you can improve the project and learn more. Try these challenges whenever you are ready.
- Beginner: Change the code so it sends two emails in one run, each to a different recipient. Then check that both emails arrive.
- Intermediate: Connect a push button to the ESP32 S3 and send an email only when the button is pressed, not right after startup.
- Advanced: Add a DHT22 temperature and humidity sensor, and send an alert email automatically when the temperature goes above a limit you can set.