
ESP32 S3 Camera - Send Photo to Telegram When Door Opens
This tutorial instructs you how to build a door camera with the ESP32 S3. A magnetic door sensor watches your door. The moment somebody opens it, the ESP32 S3 takes a photo and sends it to your phone with Telegram. You see who opened the door, from anywhere in the world.
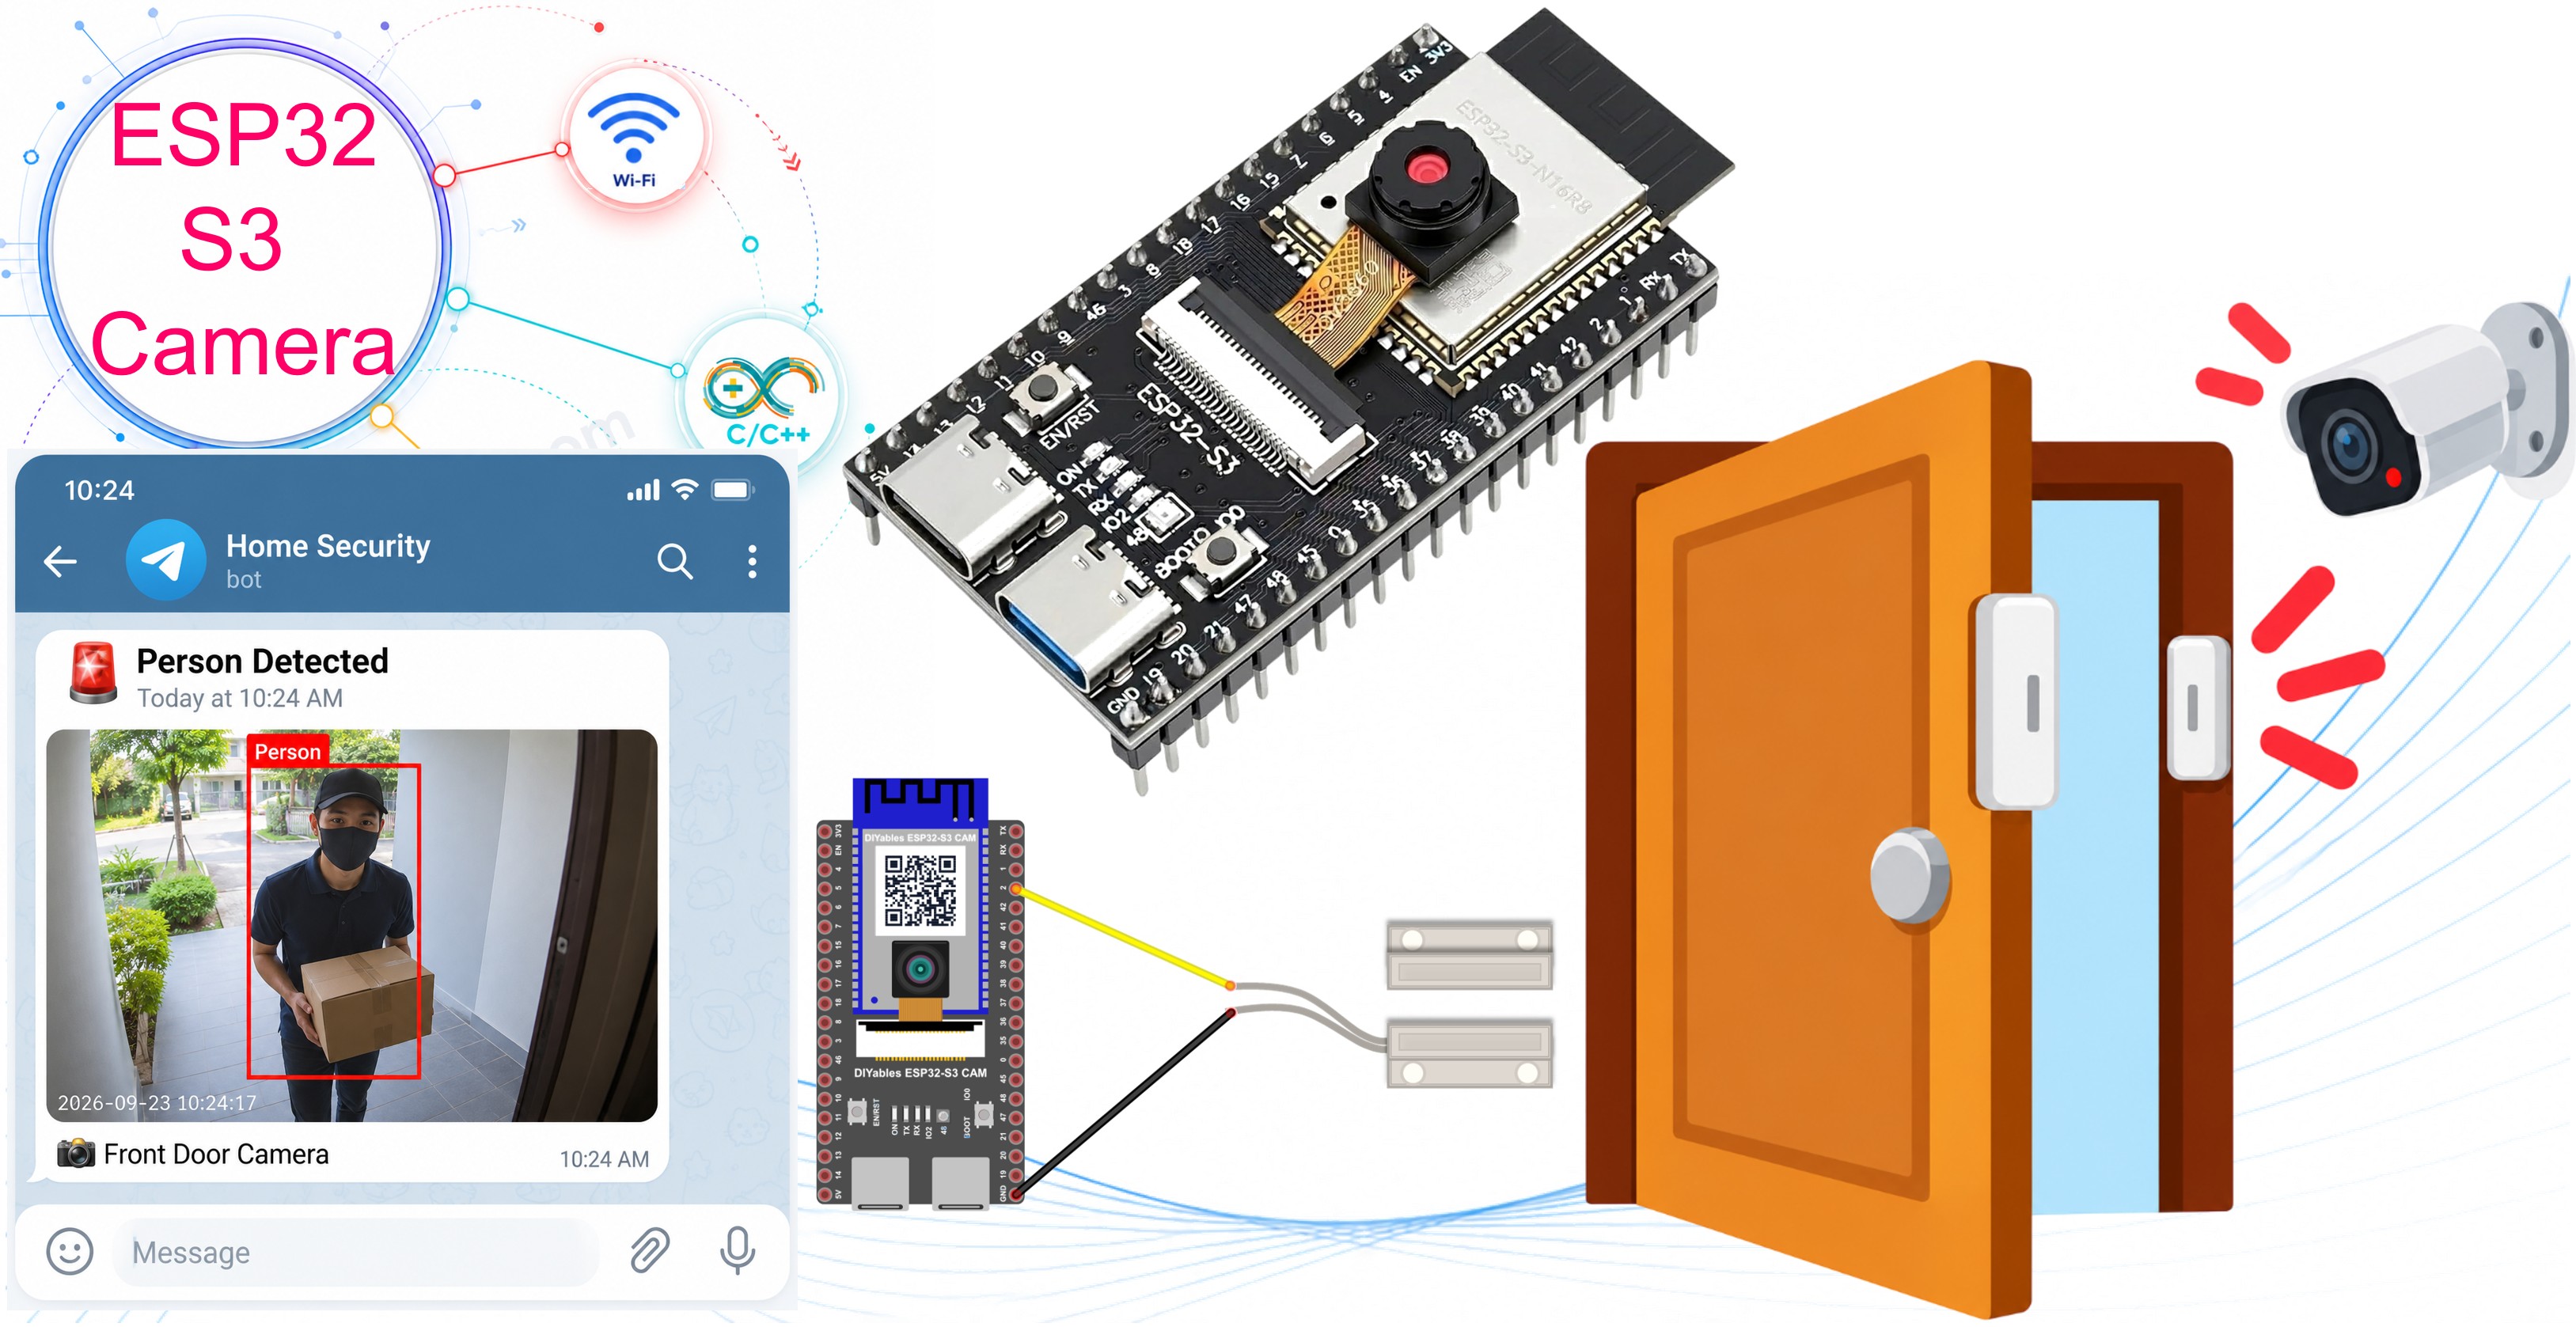
What you'll build:
- Your own Telegram bot that sends you messages
- An ESP32 S3 camera with a magnetic door sensor
- A photo with the text "The door is open!" on your phone, every time the door opens
- Clean detection, so one door movement sends exactly one photo
Hardware Preparation
Or you can buy the following kits:
| 1 | × | DIYables Sensor Kit (18 sensors/displays) |
Additionally, some of these links are for products from our own brand, DIYables .
※ NOTE THAT:
The ESP32 S3 camera board has 40 pins, but the screw terminal block and the breakout board have 44 pins. They still work together. Put the camera board in the center of the 44-pin board, so 2 pins stay free on the left side and 2 pins stay free on the right side.
The screw terminal block lets you connect wires with a screwdriver, with no soldering. The breakout board gives you easy pin headers for a breadboard.
Overview of Telegram
Telegram is a free chat application for your phone and your computer. Telegram lets you make a bot. A bot is a robot friend in your chat list. Your ESP32 S3 sends the photo to the bot, and the bot shows it to you.
You need two secret texts:
| Name | What it is | Looks like |
|---|---|---|
| Bot token | The password of your bot | 8012345678:AAHxxxxxxxxxxxxxxxxxxxxxxxxxxxxxxxx |
| Chat ID | The number of your chat | 123456789 |
※ NOTE THAT:
Never show your bot token to anybody, and never put it on a website or on GitHub. Somebody with your token can control your bot.
Step 1: Make Your Bot
- Install Telegram on your phone, and make an account.
- In Telegram, search for @BotFather. It has a blue tick.
- Open the chat with BotFather and talk to it like this:


BotFather
- Copy the bot token from the last message and keep it safe.
Step 2: Find Your Chat ID
- In Telegram, search for the name of your new bot and open the chat.
- Send any message to your bot, for example hello. This step is necessary. Telegram does not let a bot write to you before you have written to it.
ArduinoBot
- Open this address in your web browser. Put your own bot token in the place of <YOUR_BOT_TOKEN>:
- The browser shows a long text. Look for "chat":{"id":. The number after it is your chat ID:
※ NOTE THAT:
Does the browser show {"ok":true,"result":[]} with nothing inside? Then you did not send a message to your bot yet. Go back to step 2, send hello to your bot, then load the address again.
※ NOTE THAT:
Many other tutorials tell you to ask the bot @myidbot with the message /getid. That bot belongs to somebody else, and very often it does not answer at all. The web address above always works, because it asks Telegram directly.
※ NOTE THAT:
Forgot step 2? Then the ESP32 S3 shows the answer Forbidden: bot can't initiate conversation with a user in the Serial Monitor. Open the chat with your bot and send it any message, then try again.
Step 3: Put Them in the Code
Open the code and change these four lines:
Overview of Door Sensor
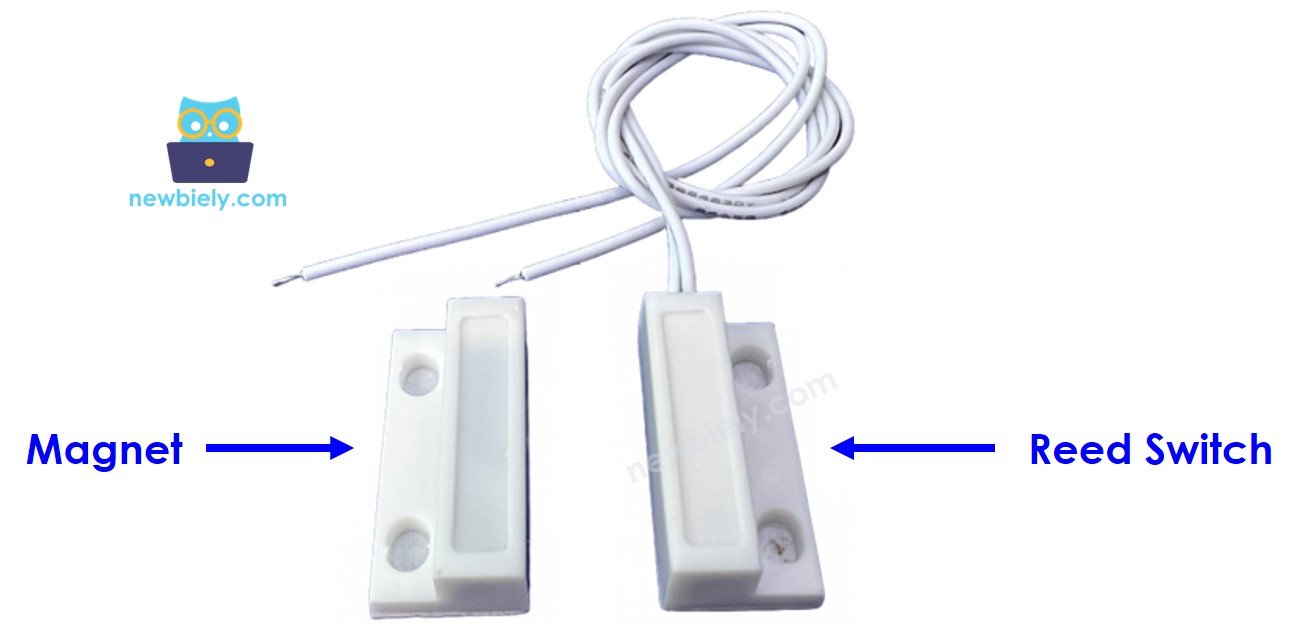
A door sensor has two parts:
- A small plastic box with two wires. This part holds a reed switch. You put it on the door frame.
- A second plastic box with no wires. This part holds a magnet. You put it on the door itself.
When the door is closed, the magnet sits next to the reed switch and closes it. When the door opens, the magnet moves away, and the switch opens again.
For more detail about the door sensor, see the ESP32 S3 - Door Sensor tutorial.
Key Specifications
| Item | Value |
|---|---|
| Type | Magnetic reed switch (normally open) |
| Wires | 2, and they have no direction |
| Working gap | about 15 mm to 25 mm |
| Power | None. It is only a switch. |
※ NOTE THAT:
The two wires have no plus and no minus. You can connect them either way round.
How The ESP32 S3 Reads The Door
The door sensor is only a switch, so the ESP32 S3 must give it a voltage itself. We use the internal pull-up resistor:
With INPUT_PULLUP, the pin is HIGH when nothing pulls it down. The table shows what happens:
| Door | Magnet | Reed switch | Pin reads |
|---|---|---|---|
| Closed | Next to the switch | Closed (connected to GND) | LOW |
| Open | Away from the switch | Open (nothing connected) | HIGH |
So in the code:
Why The Code Waits 50 Milliseconds
A metal switch never changes cleanly. In the first milliseconds it jumps between open and closed many times. This is called bouncing. Without protection, one door movement would send five photos.
The code waits until the value stays the same for 50 milliseconds:
Motion Sensor or Door Sensor?
Both build a small security camera, but they are not the same:
| Door Sensor | Motion Sensor (PIR) | |
|---|---|---|
| Sees | Only the door opening | Any warm body that moves |
| False alarms | Almost never | Sometimes (heaters, windows, animals) |
| Warm-up time | None | 30 to 60 seconds |
| Needs power | No | Yes, 5V |
| Works through glass | Yes | No |
A door sensor is the better choice when you want to know about one exact event. See also the ESP32 S3 Camera - Send Photo to Telegram When Motion Detected tutorial.
Wiring Diagram between Door Sensor and ESP32 S3
Connect the two wires of the door sensor to your ESP32 S3.
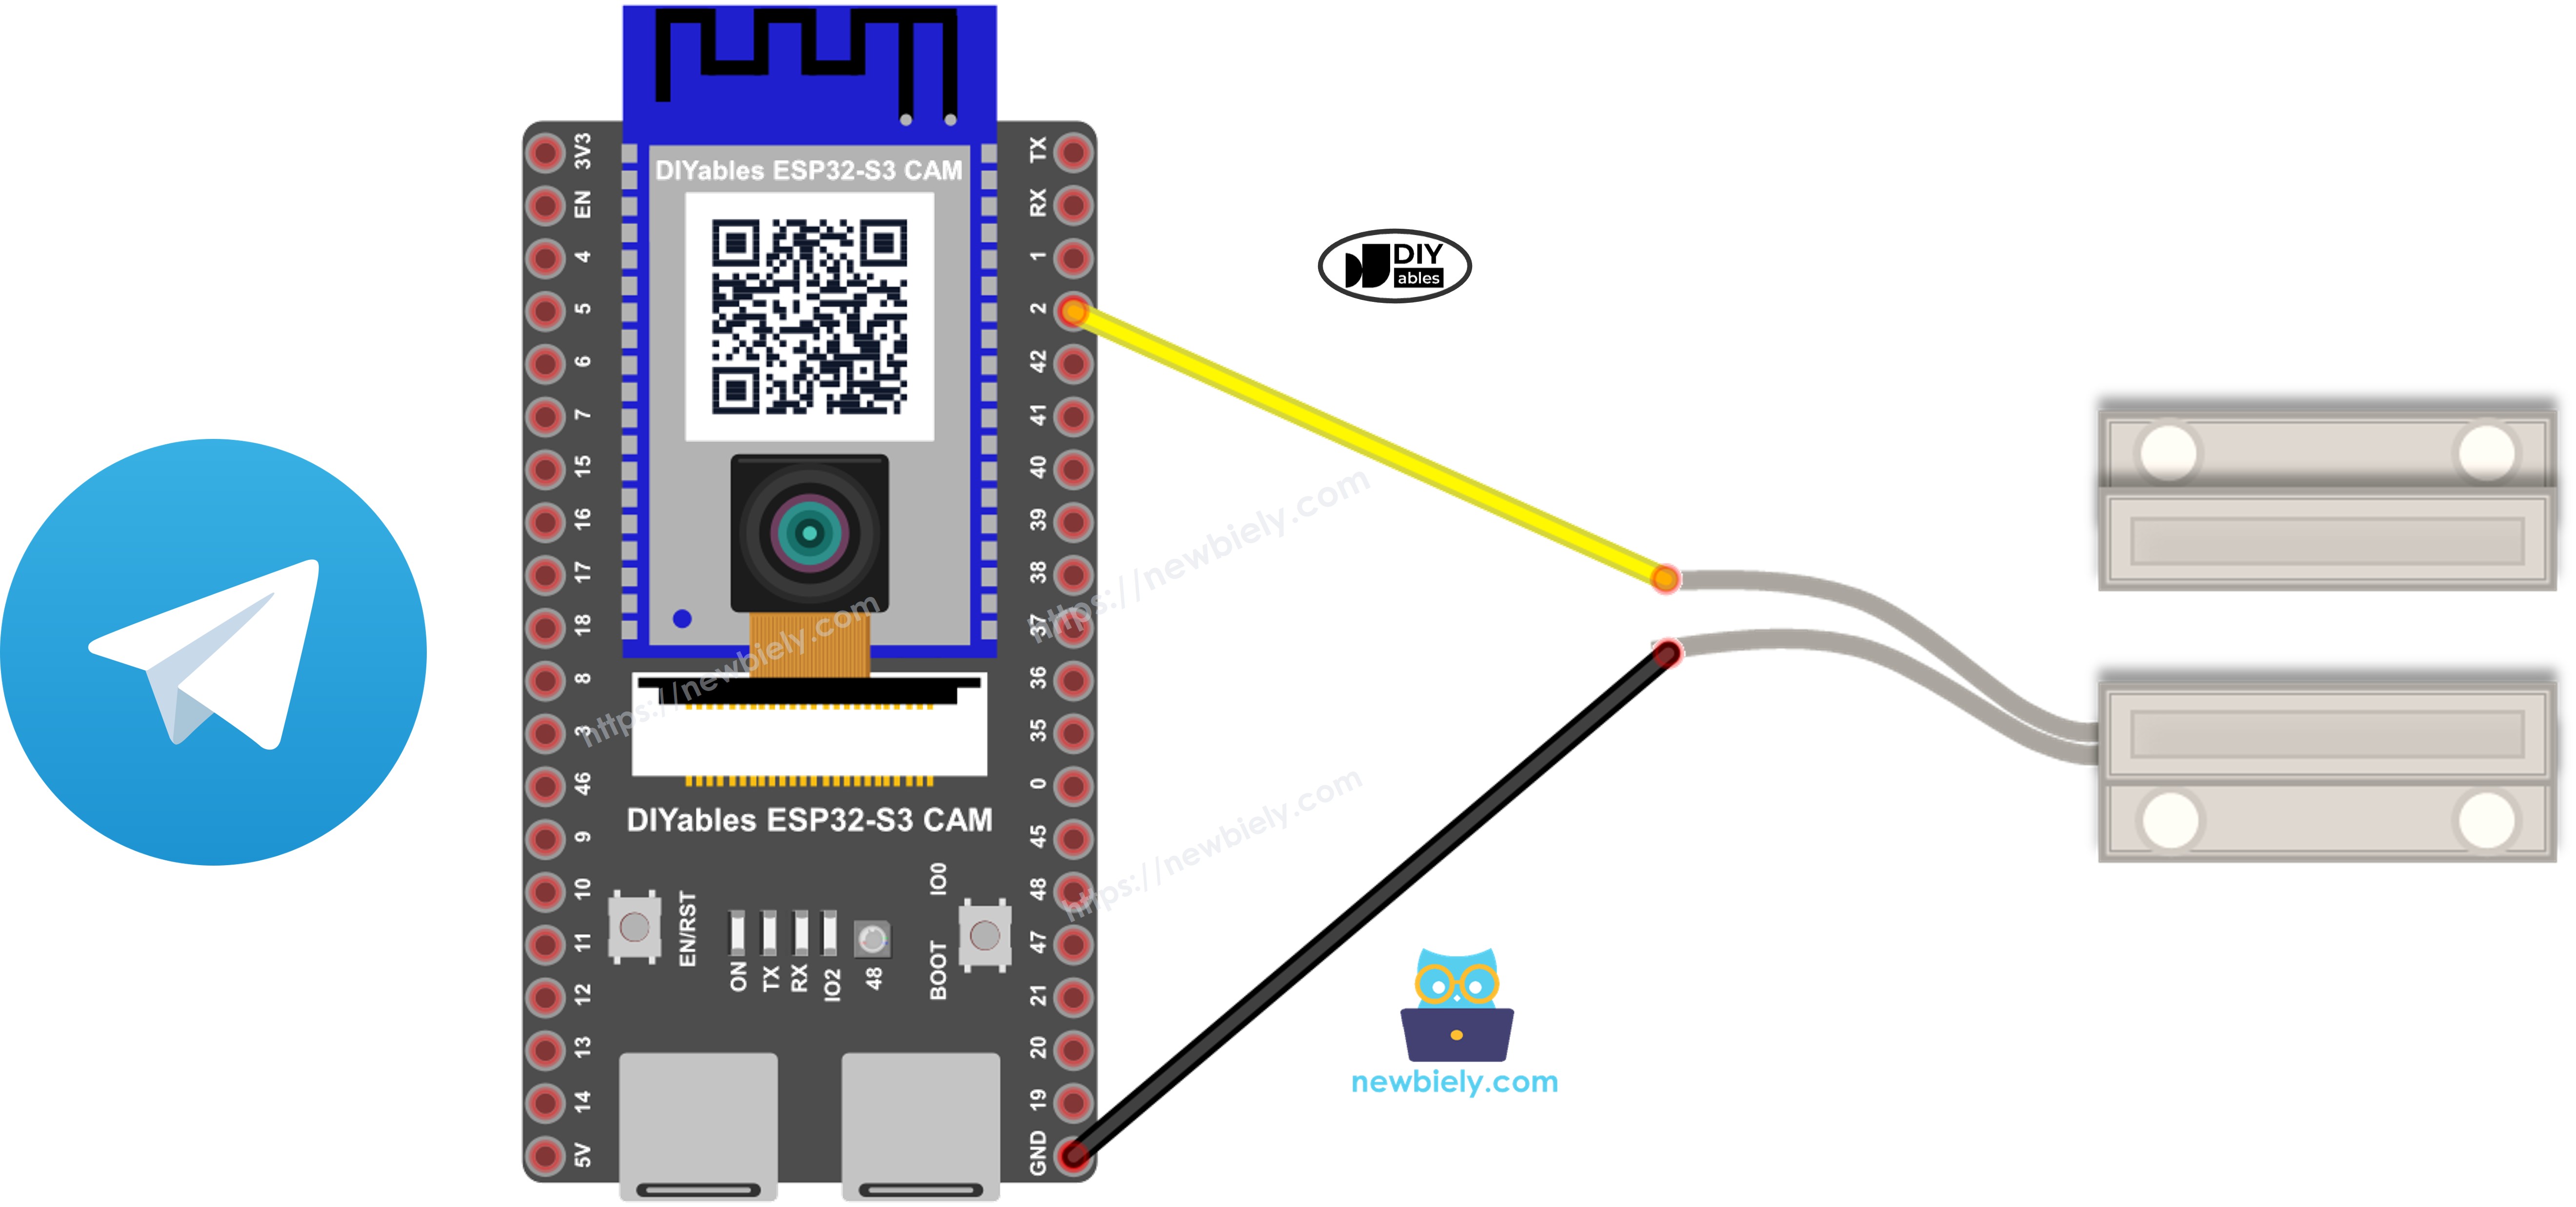
This image is created using Fritzing. Click to enlarge image
| Door Sensor Wire | ESP32 S3 Pin |
|---|---|
| First wire | GPIO2 |
| Second wire | GND |
Then put the two parts of the sensor on your door:
- Put the part with the wires on the door frame.
- Put the part without wires on the door itself.
- Move the door until the two parts are next to each other. They must almost touch, with a gap smaller than 15 mm.
- Point the camera at the door.
Safety Notes
The door sensor needs no power. Do not connect it to 5V or to 3.3V. One wire goes to GPIO2, the other goes to GND. Nothing can break, because it is only a switch.
The camera uses GPIO4, 5, 6, 7, 8, 9, 10, 11, 12, 13, 15, 16, 17 and 18. Do not use these pins for the sensor. GPIO2 is free, so we use it.
Arduino IDE Settings for ESP32 S3 Camera
The camera does not work with the default settings of the Arduino IDE. You must change some items in the Tools menu before you upload the code.
| Tools Menu Item | Select This |
|---|---|
| Board | ESP32S3 Dev Module |
| Flash Size | 16MB (128Mb) |
| PSRAM | OPI PSRAM |
| Partition Scheme | Huge APP (3MB No OTA/1MB SPIFFS) |
| CPU Frequency | 240MHz (WiFi) |
| USB Mode | Hardware CDC and JTAG |
| Upload Mode | UART0 / Hardware CDC |
| Upload Speed | 921600 |
| USB CDC On Boot | Enabled |
※ NOTE THAT:
PSRAM must be OPI PSRAM, and Partition Scheme must be Huge APP. Change Flash Size first, because the list of Partition Scheme options changes after that.
How To Send a Photo to Telegram
You do not need to install any library. The code talks to Telegram directly.
- Telegram uses https, so we need a secure client.
※ NOTE THAT:
setInsecure() means the ESP32 S3 does not check who the server really is. For a small home project this is fine, and it saves a lot of memory. The photo is still sent through an encrypted connection.
- To send a photo, we use the Telegram address /bot<TOKEN>/sendPhoto. The photo travels inside a multipart message. A multipart message has parts, and a line of text called a boundary separates the parts. This project uses three parts: the chat ID, the text, and the photo.
※ NOTE THAT:
The caption part is the text under the photo in Telegram. Change The door is open! to any message you like.
- The Content-Length must be the size of everything: the first part, the photo, and the last part.
※ NOTE THAT:
A wrong Content-Length is the most common mistake. Telegram then waits for more data and never answers.
- Send the photo in small pieces. A big write() often fails on a secure connection.
- Read the answer. This part has a trap. Telegram answers and closes the connection at once, so your code must keep reading even after the connection is closed.
※ NOTE THAT:
A loop written as while (client.connected() && ...) looks correct, but it is wrong. Telegram closes the connection very quickly, so client.connected() is often already false. The loop then never runs, and you throw away an answer that is really there. The Serial Monitor says the photo failed, even when the photo arrived on your phone.
- When everything is fine, the answer of Telegram contains "ok":true.
※ NOTE THAT:
This project uses a small image size (FRAMESIZE_SVGA, 800×600), because a small photo is sent much faster. A photo of 50 KB takes about 3 seconds. A photo of 200 KB takes about 10 seconds.
ESP32 S3 Code
The following code sends a photo to your Telegram chat every time the door is opened. Nothing is sent when the door is closed again. The quiet time is 30 seconds, so a person who opens and closes the door many times does not fill your chat. To change it, change the line #define QUIET_TIME 30000.
Detailed Instructions
- New to ESP32 S3? Complete our Getting Started with ESP32 S3 guide first.
- Make your Telegram bot and find your chat ID. See the steps above.
- Unplug the USB cable, then connect the two wires of the door sensor as in the table above.
- Copy the above code and paste it into the Arduino IDE.
- Change YOUR_WIFI_SSID, YOUR_WIFI_PASSWORD, YOUR_TELEGRAM_BOT_TOKEN and YOUR_TELEGRAM_CHAT_ID.
- Change the settings in the Tools menu. See the table above.
- Compile and upload the code to the ESP32 S3 board by clicking the Upload button in Arduino IDE.

- Open the Serial Monitor in Arduino IDE.
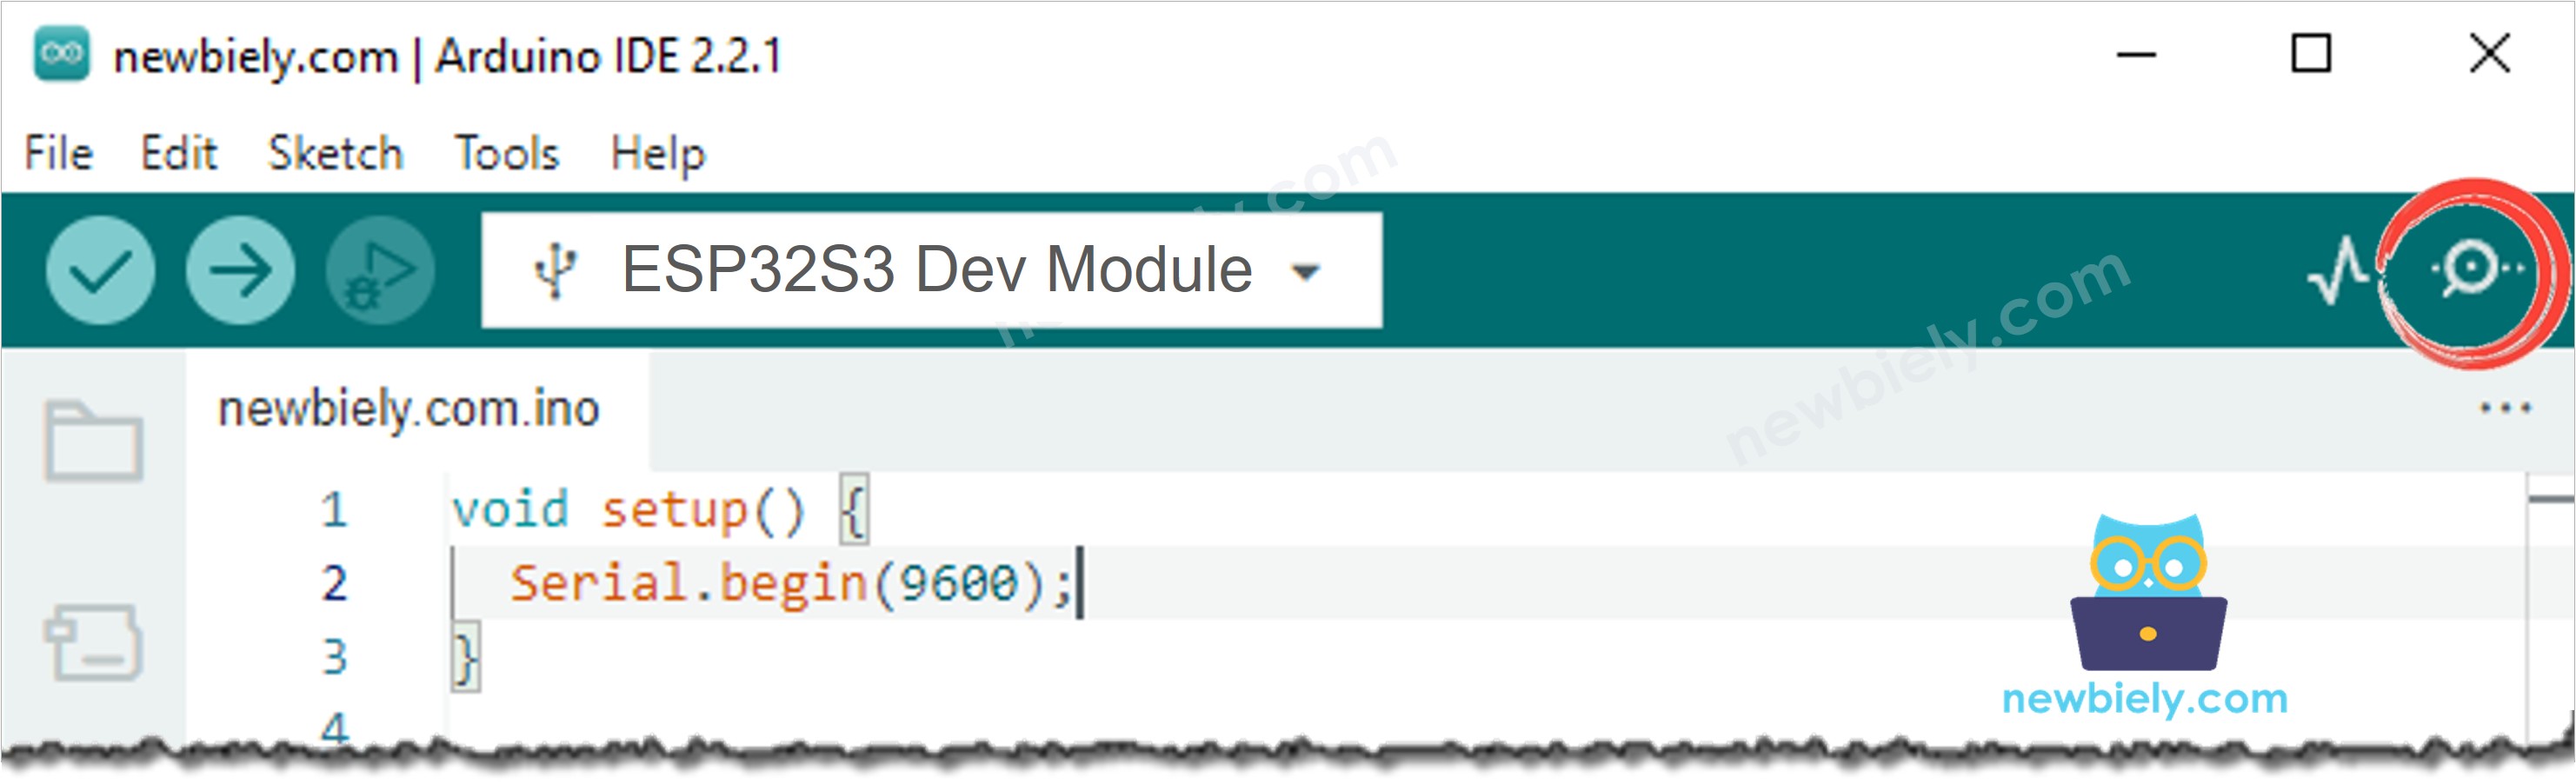
- Press the RESET button one time.
- Put the two parts of the sensor next to each other. The Serial Monitor says the door is closed.
- Move the two parts away from each other, like an opening door.
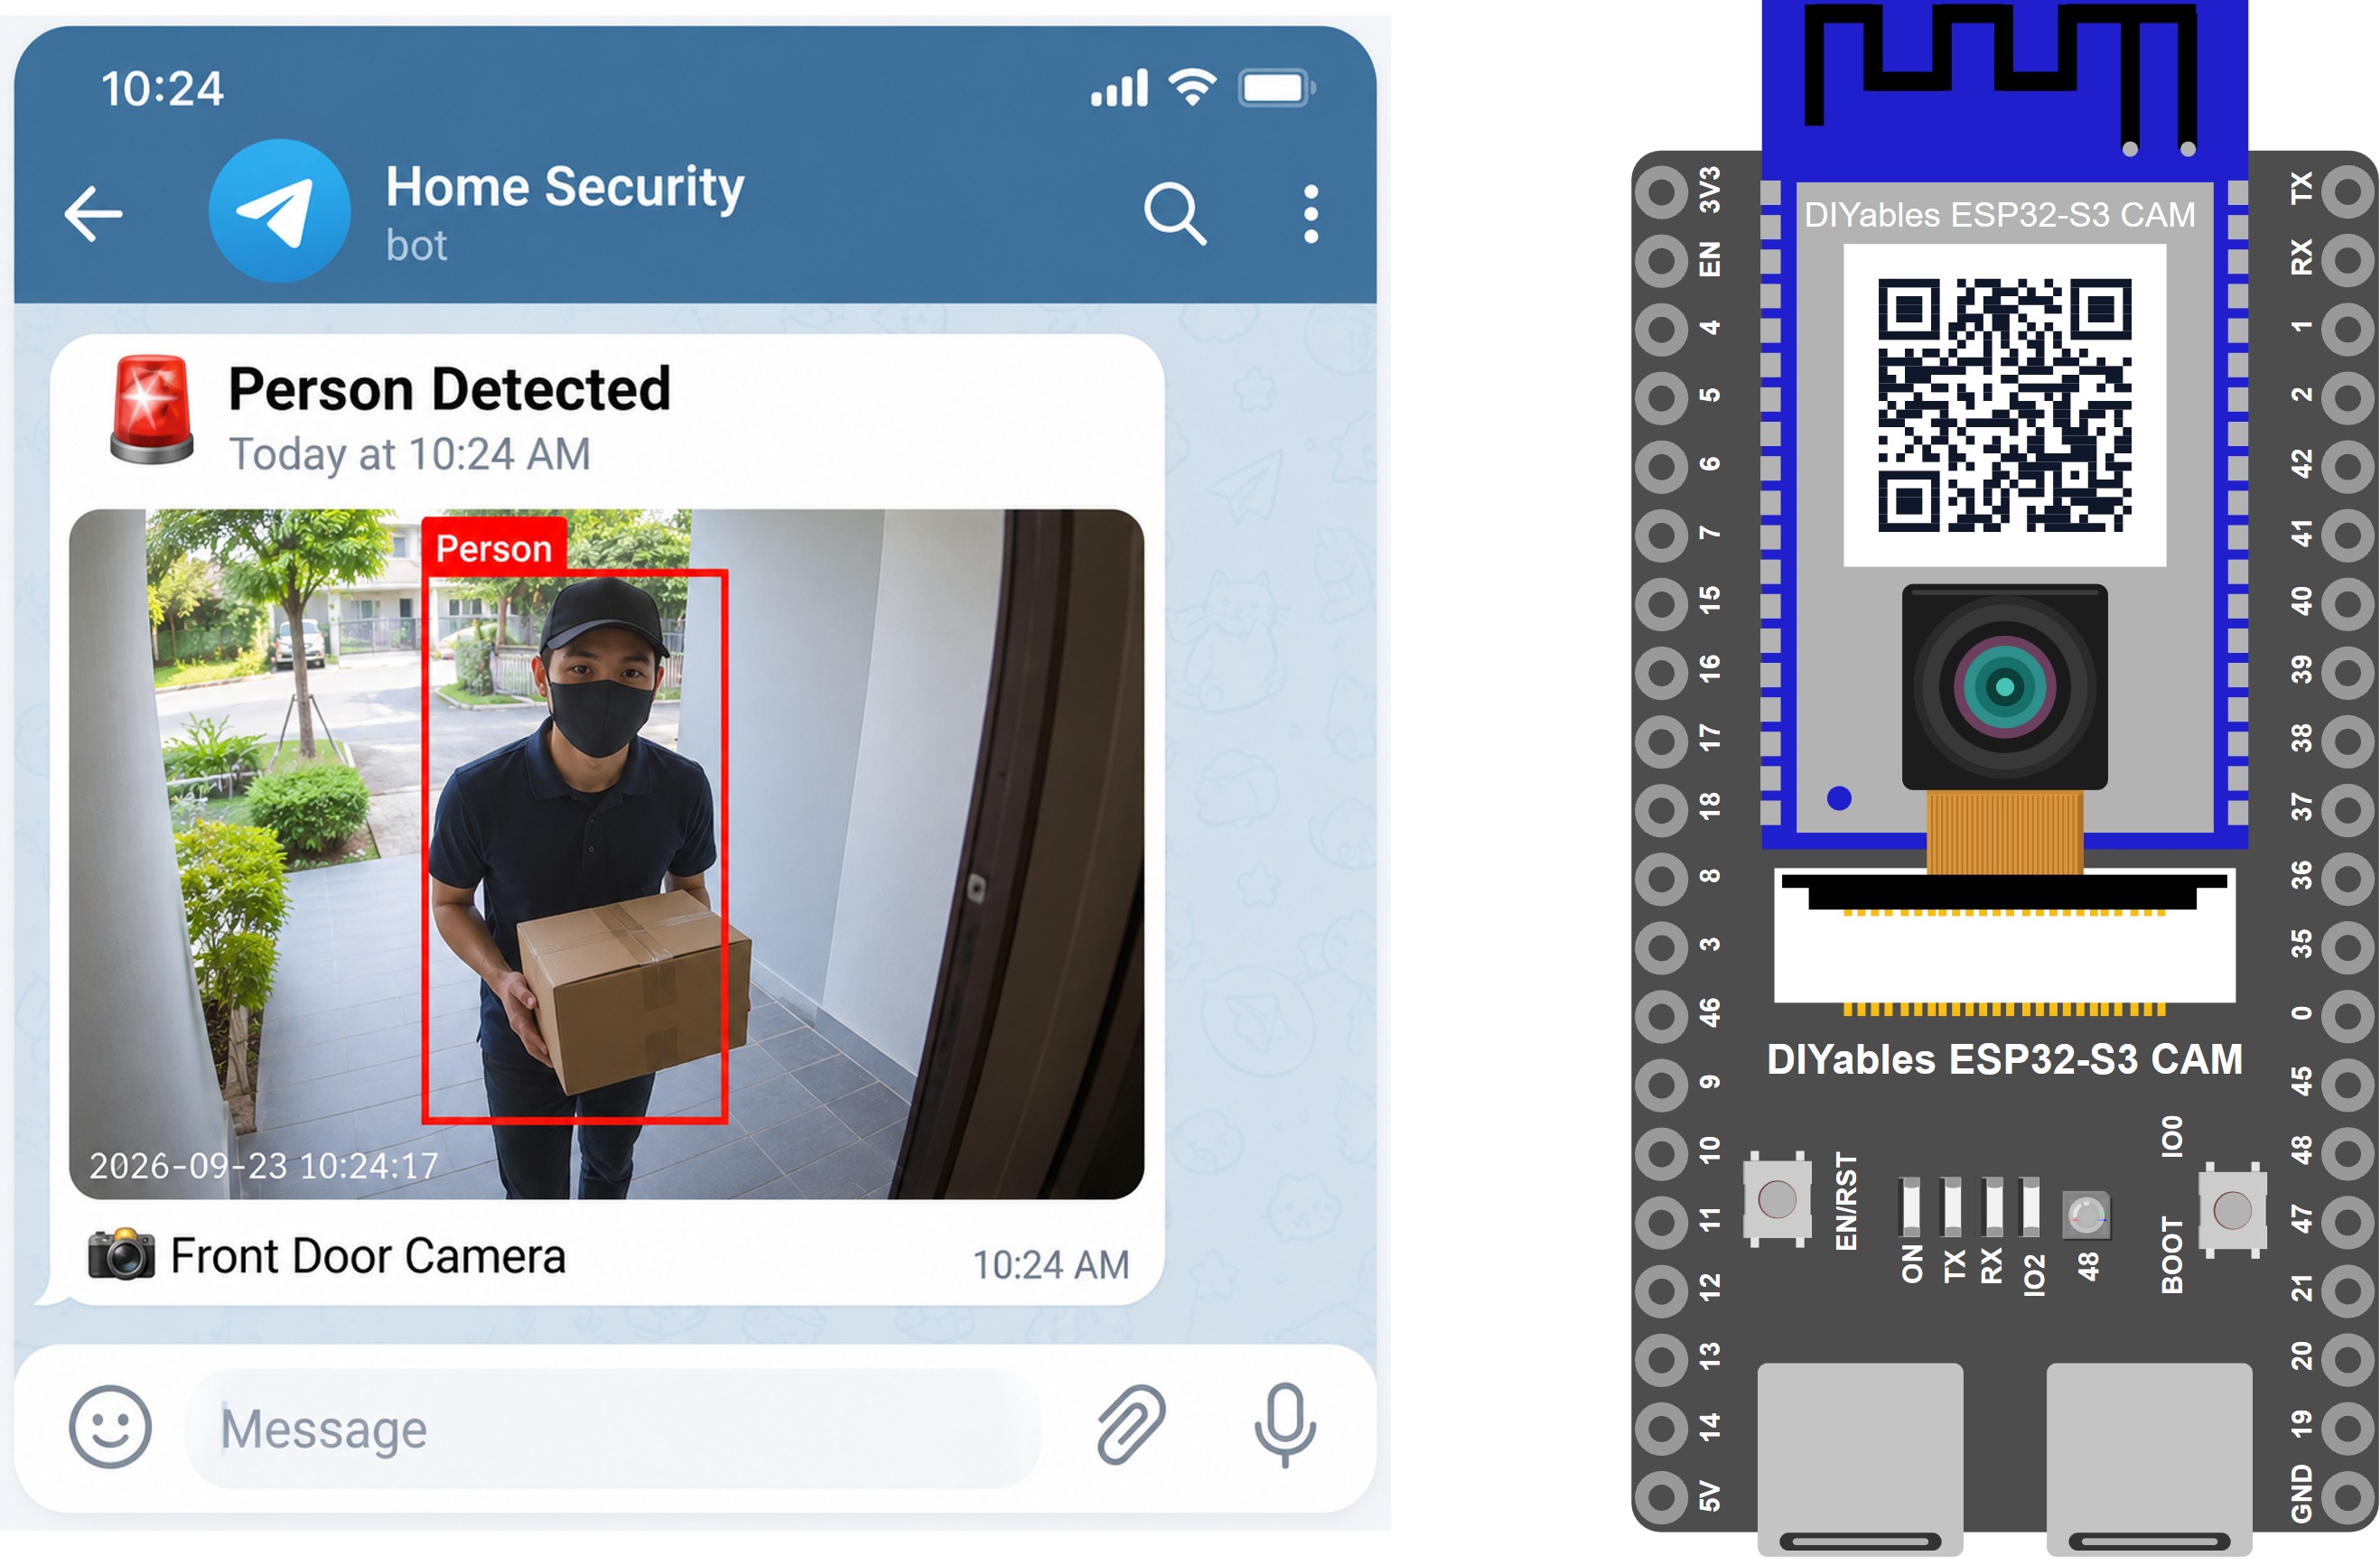
- Look at your phone. The photo arrives in your Telegram chat, with the text under it:
ArduinoBot
Serial Monitor
The following readings were captured in 2026:
When the door is opened again too quickly, the code says so and sends nothing:
Troubleshooting
The Serial Monitor always says the door is open, even when it is closed.
- The two parts are too far apart. They must almost touch, with a gap smaller than 15 mm.
- Check the wire on GPIO2 and the wire on GND.
- Some door sensors are "normally closed" instead of "normally open". Then the two lines #define DOOR_CLOSED LOW and #define DOOR_OPEN HIGH must swap their values.
The Serial Monitor always says the door is closed.
The two wires are probably touching each other, or one wire is on the wrong pin. One wire goes to GPIO2, the other to GND.
One door movement sends two or three photos.
Increase DEBOUNCE_TIME from 50 to 150.
The Serial Monitor shows Forbidden: bot can't initiate conversation with a user.
You never wrote to your bot. Open Telegram, find your bot, and send it any message. Then press RESET on the board.
The Serial Monitor shows Unauthorized.
Your bot token is wrong. Copy it again from BotFather. The token has two parts joined by : and you need all of it.
The Serial Monitor shows chat not found.
Your chat ID is wrong. Ask @myidbot again with /getid. Do not put spaces around the number.
The Serial Monitor shows Telegram did not answer at all.
The board sent the photo but got nothing back. Check your internet. Some school and company networks block Telegram, so try your phone hotspot. If the photo does arrive on your phone even though the board says it failed, your read loop stops too early. See the note about client.connected() above.
The Serial Monitor shows Sending stopped after ... bytes.
The WiFi broke while the photo was going out. Move the board closer to the router, or use a smaller image size.
The Serial Monitor shows Cannot connect to Telegram.
Check that your WiFi works. The IP address must appear in the Serial Monitor. Some school and company networks block Telegram, so try your phone hotspot.
The photo takes a long time.
Use a smaller image size. FRAMESIZE_VGA (640×480) is about half of SVGA.
The photo is dark.
The camera cannot see in the dark. Add a light near the door, or a lamp that switches on with the door.
Applications
A door sensor gives you one clear event with almost no false alarms, so this project is good everywhere something must stay closed. Here are practical projects you can build with this code:
- Front door security camera: See who opens your front door while you are at work or on holiday.
- Parcel box camera: Get a photo when the delivery person opens your parcel box or your mailbox.
- Medicine cabinet alarm: Know when a child opens a cabinet that must stay closed.
- Shop door counter: Keep a picture of every customer who opens the shop door.
- Tool box, safe or locker alarm: Get a photo the moment somebody opens it, even when you are far away.
- Garage door alert: Know when your garage door or your shed is opened at night.
- Window opening alarm: Put the sensor on a window instead of a door, and get a photo when it is opened.
- Server rack and control cabinet: Keep a photo record of everybody who opens a cabinet at work.
- Fridge or freezer watcher: A fun home project to see who takes the last piece of cake.
- Hotel room or rented flat: Know that the door stayed closed while the room was empty.
Video Tutorial
Watch the step-by-step video walkthrough for this ESP32 S3 project below.
Challenges
- Beginner: Change the text under the photo from The door is open! to your own message.
- Intermediate: Also send a message when the door is closed again, so you know how long it was open.
- Advanced: Send a photo only at night, between 22:00 and 06:00. Use an NTP time server to read the real time.