
ESP32 S3 Camera - Send Live Video to Python on PC
The ESP32 S3 is a small board. It can take pictures very well, but it cannot recognise a face, read a car number plate, or find a cat in the picture. Your computer can do all of that easily.
So we let each side do what it is good at: the ESP32 S3 sends the live video over WiFi, and a Python program on your computer receives it. Once the picture is inside Python, you can do anything with it.
The Python program is only about 20 lines.
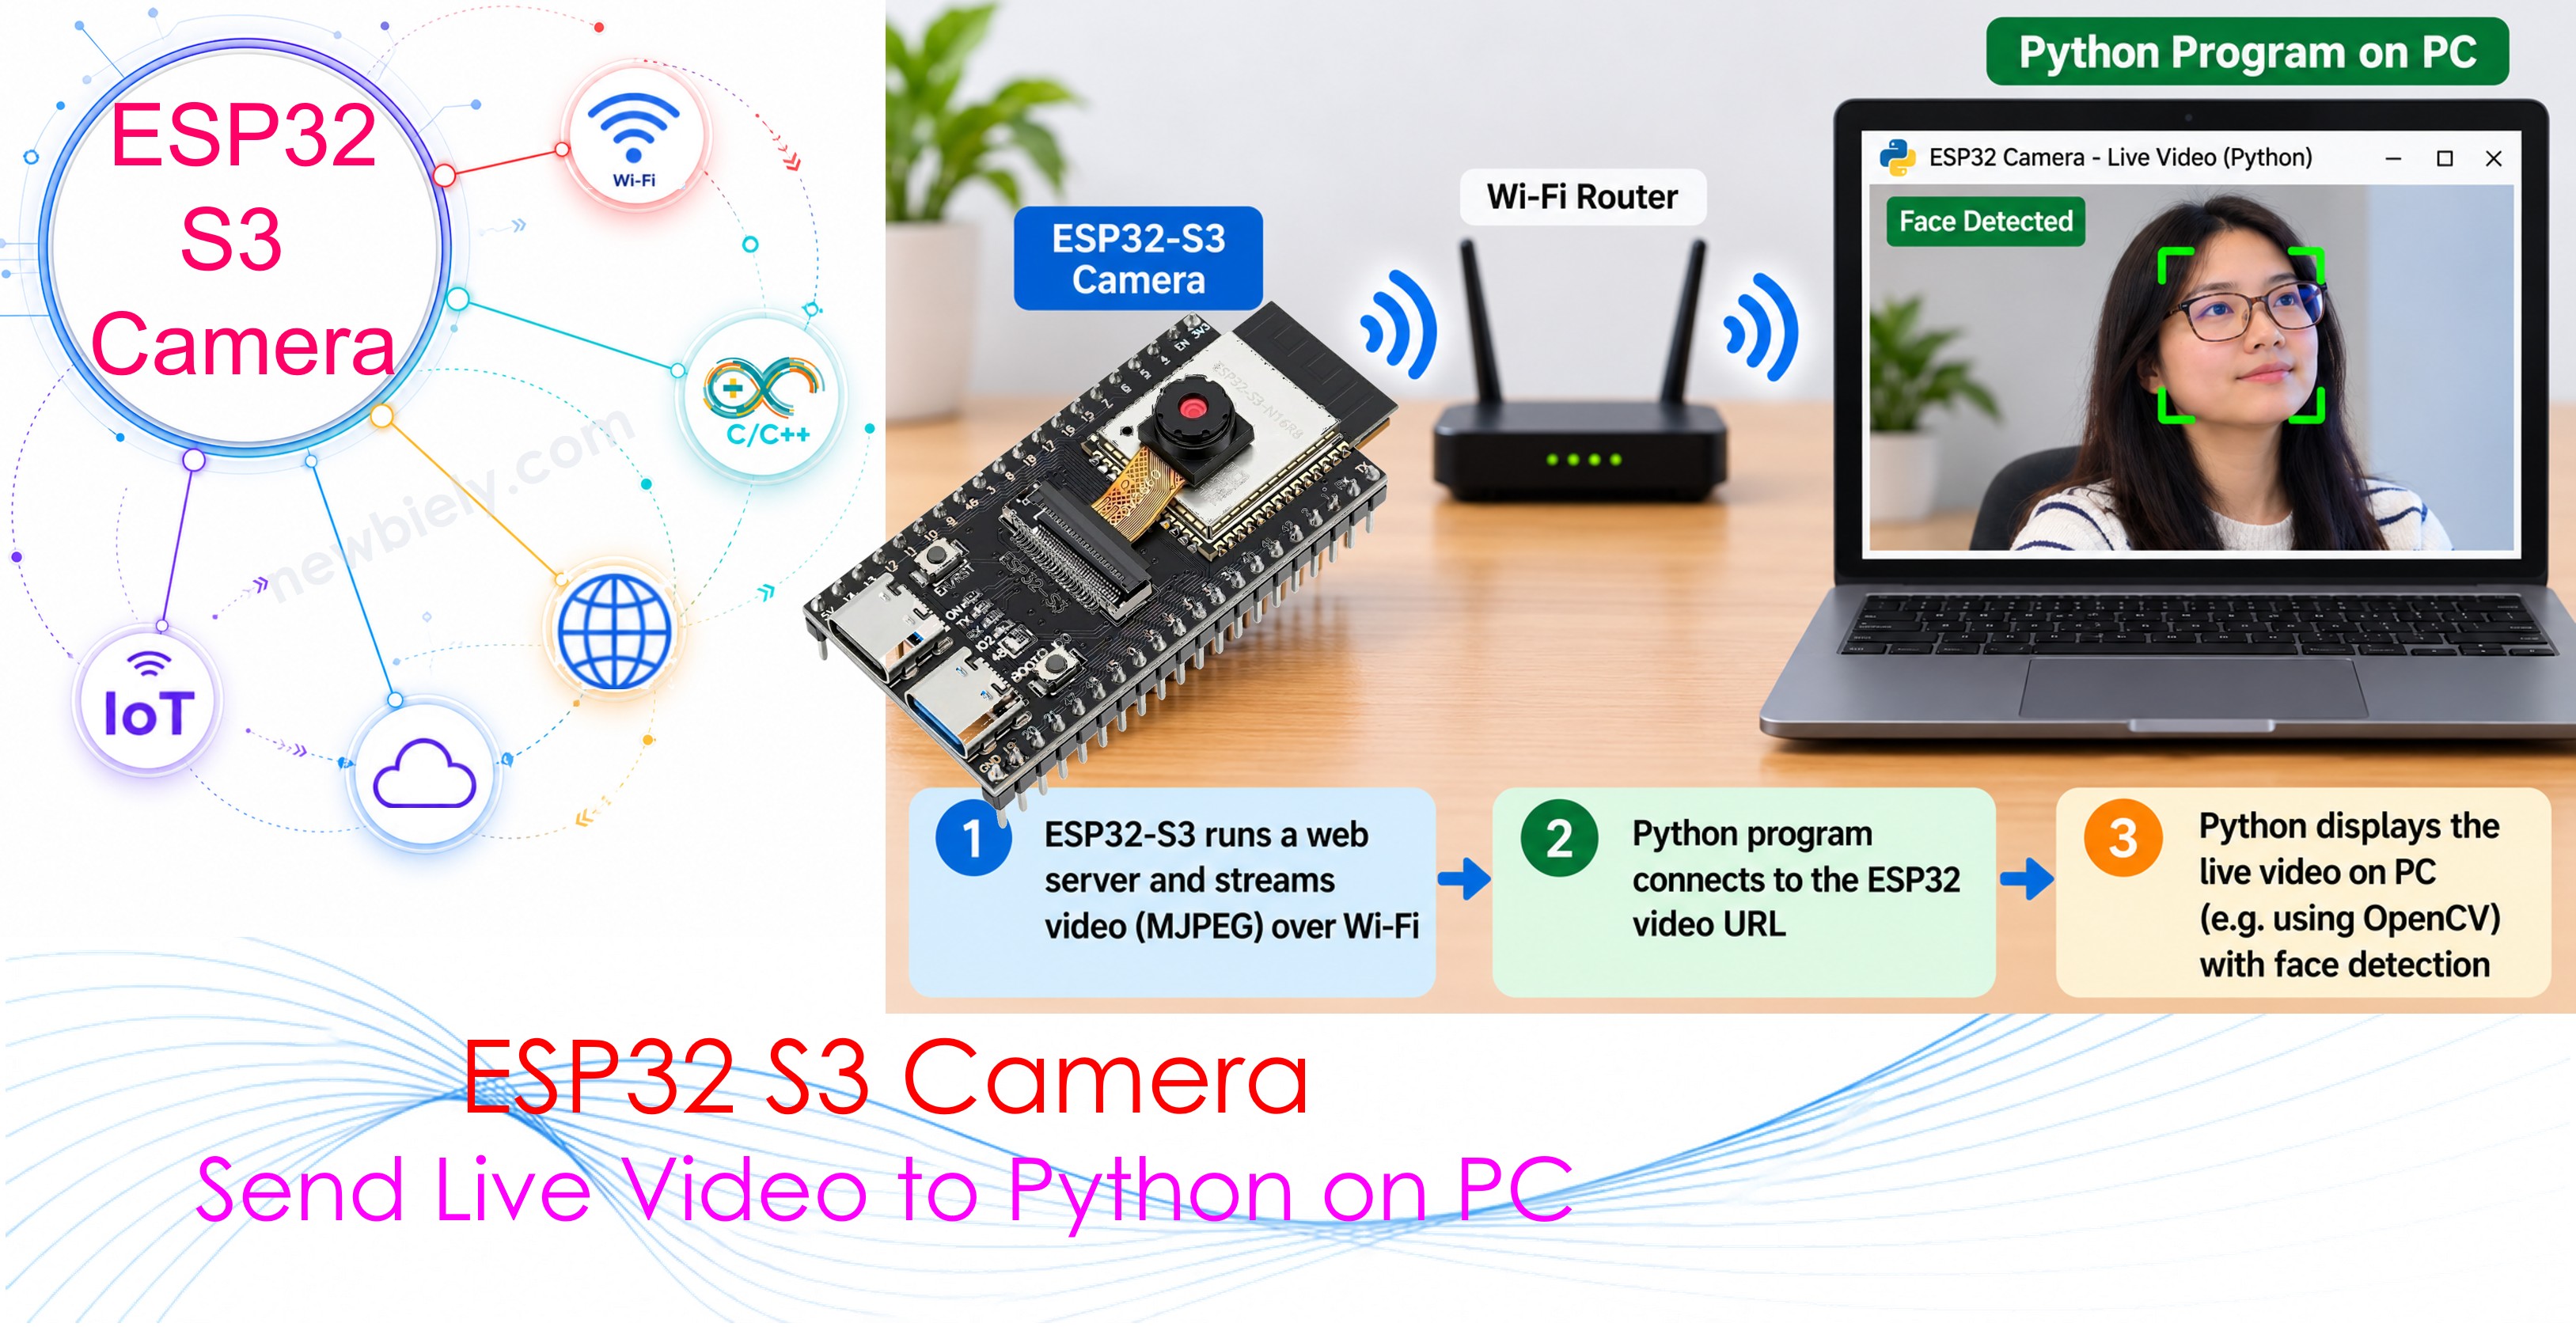
What you'll build:
- An ESP32 S3 camera that sends live video over WiFi
- A short Python program that shows the video in a window on your computer
- A key to save a picture as a file, whenever you want
- A second Python program that finds faces in the video, to show you how to go further
Hardware Preparation
Or you can buy the following kits:
| 1 | × | DIYables Sensor Kit (18 sensors/displays) |
Additionally, some of these links are for products from our own brand, DIYables .
※ NOTE THAT:
The ESP32 S3 camera board has 40 pins, but the screw terminal block and the breakout board have 44 pins. They still work together. Put the camera board in the center of the 44-pin board, so 2 pins stay free on the left side and 2 pins stay free on the right side.
The screw terminal block lets you connect wires with a screwdriver, with no soldering. The breakout board gives you easy pin headers for a breadboard.
You also need a computer with Python. Windows, Mac and Linux all work.
How It Works
The ESP32 S3 sends the video the same way a web camera does, as an MJPEG stream. That is simply many JPEG pictures, one after the other.
The good news: Python already understands it. The library OpenCV opens the video with one line, exactly like it opens a video file or a USB webcam:
Here is the whole road that one picture travels:
| Step | Where | What happens |
|---|---|---|
| 1 | Camera | Takes a picture and packs it as JPEG |
| 2 | ESP32 S3 | Sends the JPEG over WiFi |
| 3 | Your router | Carries it to your computer |
| 4 | Python | Reads it and turns it into a picture you can work with |
| 5 | Your code | Shows it, saves it, or looks for something in it |
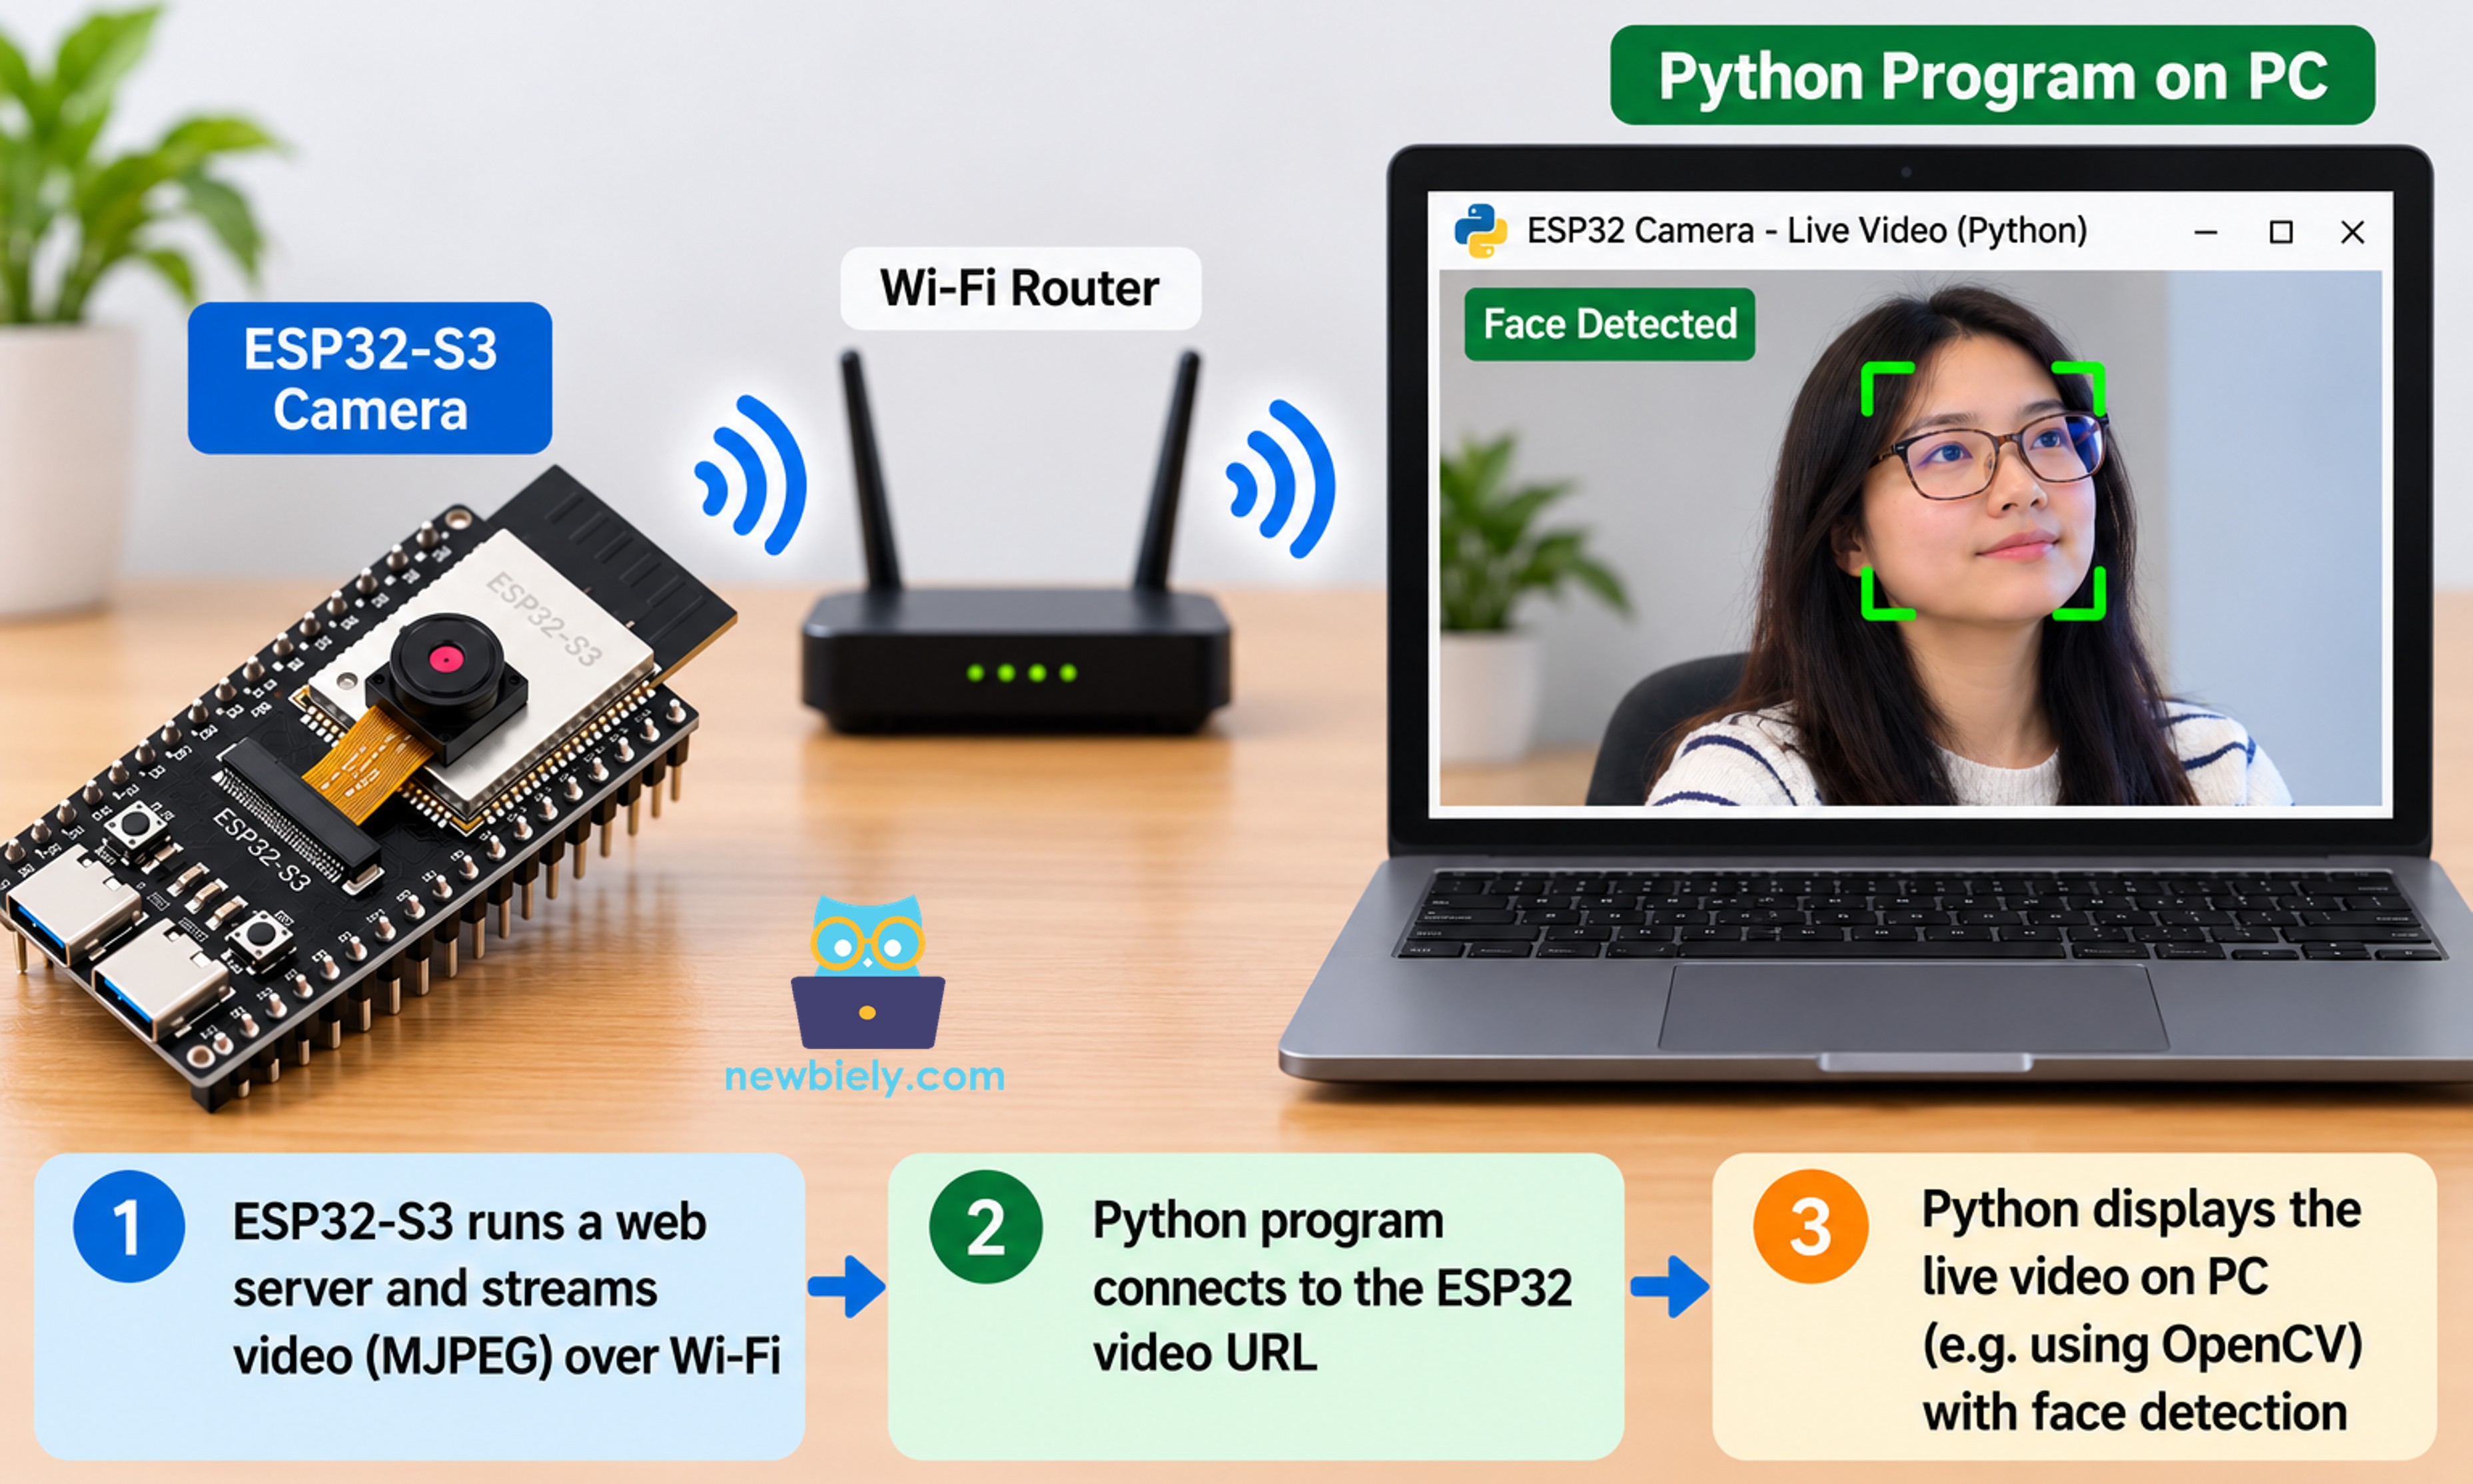
The board also has two other addresses, which are useful while you build:
| Address | What it gives you |
|---|---|
| http://<IP>/ | A web page, to test the camera in a browser first |
| http://<IP>/stream | The live video. This is the one Python opens. |
| http://<IP>/photo | One single JPEG picture, if your program only needs one |
※ NOTE THAT:
Always test http://<IP>/ in your web browser before you start Python. If the browser shows the video, the board is fine, and any problem after that is in the Python part. This one habit saves a lot of time.
Wiring Diagram
There is no wiring in this project. The ESP32 S3 only needs power and WiFi.
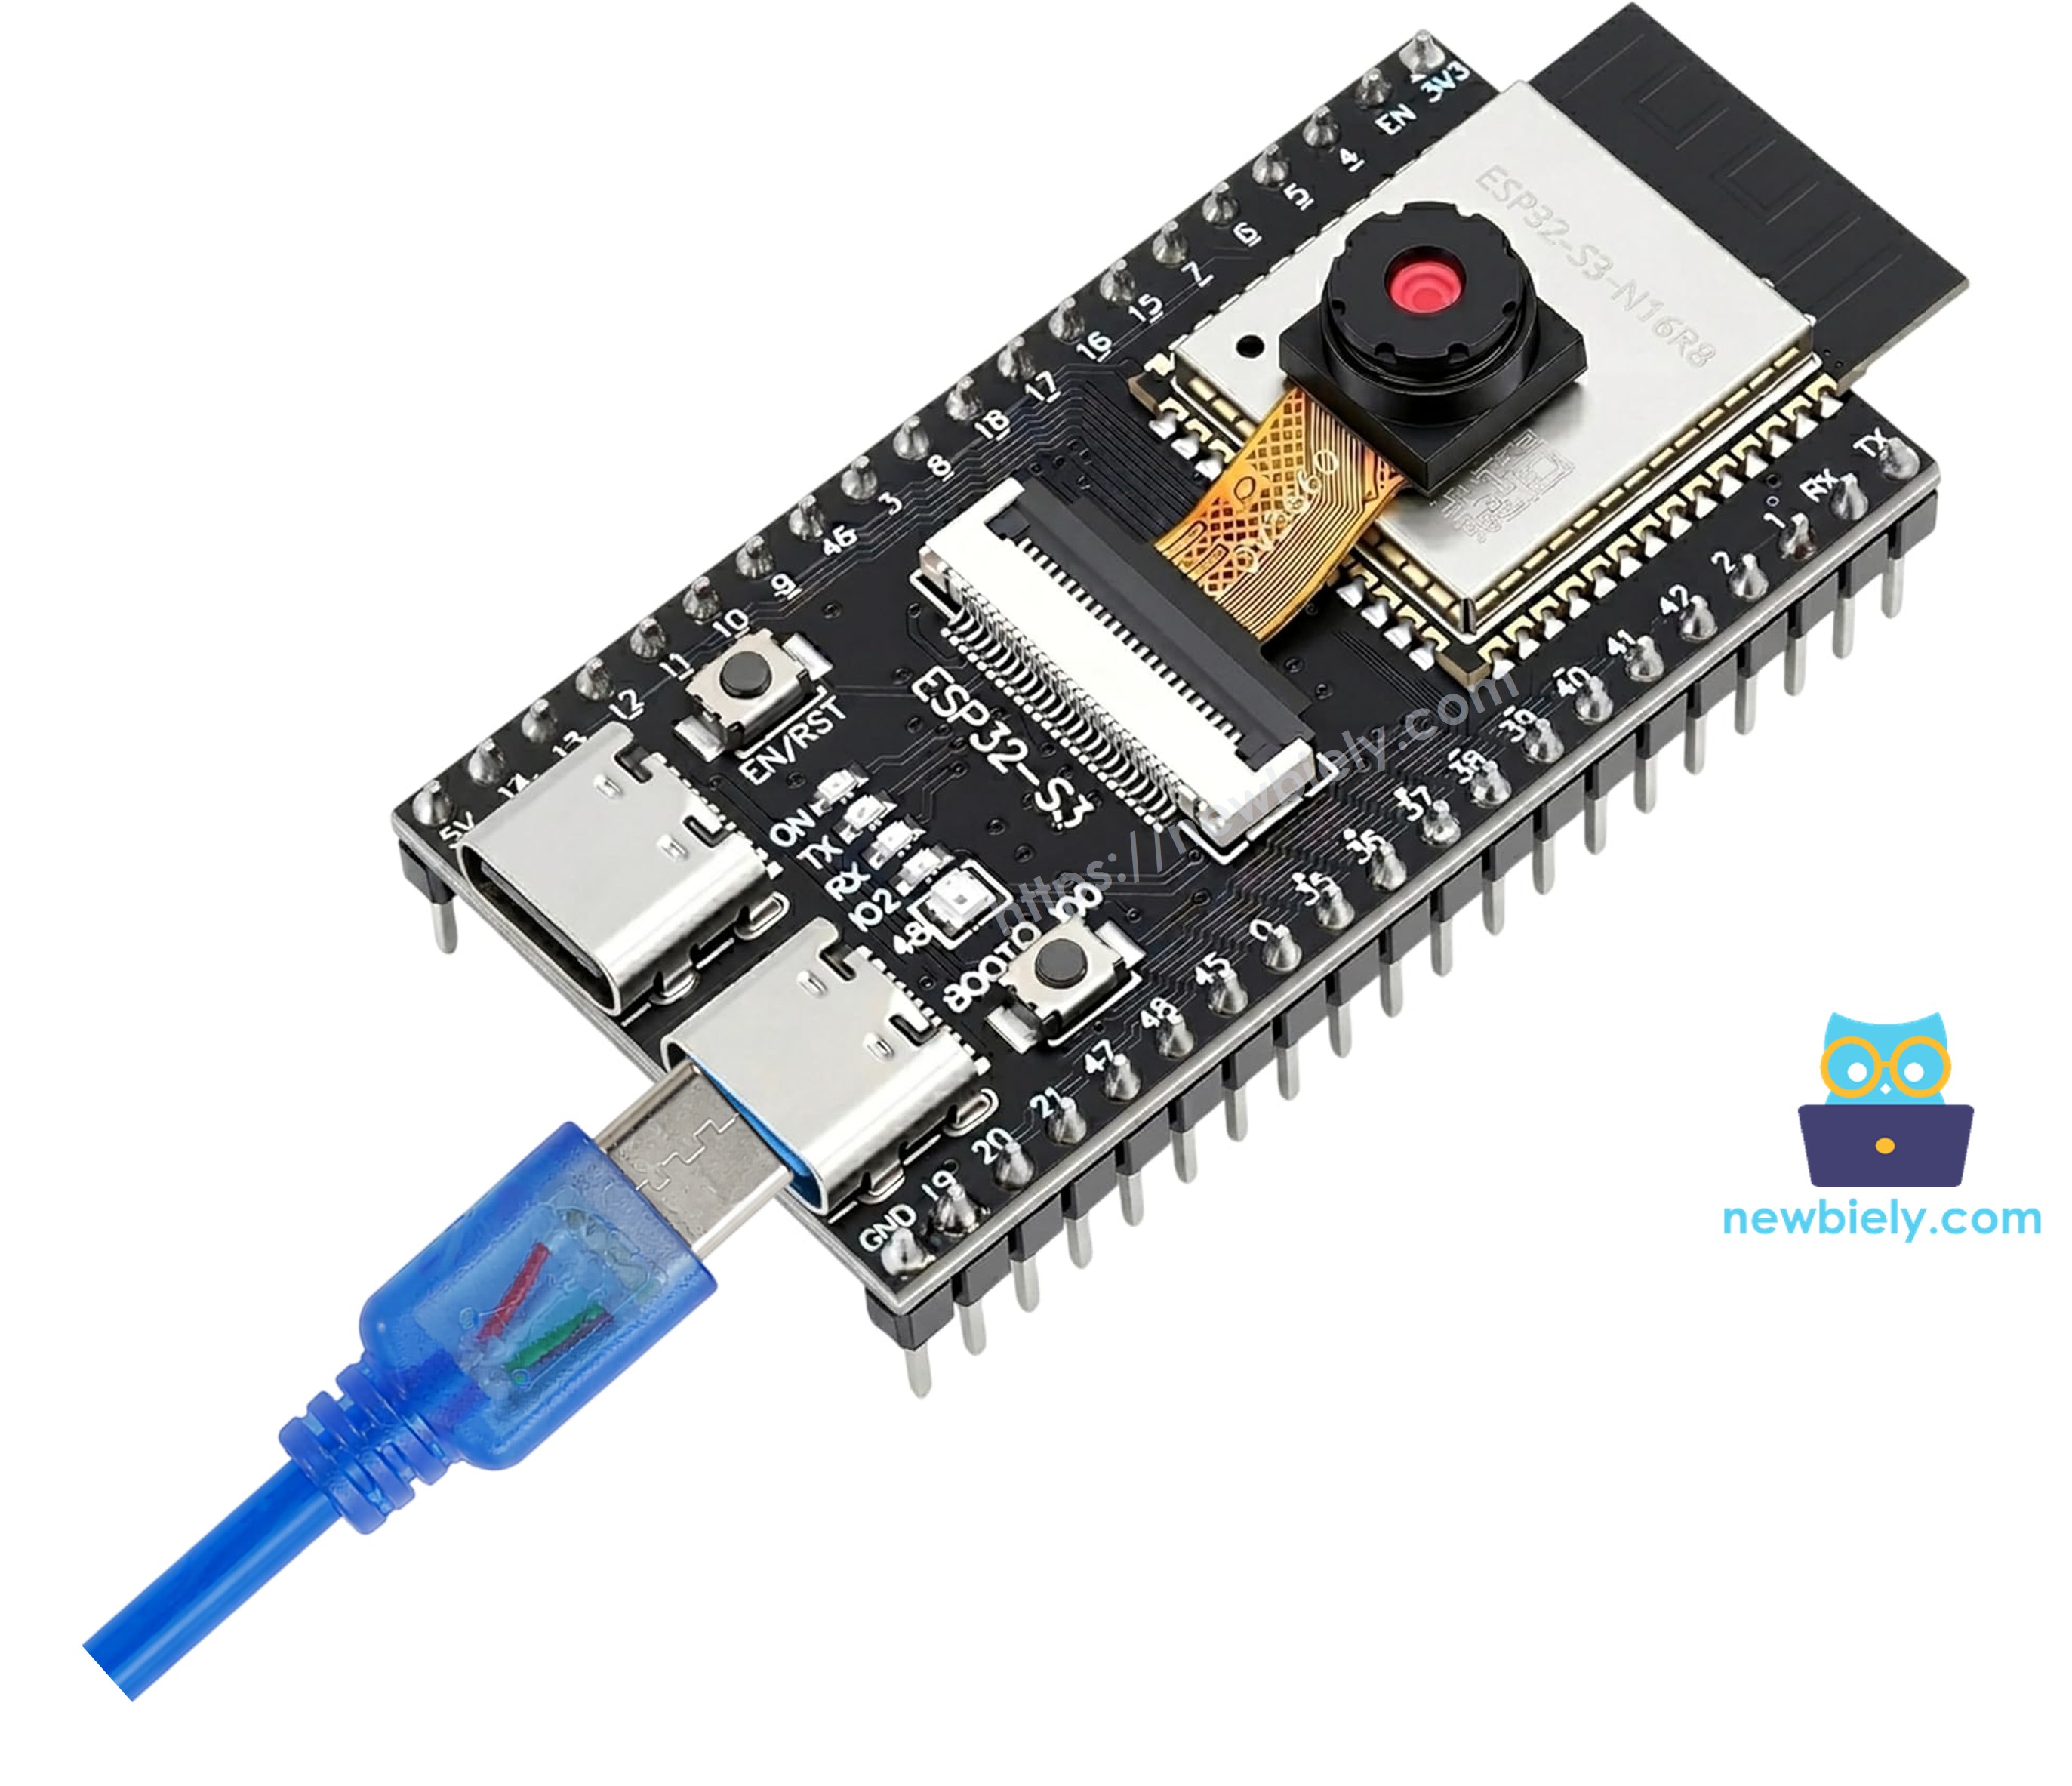
This image is created using Fritzing. Click to enlarge image
※ NOTE THAT:
Your computer and your ESP32 S3 must be on the same WiFi network. If they are on different networks, Python cannot reach the board.
Arduino IDE Settings for ESP32 S3 Camera
The camera does not work with the default settings of the Arduino IDE. You must change some items in the Tools menu before you upload the code.
| Tools Menu Item | Select This |
|---|---|
| Board | ESP32S3 Dev Module |
| Flash Size | 16MB (128Mb) |
| PSRAM | OPI PSRAM |
| Partition Scheme | Huge APP (3MB No OTA/1MB SPIFFS) |
| CPU Frequency | 240MHz (WiFi) |
| USB Mode | Hardware CDC and JTAG |
| Upload Mode | UART0 / Hardware CDC |
| Upload Speed | 921600 |
| USB CDC On Boot | Enabled |
Install DIYables ESP32 WebServer Library
- Open the Arduino IDE.
- Click the Libraries icon on the left bar.
- Type DIYables ESP32 WebServer into the search box.
- Find the library by DIYables.io and click INSTALL.
- Search for DIYables ESP32 WebServer created by DIYables.io and click the Install button.
ESP32 S3 Code
Change WIFI_SSID and WIFI_PASSWORD at the top. Nothing else needs to change.
Detailed Instructions
- New to ESP32 S3? Complete our Getting Started with ESP32 S3 guide first.
- Install the DIYables ESP32 WebServer library.
- Copy the above code and paste it into the Arduino IDE.
- Change WIFI_SSID and WIFI_PASSWORD to your own WiFi.
- Change the settings in the Tools menu. See the table above.
- Compile and upload the code to the ESP32 S3 board by clicking the Upload button in Arduino IDE.

- Open the Serial Monitor in Arduino IDE.
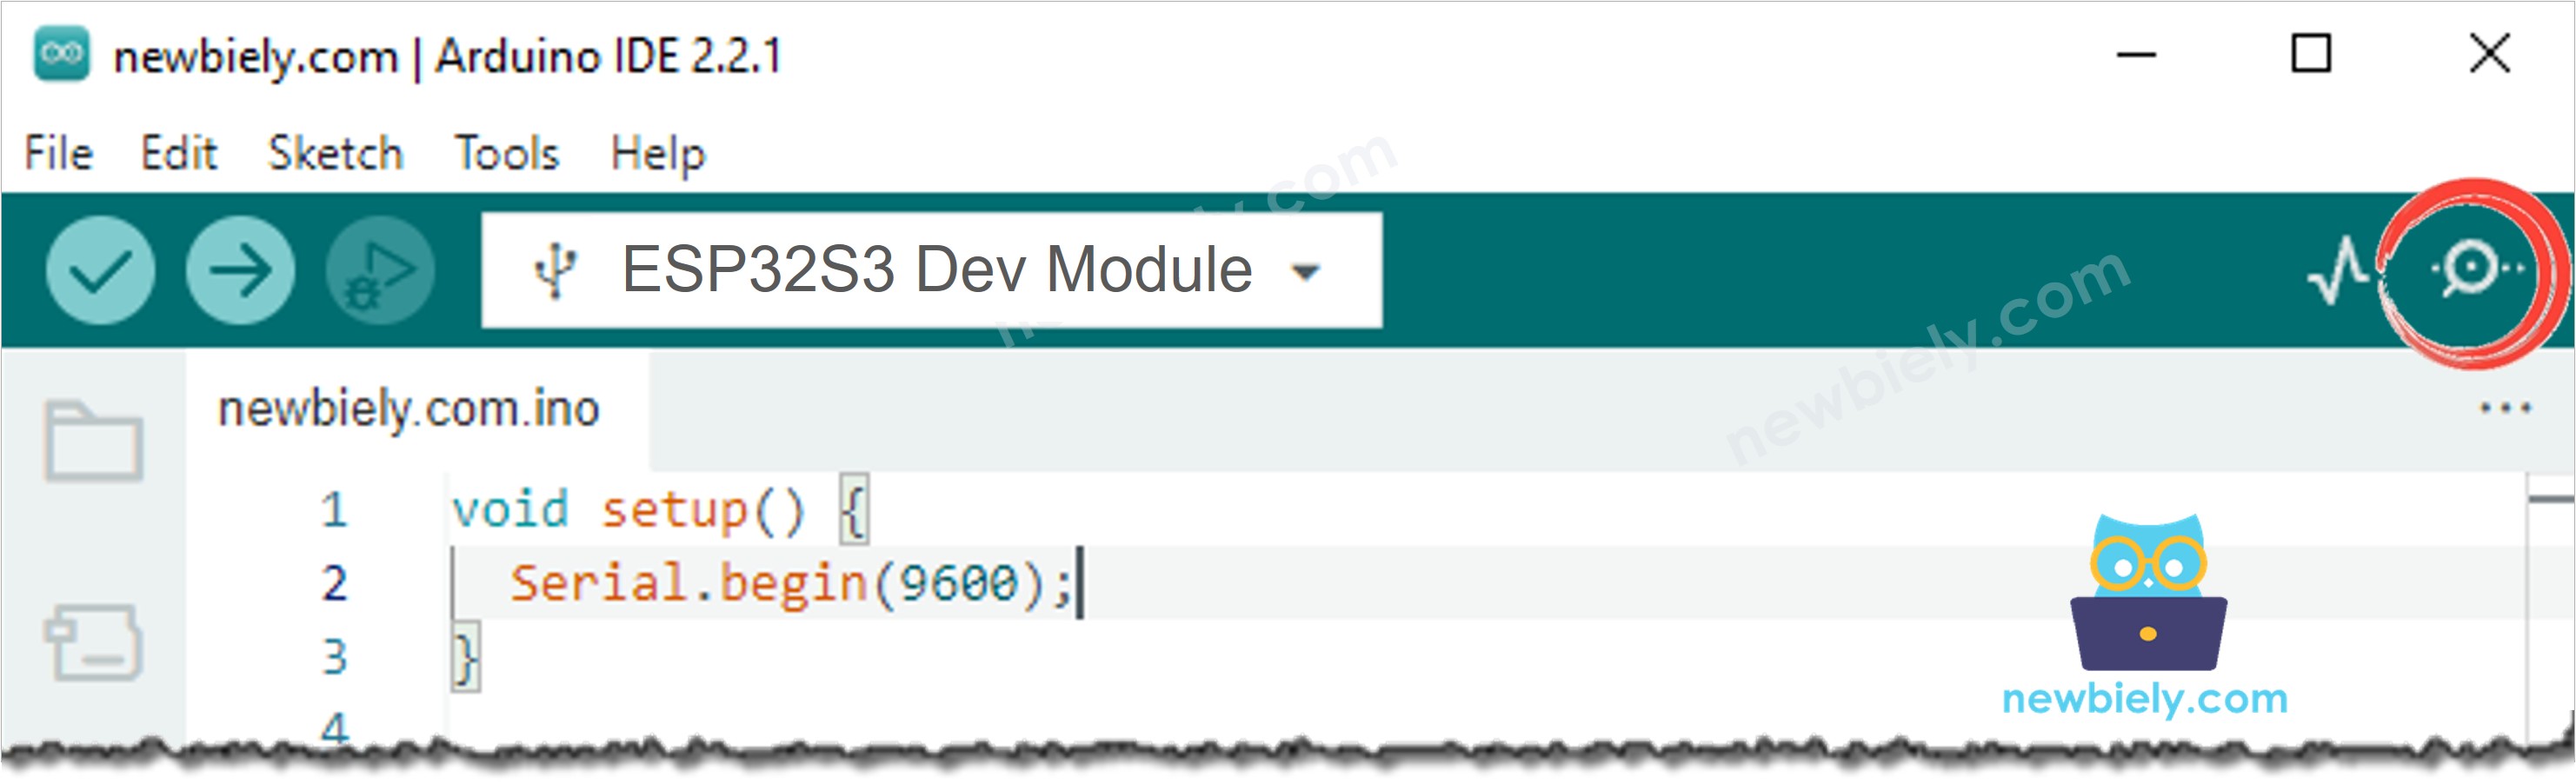
- Press the RESET button one time.
- Write down the address that the Serial Monitor prints. You need it in the Python code.
- Open that address in your web browser and check that you see the video.
Serial Monitor
※ NOTE THAT:
The line A program opened the video stream appears when your Python code starts. If you never see it, Python is not reaching the board, and the problem is the address or the network.
Install Python and OpenCV
- Install Python from python.org. On Windows, tick the box Add python.exe to PATH during the install.
- Open a terminal, and install OpenCV with one command:
- Check that it worked:
You should see a version number, for example 4.12.0.
※ NOTE THAT:
OpenCV is the most used library in the world for working with pictures. It is free, and it already knows how to read an MJPEG stream, so you do not have to write anything about JPEG or WiFi yourself.
Python Code - Example 1: Show the Video
This is the whole program. It opens the video, shows it in a window, and saves a picture when you press the s key.
Change one line to the address from your Serial Monitor:
Detailed Instructions
- Save the code as camera_pc_view.py on your computer.
- Change CAMERA_URL to the address of your board.
- Open a terminal in the same folder and run it:
- A window opens and shows the live video.
- Press s to save a picture. Press ESC to stop.
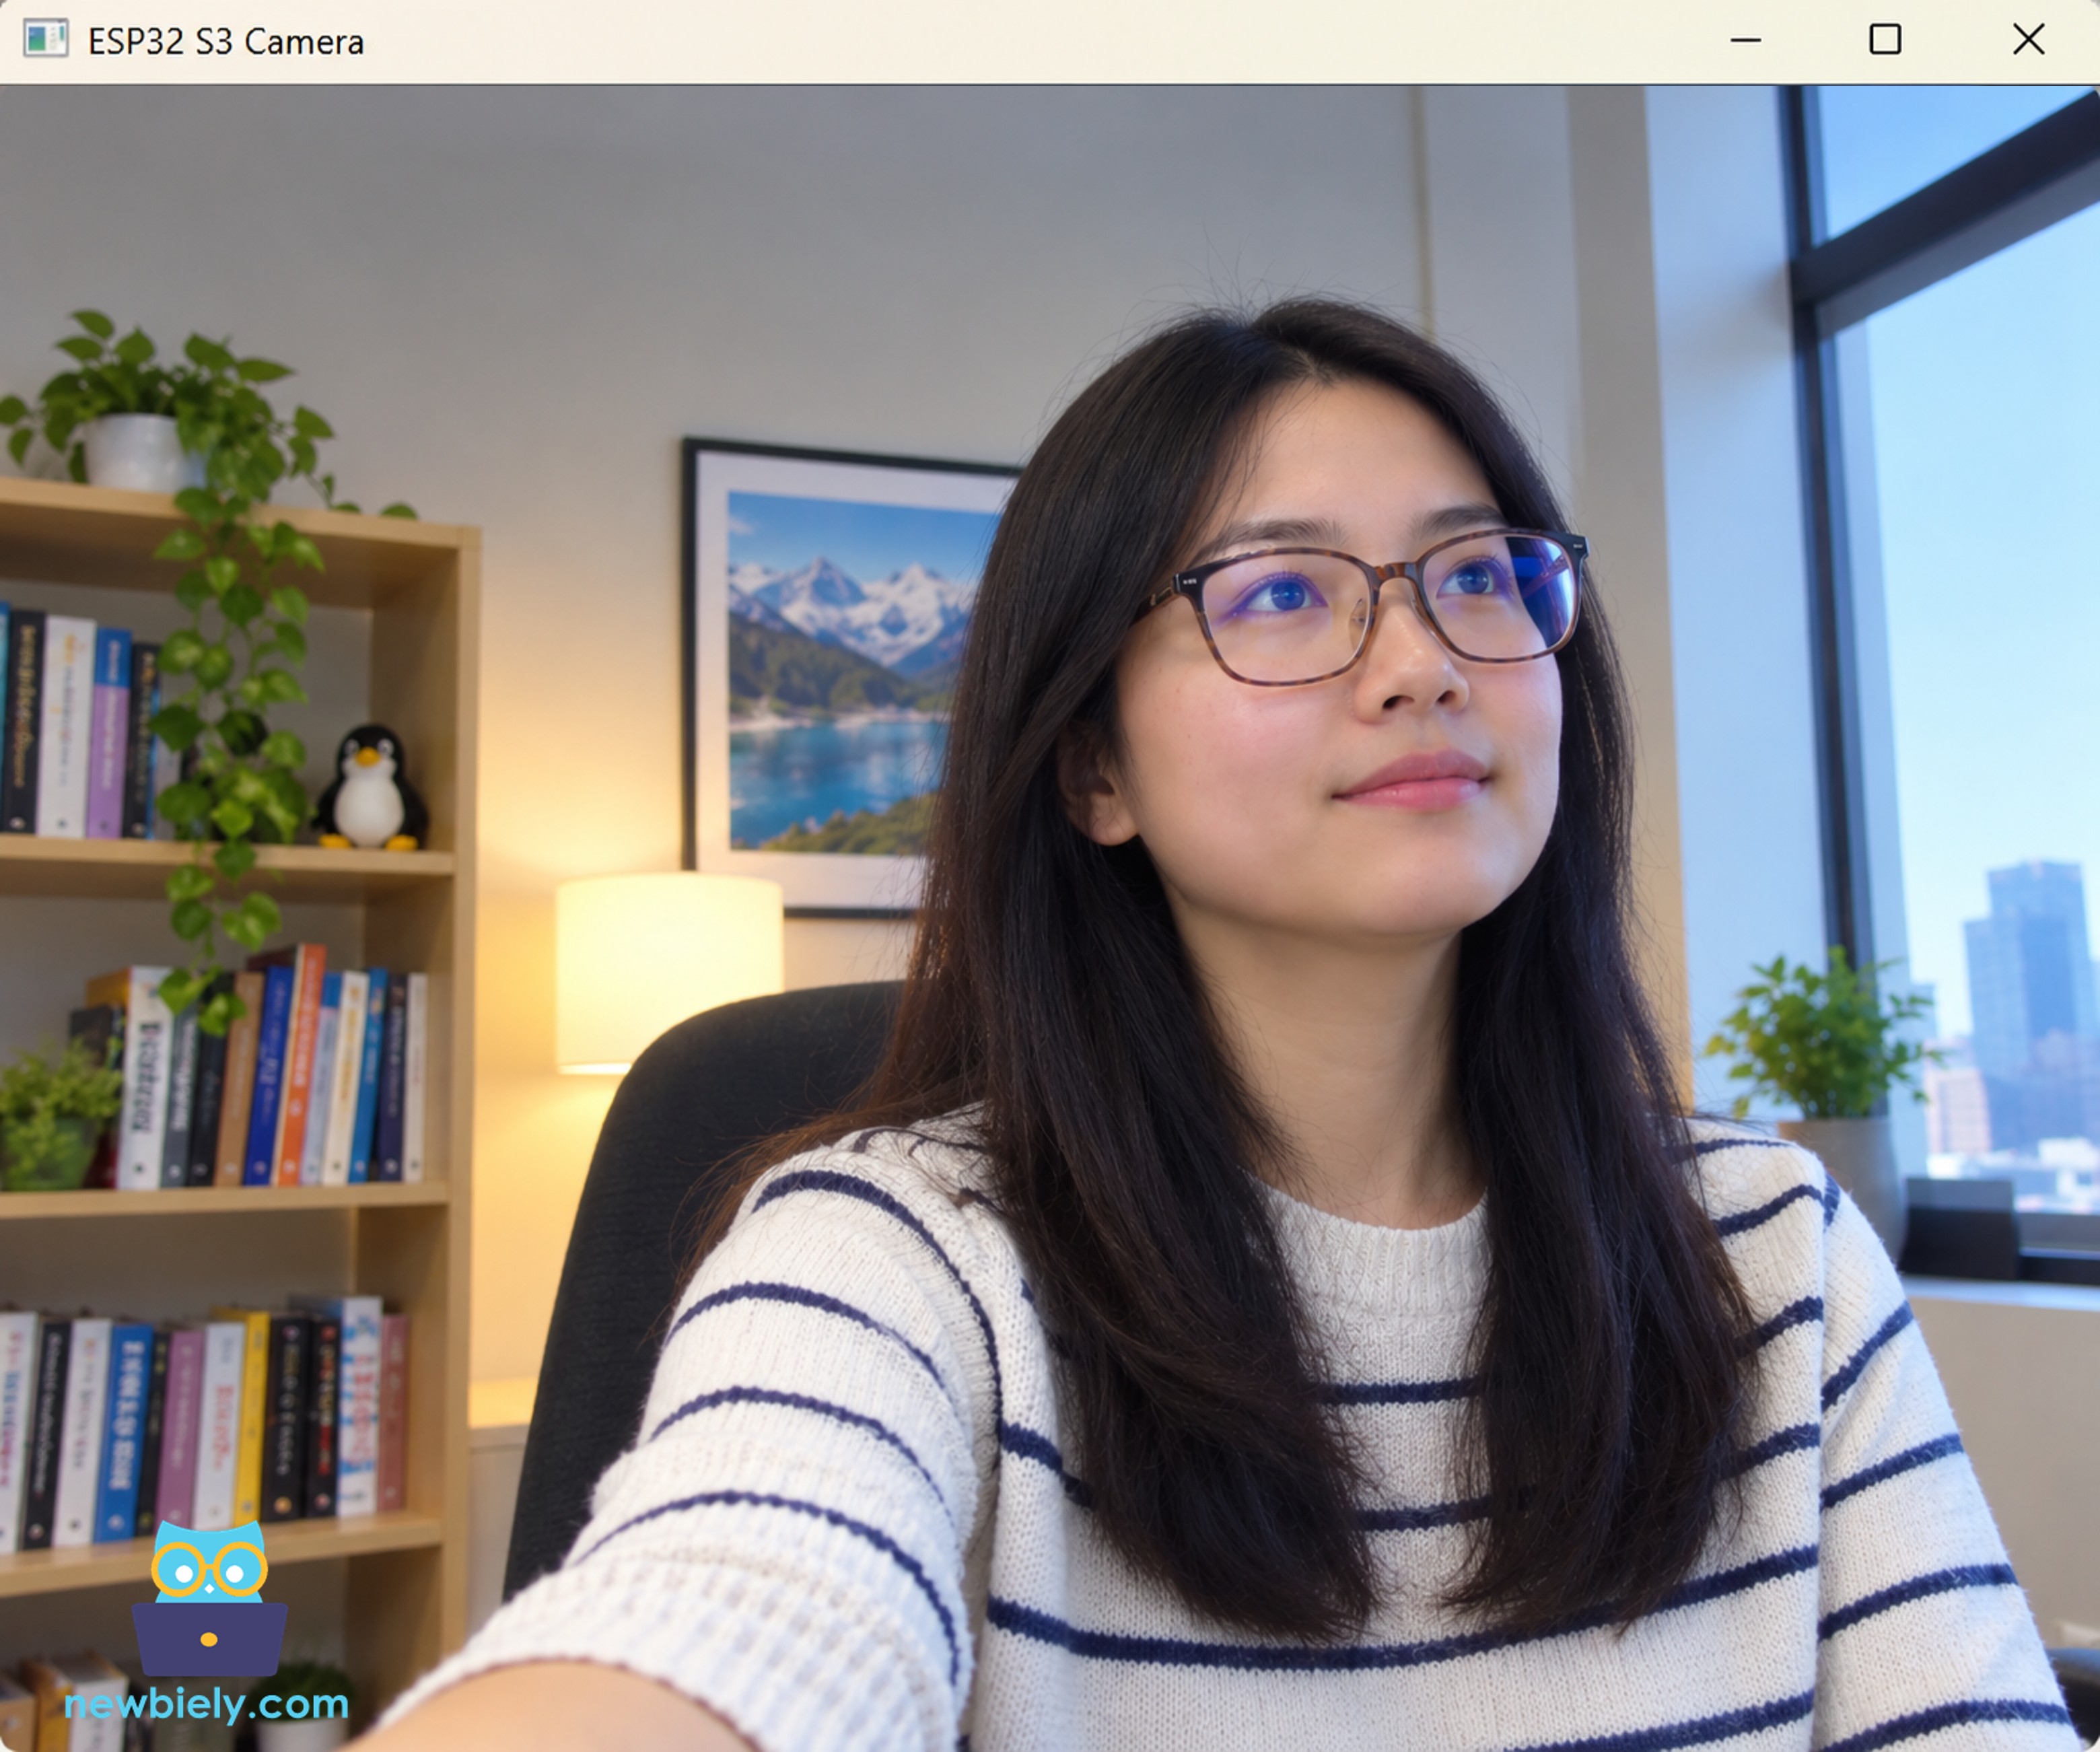
The Important Line
Everything interesting happens here:
frame is now the picture, as a table of numbers. This is the same kind of picture that every OpenCV example on the internet uses. So from this line on, you are no longer doing an ESP32 project. You are doing a normal computer vision project, and every tutorial, every example and every AI library works with it.
Python Code - Example 2: Find Faces
To show what "you can do anything now" means, here is the same program with face detection. It needs no extra download, because OpenCV brings a face finder with it.
Only three things were added:
Run it the same way:
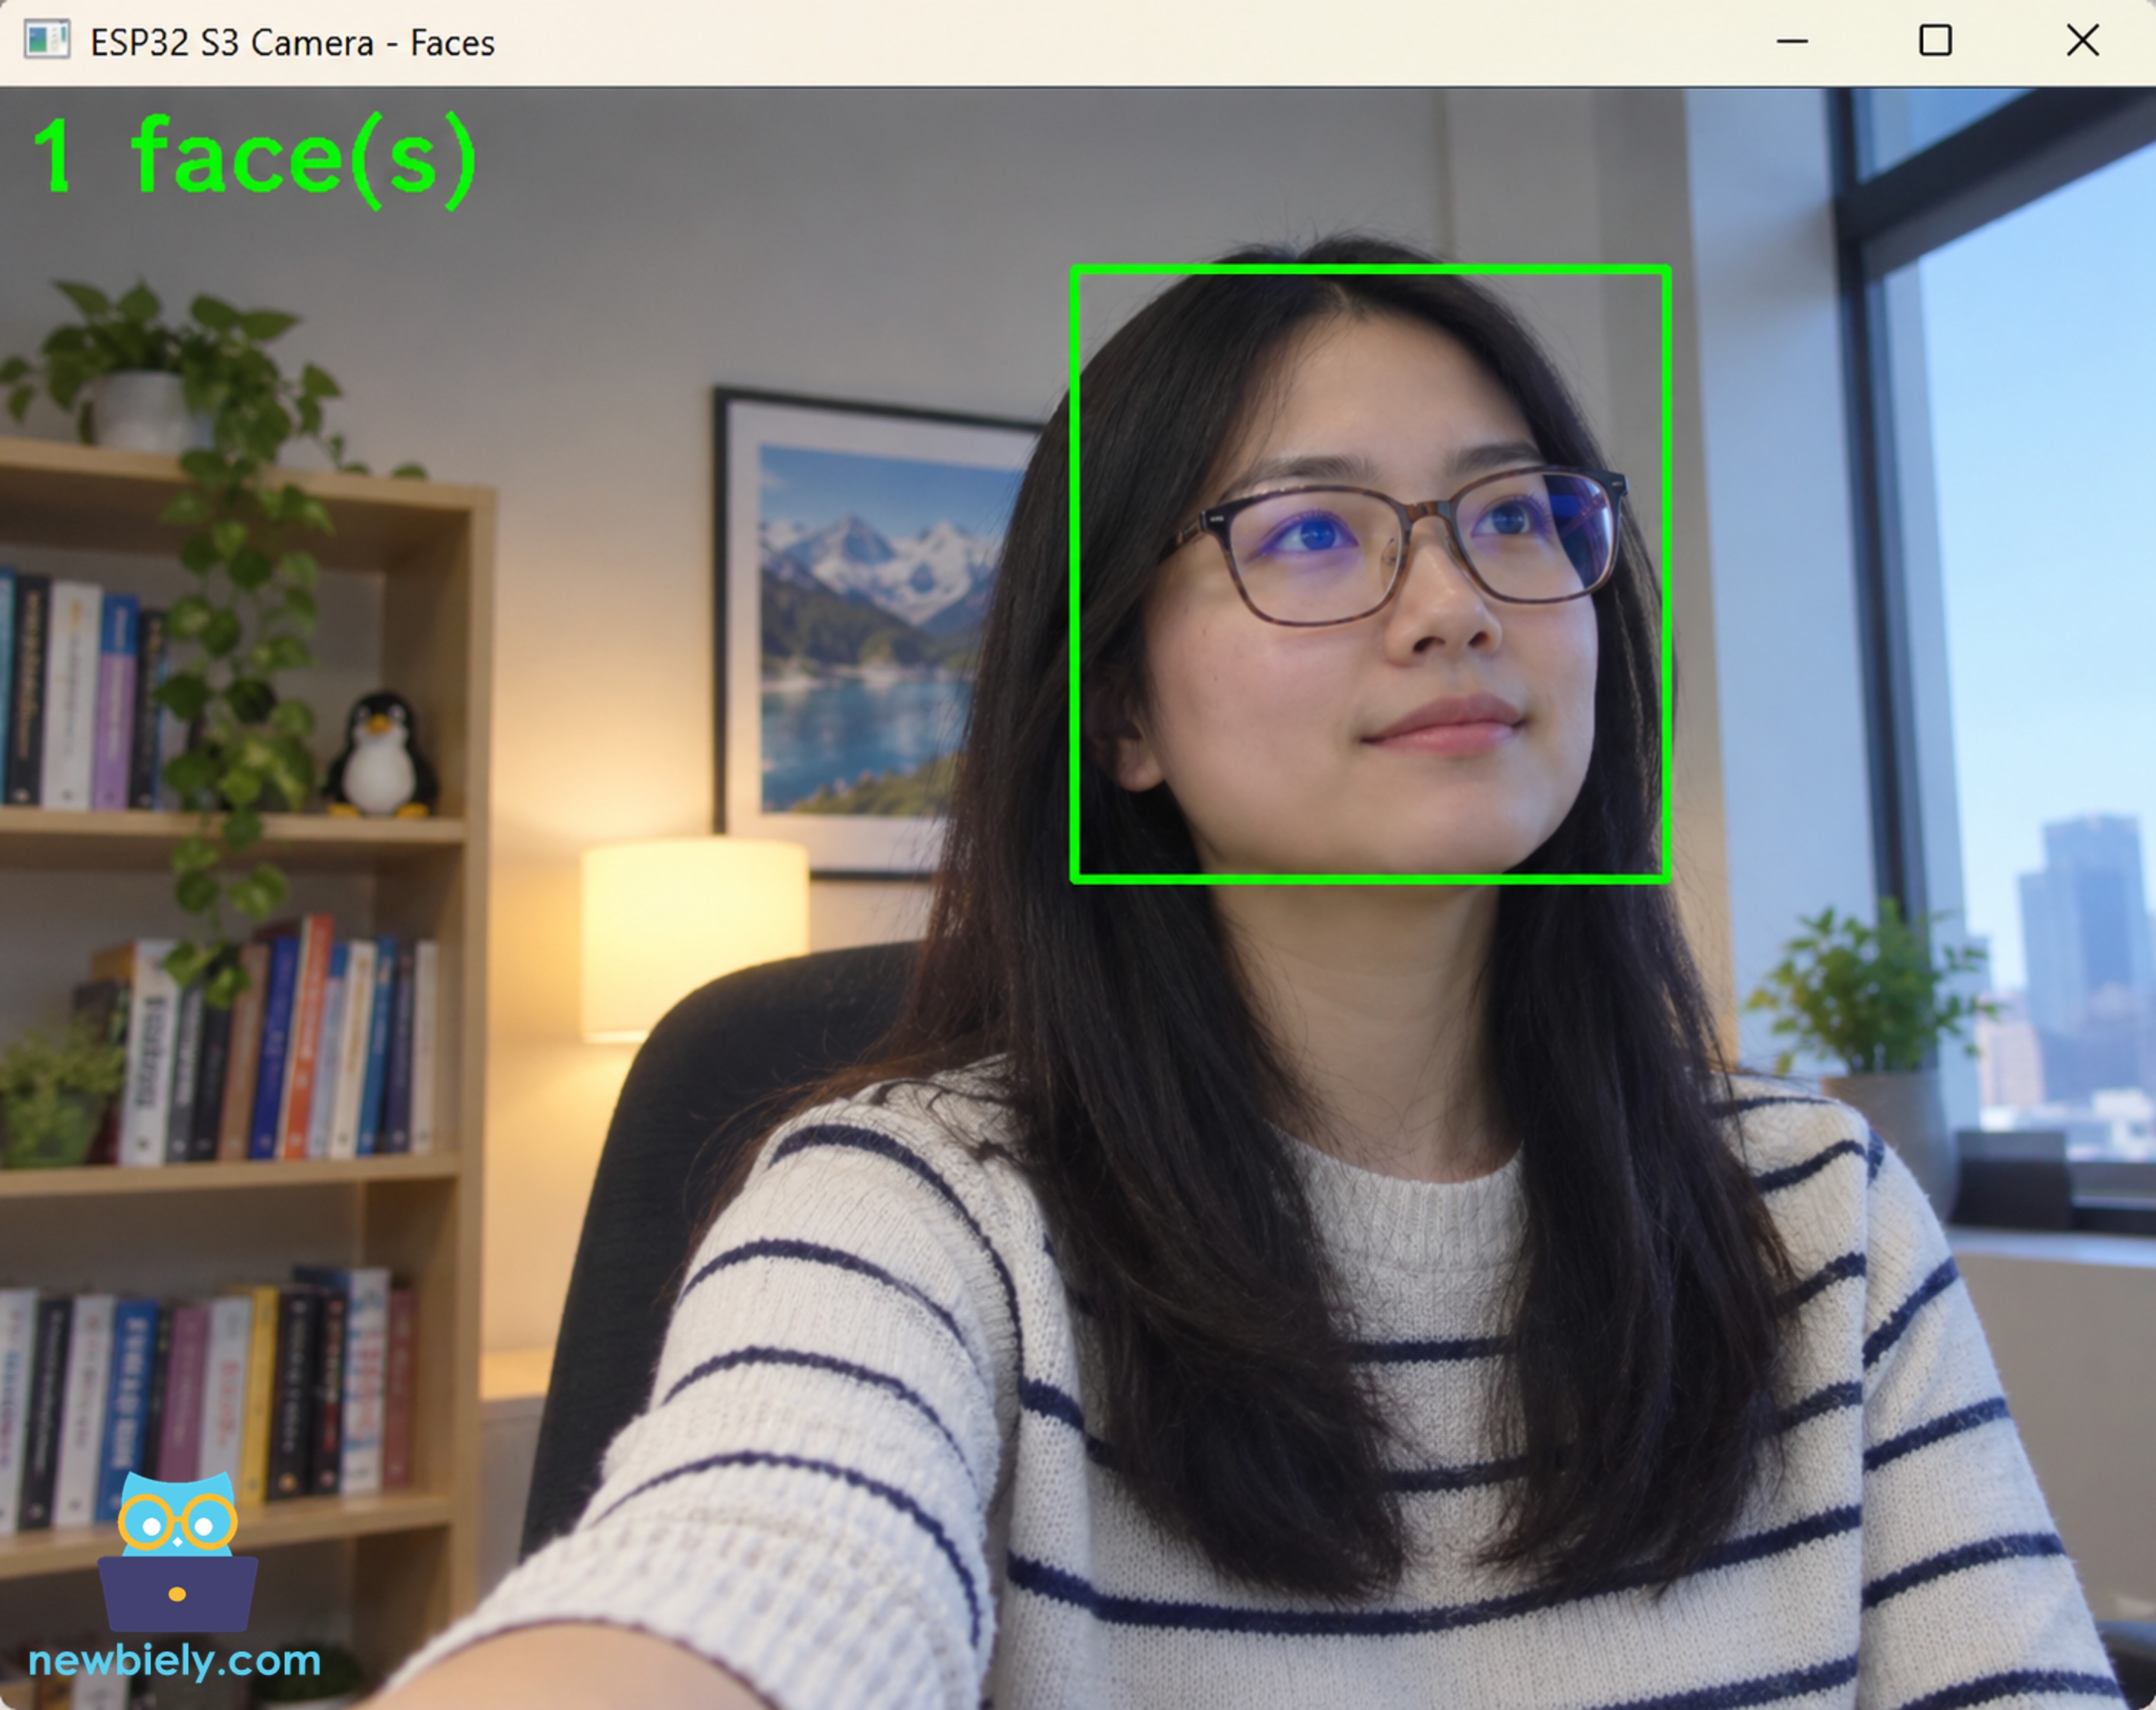
※ NOTE THAT:
This face finder is old and simple, but it is fast and it needs nothing extra. It only finds faces that look straight at the camera. For better results, see the list below.
What Else Can You Do in Python?
Once the picture is in frame, the ESP32 S3 part of your project is finished. Here is what people usually add next:
| What you want | What to use | How hard |
|---|---|---|
| Find faces | OpenCV, already installed | Easy |
| Find people, cars, animals, 80 other things | YOLO (pip install ultralytics) | Easy |
| Recognise who a person is | face_recognition library | Medium |
| Read text and numbers in the picture | Tesseract OCR (pip install pytesseract) | Medium |
| Read a QR code or a bar code | OpenCV, already installed | Easy |
| Follow hands, bodies and faces | MediaPipe (pip install mediapipe) | Easy |
| Ask an AI what it sees | An AI service with an image API | Medium |
| Record the video to a file | OpenCV VideoWriter | Easy |
| Send an alert to Telegram or email | Python requests or smtplib | Easy |
For example, finding people with YOLO is about five lines:
※ NOTE THAT:
Your computer does the hard work, not the ESP32 S3. That is why this way is so strong: a small cheap board becomes the eye, and your computer becomes the brain. The board does not even know that somebody is looking for faces.
Troubleshooting
Python says Cannot open the camera.
- Open http://<IP>/ in your web browser first. No video there means the problem is the board, not Python.
- Your computer and the board must be on the same WiFi network.
- Check that the address in CAMERA_URL ends with /stream.
- Use http://, not https://.
The window opens but stays grey or black.
Wait a few seconds. The first picture can take a moment. If it stays black, the room may be too dark.
Python says ModuleNotFoundError: No module named 'cv2'.
OpenCV is not installed. Run pip install opencv-python again, and make sure you use the same Python that runs your file.
The video in Python is behind the video in the browser.
OpenCV keeps a few pictures in a queue. Make sure your loop has no time.sleep(), and keep your own work short. A smaller picture also helps: change FRAME_SIZE to FRAMESIZE_QVGA in the ESP32 S3 code.
The video is slow, only a few pictures per second.
- Change FRAME_SIZE to FRAMESIZE_QVGA (320 x 240) in the ESP32 S3 code.
- Change JPEG_QUALITY from 12 to 16, so the pictures are smaller.
- Move the board closer to the router.
The video stops after some minutes.
Only one program can read the video at a time. Close the browser tab that shows the video, then run Python again.
The Serial Monitor never shows A program opened the video stream.
Python is not reaching the board. This is a network problem, not a code problem. Check the address and the WiFi.
The Serial Monitor shows nothing after the boot messages.
If your USB cable is in the port named UART, set USB CDC On Boot to Disabled. If it is in the port named USB, set it to Enabled.
Applications
A cheap board as the eye, and a computer as the brain. Here are practical projects you can build with this code:
- Face detection door camera: Your computer sees a face and opens the door, or writes the time in a file.
- People counter for a shop: Count how many people walk past during the day.
- Car number plate reader: Read the plate with OCR and open a gate for known cars.
- Parcel detector: Let YOLO see when a parcel is left at your door, then send a message to your phone.
- Pet watcher: Know when your cat or your dog comes into the room, and record only those moments.
- Machine and 3D printer watcher: Stop a print when the picture shows that something went wrong.
- Quality check on a work bench: Look at every part that passes the camera and mark the bad ones.
- Bird feeder camera: Find out which birds come, with an animal recognition model.
- Hand gesture remote control: Wave your hand and let the computer switch a lamp on.
- Learning computer vision: A very cheap way to get a real live camera into your Python lessons.
Video Tutorial
Watch the step-by-step video walkthrough for this ESP32 S3 project below.
Challenges
- Beginner: Make the picture black and white in Python with cv2.cvtColor(frame, cv2.COLOR_BGR2GRAY) before you show it.
- Intermediate: Save a picture by itself every time a face is found, with the time in the file name.
- Advanced: Send a command back to the ESP32 S3 when Python sees something. Add an address like /led_on to the board, and call it from Python with requests.get(). See the ESP32 S3 - Telegram Bot tutorial for how to add your own addresses.
Advanced Knowledge - Why HTTP is Good Enough Here
Many people look at this project and ask a fair question: Python uses HTTP. Does it not ask the board for a new picture again and again? That must be slow.
The answer is no, and it is worth understanding why.
There is Only One Request
Python asks one time, and the connection then stays open for ever. The board keeps writing new pictures into that same open connection until you stop the program.
This works because of one special answer from the board:
multipart/x-mixed-replace tells the other side: *"more pictures are coming on this same connection, and each new one replaces the one before"*. So the board simply writes picture after picture:
You can see this yourself in the Serial Monitor. The line A program opened the video stream appears one time when Python starts, not ten times per second. If HTTP really asked again for every picture, that line would run down your screen.
How Much is Wasted?
Between two pictures the board sends only a separator and two short lines:
One picture at 640 × 480 is about 30000 bytes. So the extra text is about 0.2% of what is sent. Two bytes in every thousand. There is nothing to win by removing it.
※ NOTE THAT:
A different way of sending, with no HTTP at all, would save those 70 bytes per picture. On a 10 pictures per second stream that is 700 bytes per second, out of about 300000. You would never see the difference.
What Really Costs Something
The waste is not in HTTP. It is in two other places:
| Real cost | Why | Can you fix it? |
|---|---|---|
| Every picture is a full JPEG | The ESP32 S3 has no video encoder, so it cannot send only "what changed" like a film does | No. This is the hardware. |
| Your computer keeps old pictures in a queue | OpenCV holds a few pictures, so what you see can be a moment behind | Yes, see below |
| Only one program can watch | The small web server answers one program at a time | Yes, with a bigger server |
The second one is the only problem people really notice. The fix is on the Python side, not on the board: read the pictures in the background and always take the newest one.
※ NOTE THAT:
Your own code then reads camera.frame whenever it is ready. Old pictures are thrown away instead of waiting in a queue, so the video feels live again. This helps a lot when your program does slow work, for example object detection.
Why HTTP is a Good Choice Here
Beside being fast enough, HTTP gives you things that a private way of sending never would:
| Good thing | Why it matters |
|---|---|
| Your web browser can open it | You can test the camera before you write one line of Python |
| VLC can open it | A free video player shows the stream with no code at all |
| OpenCV opens it with one line | cv2.VideoCapture(url) and you are done |
| Home Assistant and other programs know it | Your camera fits into a smart home with no extra work |
| It goes through your router | No port forwarding, no special settings |
| It is easy to look at when it breaks | Any problem is visible in a browser |
※ NOTE THAT:
This is the real reason to choose HTTP. Not speed, but that everything already speaks it. A faster way that only your own program understands is usually a bad trade.
When Should You Use Something Else?
There are real reasons to change, but they are not about the 70 bytes:
| Way of sending | Choose it when | Cost |
|---|---|---|
| MJPEG over HTTP (this tutorial) | Almost always | Nothing |
| Raw TCP, your own format | The PC is the brain and you want full control | You write both sides yourself |
| UDP | You need the lowest possible delay, and a broken picture is better than a late one | Pictures arrive broken or not at all |
| RTSP | You want to put the camera into a security system or an NVR | A library and more code |
| WebSocket | A web page must show the video and send commands back | More code on both sides |
※ NOTE THAT:
For a project where a computer looks at the pictures, MJPEG over HTTP is the right answer. Change it only when you have measured a real problem, not because HTTP sounds slow.