
ESP32 S3 - Getting Started
Welcome to ESP32 S3 development! This getting-started guide walks you through the complete setup process for your ESP32 S3, from installing the Arduino IDE to uploading and verifying your first sketch on the board.
What you'll build:
- A working Arduino IDE environment configured for ESP32 S3
- A USB connection between your computer and the ESP32 S3
- Your first uploaded program running on the ESP32 S3
- A verified, blinking LED that confirms your entire toolchain is working
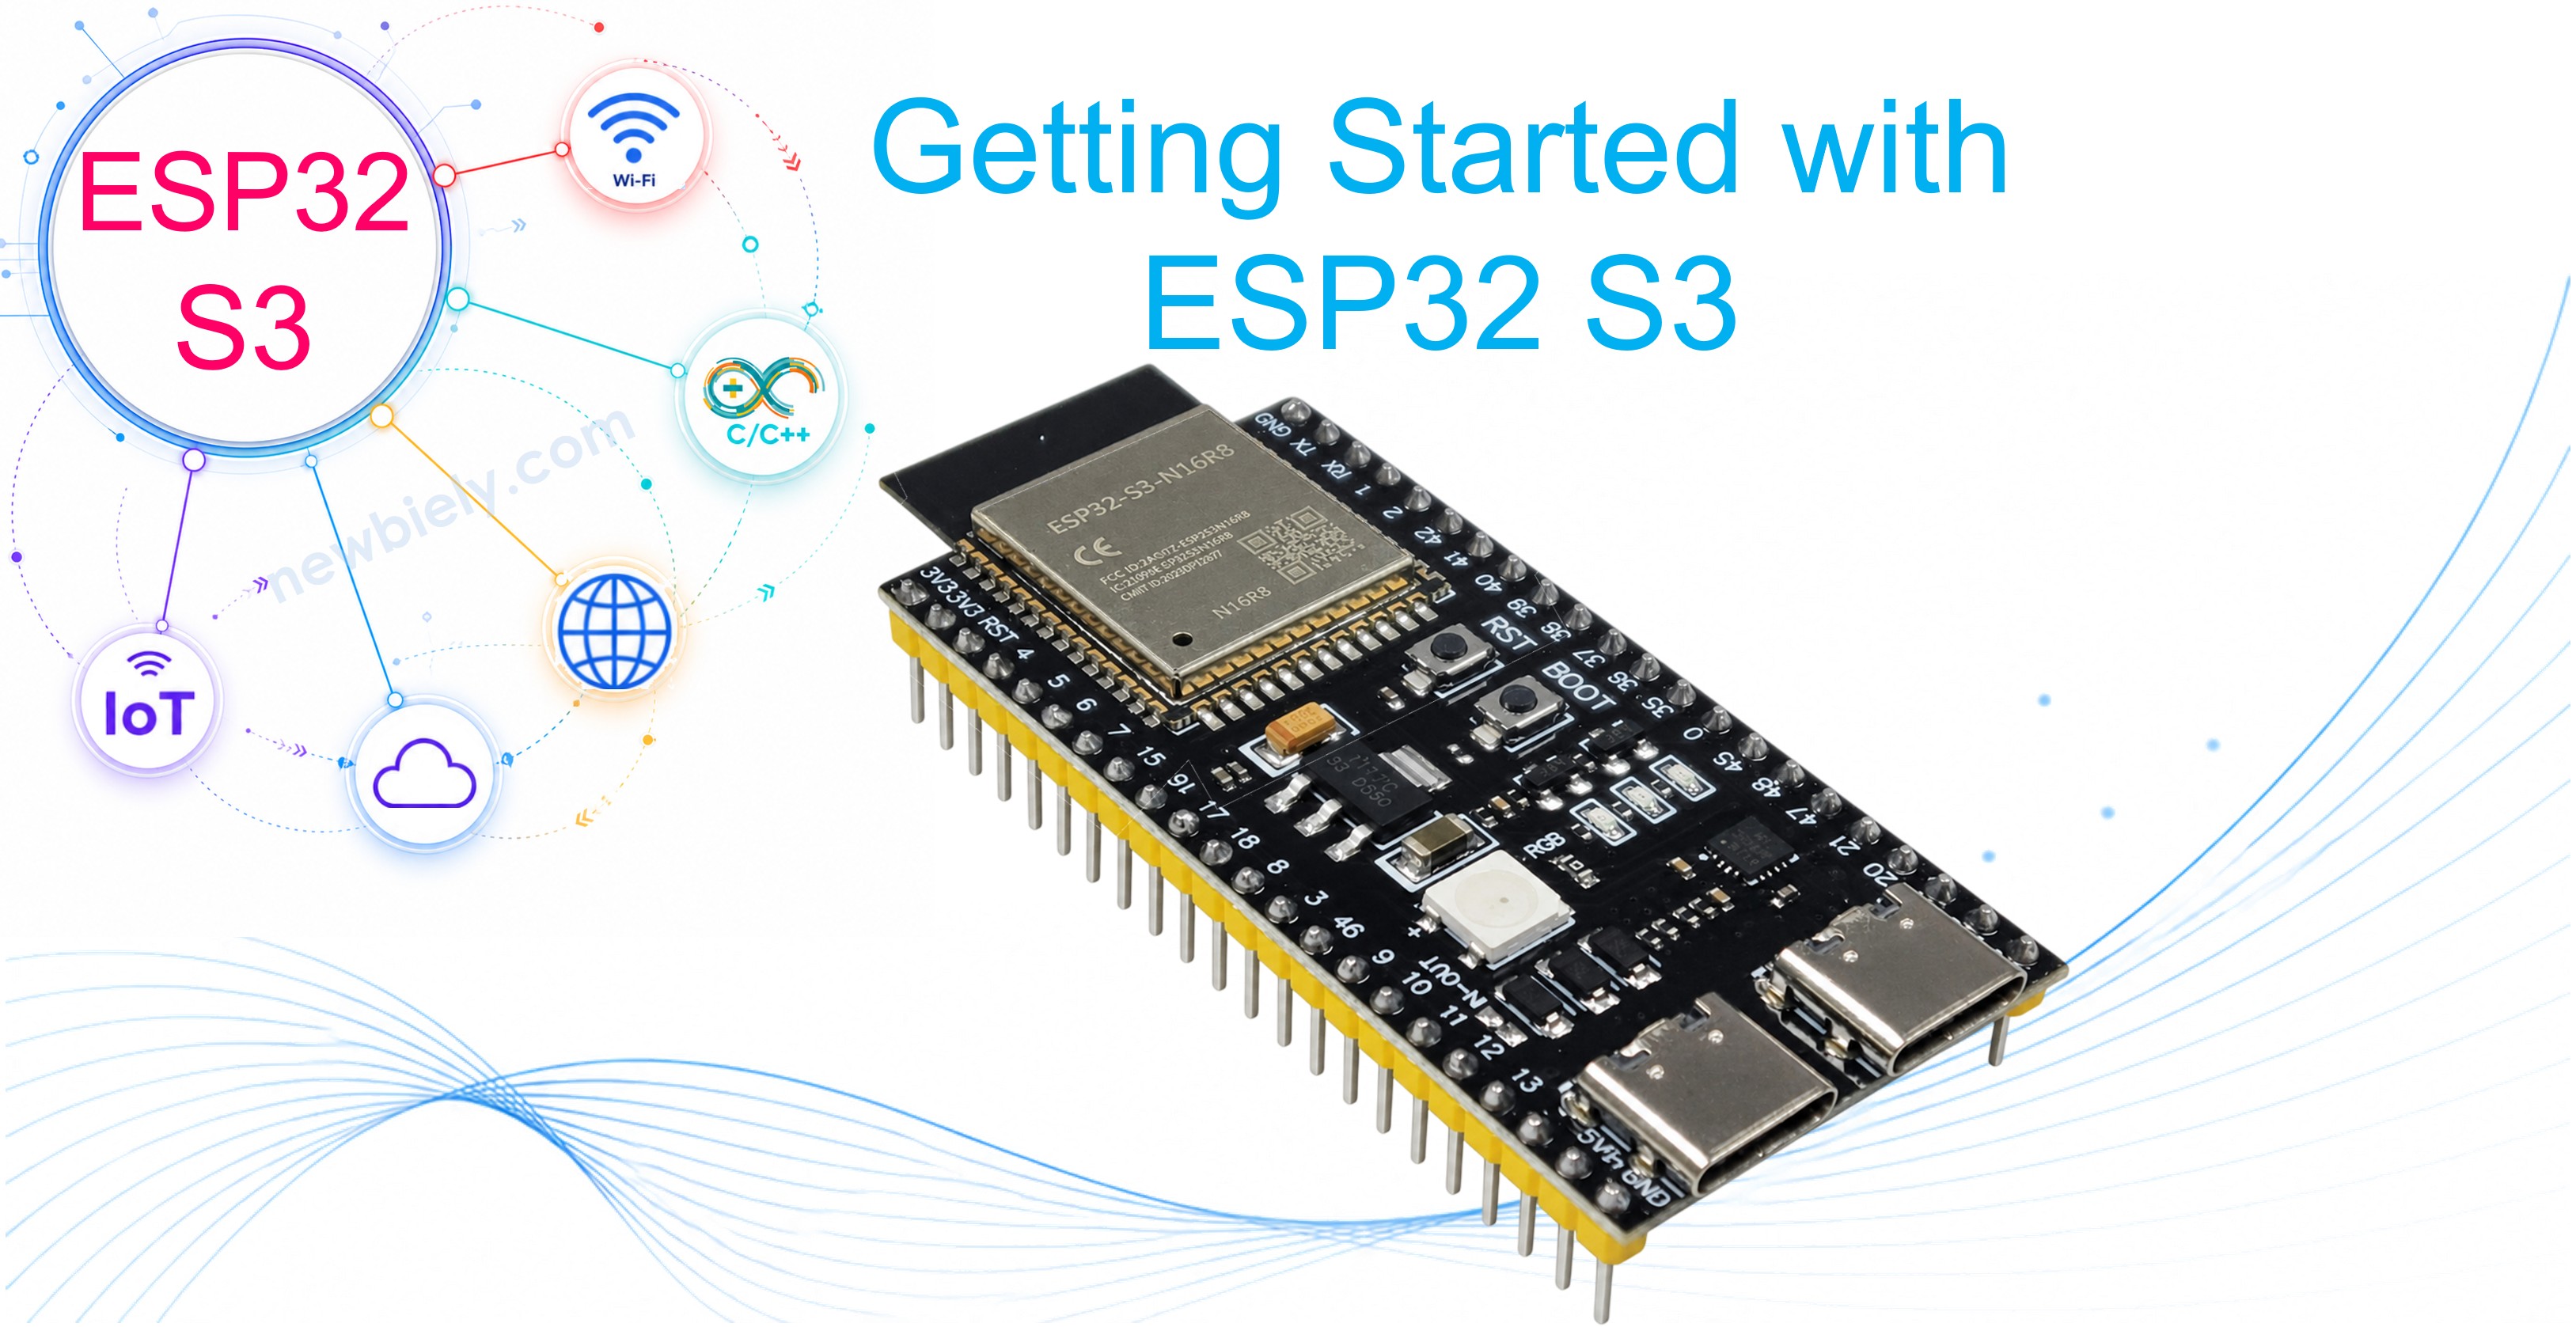
Hardware Preparation
Or you can buy the following kits:
| 1 | × | DIYables ESP32 S3 Starter Kit (ESP32 S3 included) | |
| 1 | × | DIYables Sensor Kit (18 sensors/displays) |
Additionally, some of these links are for products from our own brand, DIYables .
Overview of the ESP32 S3
The ESP32 S3 is a powerful, feature-rich microcontroller from Espressif that combines dual-core processing with built-in WiFi and Bluetooth, making it one of the most capable boards in the ESP32 family. Its expanded GPIO count, AI acceleration support, and USB OTG capability set it apart from earlier ESP32 variants, giving developers a versatile platform for both simple IoT projects and more demanding embedded applications.
Key Specifications
The ESP32 S3 is built around a dual-core Xtensa LX7 processor running at up to 240 MHz, paired with 512 KB of SRAM and support for up to 16 MB of external flash storage. It includes built-in WiFi 802.11 b/g/n and Bluetooth 5 (LE) connectivity. The board exposes up to 45 programmable GPIO pins, operates at 3.3 V logic level, and can be powered via USB-C or an external 3.3 V–5 V supply. Its native USB support allows it to act as a USB device without an external bridge chip, which simplifies both programming and HID applications.
ESP32 S3 Pinout
The ESP32 S3 exposes a large number of pins across both sides of the board, covering power, digital I/O, and multiple communication interfaces.
- 3V3: 3.3 V regulated output from the onboard regulator
- 5V: 5 V input sourced from the USB connection
- GND: Ground reference (multiple GND pins available)
- GPIO0–GPIO21, GPIO35–GPIO48: Digital input/output pins; most support PWM
- TX (GPIO43), RX (GPIO44): Hardware UART transmit and receive
- SCL (GPIO9), SDA (GPIO8): I2C clock and data lines
- MOSI (GPIO11), MISO (GPIO13), SCK (GPIO12): SPI communication pins
- ADC pins (GPIO1–GPIO10): Analog-to-digital input channels (3.3 V max)
Note: All GPIO pins operate at 3.3 V logic level. Never connect 5 V signals directly to any GPIO pin.
Understanding the ESP32 S3 Programming Process
Programming your ESP32 S3 is a three-stage process that Arduino IDE handles automatically with a single button click. First, you write a sketch using simplified C/C++. Arduino IDE then compiles that sketch into machine code targeted at the ESP32 S3 processor. Finally, the compiled binary is transferred over USB and begins executing on the board immediately after upload completes.
Step 1: Download and Install Arduino IDE
Arduino IDE is free, cross-platform software available for Windows, macOS, and Linux, and it is the recommended tool for programming your ESP32 S3.
- Visit the official Arduino website: https://www.arduino.cc/en/Main/Software
- Choose your operating system (Windows, Mac OS X, or Linux)
- Download the installer for your platform
Windows Installation:
- Run the downloaded .exe installer
- Accept the license agreement
- Select "Install Everything" (includes USB drivers needed for ESP32 S3)
- Click Install and wait for completion
- Launch Arduino IDE from the Start menu or desktop shortcut
Mac Installation:
- Open the downloaded .dmg file
- Drag the Arduino icon to the Applications folder
- On first launch, right-click Arduino > Open to bypass Gatekeeper
- MacOS recognizes the ESP32 S3 automatically via its native USB interface
Linux Installation:
- Extract the downloaded archive
- Run ./install.sh from a terminal
- Add your user to the dialout group for USB access:
- Log out and back in for the group change to apply
Verify Installation: Launch Arduino IDE — you should see a blank sketch containing setup() and loop() functions, ready for ESP32 S3 programming.
Step 2: Install ESP32 Board Support in Arduino IDE
Before you can target the ESP32 S3, Arduino IDE needs the Espressif board support package installed.
- Open Arduino IDE
- Go to File > Preferences (or Arduino > Preferences on Mac)
- Locate the "Additional Boards Manager URLs" field
- Paste the following URL:
- If other URLs already exist in the field, separate them with a comma
- Click OK to save
Install the ESP32 Board Package:
- Click the Board Manager icon in the left sidebar (chip icon)
- Type "esp32" in the search box
- Find "esp32 by Espressif Systems"
- Click Install (the download is approximately 250 MB and may take several minutes)
- Wait for the "INSTALLED" status label to appear
- Close Board Manager when complete
Verify Installation:
- Go to Tools > Board > esp32
- Look for "ESP32S3 Dev Module" in the list
- If visible, ESP32 S3 board support is installed successfully
Step 3: Connect ESP32 S3 to Computer
Connecting the ESP32 S3 to your computer is straightforward thanks to its built-in USB support, but using the right cable matters.
- Obtain a USB-C data cable (charge-only cables will not work for programming)
- Plug the USB-C end into the ESP32 S3
- Plug the USB-A end into a direct port on your computer (avoid USB hubs)
- The power LED on the ESP32 S3 should light up immediately upon connection
- Windows shows a "USB device connected" notification; Mac and Linux recognize the device automatically
※ NOTE THAT:
ESP32 S3 Not Detected or Keeps Disconnecting?
On a brand-new ESP32 S3 with no program installed, the board may not enumerate properly over USB.
Solution:
- Press and hold the BOOT button.
- Press and release the RST button.
- Release the BOOT button.
- Upload your program.
This manual boot sequence is typically only needed the first time you use the board.
If the power LED does not light up, try a different USB cable or a different port on your computer. Cheap or damaged cables are the most common cause of connection problems with the ESP32 S3.
Step 4: Select Board and Port in Arduino IDE
Once the ESP32 S3 is connected, you need to tell Arduino IDE which board and port to use.
Select the Board:
- Go to Tools > Board > esp32
- Scroll to find "ESP32S3 Dev Module"
- Click to select it
- Confirm the board name now appears in the Tools menu header
Select the Port:
- Go to Tools > Port
- Identify your ESP32 S3 port:
- Windows: COM3, COM4, or higher (may show "USB Serial Device")
- Mac: /dev/cu.usbmodem-XXXX (native USB) or /dev/cu.usbserial-XXXX
- Linux: /dev/ttyACM0 or /dev/ttyUSB0
Can't Find the Port?
- Note which ports are currently listed under Tools > Port
- Unplug the ESP32 S3
- Re-open Tools > Port — one entry will have disappeared
- Plug the ESP32 S3 back in
- The port that reappears is your board — click it to select
Step 5: Upload Test Program to ESP32 S3
The following sketch blinks the built-in LED on the ESP32 S3, turning it on for one second and off for one second in a continuous loop. Uploading this sketch confirms that your IDE configuration, USB connection, and board selection are all working correctly for ESP32 S3 development.
Upload Steps:
- Copy the code above into Arduino IDE
- Click the Upload button (right-arrow icon in the toolbar)
- Watch the status messages at the bottom of the IDE
- "Connecting..." appears first, followed by a progress indicator
- The TX/RX LEDs on the ESP32 S3 flash during data transfer
- "Done uploading" confirms the sketch is running on your board
Troubleshooting Upload Issues:
- If upload fails with "Failed to connect", hold the BOOT button on the ESP32 S3
- Keep holding BOOT, click Upload, then release BOOT when "Connecting..." appears
- Try a slower upload speed: Tools > Upload Speed > 115200
- Some ESP32 S3 boards require the manual BOOT press on every upload until a valid sketch is resident
Success! The built-in LED on your ESP32 S3 blinks on and off every second, confirming that your board is programmed and fully operational.
Quick Steps Summary
- New to ESP32 S3? Complete our Getting Started with ESP32 S3 guide first.
- Download Arduino IDE: Get the free software from arduino.cc
- Install Arduino IDE: Run the installer for your operating system
- Add ESP32 Board Support: Paste the Espressif URL in Preferences
- Install ESP32 Package: Use Board Manager to install "esp32 by Espressif Systems"
- Connect ESP32 S3: Use a USB-C data cable connected directly to your computer
- Select Board: Choose "ESP32S3 Dev Module" in Tools > Board
- Select Port: Choose your ESP32 S3 port in Tools > Port
- Upload Test Code: Copy the blink sketch and click Upload
- Verify Success: The built-in LED blinks on and off every second
- Pro Tip: Bookmark the Espressif Arduino documentation at docs.espressif.com — it is an invaluable reference for ESP32 S3 peripherals, pin functions, and library APIs.
Next Steps with ESP32 S3
Now that your ESP32 S3 is up and running, a wide range of beginner and intermediate projects become accessible.
Basic ESP32 S3 Projects:
- ESP32 S3 - Hello World: Print messages to the Serial Monitor
- ESP32 S3 - LED: Control an external LED with the ESP32 S3
- ESP32 S3 - Button: Read button input on the ESP32 S3
- ESP32 S3 - Buzzer: Generate sounds with the ESP32 S3
WiFi Projects:
- ESP32 S3 - WiFi: Connect the ESP32 S3 to a wireless network
- ESP32 S3 - Web Server: Serve a webpage from the ESP32 S3
Sensor Projects:
- ESP32 S3 - DHT11: Read temperature and humidity with the ESP32 S3
- ESP32 S3 - Ultrasonic Sensor: Measure distance with the ESP32 S3
Video Tutorial
Watch the step-by-step video walkthrough for this ESP32 S3 project below.
Troubleshooting Common Issues
Problem: ESP32 Board Not in Board Manager
Symptoms: Can't find ESP32 in Board Manager after adding the URL.
Solutions:
- Verify the Board Manager URL was pasted exactly as shown in Preferences
- Check your internet connection (the package files download from GitHub)
- Close and reopen Board Manager
- Restart Arduino IDE completely
- Try typing the URL manually instead of copy-pasting
- Check that your firewall is not blocking Arduino IDE
Problem: No Port Shows for ESP32 S3
Symptoms: Tools > Port is grayed out or empty when the ESP32 S3 is connected.
Solutions:
- Try a different USB cable (must be a data cable, not a charge-only cable)
- Use a different USB port on your computer (avoid hubs)
- Windows: Check Device Manager for unrecognized USB devices
- Mac: Check System Information > USB for the device
- Linux: Run ls /dev/tty* to list available serial devices
- Some ESP32 S3 boards expose a native USB port and a UART port — try the other connector
Problem: Upload Failed - Timed Out Waiting for Packet Header
Symptoms: Upload fails with a connection timeout error.
Solutions:
- Hold the BOOT button on the ESP32 S3 while clicking Upload
- Release BOOT when "Connecting..." appears in the IDE status bar
- Try a slower upload speed: Tools > Upload Speed > 115200
- Press the RESET button, then immediately click Upload
- Check USB cable quality — thin or damaged cables frequently cause timeouts with ESP32 S3
Problem: Brownout Detector Triggered
Symptoms: ESP32 S3 resets unexpectedly; Serial Monitor shows brownout messages.
Solutions:
- Use a powered USB hub or an external 5 V supply
- The USB port may not supply sufficient current for the ESP32 S3 under load
- Disconnect power-hungry peripherals such as displays or motors
- Try a thicker USB cable (lower resistance = less voltage drop)
- Add a 100 µF capacitor between 5V and GND on the breadboard
Problem: Port Access Denied (Linux)
Symptoms: Upload fails with permission denied errors.
Solutions:
- Add your user to the dialout group:
- Log out and back in for the change to take effect, or reboot
- Verify membership with the groups command (dialout should be listed)
- Temporary fix: sudo chmod 666 /dev/ttyACM0
Problem: Code Uploads But Nothing Happens
Symptoms: Upload reports success but the ESP32 S3 does not run the program.
Solutions:
- Press the RESET button on the ESP32 S3 after the upload completes
- Confirm the built-in LED pin number matches your specific board variant
- Open the Serial Monitor to check whether the sketch is printing output
- Verify the correct board is selected ("ESP32S3 Dev Module")
- Try uploading the built-in blink example from File > Examples > Basics > Blink and adjust the LED pin as needed
Challenge Yourself
Now that your ESP32 S3 development environment is fully set up, try these hands-on challenges to deepen your understanding of the board and the Arduino workflow.
- Beginner: Modify the blink sketch to flash the LED three times rapidly, then pause for two seconds before repeating.
- Beginner: Connect an external LED with a current-limiting resistor to a different GPIO pin and update the sketch to blink that LED instead.
- Intermediate: Add Serial.println() calls to display "LED ON" and "LED OFF" in the Serial Monitor each time the LED state changes.
- Intermediate: Recreate the SOS Morse code pattern (... --- ...) using the built-in LED on the ESP32 S3.
- Advanced: Read a button press and use it to toggle between two different blink speeds without using delay() — implement the timing with millis() for non-blocking behavior.
- Advanced: Use the ESP32 S3's native USB capability to enumerate it as a USB HID keyboard and send a keystroke when a button is pressed.