
ESP32 S3 - Force Sensor
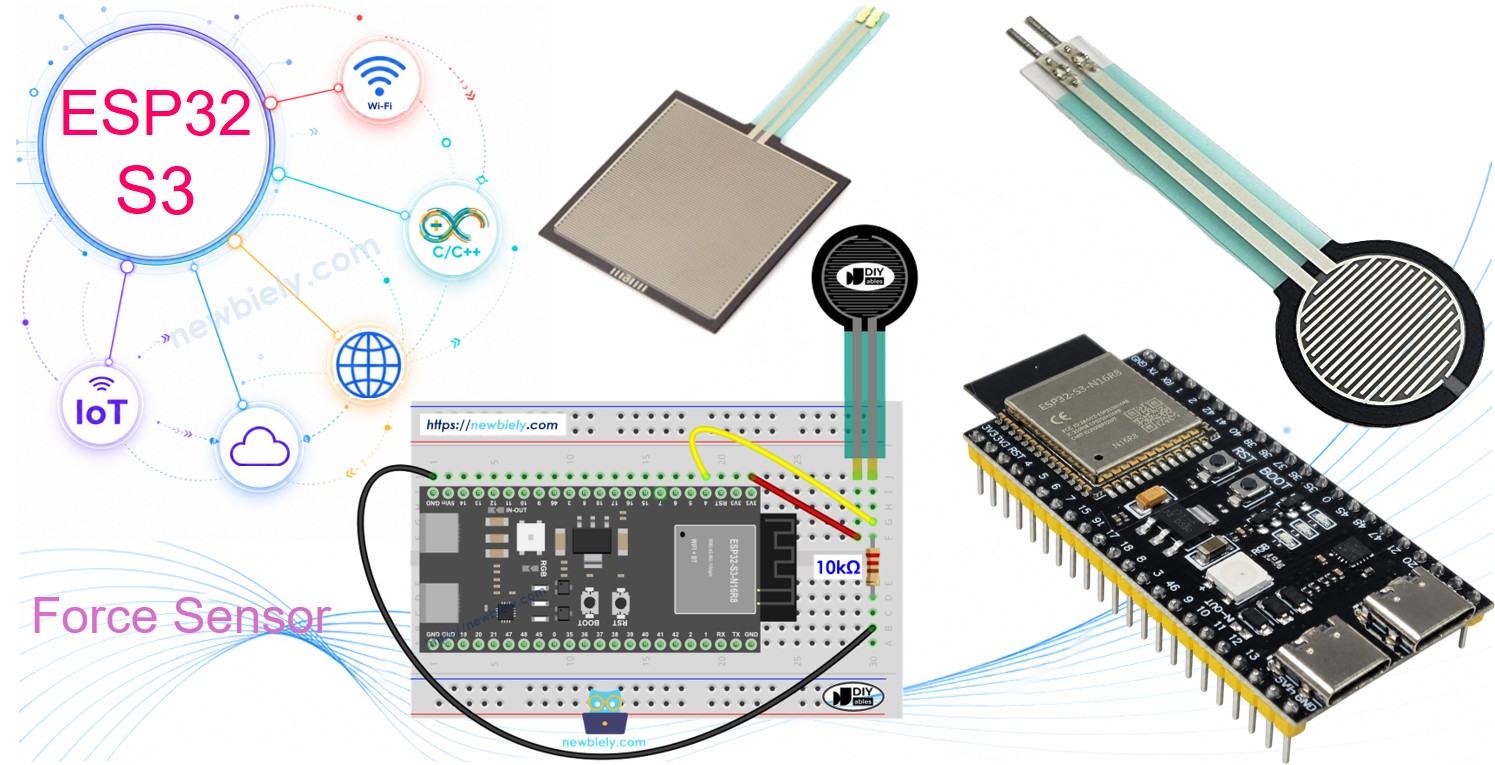
Learn how to interface a force sensor (FSR) with your ESP32 S3 to detect physical pressure and squeeze in your Arduino projects. This beginner-friendly guide walks you through wiring, coding, and reading analog values from a force sensitive resistor using the ESP32 S3 board.
What you'll build:
- A circuit that connects a force sensitive resistor to the ESP32 S3 analog input
- A sketch that reads raw ADC values from the force sensor in real time
- A Serial Monitor display showing pressure level descriptions alongside numeric readings
- A foundation you can extend into alarms, grip meters, or pressure-activated controls
Hardware Preparation
Or you can buy the following kits:
| 1 | × | DIYables ESP32 S3 Starter Kit (ESP32 S3 included) | |
| 1 | × | DIYables Sensor Kit (18 sensors/displays) |
Additionally, some of these links are for products from our own brand, DIYables .
Overview of Force Sensor
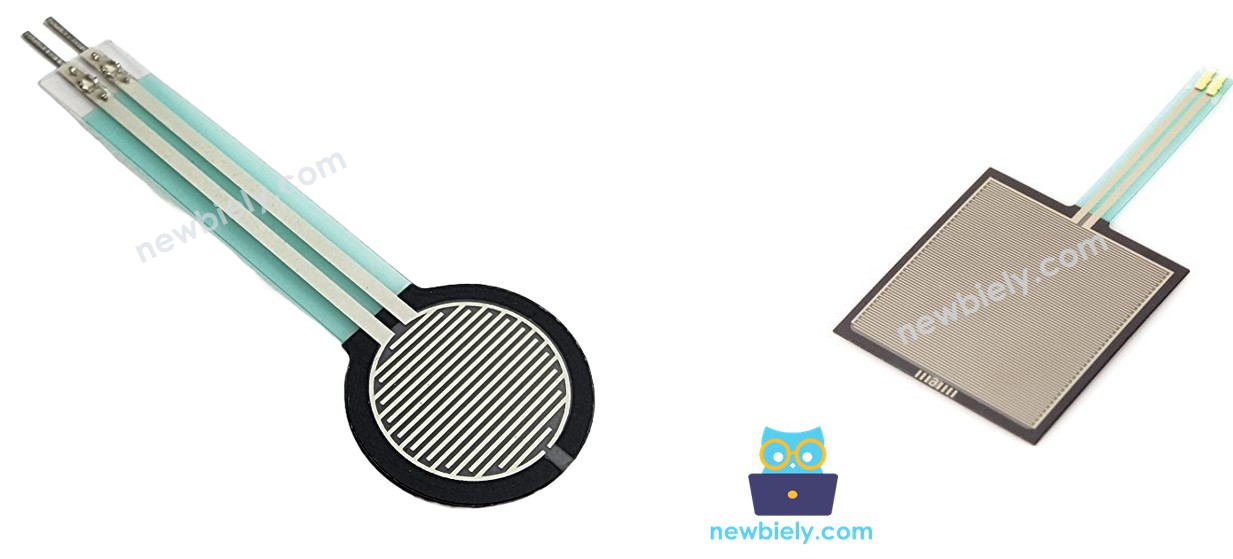
A force sensor (also called a force sensitive resistor or FSR) is a passive component whose resistance drops as pressure increases, making it ideal for detecting touch, squeeze, and push events in embedded projects. When paired with the ESP32 S3's 12-bit ADC, it delivers readings from 0 to 4095 that map directly to pressure intensity. Because it requires no external power supply and wires up like a simple resistor, it is one of the easiest analog sensors to add to any project.
Key Specifications
- Resistance behavior: Resistance decreases when pressure increases
- Function: Detects physical squeeze, touch, and pressure
- Output type: Analog signal (0–4095 on ESP32 S3)
- Best for: Touch detection, pressure-sensitive buttons, grip sensors
- Not ideal for: Precise weight measurement in pounds or kilograms
- Advantage: Simple to use, no external power needed, works with analog pins
- Beginner-friendly: Easy wiring with just two pins like a resistor
Force Sensor Pinout
The force sensor has two interchangeable pins that behave like a variable resistor — polarity does not matter for FSR sensors.
- Pin 1: Connect to analog input or the high side of a voltage divider circuit
- Pin 2: Connect to GND or the resistor in the voltage divider setup
Wiring Diagram between Force Sensor and ESP32 S3
Connect your force sensor to the ESP32 S3 using a voltage divider circuit so the board can read a proportional analog voltage rather than a raw resistance. The 10 kΩ resistor sits between the sensor's second pin and GND, creating a stable mid-point voltage that rises with applied pressure.
Safety Notes
Keep signal wires short and away from high-current paths to avoid ADC noise. The ESP32 S3 analog pins are 3.3 V tolerant — never connect the sensor directly to 5 V without a level shifter.
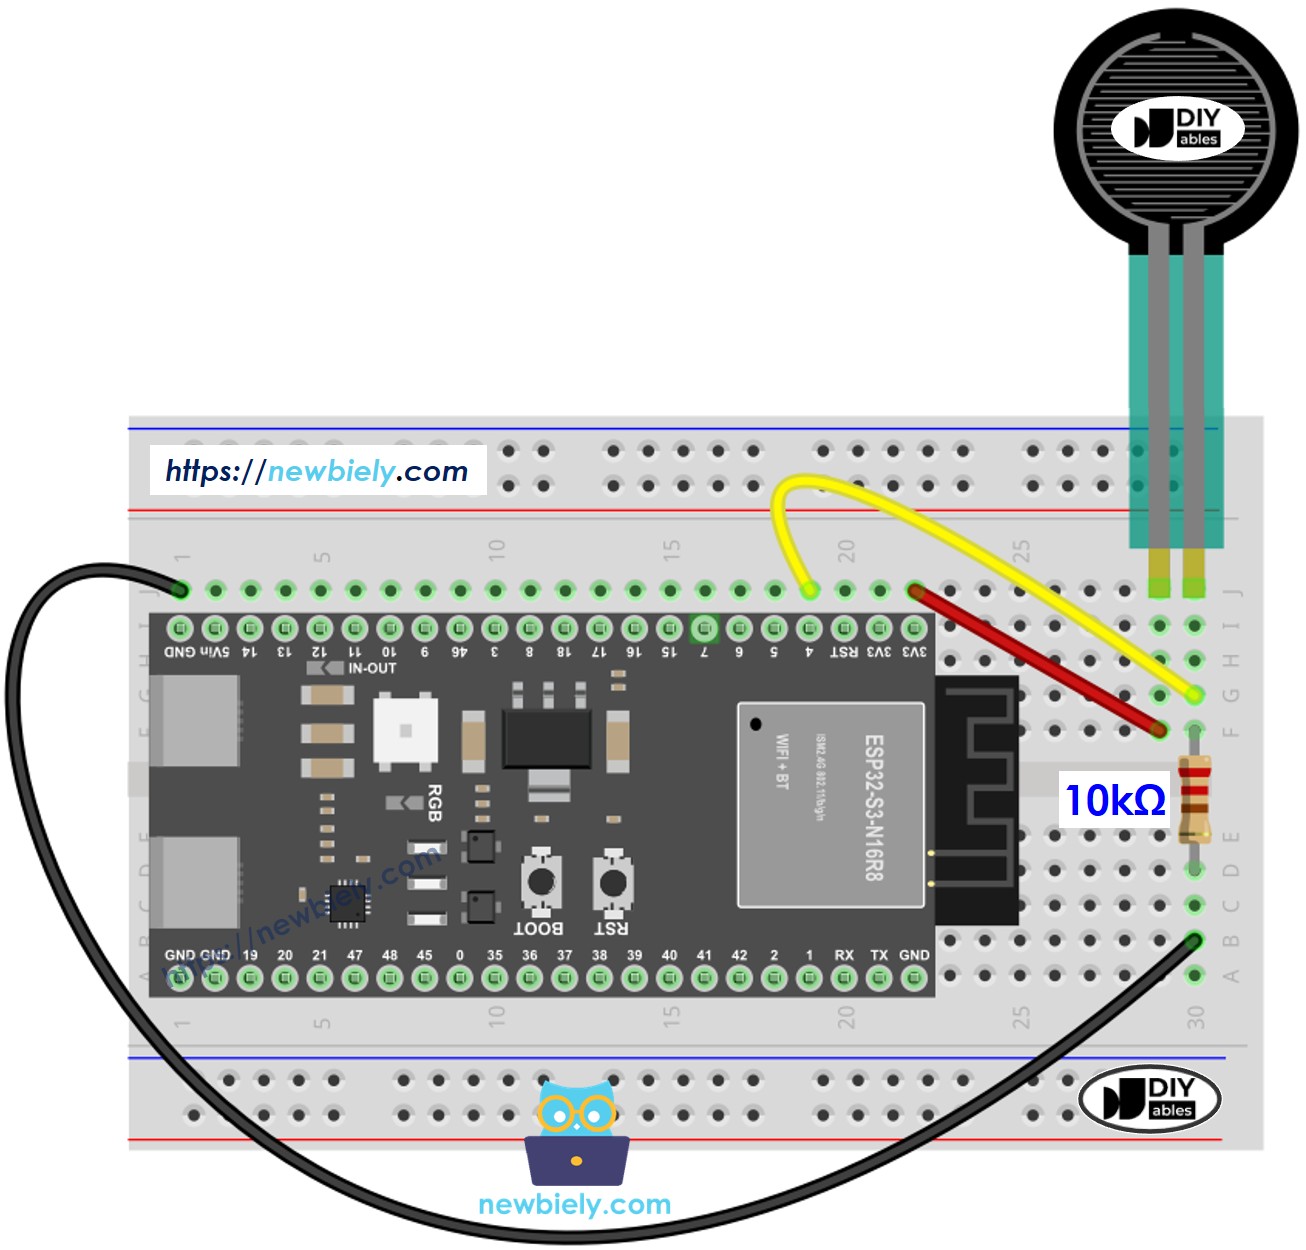
This image is created using Fritzing. Click to enlarge image
| Force Sensor Pin 1 | GPIO4 (Analog Input) |
|---|---|
| Force Sensor Pin 2 | GND (via 10kΩ resistor) |
| 10kΩ Resistor | Between Pin 2 and GND |
| Power for divider | 3.3V to Force Sensor Pin 1 |
How To Program Force Sensor
The ESP32 S3 reads force sensor values through its built-in 12-bit ADC, converting the voltage at the analog pin into a number between 0 and 4095. A voltage divider formed by the FSR and the 10 kΩ resistor ensures the pin voltage rises smoothly from near 0 V when there is no pressure to close to 3.3 V under maximum squeeze. The sketch uses analogRead() to capture these values and maps them to human-readable pressure descriptions that print to the Serial Monitor every 500 milliseconds.
ESP32 S3 Code
The following code reads analog values from the force sensor and displays pressure levels on the Serial Monitor.
The sketch samples the force sensor on GPIO4, compares the raw ADC value against a set of thresholds, and prints both the numeric reading and a matching pressure label so you can immediately understand what each value means. No libraries are required — only the built-in analogRead() and Serial functions from the Arduino core are used.
Detailed Instructions
- New to ESP32 S3? Complete our Getting Started with ESP32 S3 guide first.
- Install Arduino IDE: If this is the first time you use ESP32 S3, see how to setup environment for ESP32 S3 on Arduino IDE.
- Copy the code: Copy the above code and paste it into Arduino IDE.
- Connect your board: Plug the ESP32 S3 into your computer via USB Type-C cable.
- Upload the code: Compile and upload the code to the ESP32 S3 board by clicking the Upload button in Arduino IDE.
- Open Serial Monitor: Set the baud rate to 115200 to view readings.
- Test the sensor: Press the force sensor with varying pressure levels.
- Observe results: Check the Serial Monitor to see real-time analog values and pressure descriptions.
- Pro Tip: Experiment with different pressure levels to find the threshold values that work best for your specific application — every FSR has slightly different sensitivity characteristics.
Serial Monitor Output
※ NOTE THAT:
This tutorial uses the analogRead() function to read values from an ADC (Analog-to-Digital Converter) connected to a sensor or component. The ESP32 S3's ADC is suitable for projects that do not require high accuracy. However, for projects needing precise measurements, keep the following in mind:
- The ESP32 S3's ADC is not perfectly accurate and might require calibration for correct results. Each ESP32 S3 board can vary slightly, so calibration is necessary for each individual board.
- Calibration can be challenging, especially for beginners, and might not always yield the exact results you want.
For projects requiring high precision, consider using an external ADC (e.g ADS1115) with the ESP32 S3 or using another Arduino, such as the Arduino Uno R4 WiFi, which has a more reliable ADC. If you still want to calibrate the ESP32 S3's ADC, refer to the ESP32 ADC Calibration Driver.
Application Ideas
The ESP32 S3 and a force sensor open up a wide range of pressure-sensing projects across robotics, gaming, health monitoring, and smart home automation.
- Smart doorbell: Detect when someone presses against a door or panel
- Gaming controllers: Create pressure-sensitive buttons for custom game controllers
- Robot grip sensors: Measure how hard a robotic gripper holds objects
- Musical instruments: Build touch-sensitive pads for electronic drums or keyboards
- Presence detection: Detect when someone sits on a chair or lies on a bed
- Handshake strength meter: Measure grip strength for fitness or medical applications
- Touch lamp controls: Create dimming lights that respond to touch pressure
Video Section
Watch the step-by-step video walkthrough for this ESP32 S3 project below.
Challenge Yourself
Extend your ESP32 S3 force sensor project with these progressive challenges to deepen your understanding of analog sensing and embedded control.
- Beginner: Add an LED that lights up when pressure exceeds a threshold value
- Beginner: Display "Pressed" and "Released" messages instead of raw analog values
- Intermediate: Use multiple force sensors to detect pressure in different locations simultaneously
- Intermediate: Create a pressure-activated alarm system that triggers at specific force levels
- Advanced: Build a data logging system that records pressure patterns over time with timestamps
- Advanced: Combine force sensor with a servo motor to control movement based on pressure intensity