
ESP32 S3 - Switch
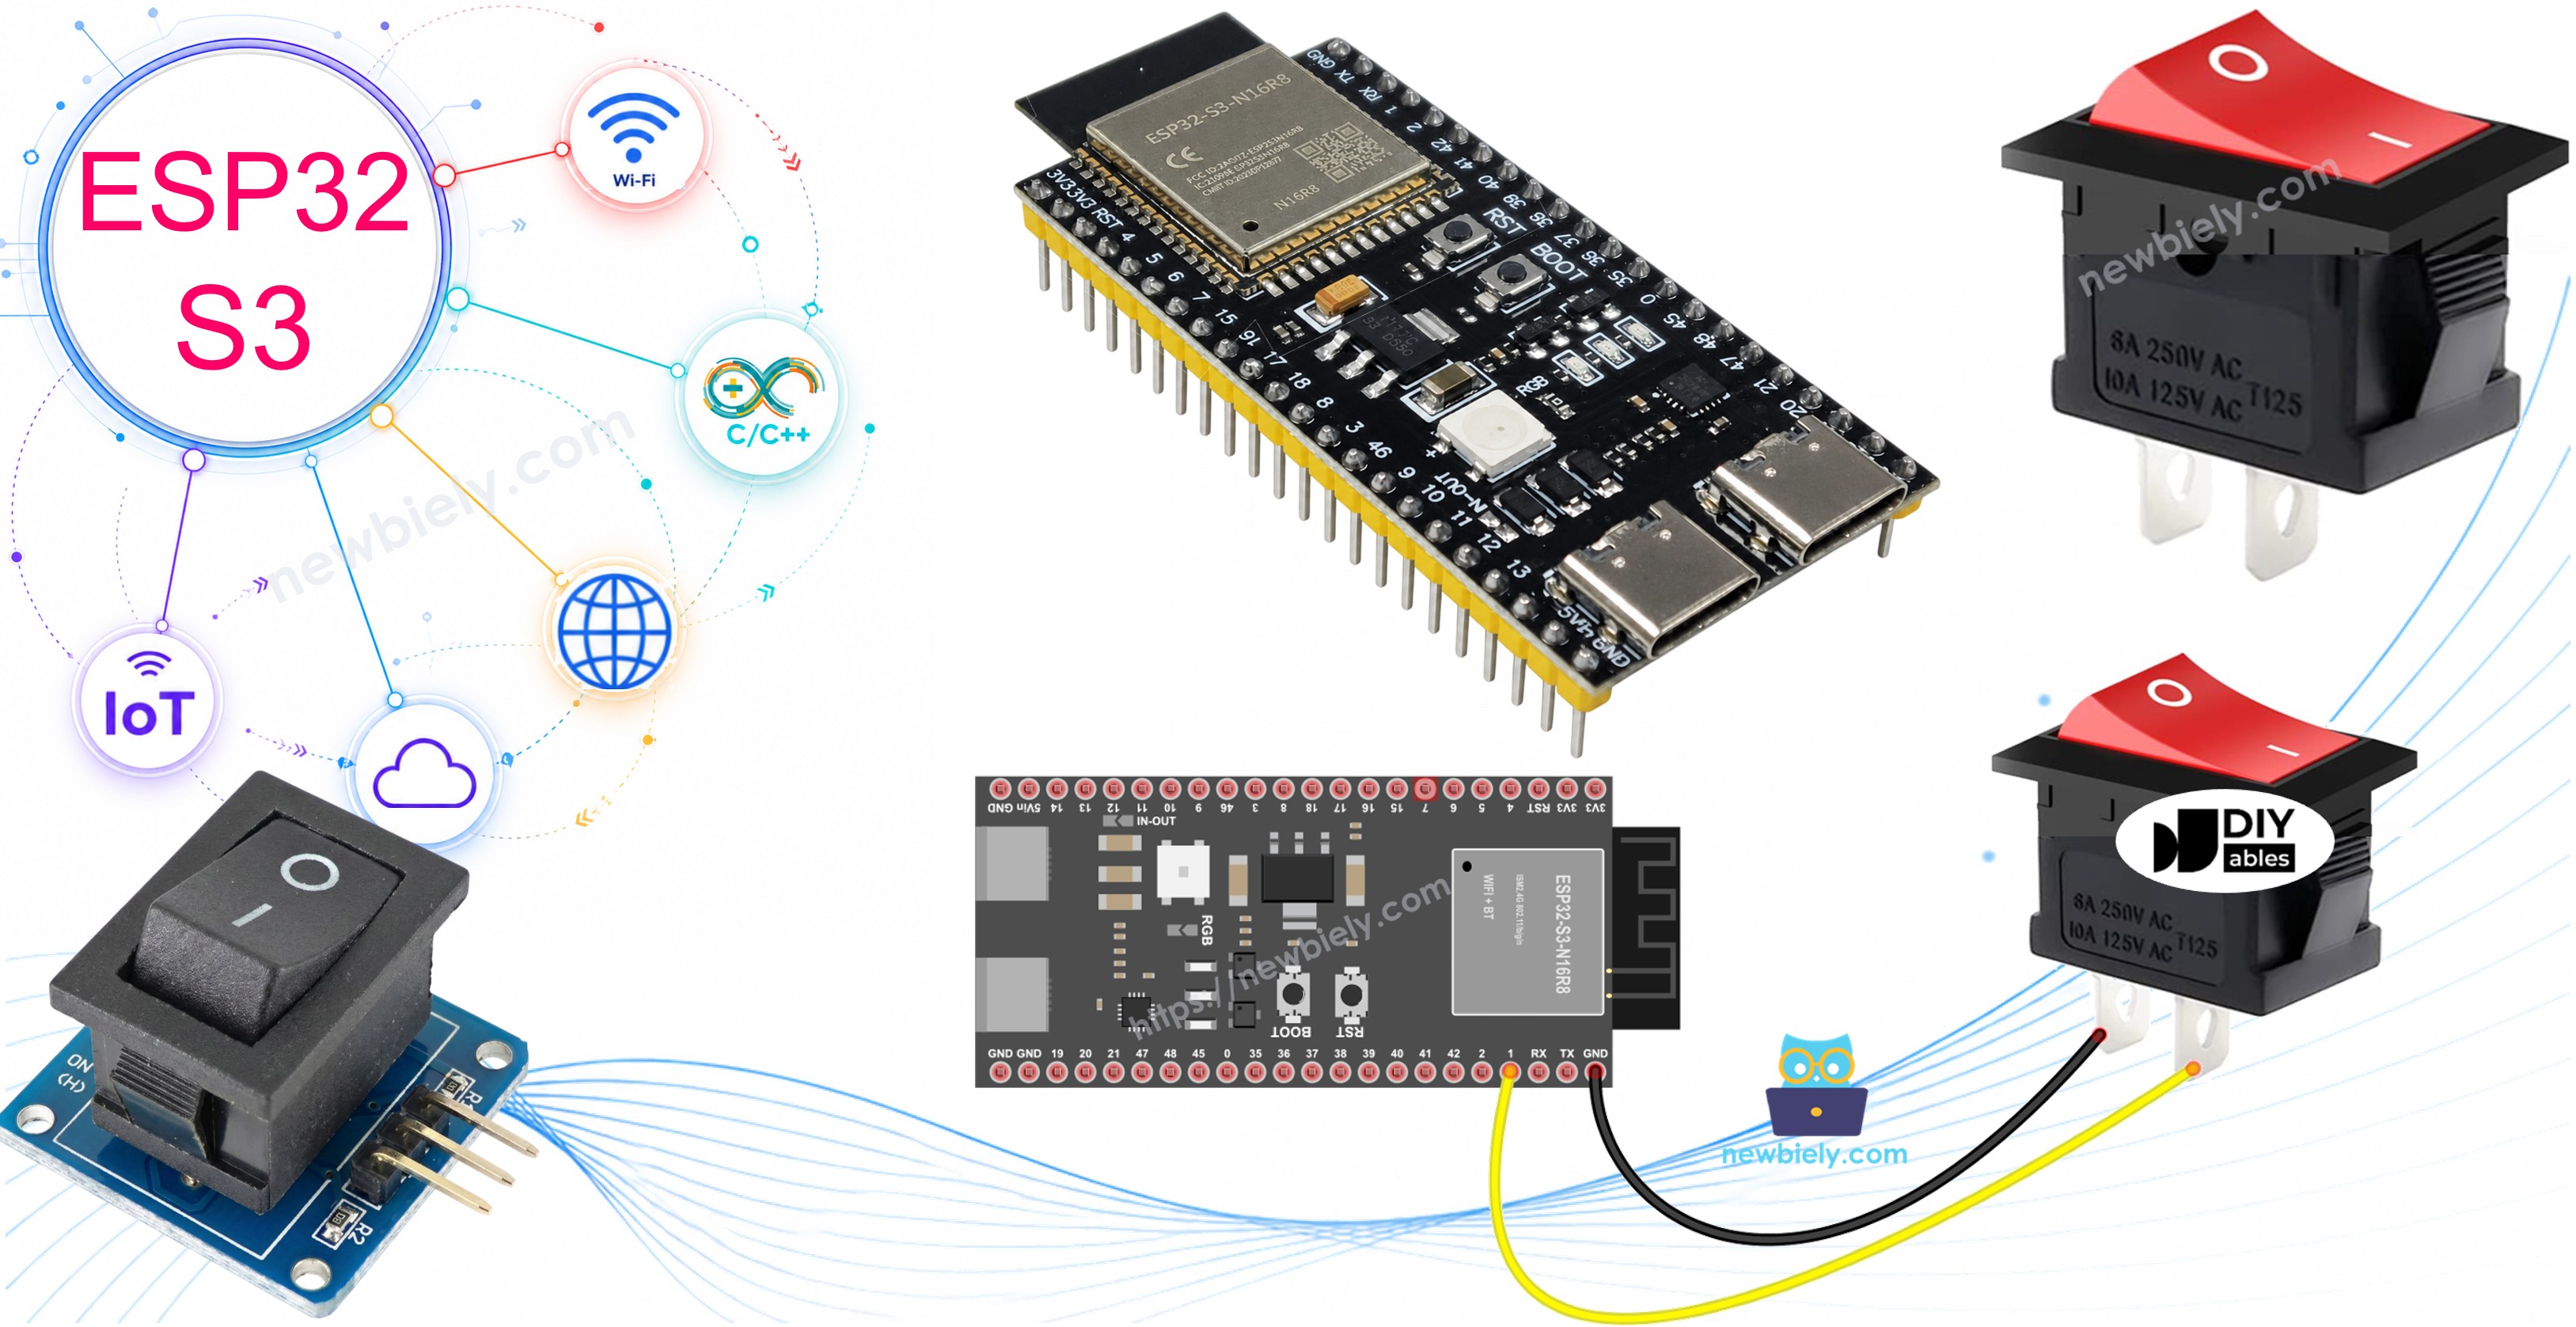
An ON/OFF or toggle switch has two states: ON (closed) and OFF (open). Each time the switch is pressed, its state is toggled between ON and OFF and it remains in that state even when released. This tutorial will guide you on how to use an ON/OFF switch with an ESP32 S3 microcontroller.
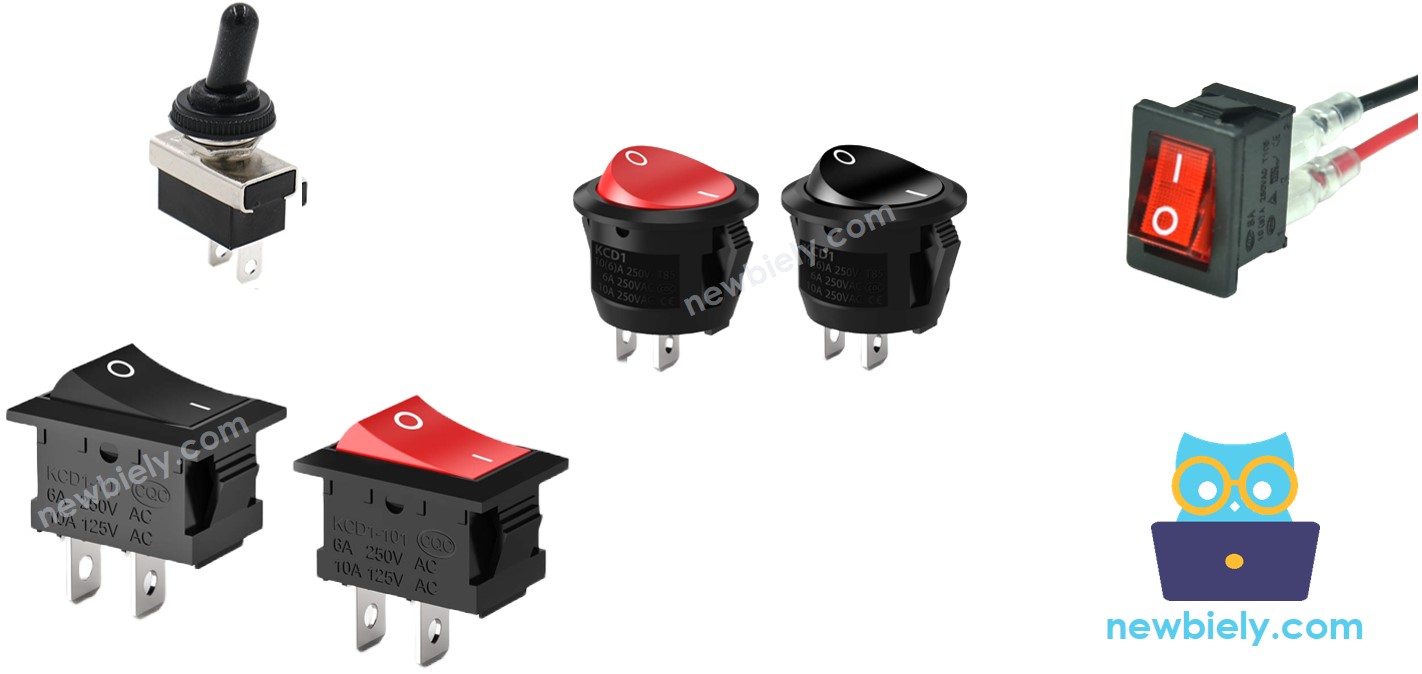
It is important to note that the ON/OFF switch is distinct from the following and should not be confused with them:
Hardware Preparation
Or you can buy the following kits:
| 1 | × | DIYables ESP32 S3 Starter Kit (ESP32 S3 included) | |
| 1 | × | DIYables Sensor Kit (18 sensors/displays) |
Additionally, some of these links are for products from our own brand, DIYables .
Overview of ON/OFF Switch
An ON/OFF Switch is a type of switch that, when pressed, changes its state between ON and OFF and then maintains that state even when released. To change the state again, the switch must be pressed a second time. This latching behavior makes the ON/OFF switch well suited for controlling devices that need to stay in a particular state without continuous user input.
Key Specifications
- Switch Type: Latching toggle (maintains state after release)
- Pins: Two-pin or three-pin configurations available
- Operating Principle: Mechanically locks in ON or OFF position
- Common Package: Square or round panel-mount form factors
Pinout
The ON/OFF switch is available in two common configurations. There are generally two types of ON/OFF Switches, the two-pin switch and the three-pin switch. This tutorial will focus on using the two-pin switch, where the distinction between the two pins is not necessary.
How It Works
There are two methods for using an ON/OFF switch with the ESP32 S3. The table below illustrates the wiring and reading state on an ESP32 S3 for each of these two methods:
| pin 1 | pin 2 | ESP32 S3 Input Pin's State | |
|---|---|---|---|
| 1 | GND | ESP32 S3 Input Pin (with pull-up) | HIGH ⇒ OFF, LOW ⇒ ON |
| 2 | VCC | ESP32 S3 Input Pin (with pull-down) | HIGH ⇒ ON, LOW ⇒ OFF |
Out of the two methods, the tutorial will focus on one, specifically the first method will be used as an example.
Wiring Diagram
The following diagrams show how to connect the ON/OFF switch to the ESP32 S3. Use whichever connection method best suits your project setup.
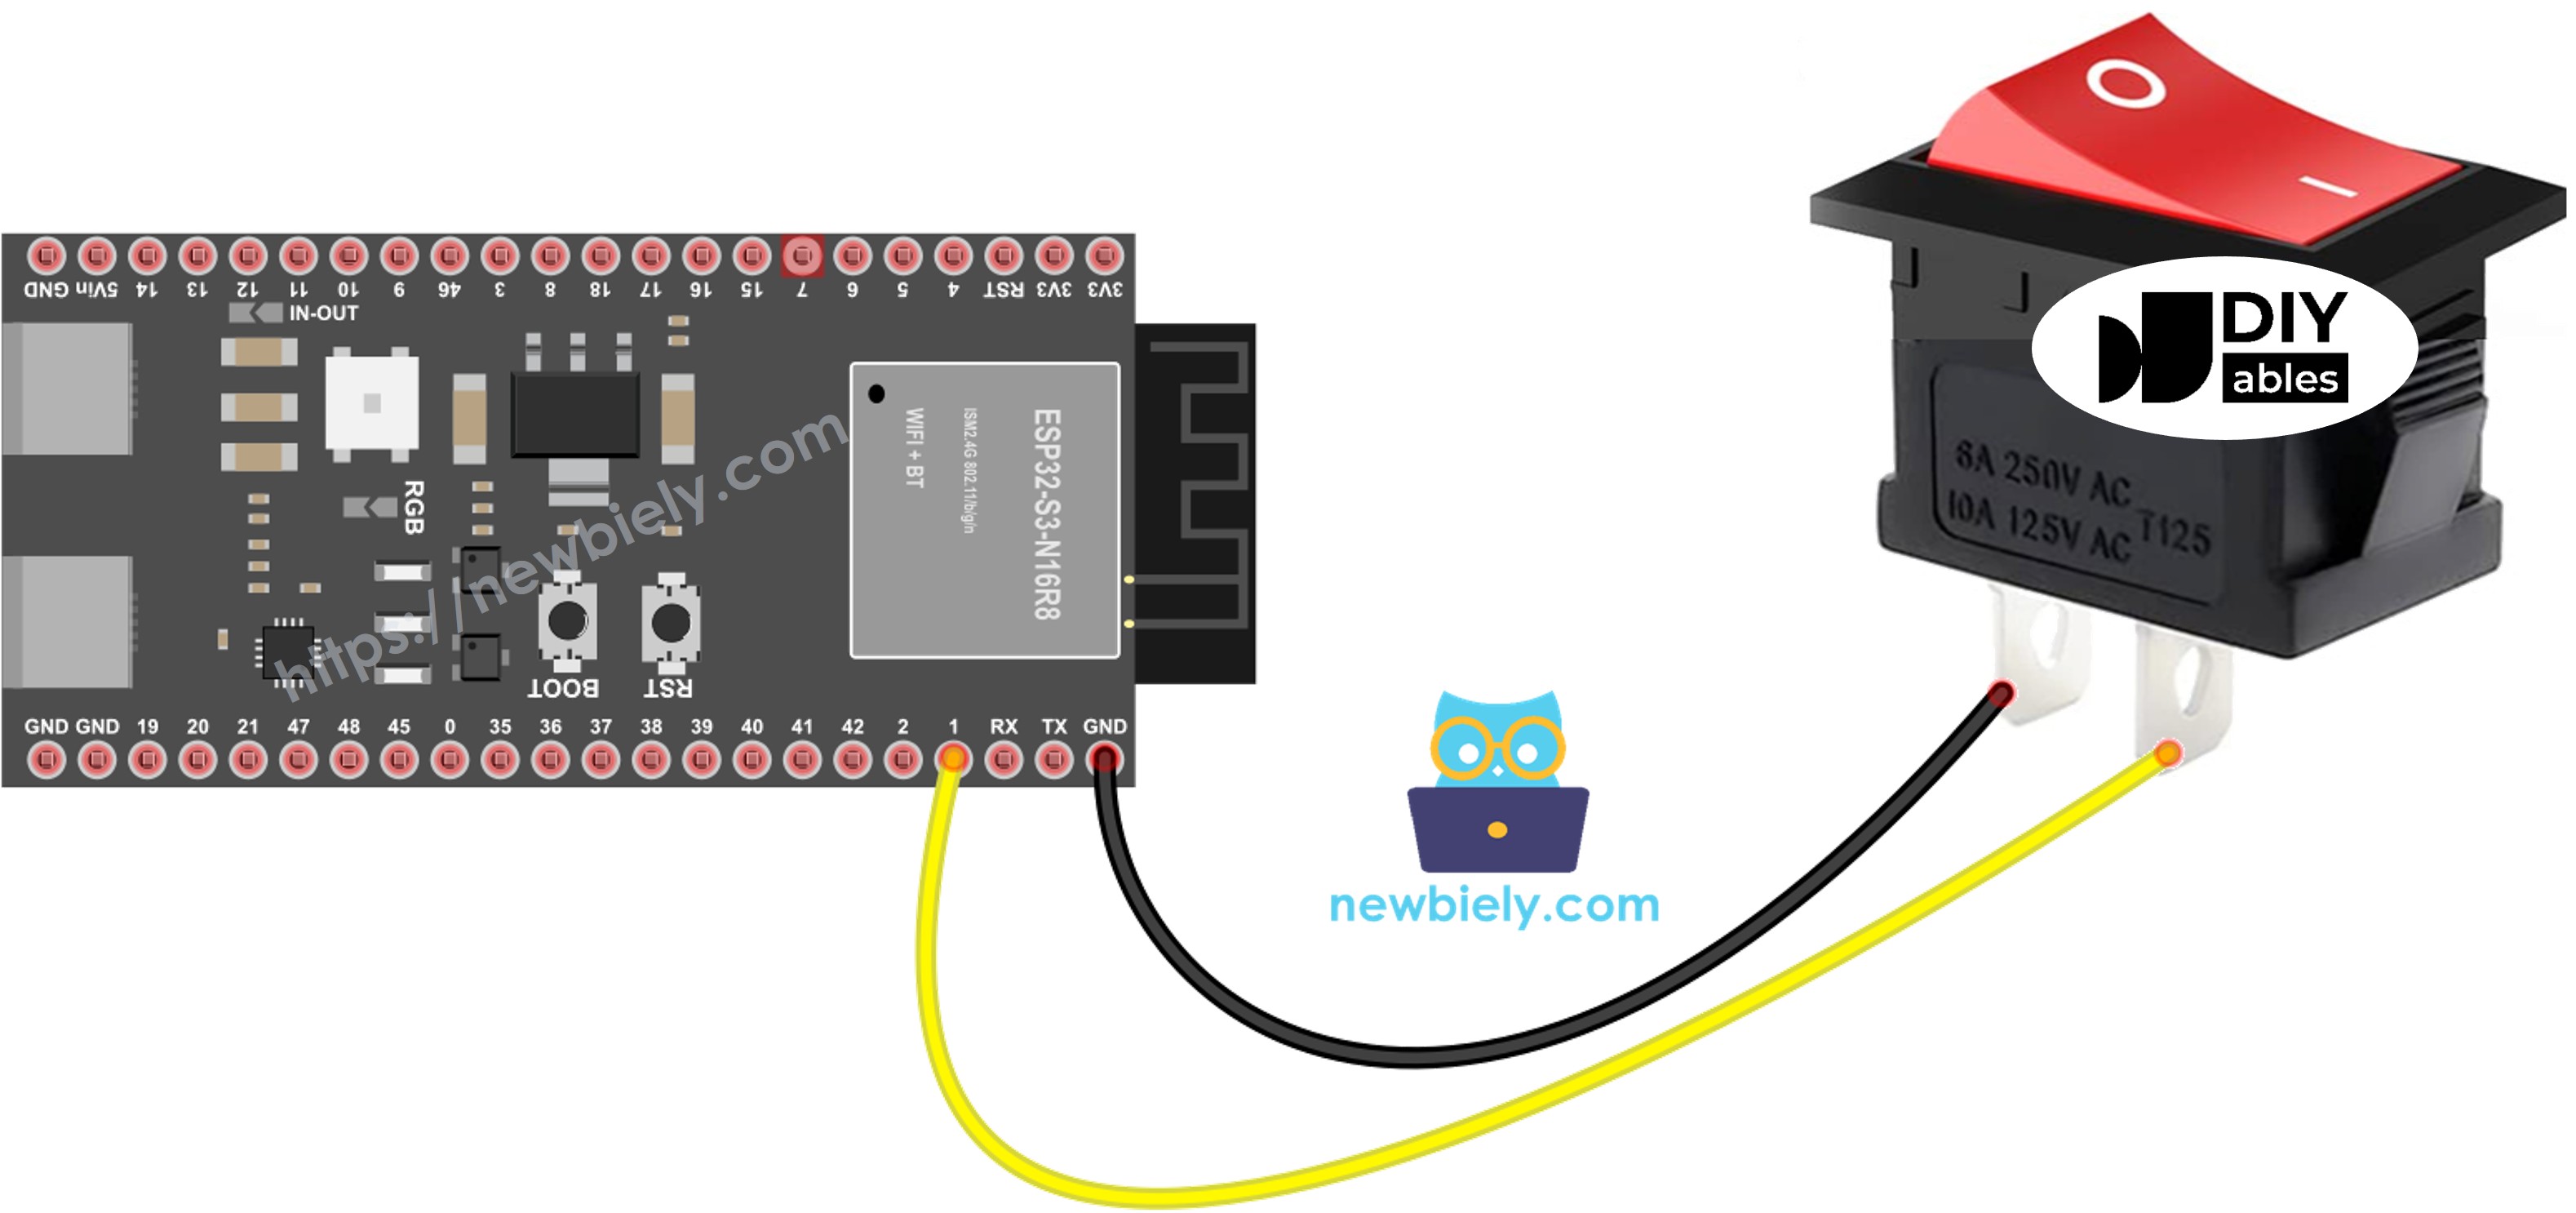
This image is created using Fritzing. Click to enlarge image
Safety Notes
For a stable and secure connection, it is recommended to use a soldering iron to solder the wires and ON/OFF Switch pins together, and then use heat shrink tubes for added safety.
ESP32 S3 Code - ON/OFF Switch
Similar to a button, an ON/OFF switch also requires debouncing (more information can be found at Why needs debounce for the button, ON/OFF switch?). Debouncing can make the code more complex. Fortunately, the ezButton library offers debouncing functionality and utilizes internal pull-up resistors, making programming easier.
※ NOTE THAT:
Two common use cases for an ON/OFF switch are:
- The first use case: If the switch is in the ON state, perform a certain action. If the input state is OFF, perform the opposite action.
- The second use case: If the switch's state changes from ON to OFF (or OFF to ON), perform a specific action.
Detailed Instructions
- New to ESP32 S3? Complete our Getting Started with ESP32 S3 guide first.
- Follow the wiring diagram provided above to connect the ON/OFF switch to the ESP32 S3.
- Connect your ESP32 S3 to your PC using a USB cable.
- Open the Arduino IDE software.
- Install the ezButton library. Refer to the instructions
- Select the appropriate board and port in the Arduino IDE.
- Compile and upload the code to the ESP32 S3 board by clicking the Upload button in the Arduino IDE.
- Test the ON/OFF switch by turning it ON.
- Observe the output on the Serial Monitor in the Arduino IDE.
- Turn the switch OFF.
- Observe the output on the Serial Monitor in the Arduino IDE.
- Pro Tip: Try wiring the switch using method 2 (pull-down with VCC) and update the logic in the code to observe how the state readings differ.
Applications
The ON/OFF switch is one of the most versatile input components for embedded projects, enabling reliable latching control across a wide range of real-world scenarios.
- Power Control: Toggle power to peripheral devices or subsystems without needing continuous button holds.
- Mode Selection: Switch between operating modes in a device, such as manual vs. automatic or day vs. night mode.
- Enable/Disable Features: Activate or deactivate optional functionality, such as enabling a buzzer alarm or disabling a sensor module.
- Panel Controls: Use in control panels or enclosures for durable, user-facing on/off interfaces for fans, lights, or motors.
- Safety Interlock: Serve as a hardware enable switch that must be toggled before a system can operate, adding a safety layer to high-power projects.
Video Tutorial
Watch the step-by-step video walkthrough for this ESP32 S3 project below.