
ESP32 S3 - Read Config from SD Card
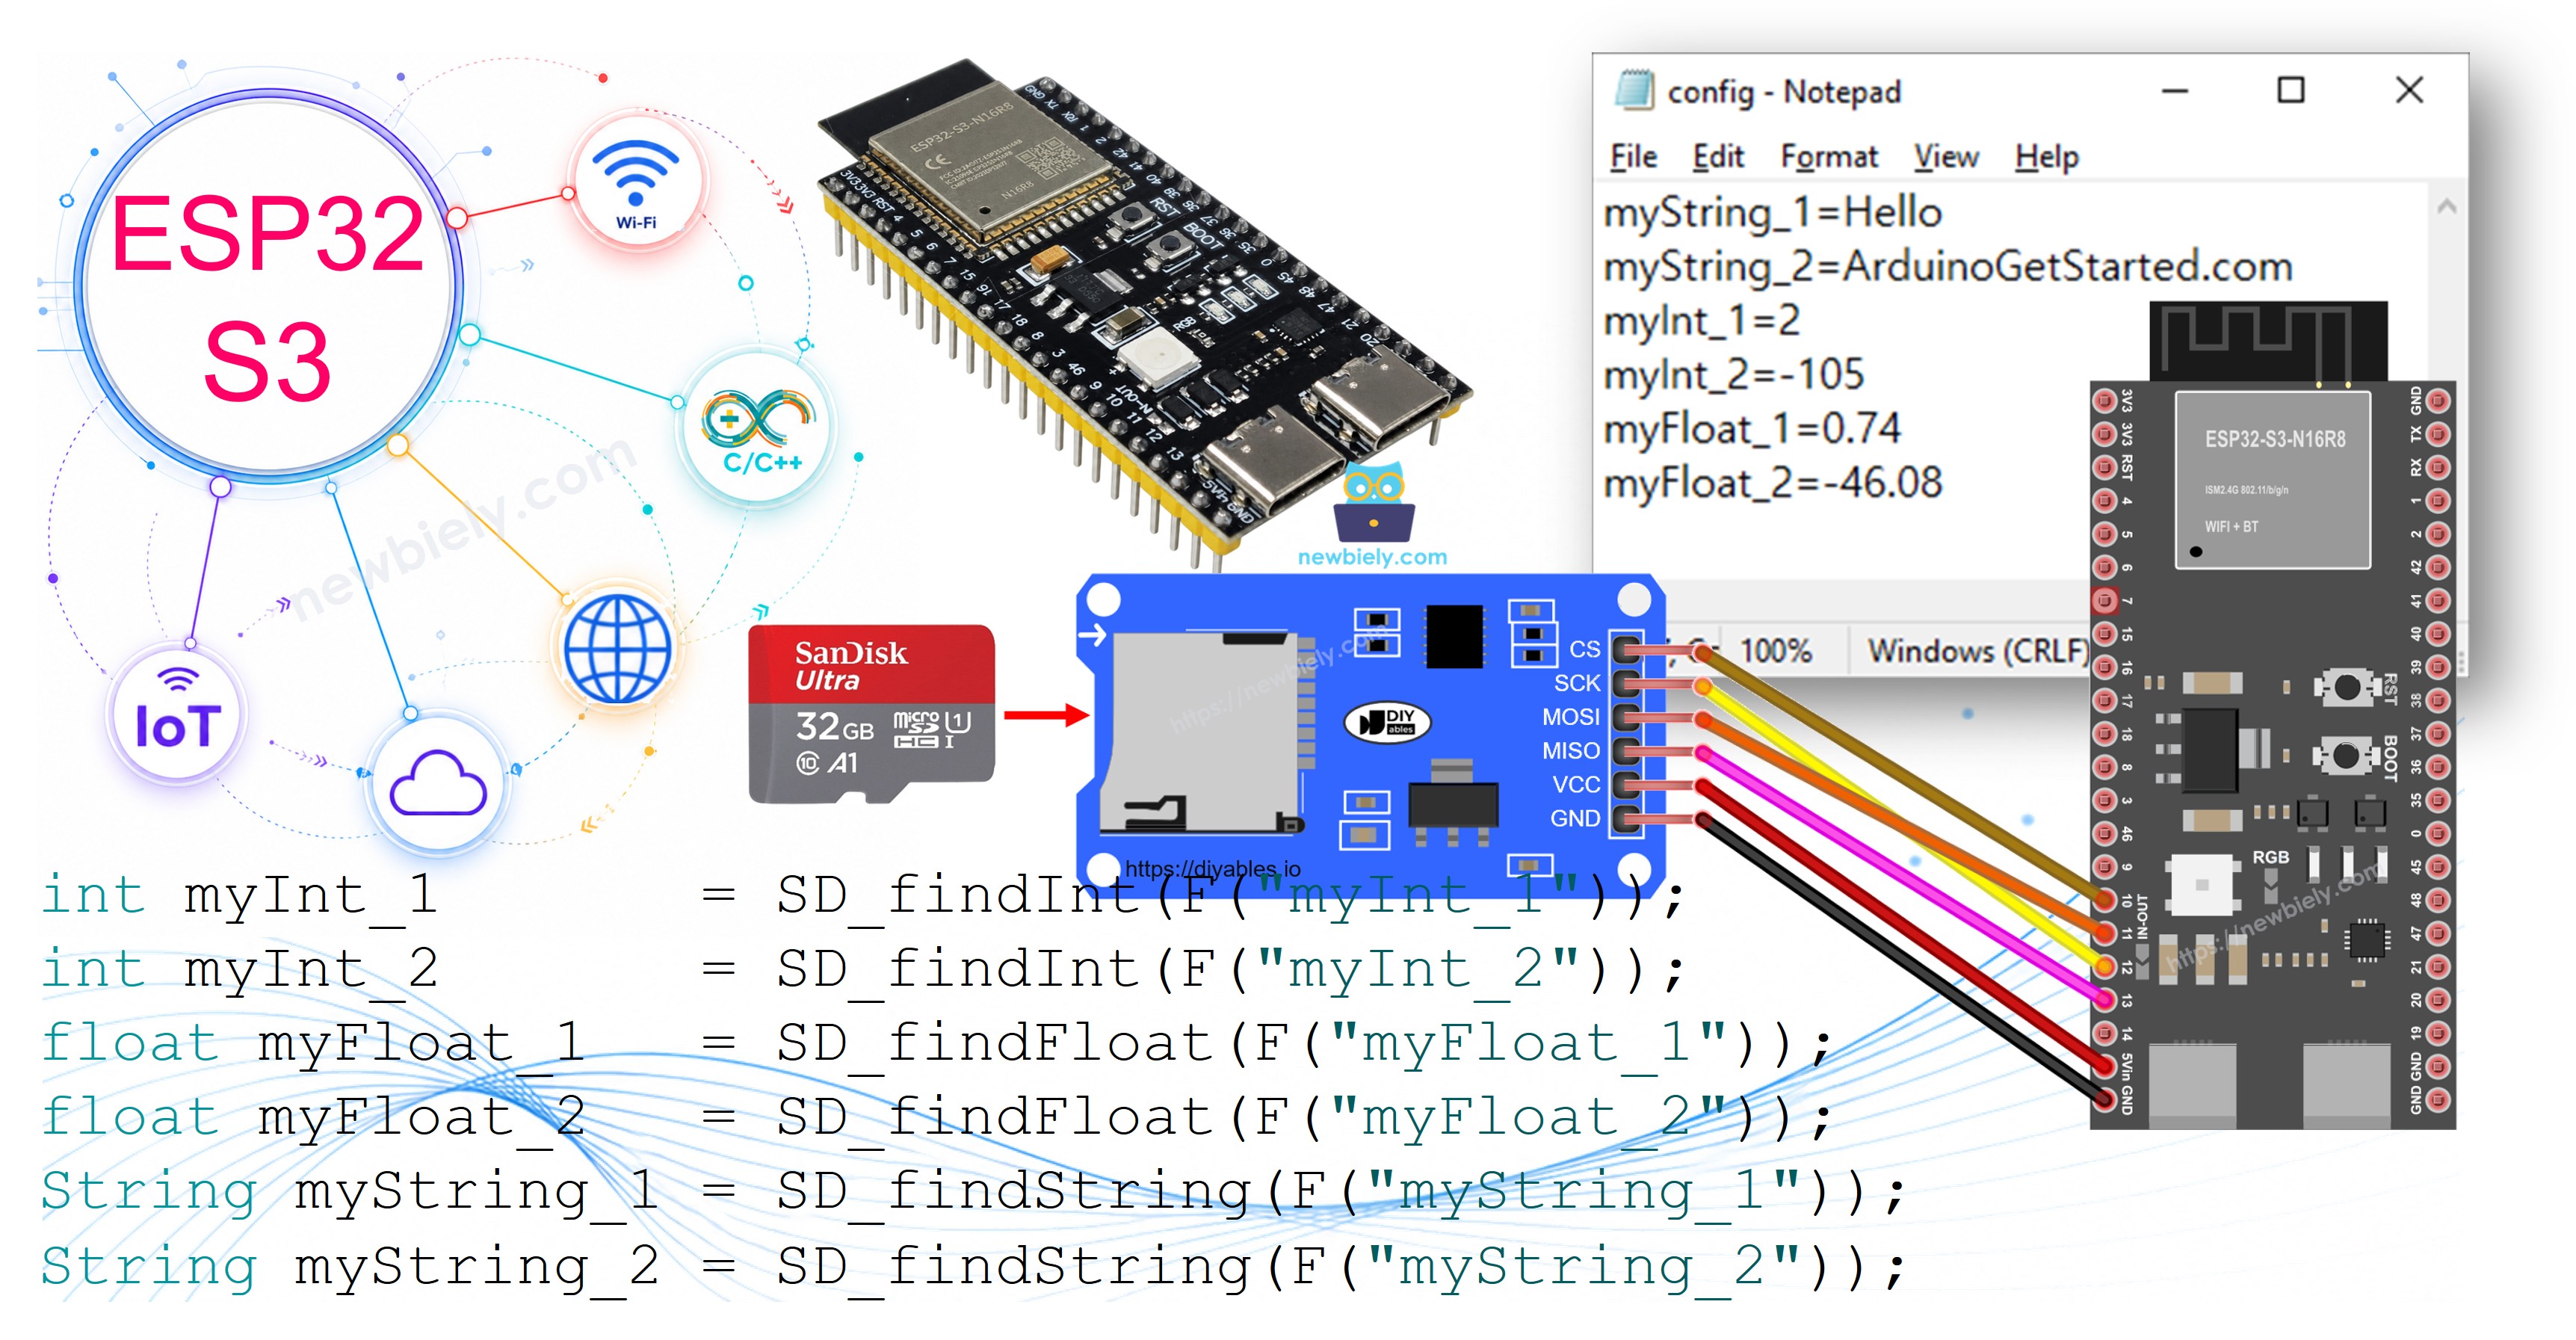
Configuration management is a common challenge in embedded projects, and storing settings in a file on a Micro SD Card provides a practical, hardware-independent solution. This tutorial shows you how to use the ESP32 S3 to read key-value pairs from a config.txt file on a Micro SD Card and load those values into typed variables at runtime.
What you'll build:
- A config.txt file on the Micro SD Card containing key-value pairs in a simple format.
- Code that reads the configuration file and stores a value into an int variable.
- Code that reads the configuration file and stores a value into a float variable.
- Code that reads the configuration file and stores a value into a String variable.
Hardware Preparation
Or you can buy the following kits:
| 1 | × | DIYables ESP32 S3 Starter Kit (ESP32 S3 included) | |
| 1 | × | DIYables Sensor Kit (18 sensors/displays) |
Additionally, some of these links are for products from our own brand, DIYables .
Overview of Micro SD Card Module
The Micro SD Card Module gives the ESP32 S3 access to removable flash storage via the SPI interface, allowing you to read and write files just as you would on a conventional filesystem. It requires only four data lines (MOSI, MISO, SCK, and CS) plus power, making it easy to integrate with any ESP32 S3 project. If you are new to this module, refer to the ESP32 S3 - Micro SD Card tutorial for full coverage of pinouts, wiring, and library setup.
Key Specifications
- Interface: SPI
- Supply Voltage: 3.3 V or 5 V (onboard regulator on most modules)
- Supported Card Formats: FAT16, FAT32
- Maximum Card Size: 32 GB (FAT32)
- Data Lines: MOSI, MISO, SCK, CS
How It Works
Key-value pairs are pre-stored on the Micro SD Card in a plain-text file using a straightforward format that the ESP32 S3 can parse efficiently. Each key-value pair occupies its own line and the key is separated from its value by a = character, so the file requires no special libraries to produce and can be edited on any PC with a plain text editor.
Key Format Rules
- Each key-value pair is placed on its own line, separated from others by a newline character.
- The key and value are separated by a = character with no surrounding spaces required.
- The ESP32 S3 code searches the file from top to bottom for a matching key, so the order of pairs in the file does not matter.
- The value is returned as a String and can be converted to int or float using standard Arduino conversion functions.
Wiring Diagram
The Micro SD Card Module connects to the ESP32 S3 over SPI. Connect VCC to 3.3 V (or 5 V if the module has an onboard regulator), GND to GND, and wire the four SPI data lines to the corresponding ESP32 S3 SPI pins as shown in the diagram below.
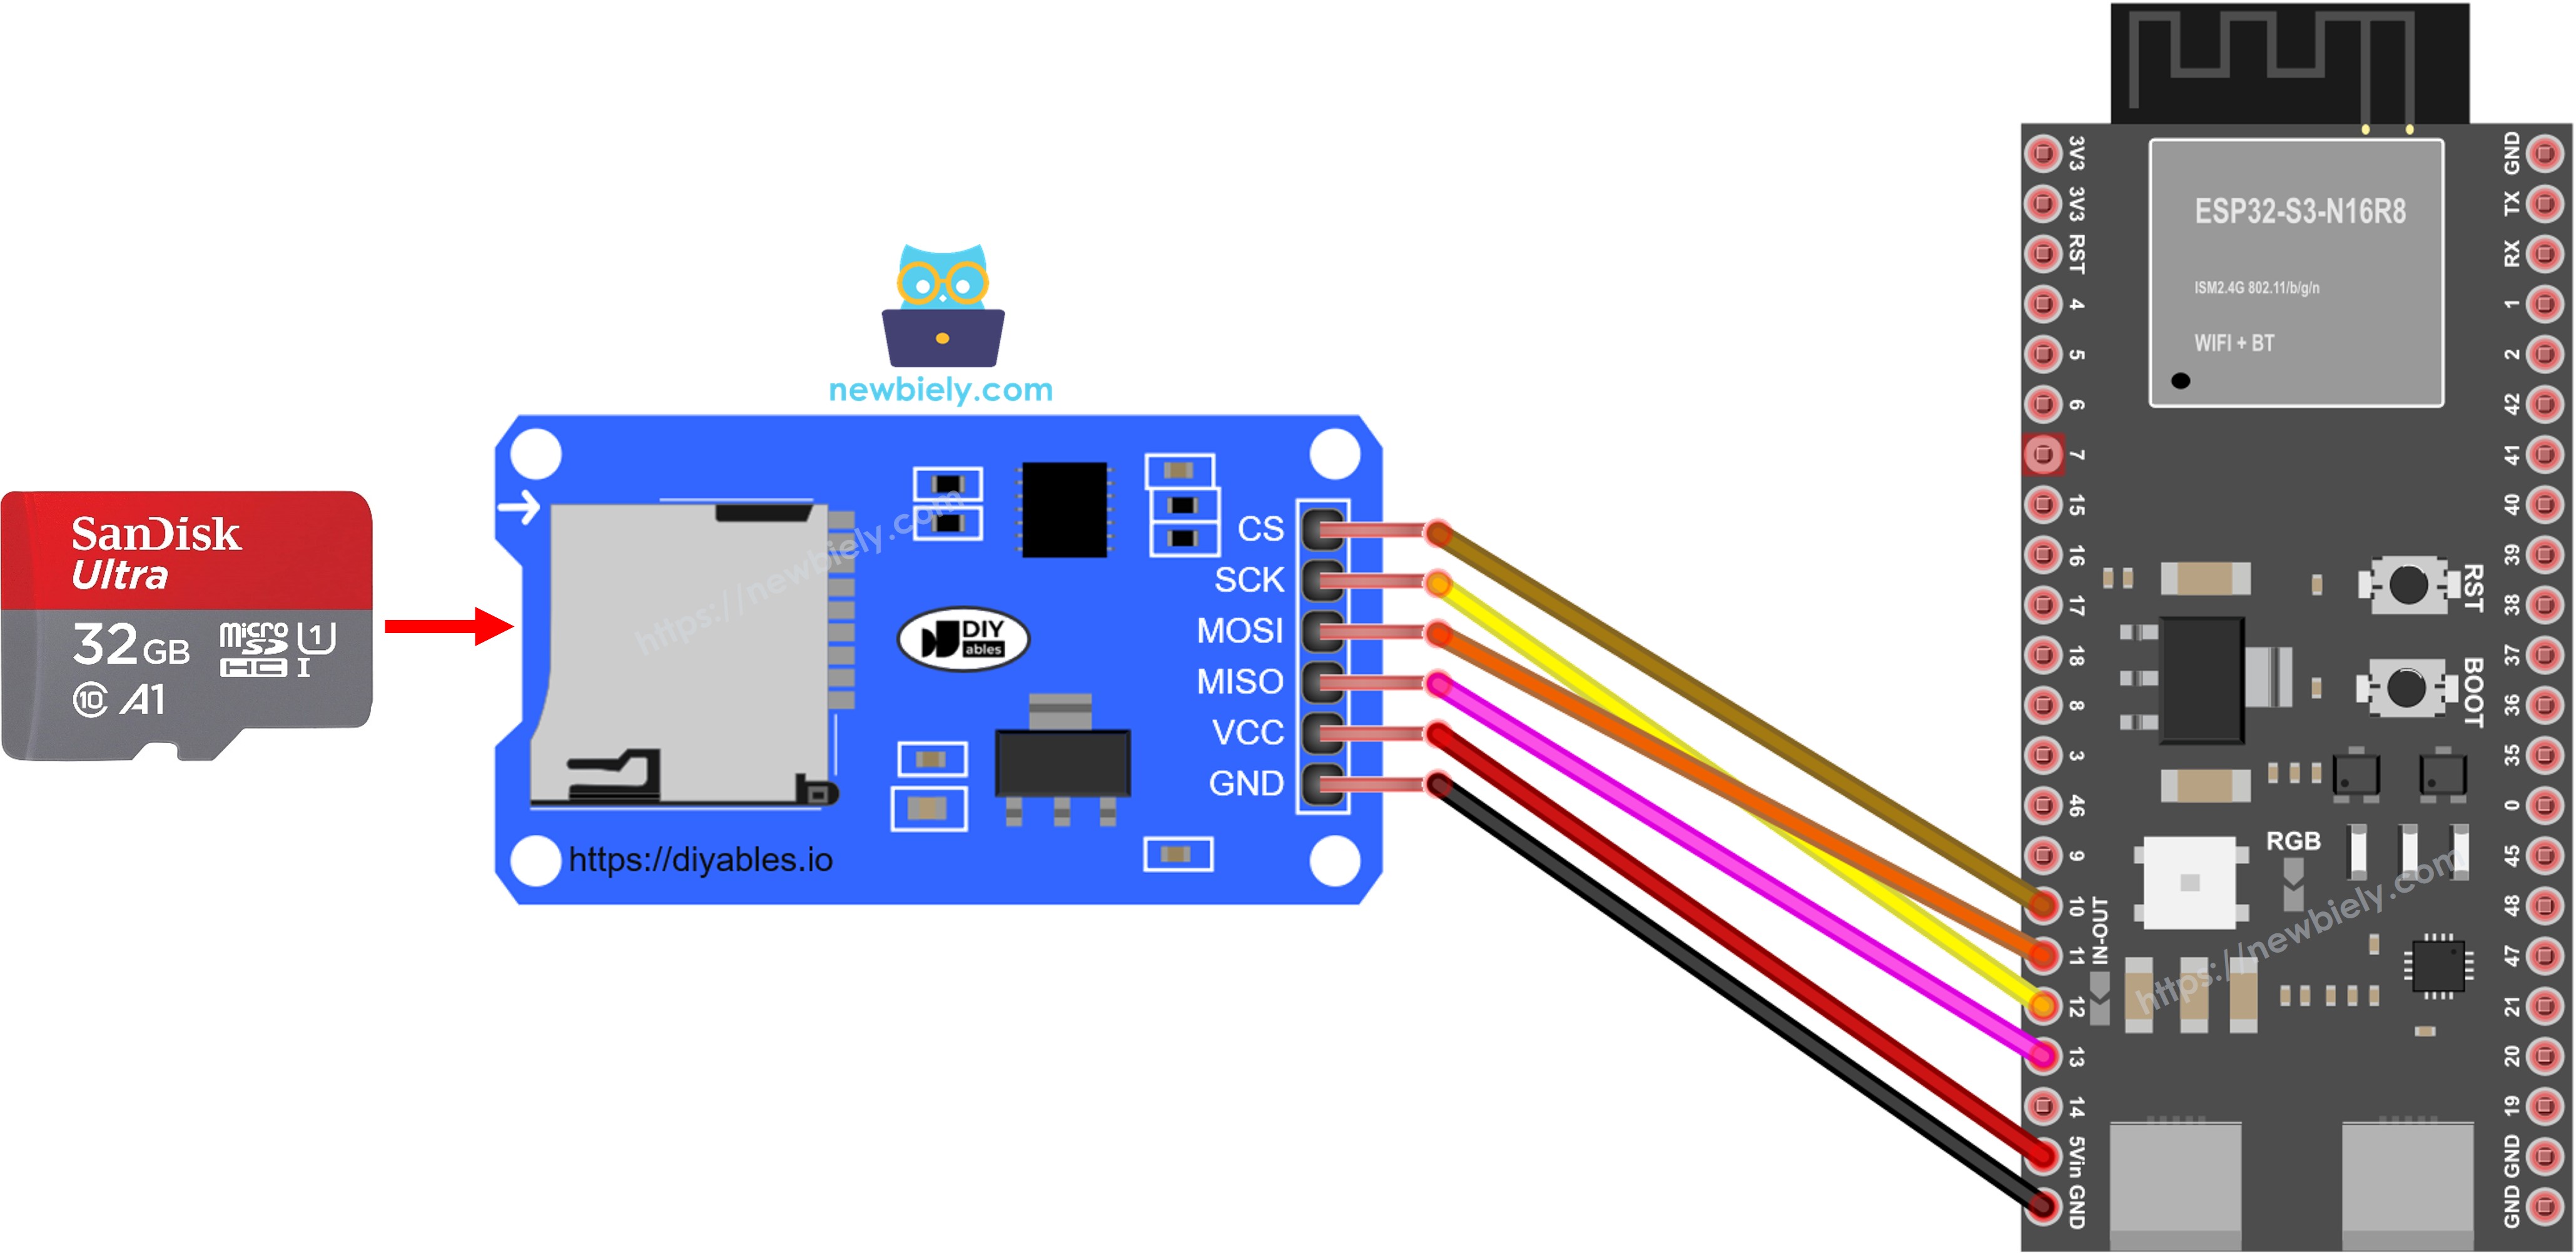
This image is created using Fritzing. Click to enlarge image
Safety Notes
Always power the Micro SD Card Module from the correct voltage rail for your specific module variant — using 5 V on a 3.3 V-only module can permanently damage the card. Make sure the Micro SD Card is fully inserted and the card is formatted as FAT16 or FAT32 before powering on the circuit, as the SD library will fail to initialize an unformatted or exFAT card.
※ NOTE THAT:
If you use an Ethernet shield or any shield that has a Micro SD Card Holder, you do not need to use the Micro SD Card Module. You just need to insert the Micro SD Card into the Micro SD Card Holder on the shield.
How To Read Config to Variables
The following steps walk you through creating the config file on your PC, copying it to the Micro SD Card, and running the Arduino sketch that parses the key-value pairs and loads them into typed variables. The code searches the entire file for each key, so it works regardless of the order in which pairs appear.
- New to ESP32 S3? Complete our Getting Started with ESP32 S3 guide first.
- Create a file named config.txt on your PC using Notepad or Notepad++.
- Copy the following key-value pairs and paste them into config.txt:
- Connect the Micro SD Card to your PC via a USB 3.0 SD Card Reader.
- Make sure the Micro SD Card is formatted as FAT16 or FAT32 (search online for instructions specific to your operating system).
- Copy config.txt to the root directory of the Micro SD Card.
- Disconnect the Micro SD Card from the PC.
- Connect the Micro SD Card to the ESP32 S3 via the Micro SD Card Module according to the wiring diagram above.
- Copy the following code and open it in the Arduino IDE:
- Click the Upload button in the Arduino IDE to compile and upload the sketch to the ESP32 S3.
- Open the Serial Monitor, set the baud rate to match the sketch, and observe the output.
- Pro Tip: The code does not depend on the order of key-value pairs in config.txt. It scans the file from the beginning each time it looks up a key, so you can add, remove, or reorder pairs freely without changing the Arduino sketch.
Serial Monitor Output
After a successful upload and card initialization, the Serial Monitor will display each variable name alongside the value retrieved from config.txt. The readings below were captured on 2026-06-16 using an ESP32 S3 WROOM N16R8 with a 16 GB FAT32 Micro SD Card.
The Serial Monitor confirms that each variable holds exactly the value stored in the corresponding key-value pair on the Micro SD Card. You can modify the config file and reboot the ESP32 S3 to load the new values without re-flashing the firmware.
Applications
Storing configuration in a file on a Micro SD Card separates runtime settings from firmware, which is especially useful in deployed systems where parameters need to change without recompilation. Common use cases include:
- Wi-Fi Credentials: Store SSID and password in the config file so the device connects to the correct network without modifying code.
- Sensor Thresholds: Define temperature or humidity alert limits that operators can adjust in the field by editing config.txt.
- Device Identity: Assign a unique device name or ID to each unit in a fleet by writing different config files to each card.
- Calibration Offsets: Save sensor calibration factors as floats so they can be fine-tuned without recompiling the firmware.
- Feature Flags: Enable or disable optional features at startup by reading a boolean-style key from the config file.
Video Tutorial
Watch the step-by-step video walkthrough for this ESP32 S3 project below.
Challenges
These exercises will help you extend the basic config-reading sketch into more robust, production-ready firmware. Start with the beginner challenge and work your way up as your confidence grows.
- Beginner: Add two more key-value pairs to config.txt (for example, ledPin=2 and blinkRate=500) and update the sketch to read them into an int variable and use them to blink an LED.
- Intermediate: Write a helper function getConfigValue(key) that accepts a key name and returns the corresponding String value, then refactor the sketch to call this function for all lookups instead of repeating the search logic.
- Advanced: Implement error handling so that if a key is missing from config.txt, the sketch falls back to a hard-coded default value and prints a warning to the Serial Monitor, ensuring the device still operates safely even with an incomplete config file.