
ESP32 S3 Camera - Save Photo to SD Card Every Few Seconds
This tutorial instructs you how to make an ESP32 S3 camera that takes a photo every few seconds and saves it to a microSD card. The board works alone. It does not need WiFi, and it does not need a computer. You only give it power, and it fills the card with photos.
What you'll build:
- An ESP32 S3 camera that takes a photo every 30 seconds
- Photos saved on a microSD card as photo_00001.jpg, photo_00002.jpg, and so on
- Code that never writes over your old photos, even after you restart the board
- A time-lapse camera you can leave alone for hours
Hardware Preparation
Or you can buy the following kits:
| 1 | × | DIYables Sensor Kit (18 sensors/displays) |
Additionally, some of these links are for products from our own brand, DIYables .
※ NOTE THAT:
The ESP32 S3 camera board has 40 pins, but the screw terminal block and the breakout board have 44 pins. They still work together. Put the camera board in the center of the 44-pin board, so 2 pins stay free on the left side and 2 pins stay free on the right side.
The screw terminal block lets you connect wires with a screwdriver, with no soldering. The breakout board gives you easy pin headers for a breadboard.
Overview of microSD Card on ESP32 S3
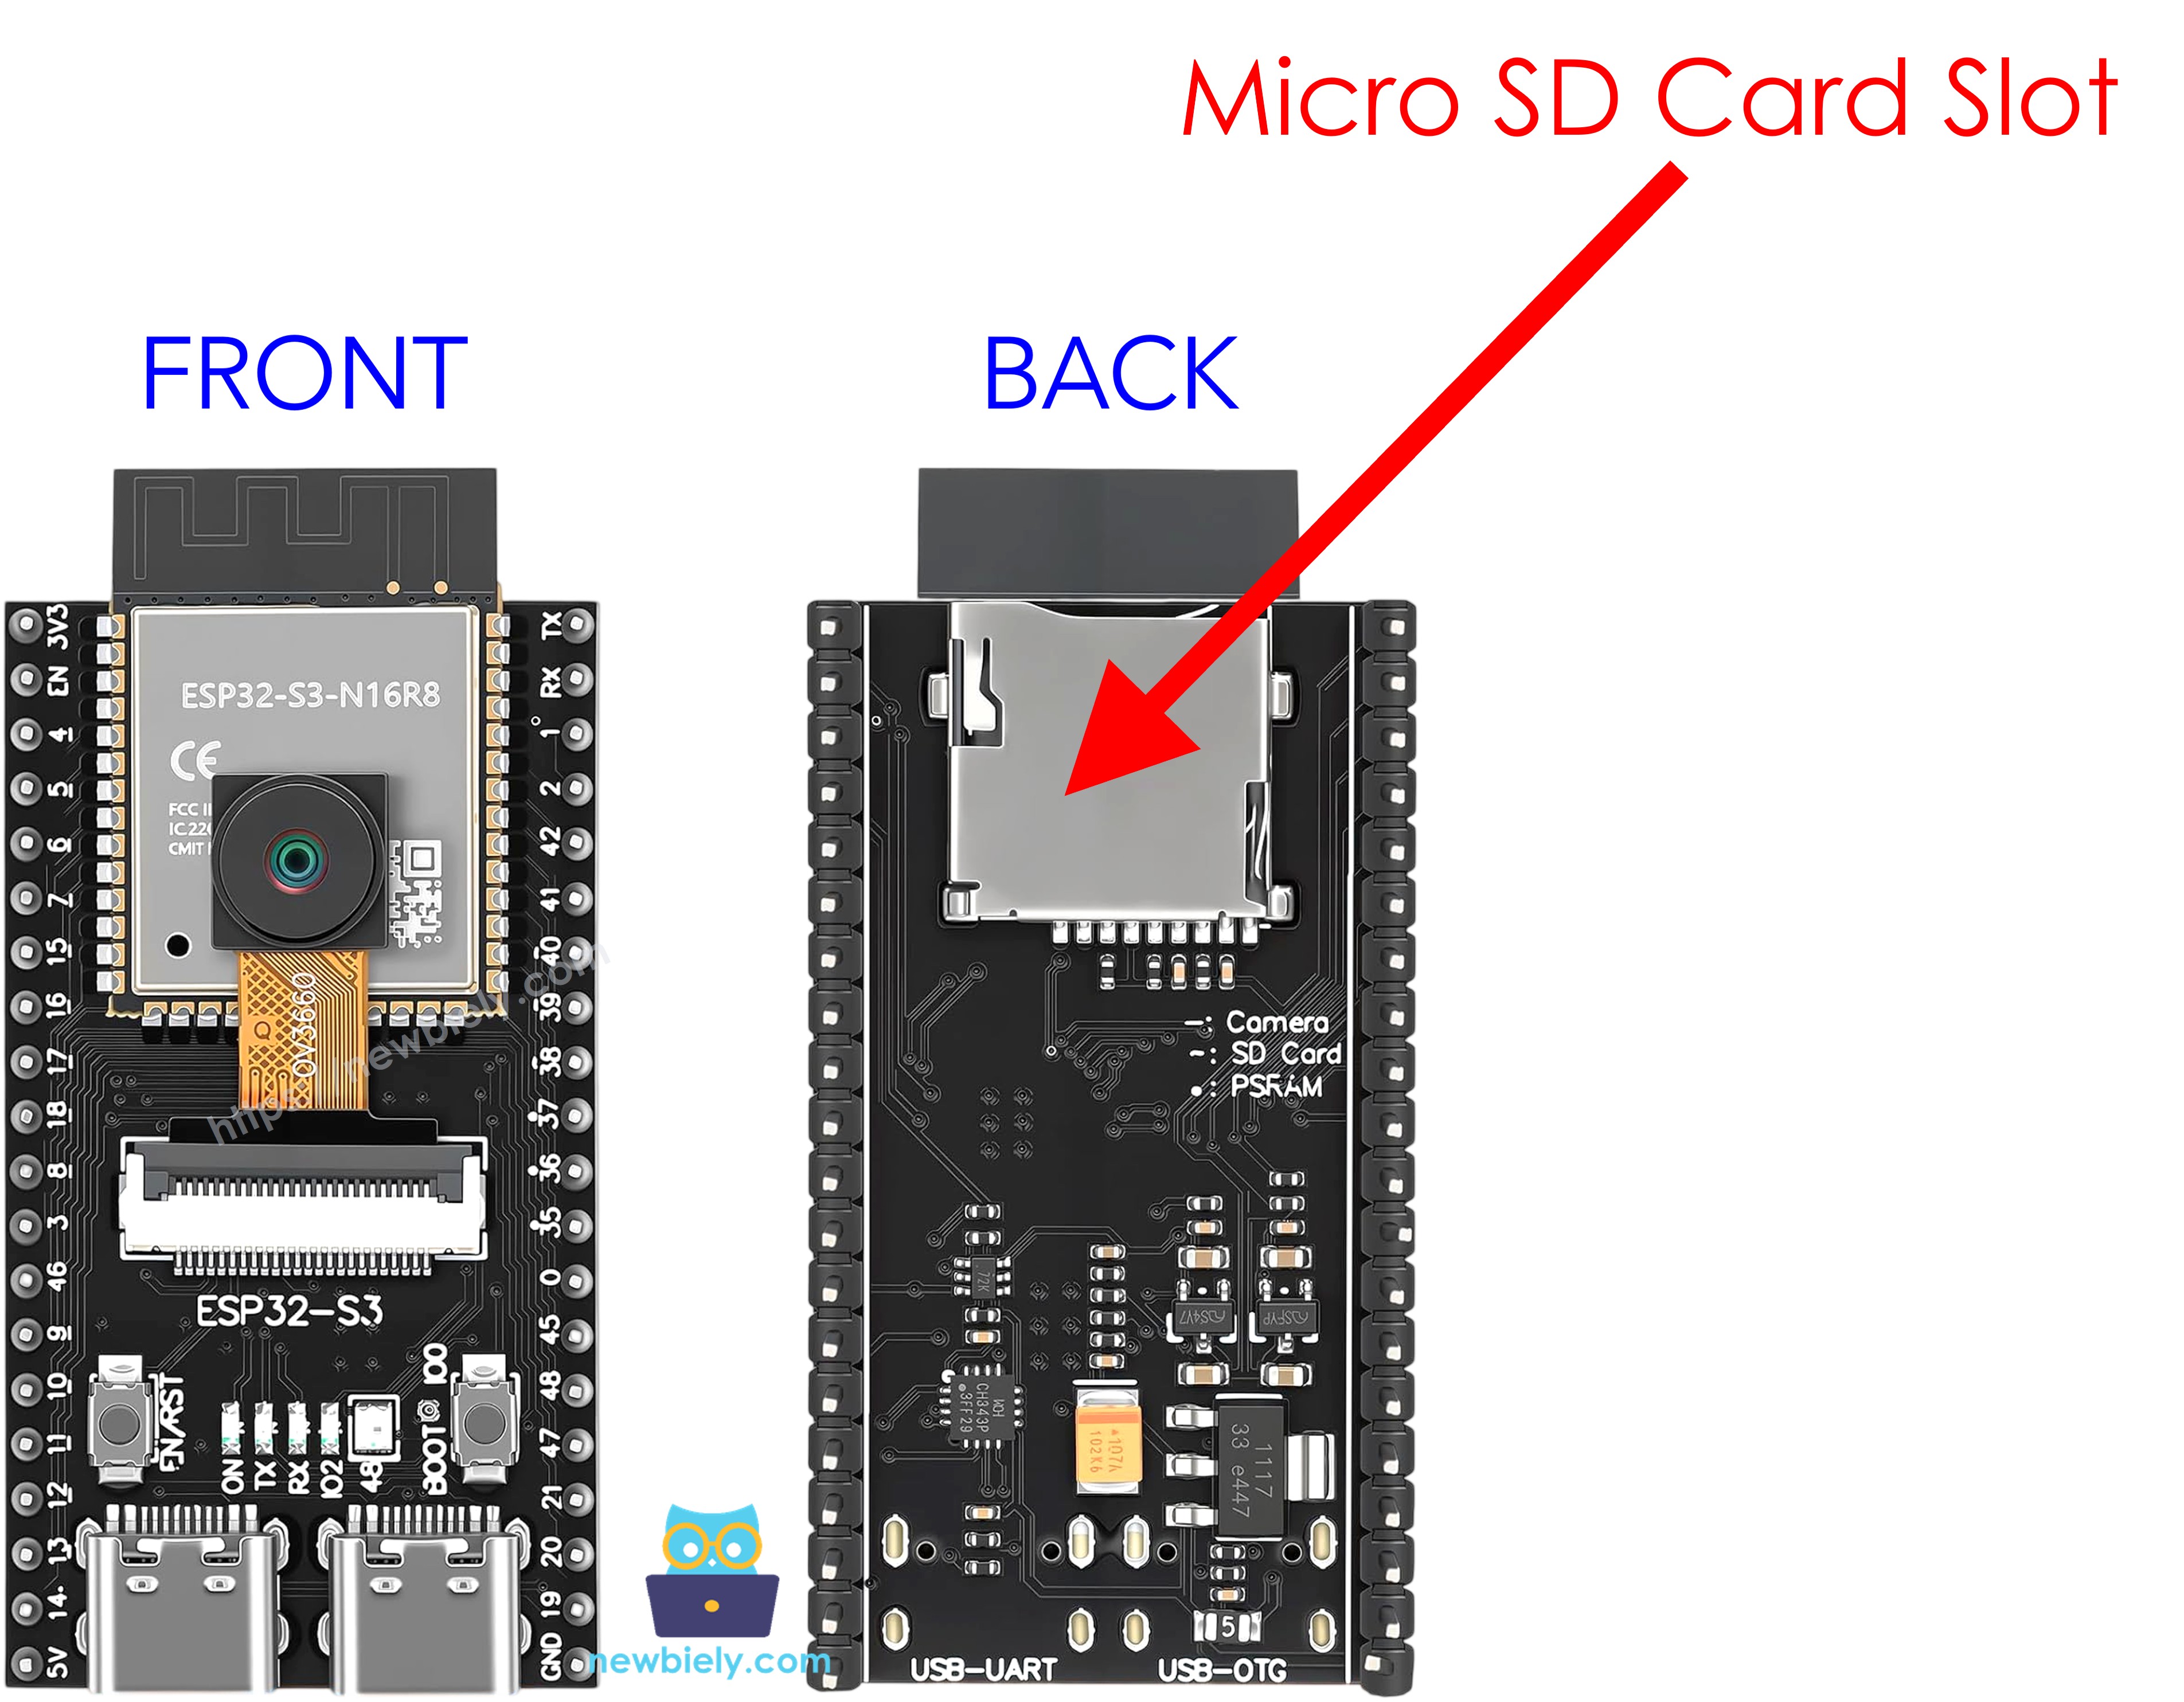
The ESP32 S3 camera board has a microSD card slot. The card is a very good place for photos, because:
- A photo is too big for the memory of the ESP32 S3. The card can hold thousands of photos.
- The card keeps the photos when the power goes off.
- You can take the card out and read it on your computer.
Card Requirements
| Item | Value |
|---|---|
| Card type | microSD or microSDHC |
| Size | Up to 32 GB works best |
| File system | FAT32 |
| Speed class | Class 10 or faster |
※ NOTE THAT:
A card bigger than 32 GB usually comes with the exFAT file system. The ESP32 S3 cannot read exFAT. Format the card as FAT32 before you use it.
1-Bit Mode and 4-Bit Mode
A microSD card can talk to the ESP32 S3 in two ways:
| Mode | Data pins | Speed | Can we use it? |
|---|---|---|---|
| 4-bit | 4 pins | Fast | No. The camera already uses those pins. |
| 1-bit | 1 pin | Slower | Yes. This is what we use. |
1-bit mode is slower, but it is fast enough. A photo of 200 KB is saved in less than one second.
The code turns on 1-bit mode with the word true:
The Pins of the Card Slot
The card slot is already connected inside the board. You do not need to wire it. But the code must know the pins:
| Card Pin | ESP32 S3 Pin | Meaning |
|---|---|---|
| CLK | GPIO39 | Clock |
| CMD | GPIO38 | Commands |
| D0 | GPIO40 | Data |
※ NOTE THAT:
Different boards use different pins for the card slot. If your card is not found, look at the drawing of your board and change the three lines SD_CLK_GPIO_NUM, SD_CMD_GPIO_NUM and SD_D0_GPIO_NUM at the top of the code.
Wiring Diagram
There is no wiring in this project. You only put the microSD card into the slot.
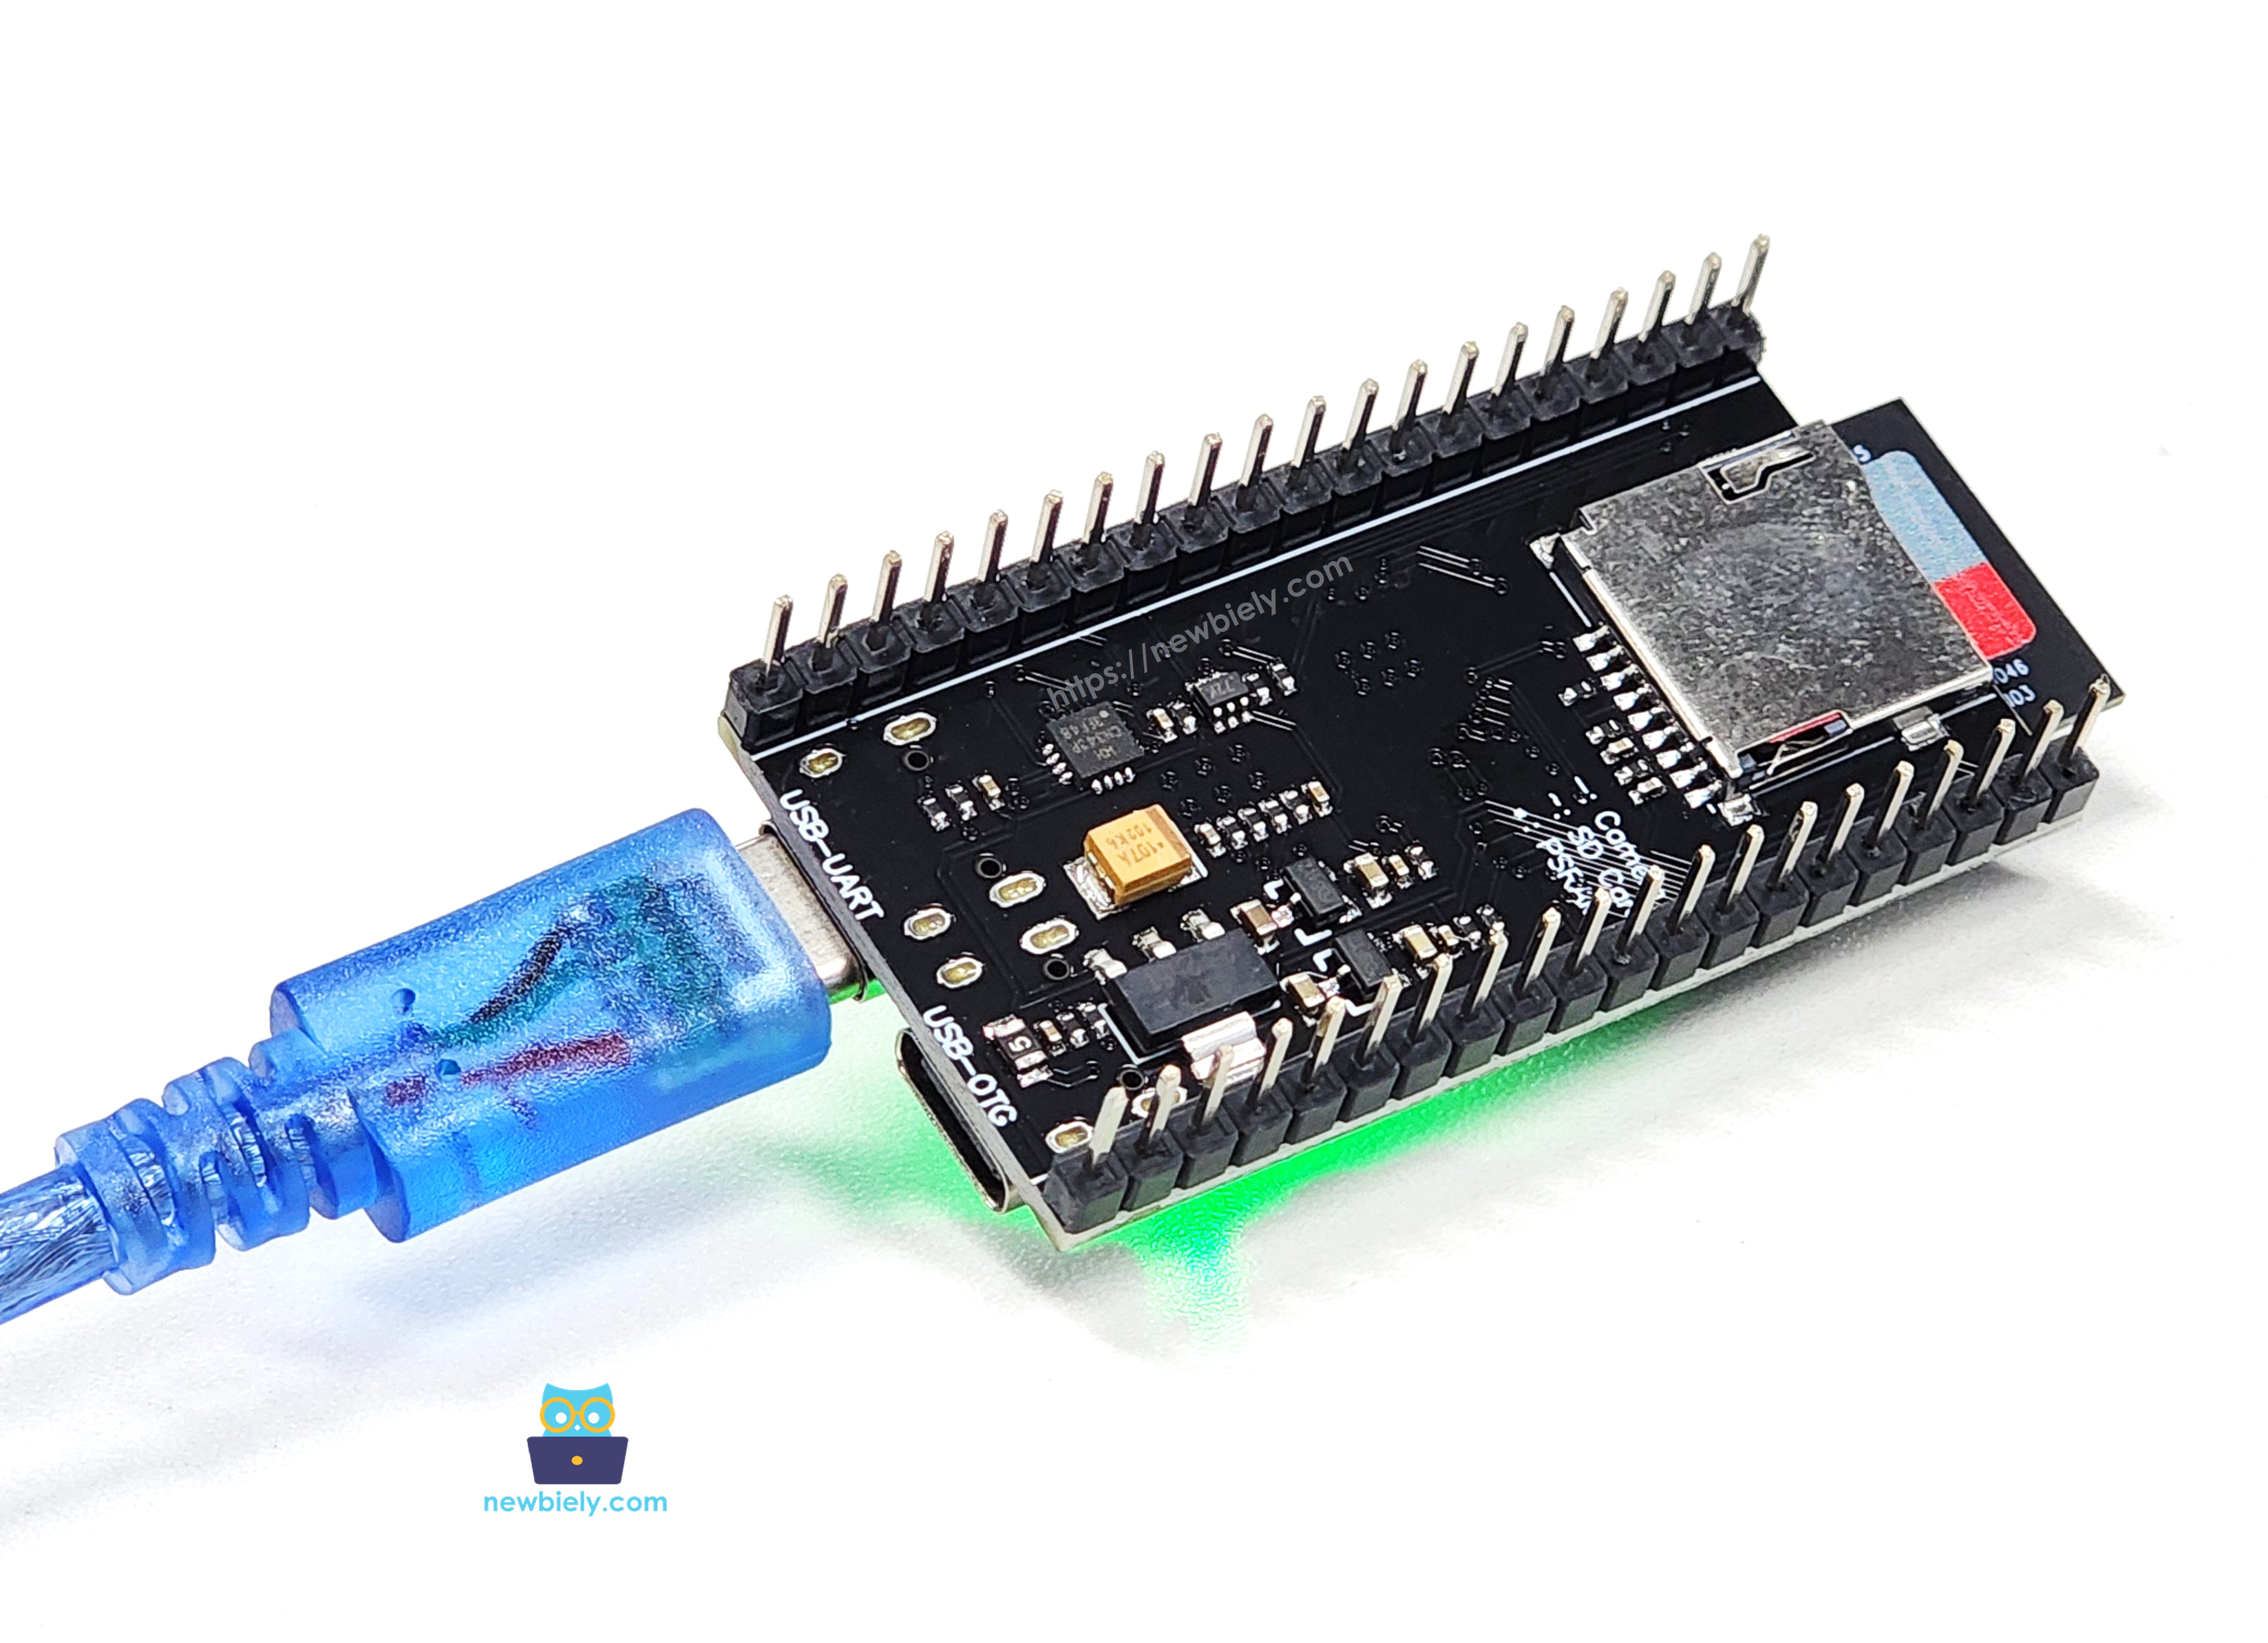
This image is created using Fritzing. Click to enlarge image
- Unplug the USB cable.
- Make sure the camera module is connected with its flat cable.
- Push the microSD card into the slot until you hear a small click.
- Plug in the USB cable.
Safety Notes
Never take the card out while the board is writing a photo. The photo, and sometimes the whole card, becomes broken. Always unplug the USB cable first, wait two seconds, then take the card out.
Arduino IDE Settings for ESP32 S3 Camera
The camera does not work with the default settings of the Arduino IDE. You must change some items in the Tools menu before you upload the code.
| Tools Menu Item | Select This |
|---|---|
| Board | ESP32S3 Dev Module |
| Flash Size | 16MB (128Mb) |
| PSRAM | OPI PSRAM |
| Partition Scheme | Huge APP (3MB No OTA/1MB SPIFFS) |
| CPU Frequency | 240MHz (WiFi) |
| USB Mode | Hardware CDC and JTAG |
| Upload Mode | UART0 / Hardware CDC |
| Upload Speed | 921600 |
| USB CDC On Boot | Enabled |
※ NOTE THAT:
PSRAM must be OPI PSRAM, and Partition Scheme must be Huge APP. Change Flash Size first, because the list of Partition Scheme options changes after that.
How To Save a Photo to the SD Card
You do not need to install any library. SD_MMC is already inside the ESP32 board package.
- Include the two files at the top of your code.
- Tell the library which pins the card slot uses, then start the card in 1-bit mode.
- Check that a card is really inside the slot.
- Open a file, write the photo, and close the file. The photo is inside fb->buf, and its size is inside fb->len.
※ NOTE THAT:
You must call file.close(). If you forget it, the photo stays in the memory and never reaches the card.
- Give every photo a different name, or the new photo writes over the old one.
%05d means "write the number with 5 digits". So the names are photo_00001.jpg, photo_00002.jpg, ... Your computer then shows the photos in the correct order.
- When the board restarts, the counter starts at 1 again. To keep the old photos, look for the first free name:
- Use millis() to wait between two photos. Do not use delay(), because delay() stops everything.
ESP32 S3 Code
The following code takes one photo every 30 seconds and saves it to the microSD card. To change the time, change the line #define PHOTO_INTERVAL 30000. The number is in milliseconds, so 30000 means 30 seconds.
Detailed Instructions
- New to ESP32 S3? Complete our Getting Started with ESP32 S3 guide first.
- Format your microSD card as FAT32 on your computer.
- Unplug the USB cable, then put the card into the slot on the board.
- Copy the above code and paste it into the Arduino IDE.
- Change the settings in the Tools menu. See the table above.
- Compile and upload the code to the ESP32 S3 board by clicking the Upload button in Arduino IDE.

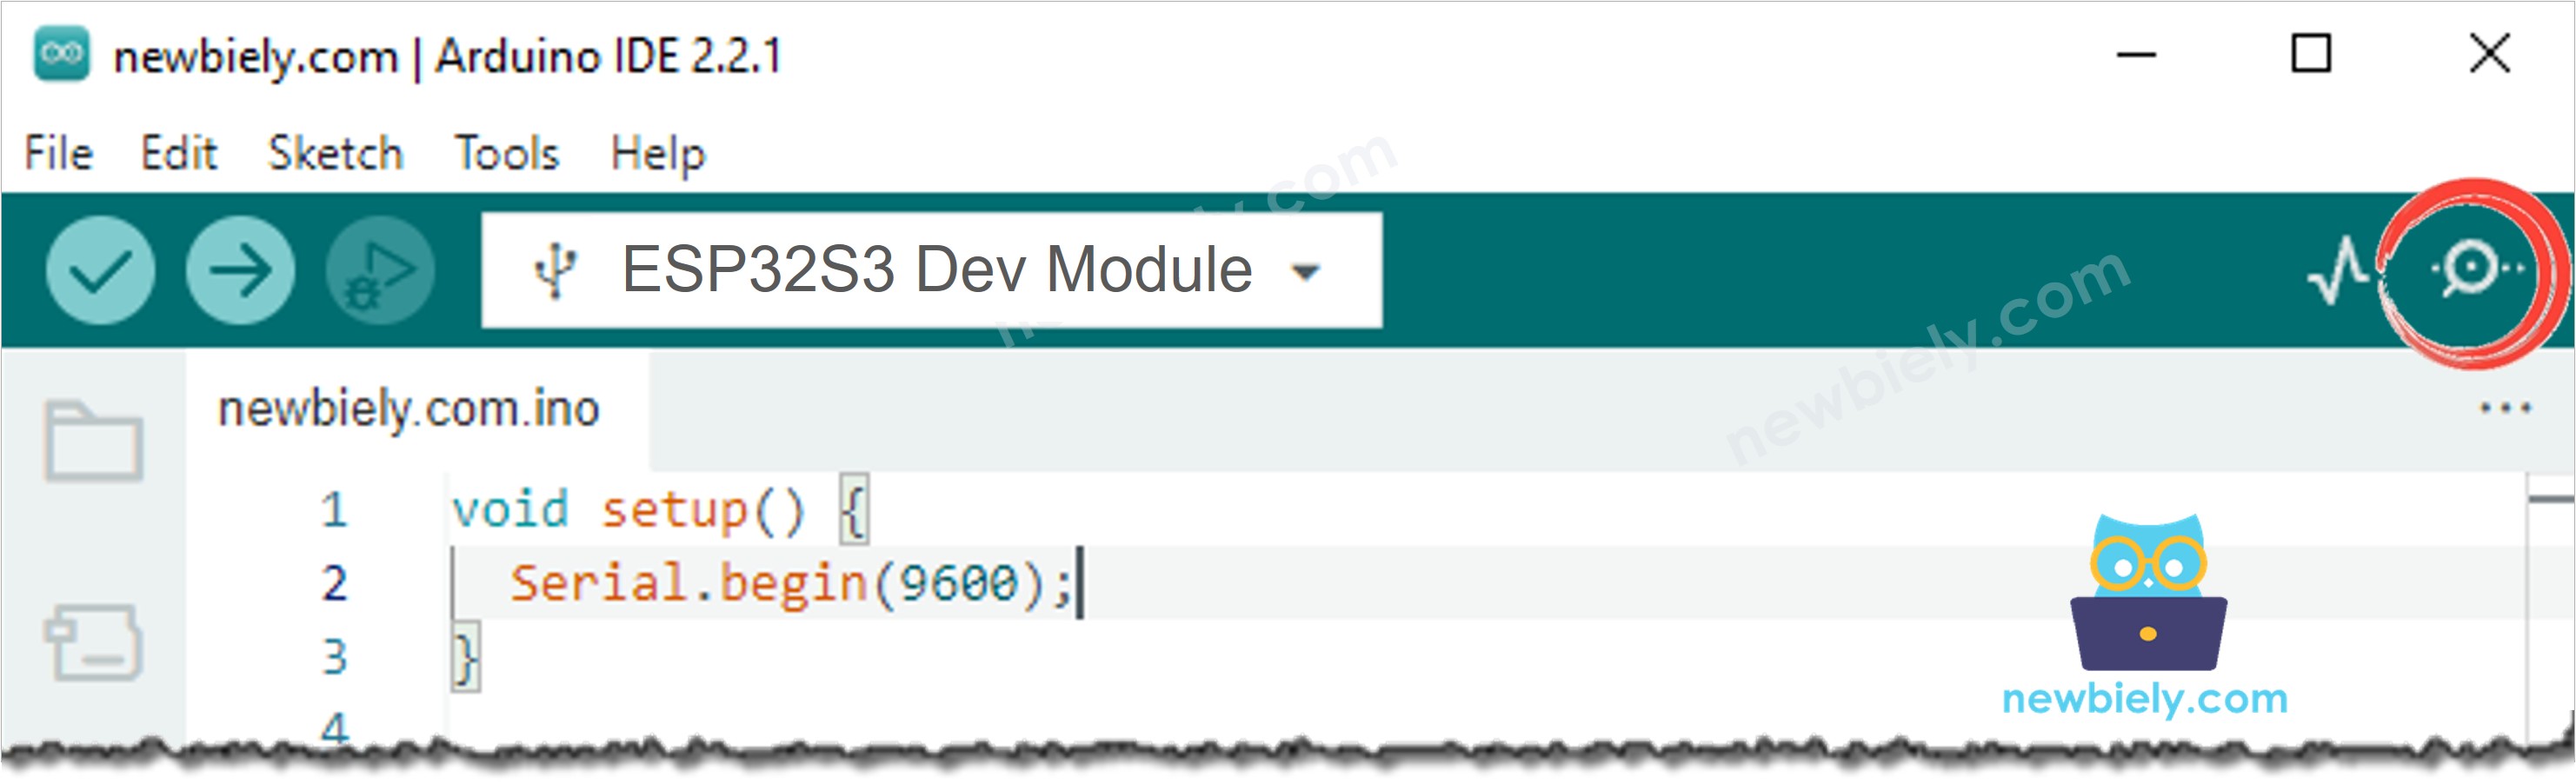
- Open the Serial Monitor in Arduino IDE.
- Press the RESET button on the board one time.
- Wait some minutes. Point the camera at something that changes, for example a plant or a window.
- Unplug the USB cable, take the card out, and read it on your computer.
- Pro Tip: A time-lapse video is made from these photos. Many free programs can join the photos into one video.
Serial Monitor
The Serial Monitor tells you the name and the size of every photo. The following readings were captured in 2026:
When you restart the board, the counter does not start again at 1. It continues after your last photo:
How Many Photos Fit on the Card?
One photo at 1600×1200 is about 180 KB. This table helps you plan:
| Card Size | Number of Photos | One photo every 30 seconds lasts |
|---|---|---|
| 8 GB | about 44,000 | about 15 days |
| 16 GB | about 88,000 | about 30 days |
| 32 GB | about 177,000 | about 61 days |
※ NOTE THAT:
Do you want smaller photos? Change config.frame_size to FRAMESIZE_SVGA (800×600). One photo is then about 50 KB, so the card holds four times more photos.
Troubleshooting
The Serial Monitor shows SD card not found.
Try these, one by one:
- Push the card in again until it clicks.
- Format the card as FAT32, not exFAT and not NTFS.
- Use a card of 32 GB or smaller.
- Check the three pin numbers at the top of the code against the drawing of your board.
The Serial Monitor shows No SD card inside the slot.
The board found the slot but no card. Push the card in again. Also try another card, because old cards often fail.
The Serial Monitor shows Cannot write the file.
The card is full, or the card is locked, or the card is broken. Check the free space on your computer.
The photos are all black or all white.
The camera needs a moment for the light. Increase PHOTO_INTERVAL, and make sure the room is not too dark.
The Serial Monitor shows nothing after the boot messages.
If your USB cable is in the port named UART, set USB CDC On Boot to Disabled. If it is in the port named USB, set it to Enabled.
The Serial Monitor shows Camera init failed with error 0x105.
Set PSRAM to OPI PSRAM in the Tools menu, and check the flat cable of the camera.
Applications
A camera that takes a photo every few seconds and saves it to a card is the simplest way to make a time-lapse video, and it needs no WiFi. Here are practical projects you can build with this code:
- Plant growth time-lapse: One photo every hour shows a flower opening in a few seconds of video.
- Building site record: Keep a picture of the work of every day, and show it to your customer.
- Sky and weather time-lapse: Photograph the sky all day and watch the clouds move.
- 3D printer time-lapse: Record a long print job and make a short video of it.
- Shop and office record: Keep a photo record of the room with no internet connection.
- School science project: Watch ice melting, bread rising, a candle burning, or a seed growing.
- Sunrise and sunset video: Leave the camera at a window all day and join the photos into a video.
- Aquarium and terrarium watcher: See what your fish or your reptile does when nobody is in the room.
- Road and traffic study: Count the cars that pass your street during one day.
- Long machine test: Keep a photo of a machine every 30 seconds, so you can find the moment it failed.
Video Tutorial
Watch the step-by-step video walkthrough for this ESP32 S3 project below.
Challenges
- Beginner: Change the time between photos from 30 seconds to 5 seconds, then to 5 minutes.
- Intermediate: Save the photos into folders, one folder per day, for example /2026-09-23/photo_00001.jpg.
- Advanced: Add a real time clock (RTC) and put the real date and time into the file name.