
ESP32 S3 - Gas Sensor
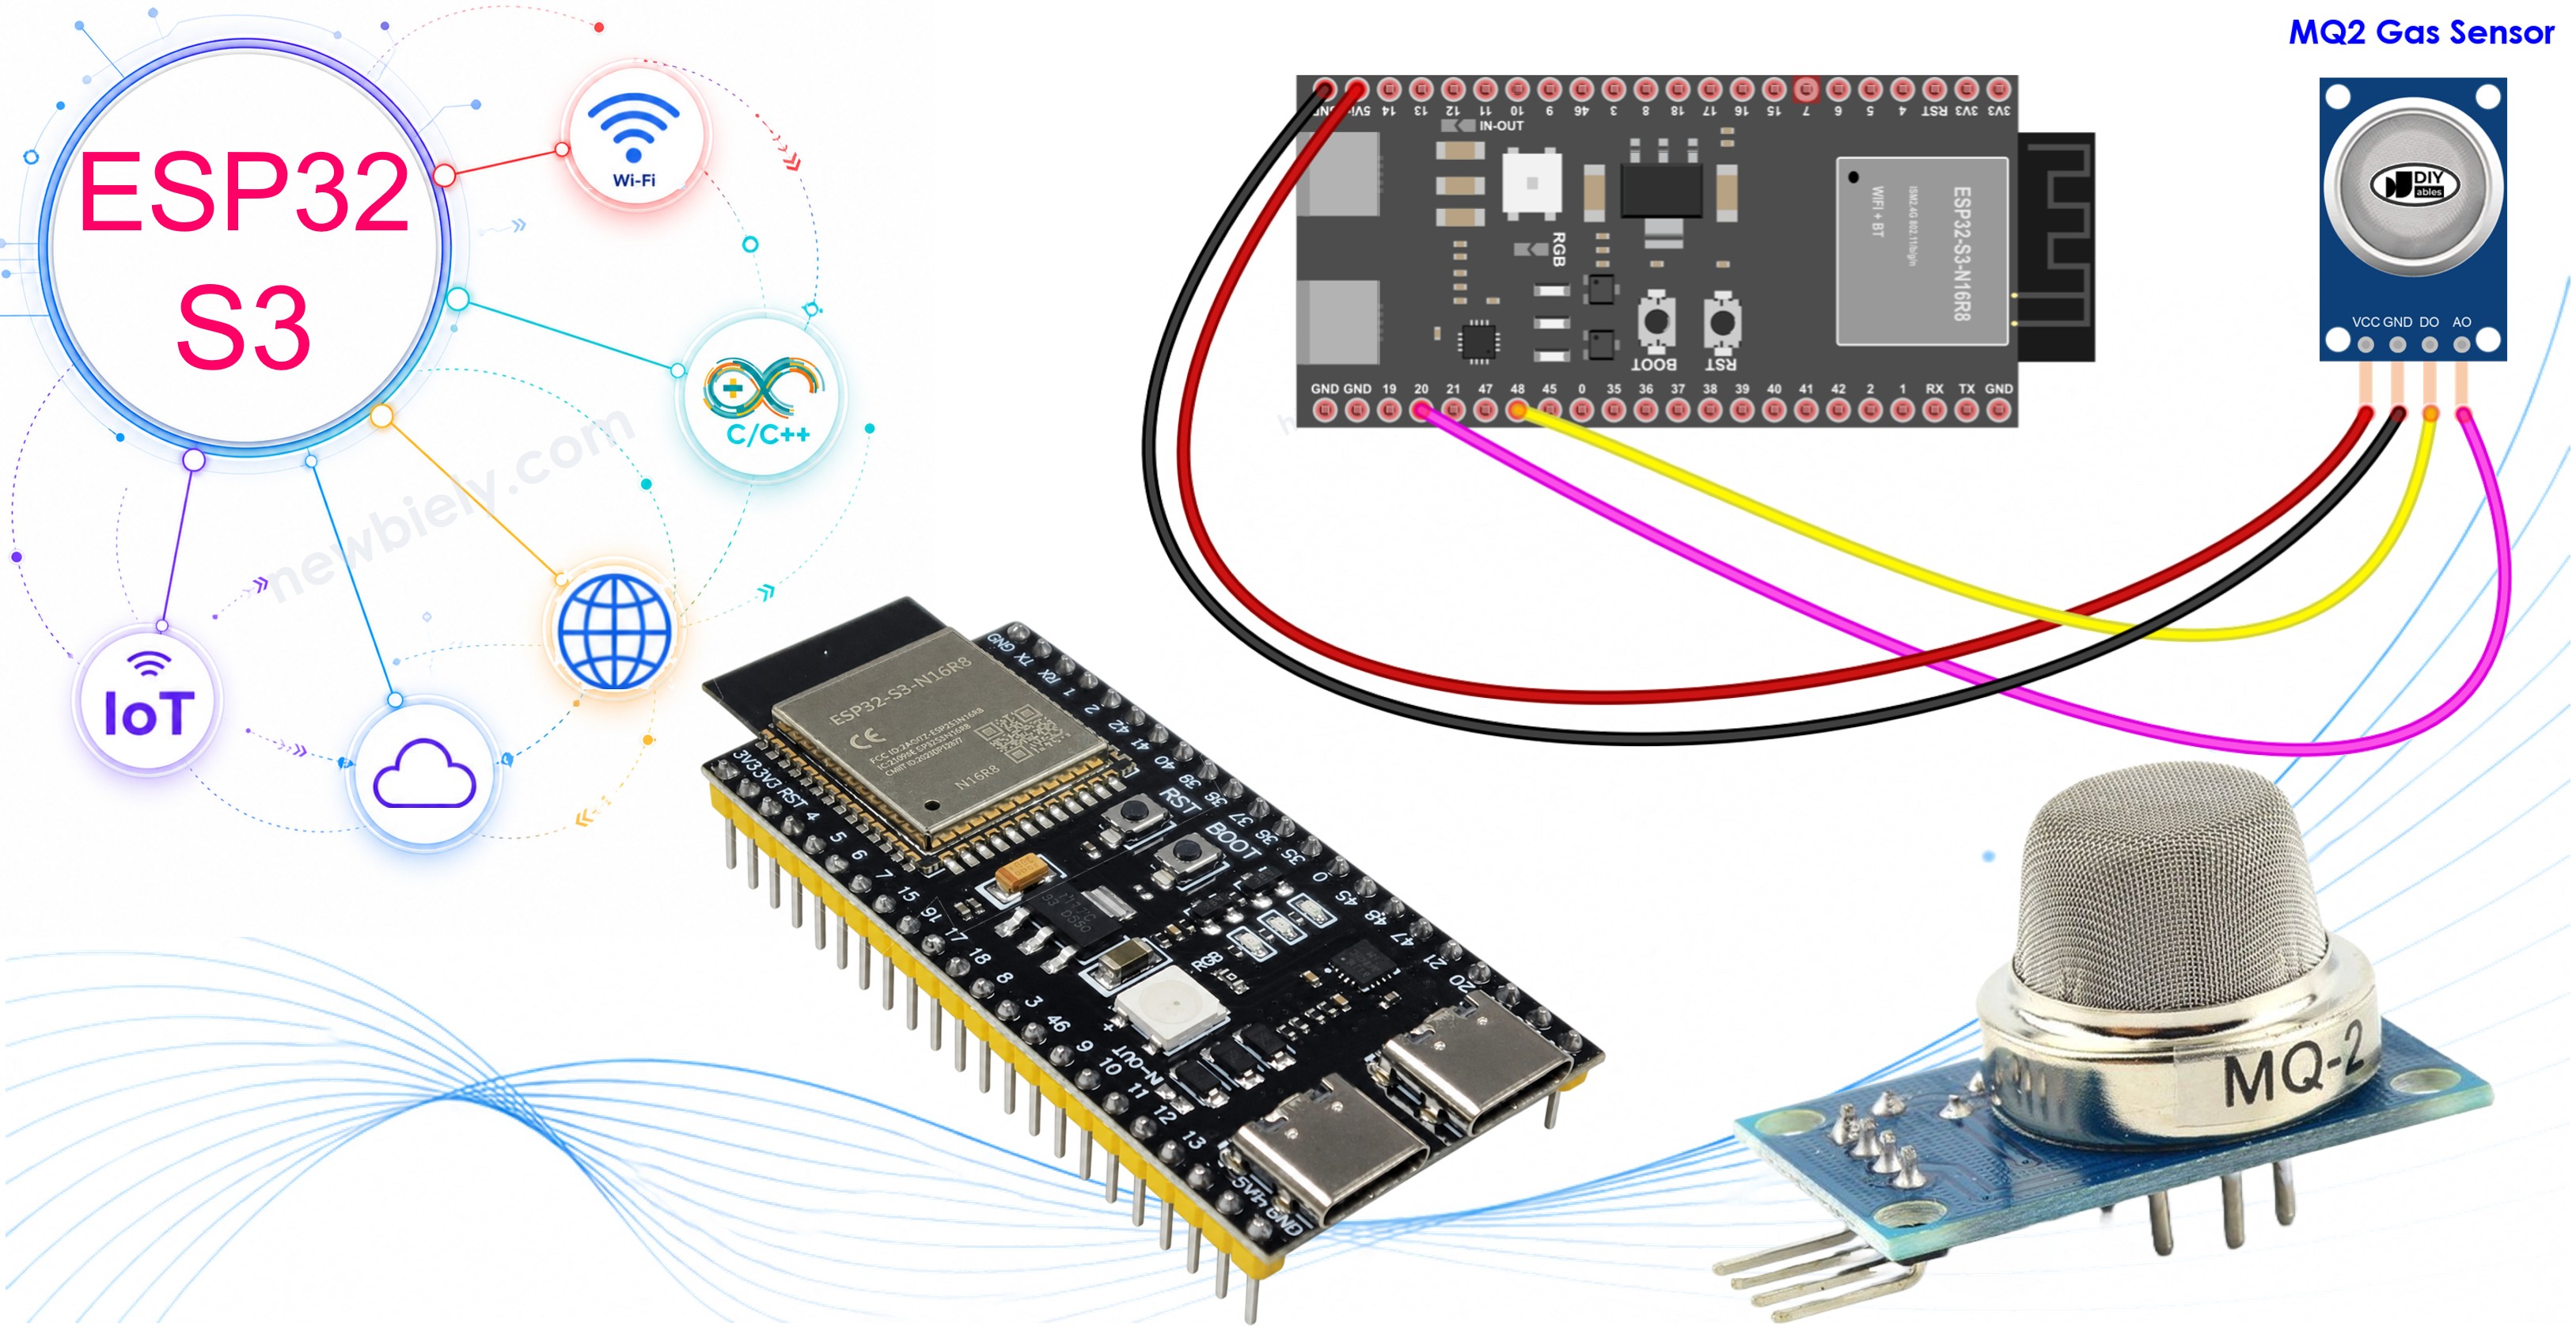
Learn how to use the ESP32 S3 with an MQ2 gas sensor to monitor air quality and detect flammable gases like LPG, smoke, propane, hydrogen, methane, and carbon monoxide in your environment. This tutorial walks you through every step, from wiring the sensor to writing and uploading the code, so you can build a working gas detection system quickly.
What you'll build:
- A digital gas detector that triggers when gas concentration exceeds a set threshold
- An analog gas concentration monitor that tracks gradual changes in air quality
- A Serial Monitor display showing real-time gas detection status and values
- A foundation for practical safety projects like alarms and ventilation controllers
Hardware Preparation
Or you can buy the following kits:
| 1 | × | DIYables ESP32 S3 Starter Kit (ESP32 S3 included) | |
| 1 | × | DIYables Sensor Kit (18 sensors/displays) |
Additionally, some of these links are for products from our own brand, DIYables .
Overview of MQ2 Gas Sensor
The MQ2 gas sensor is a versatile air quality module capable of detecting a wide range of flammable gases and smoke. It provides both a digital threshold output and an analog concentration output, making it suitable for everything from simple alarms to detailed air quality logging with the ESP32 S3.
Key Specifications
- Detects multiple gases: LPG, smoke, alcohol, propane, hydrogen, methane, and carbon monoxide
- Dual output options: digital (DO) and analog (AO) pins
- Built-in potentiometer for sensitivity adjustment
- Operating voltage: 5V power supply
- Two LED indicators for power and gas detection status
- The MQ2 sensor detects the overall presence of flammable gases rather than identifying individual gas types
- Requires a warm-up period before accurate readings are possible
- Low cost and straightforward to integrate with the ESP32 S3
Pinout
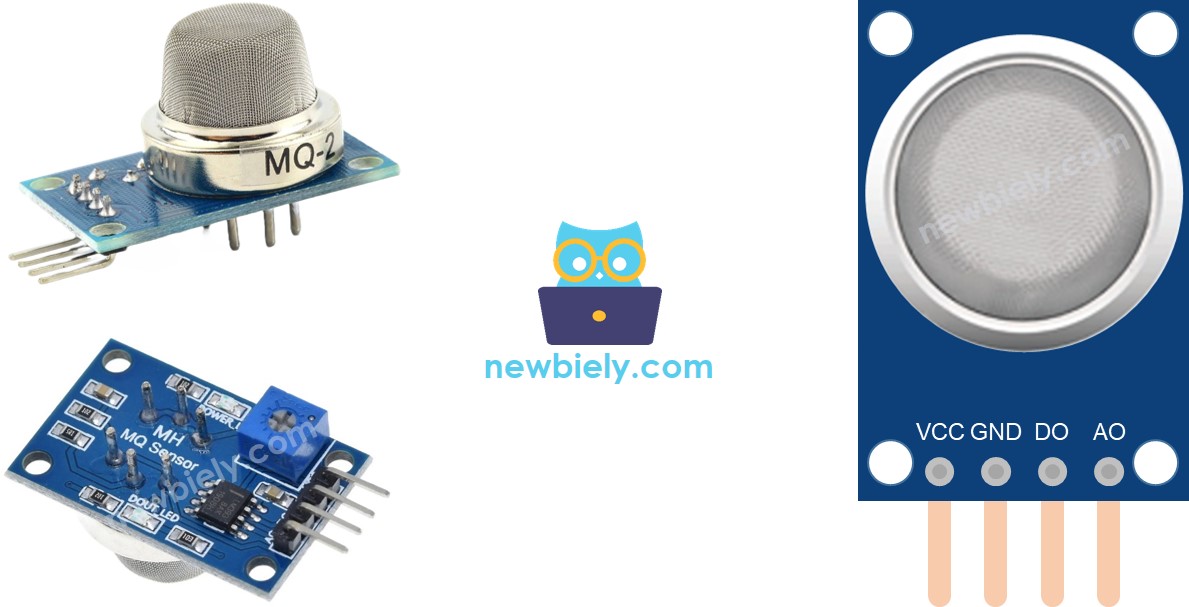
The MQ2 gas sensor module has four connection pins that map directly to your ESP32 S3:
- VCC pin: Connect to 5V power supply
- GND pin: Connect to ground (0V)
- DO pin: Digital output — outputs LOW when gas is detected above threshold, HIGH when below threshold
- AO pin: Analog output — voltage increases with gas concentration
LED indicators:
- PWR-LED: Power indicator — lights up when sensor receives power
- DO-LED: Gas detection indicator — turns on when gas concentration exceeds threshold (DO pin is LOW)
How It Works
Digital output (DO pin):
- Built-in potentiometer lets you set the gas concentration threshold
- When gas concentration exceeds threshold: DO pin outputs LOW and DO-LED turns on
- When gas concentration is below threshold: DO pin outputs HIGH and DO-LED turns off
- Ideal for simple gas detection alarms
Analog output (AO pin):
- Voltage increases as gas concentration increases
- Voltage decreases as gas concentration decreases
- Provides precise measurement of gas levels
- Potentiometer adjustment doesn't affect AO pin readings
- Perfect for monitoring gradual changes in air quality
The MQ2 Sensor Warm-up
The MQ2 gas sensor needs time to warm up before providing accurate readings.
Warm-up requirements:
- First-time use or after long storage (1+ month): Warm up for 24-48 hours
- Regular use: Warm up for 5-10 minutes only
- During warm-up: Readings start high, then gradually decrease until stable
- How to warm up: Simply connect VCC and GND to power (5V) or your ESP32 S3
Why warm-up matters:
- Ensures sensor accuracy and stability
- Without proper warm-up, readings will be unreliable
Wiring Diagram
Connecting the MQ2 gas sensor to your ESP32 S3 is straightforward — you can use the digital output, analog output, or both depending on your project needs. Pay attention to the power requirement: the MQ2 sensor needs 5V to operate correctly, so connect VCC to the 5V pin on your ESP32 S3.
Safety Notes
Always ensure the MQ2 sensor is powered from 5V rather than 3.3V, as insufficient voltage will result in inaccurate readings. Handle open flames or gas sources carefully when testing the sensor, and work in a well-ventilated area to avoid accidentally accumulating flammable gases during development.
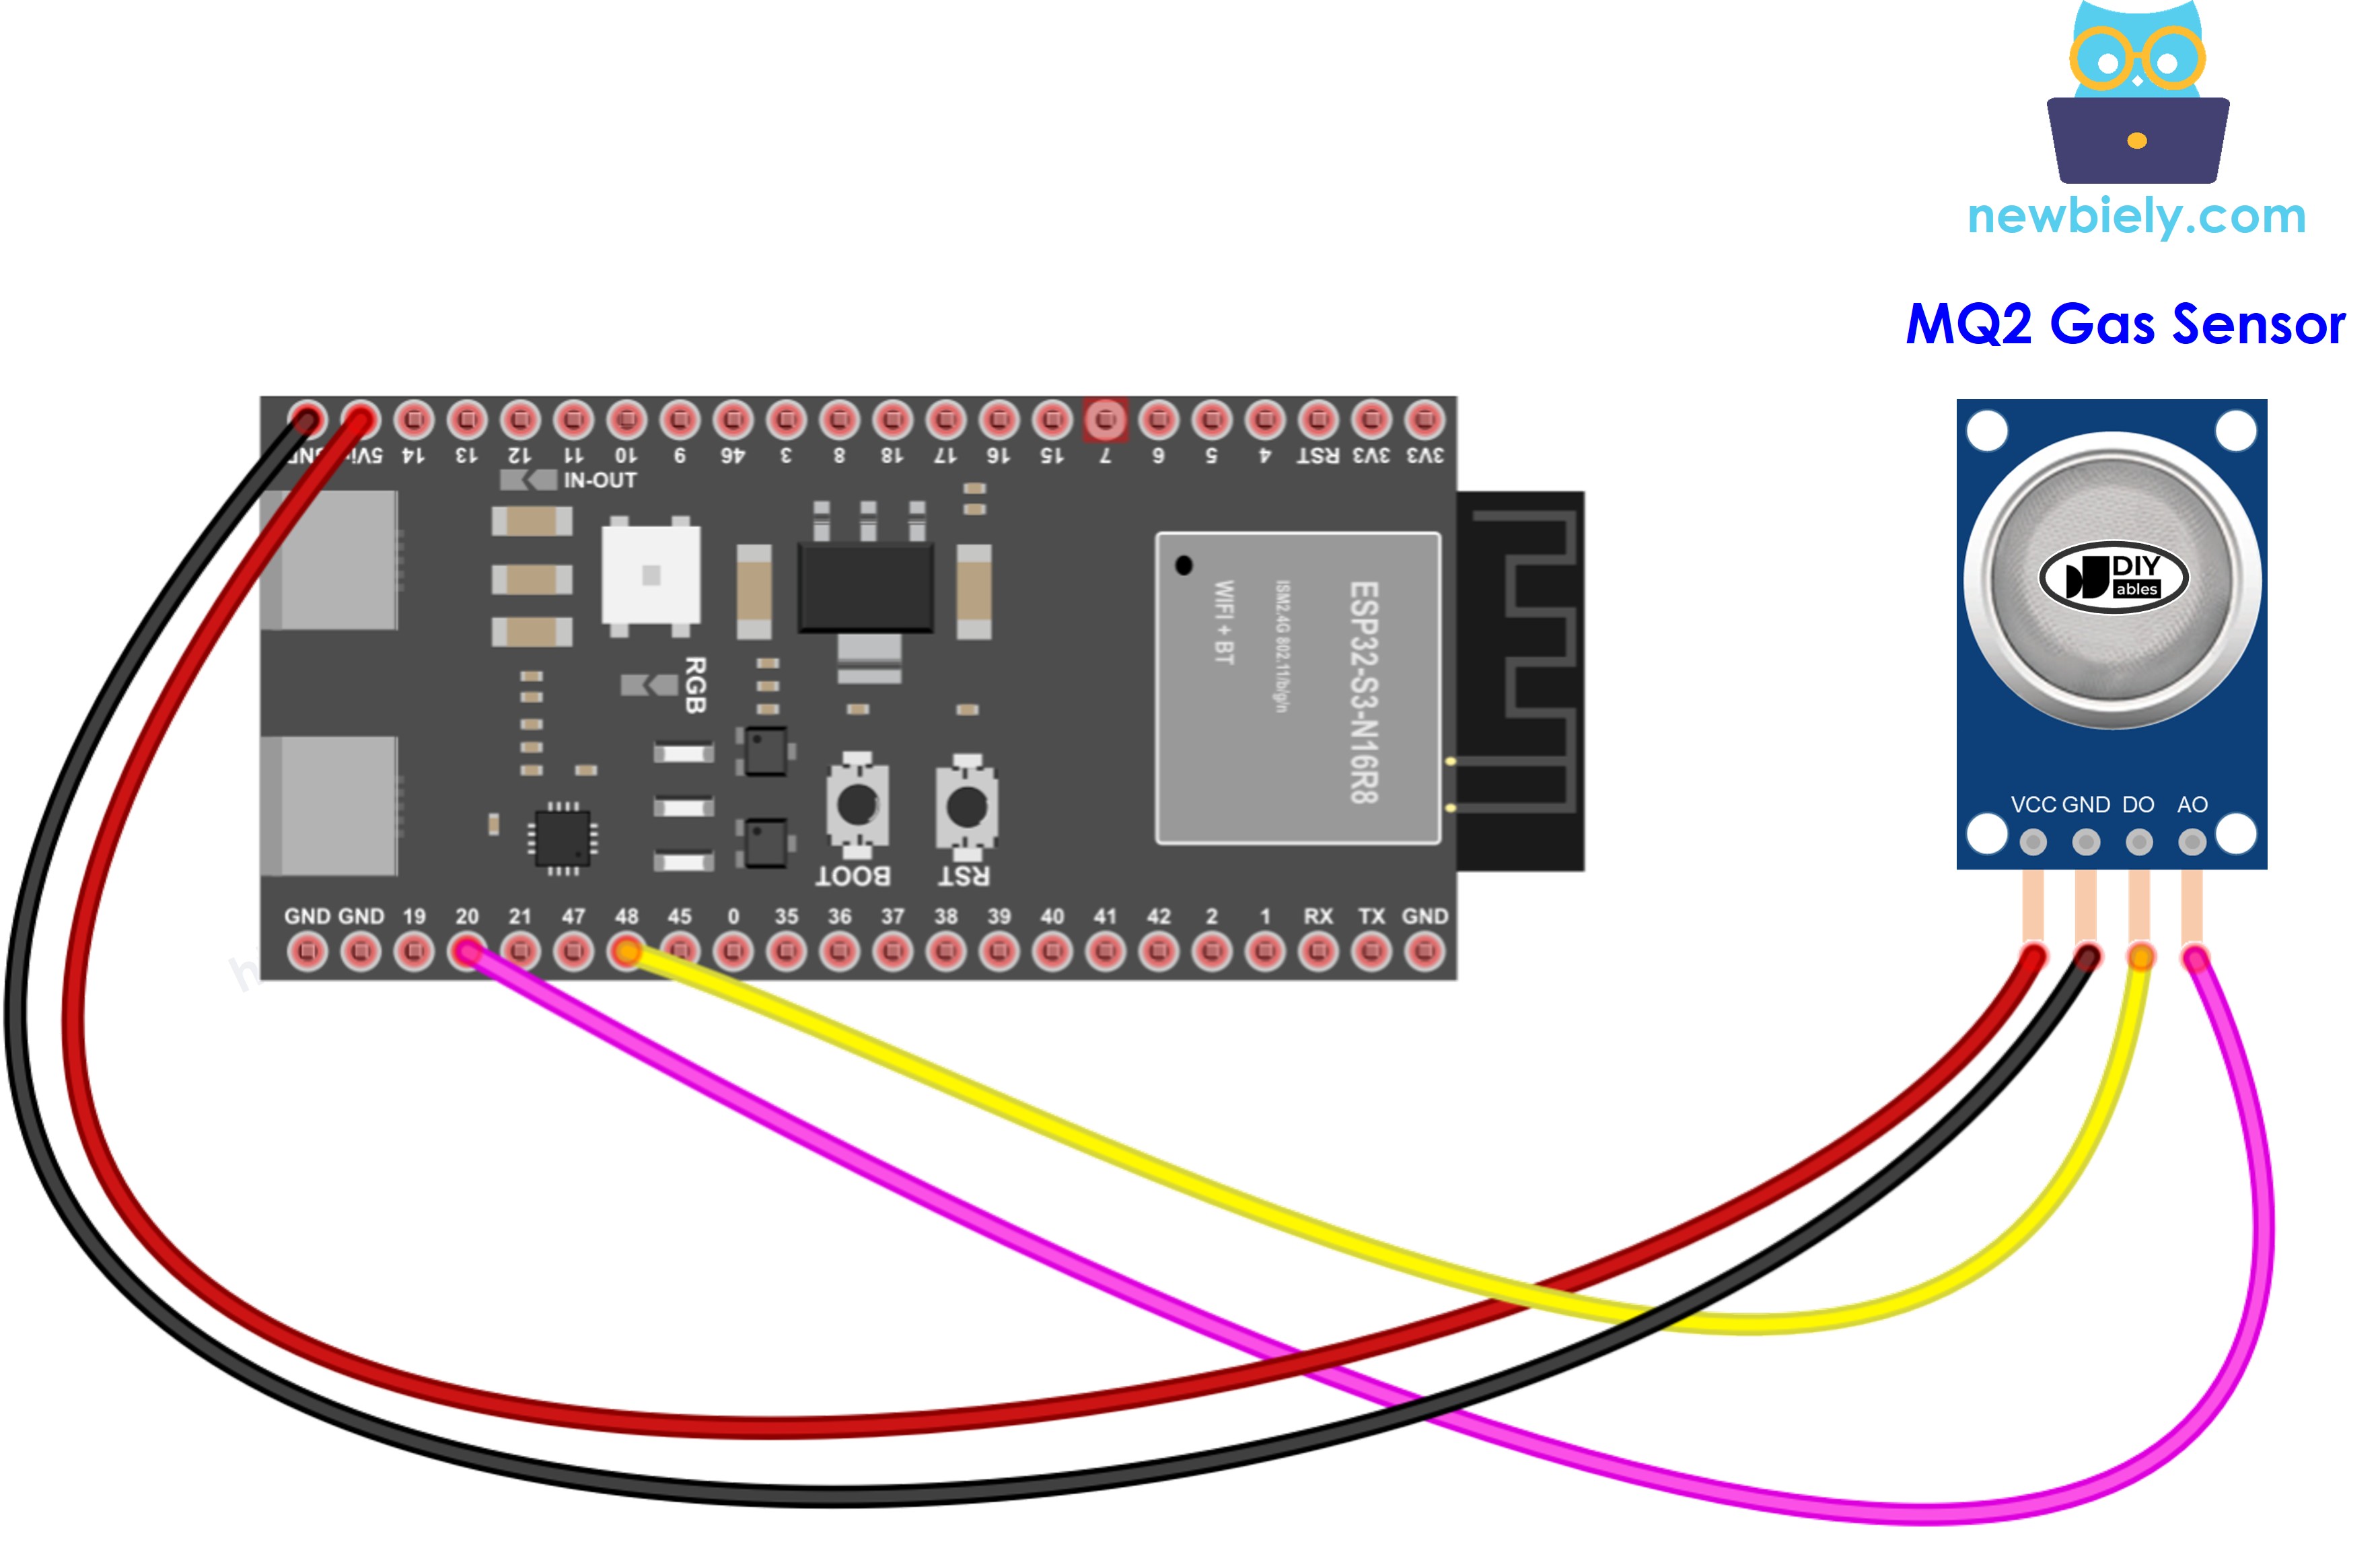
This image is created using Fritzing. Click to enlarge image
| MQ2 Pin | ESP32 S3 Pin |
|---|---|
| VCC | 5V |
| GND | GND |
| DO | GPIO41 |
| AO | GPIO15 |
ESP32 S3 Code - Read value from DO pin
The following code reads the digital output from the MQ2 gas sensor to detect the presence of flammable gases. It monitors the DO pin every second and prints a clear status message to the Serial Monitor so you can see immediately when gas is detected or the air returns to normal.
Detailed Instructions
- New to ESP32 S3? Complete our Getting Started with ESP32 S3 guide first.
- Copy the code: Copy the above code and open it with Arduino IDE.
- Upload code: Click Upload button on Arduino IDE to upload code to ESP32 S3.
- Test the sensor: Place the MQ2 gas sensor near smoke or a flammable gas source you want to detect.
- Check results: Open the Serial Monitor to see gas detection status.
- Adjust sensitivity: If the LED stays on or off constantly, turn the potentiometer to fine-tune sensor sensitivity.
- Pro Tip: Test with a lighter (without igniting) to verify the sensor detects gas properly before deploying your project.
ESP32 S3 Code - Read value from AO pin
The following code reads the analog output from the MQ2 gas sensor to measure gas concentration as a numerical value. The ESP32 S3's ADC converts the sensor voltage into a 12-bit value between 0 and 4095, where higher numbers indicate greater gas concentration, allowing you to track air quality changes over time.
Detailed Instructions
- New to ESP32 S3? Complete our Getting Started with ESP32 S3 guide first.
- Copy the code: Copy the above code and open it with Arduino IDE.
- Upload code: Click Upload button on Arduino IDE to upload code to ESP32 S3.
- Test the sensor: Place the MQ2 gas sensor near smoke or a flammable gas source you want to detect.
- Monitor values: Open the Serial Monitor to see analog gas concentration readings.
- Interpret readings: Lower values indicate cleaner air; higher values indicate more gas is present.
- Pro Tip: Record baseline values in clean air first, then compare them when testing with gas sources to understand your sensor's response range.
Using your readings:
- Use DO or AO values to determine air quality based on your requirements
- Trigger alarms when gas is detected
- Automatically turn on ventilation systems
- Log data for air quality monitoring over time
※ NOTE THAT:
This tutorial uses the analogRead() function to read values from an ADC (Analog-to-Digital Converter) connected to a sensor or component. The ESP32 S3's ADC is suitable for projects that do not require high accuracy. However, for projects needing precise measurements, keep the following in mind:
- The ESP32 S3's ADC is not perfectly accurate and might require calibration for correct results. Each ESP32 S3 board can vary slightly, so calibration is necessary for each individual board.
- Calibration can be challenging, especially for beginners, and might not always yield the exact results you want.
For projects requiring high precision, consider using an external ADC (e.g ADS1115) with the ESP32 S3 or using another Arduino, such as the Arduino Uno R4 WiFi, which has a more reliable ADC. If you still want to calibrate the ESP32 S3's ADC, refer to the ESP32 ADC Calibration Driver.
Application and Project Ideas
The ESP32 S3 paired with the MQ2 gas sensor opens up a wide range of practical safety and environmental monitoring projects you can build and deploy at home or in the field.
- Kitchen Gas Alarm: Detect LPG leaks near stoves and trigger a buzzer and LED alert before dangerous concentrations build up.
- Ventilation Controller: Automatically activate an exhaust fan when indoor air quality drops below an acceptable threshold.
- Tutorial Smoke Detector: Monitor a garage or tutorial for smoke from burning materials and alert occupants early.
- IoT Air Quality Logger: Use the ESP32 S3's WiFi to upload gas sensor readings to a cloud dashboard for remote monitoring.
- Smart Home Safety System: Integrate with a home automation platform to send push notifications when gas is detected.
- Camping Propane Monitor: Build a portable device that alerts you to propane leaks near camping stoves or RV appliances.
Video Tutorial
Watch the step-by-step video walkthrough for this ESP32 S3 project below.
Challenge Yourself
These challenges are designed to push your ESP32 S3 and MQ2 gas sensor project further, progressing from simple additions to full IoT safety systems.
- Beginner: Add a buzzer that beeps when gas is detected using the digital DO output.
- Beginner: Wire up an RGB LED that changes color based on analog gas concentration levels — green for clean air, yellow for moderate, red for high.
- Intermediate: Create a data logger that records timestamped gas readings to an SD card for later analysis.
- Intermediate: Build a web server hosted on the ESP32 S3 that displays real-time air quality data in a browser on your phone.
- Advanced: Combine multiple MQ sensors (MQ2, MQ135) to detect different gas types and visualize all readings on an OLED screen.
- Advanced: Create a full IoT air quality monitoring system that sends email or SMS alerts via a cloud service when dangerous gas levels are detected.