
Arduino Nano ESP32 - SCD40 CO2 Sensor
A room full of people slowly fills up with CO2. You do not see it or smell it, but you feel it as a heavy head and lost focus. In this guide, we will learn how to use the SCD40 CO2 sensor with the Arduino Nano ESP32 to put a real number on that. In detail, we will learn:
- How the SCD40 works and what its four pins do.
- How to connect the SCD40 to the I2C pins of the Arduino Nano ESP32.
- How to program the Arduino Nano ESP32 to read CO2 in ppm and turn it into a simple air-quality word.
- How to read the bonus temperature and humidity values from the same sensor.
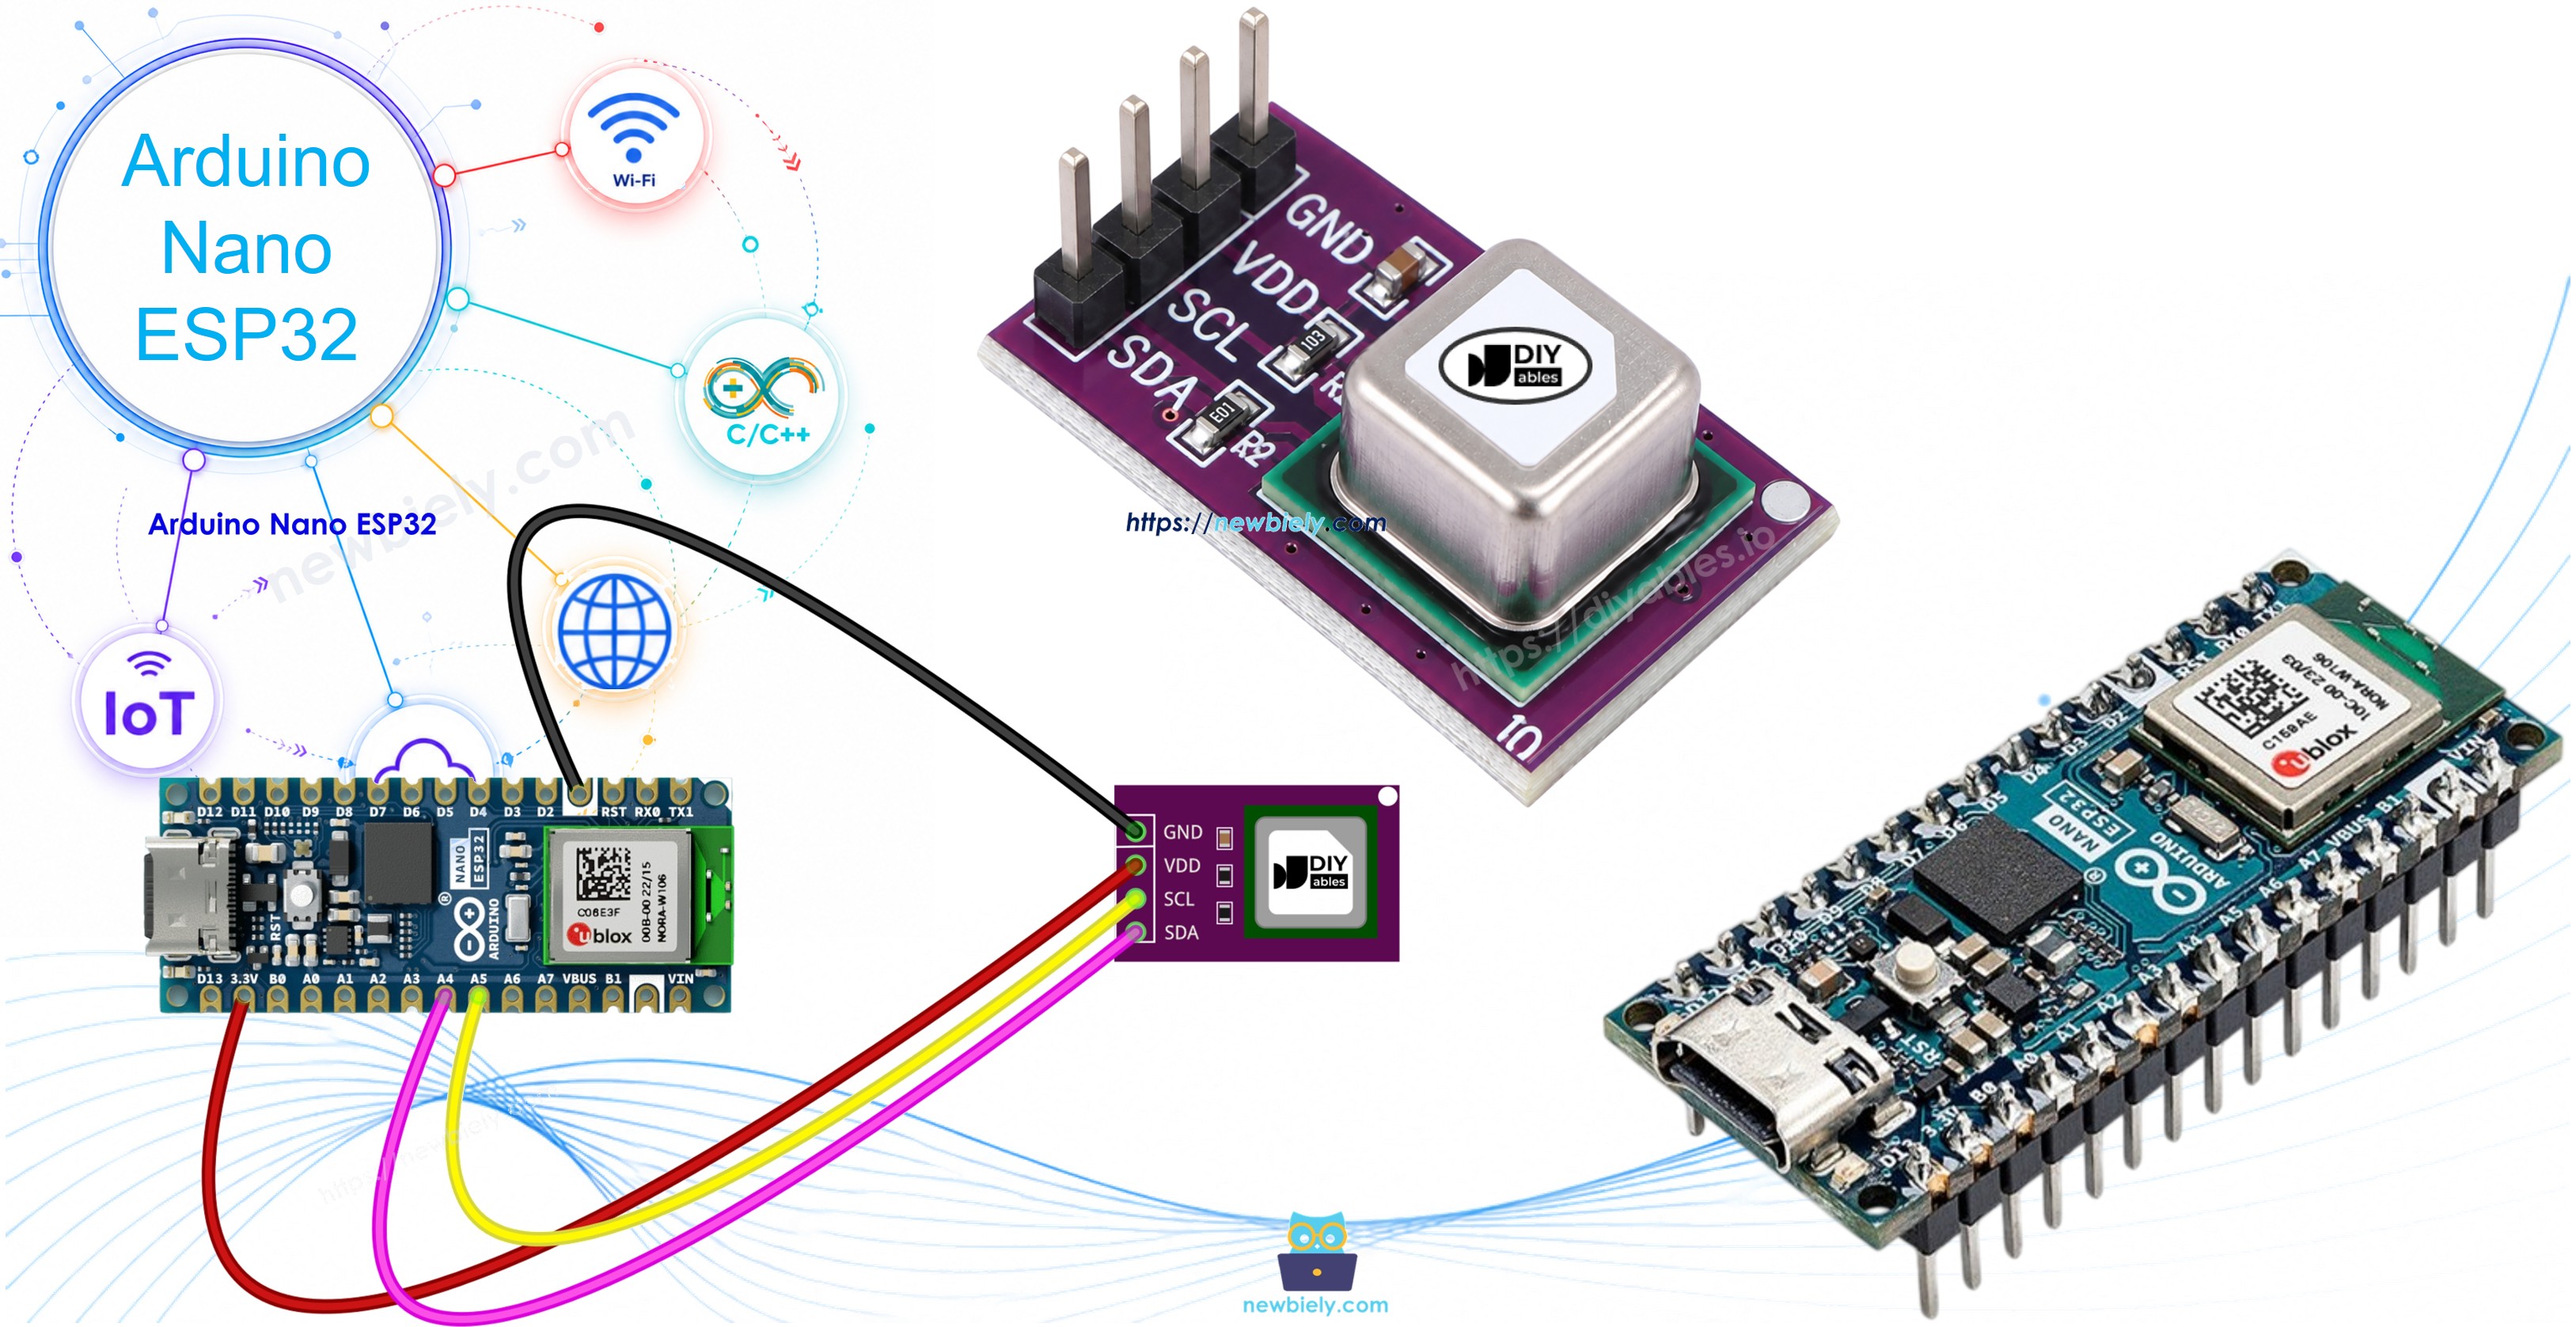
Hardware Preparation
Or you can buy the following kits:
| 1 | × | DIYables Sensor Kit (18 sensors/displays) |
Additionally, some of these links are for products from our own brand, DIYables .
Overview of SCD40 CO2 Sensor
The SCD40 from Sensirion measures true CO2, not an "eCO2" guess like the MQ135 or CCS811. Inside its small chamber, an infrared light flashes on and off. CO2 absorbs some of that light and makes a tiny pressure "sound", and a built-in microphone hears it. More CO2 gives a stronger signal. The module talks to the Arduino Nano ESP32 over I2C, so it needs only two signal wires.
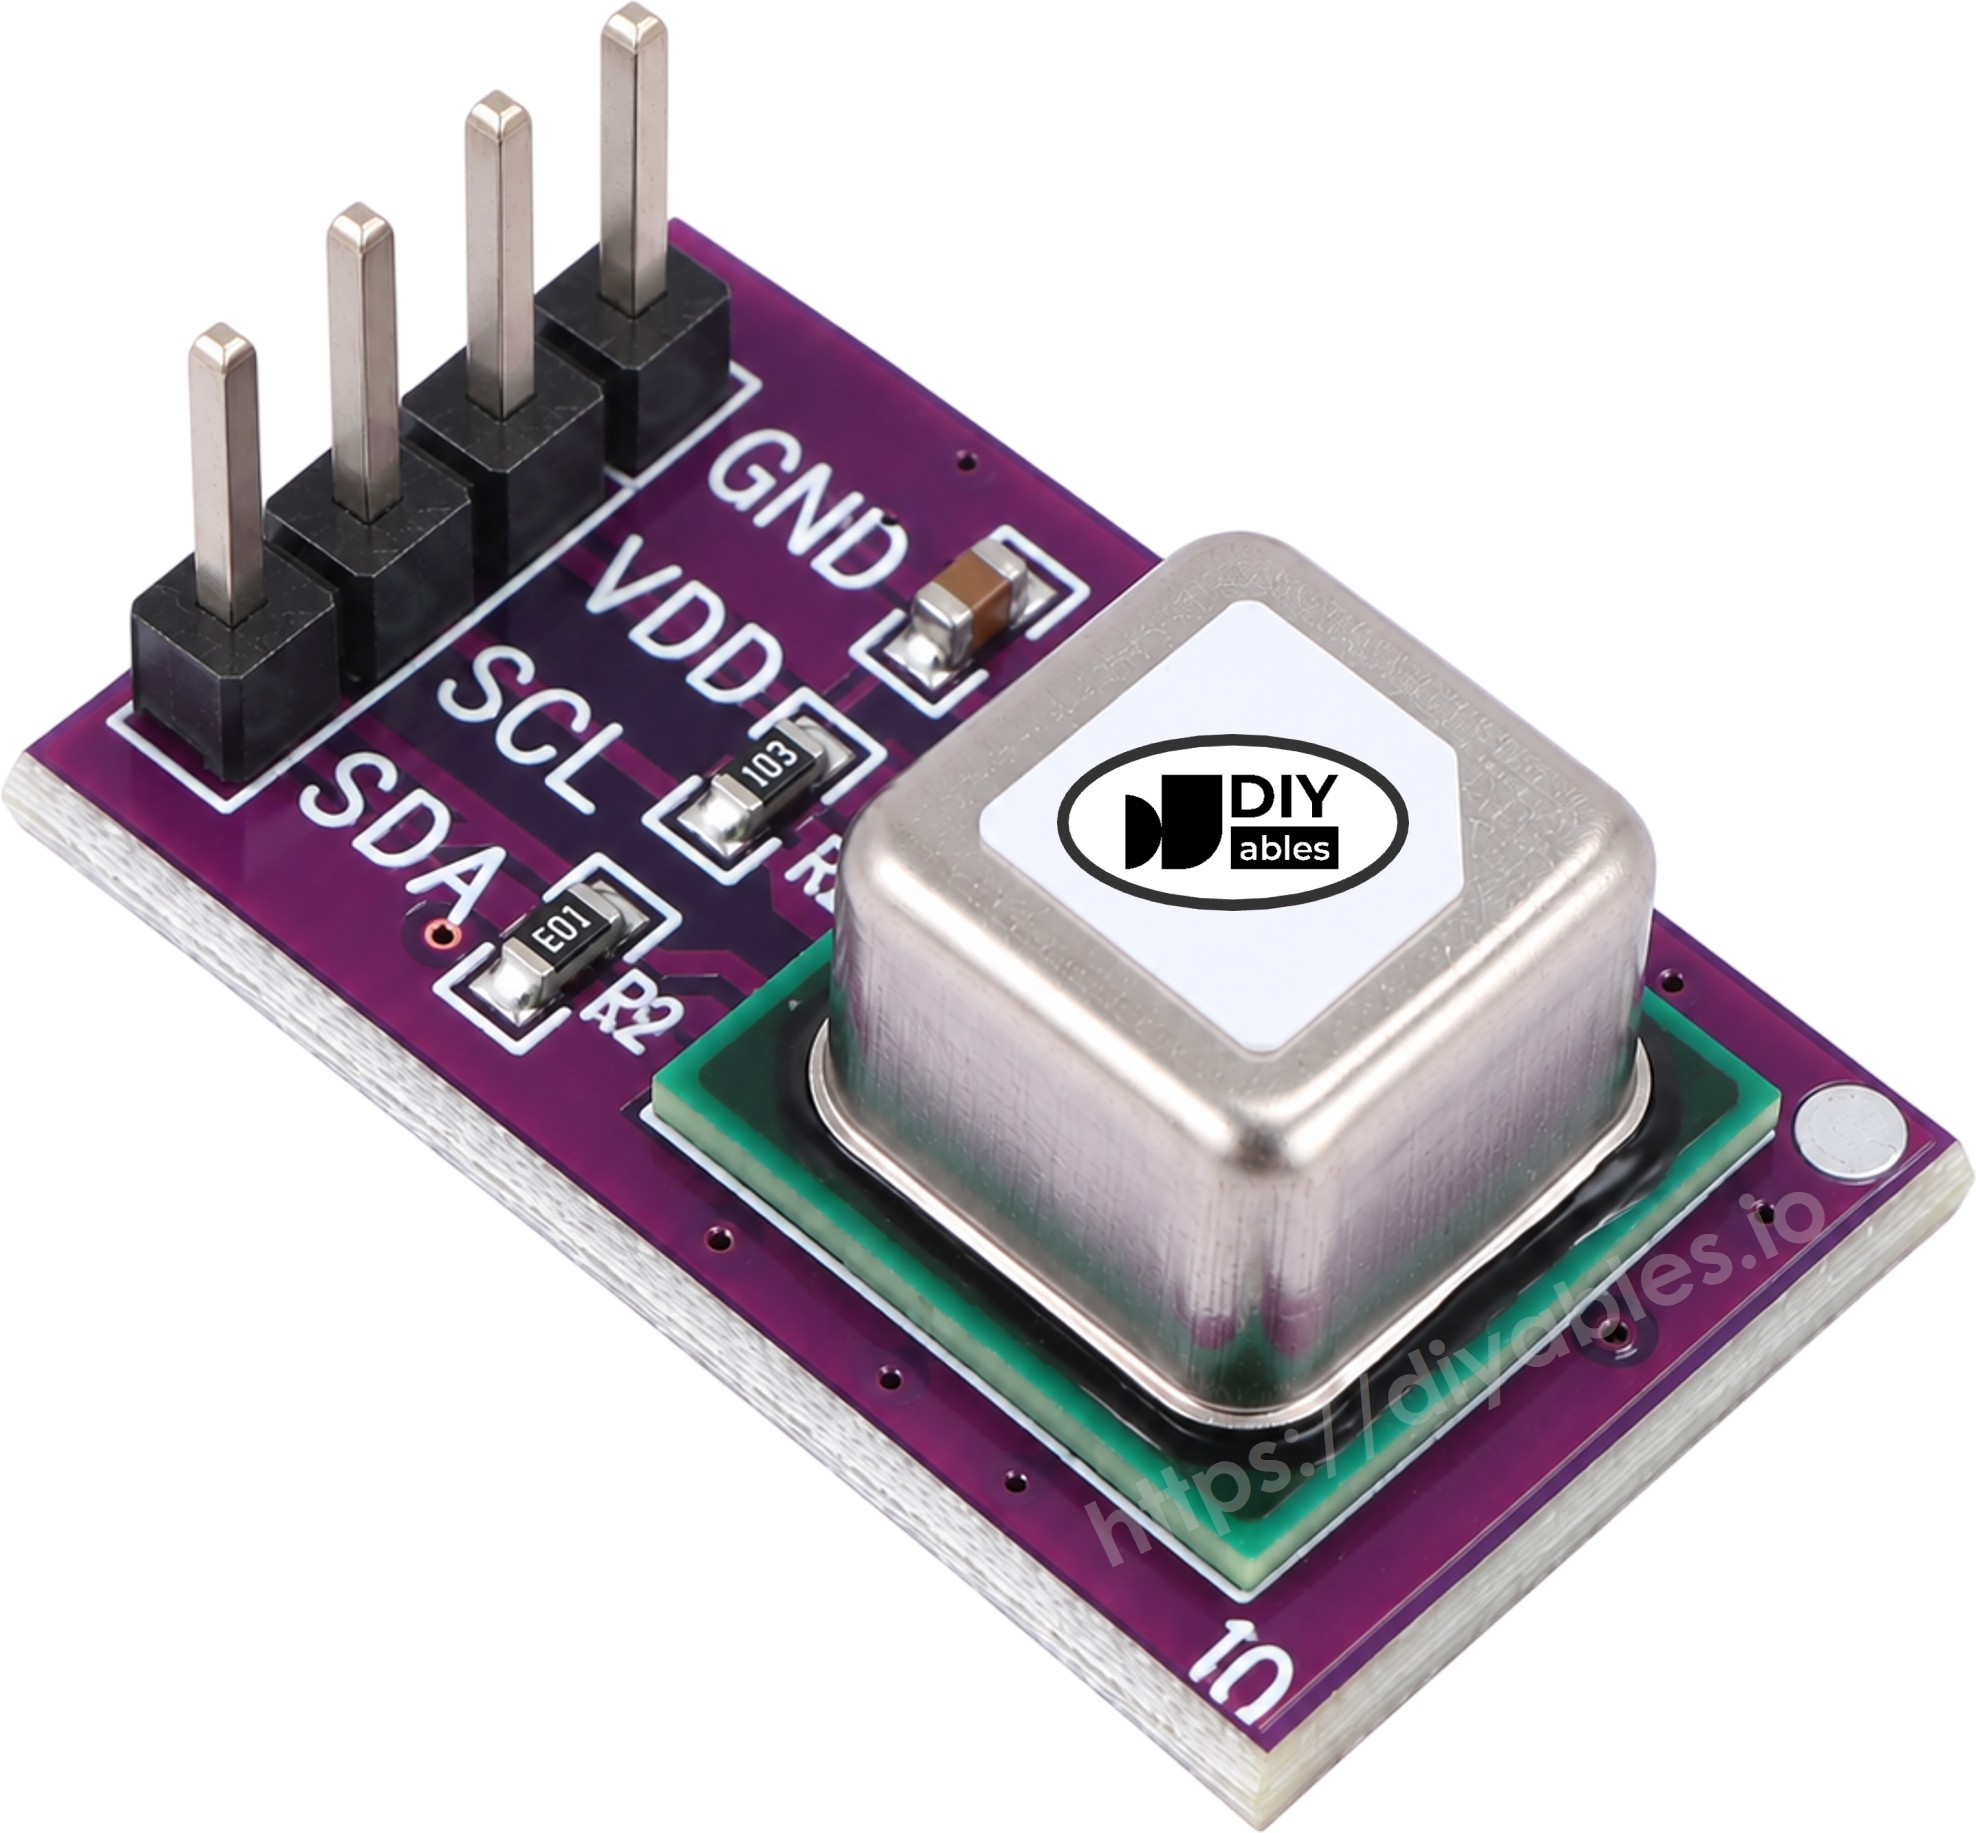
The module has four pins:
- VCC pin: connect to 3.3V (the sensor accepts 2.4V to 5.5V). Some boards label it VIN.
- GND pin: connect to GND (0V).
- SDA pin: I2C data line. Connect to A4 of the Arduino Nano ESP32.
- SCL pin: I2C clock line. Connect to A5 of the Arduino Nano ESP32.
Most SCD40 modules already have I2C pull-up resistors on board, so you do not need to add them.
| SCD40 | |
|---|---|
| Supply voltage | 2.4V to 5.5V |
| Interface | I2C, address 0x62 |
| CO2 output range | 0 to 40,000 ppm |
| CO2 accuracy | ±(50 ppm + 5% of reading), from 400 to 2,000 ppm |
| New reading | every 5 seconds (every 30 seconds in low-power mode) |
| Temperature accuracy | ±0.8°C (15°C to 35°C) |
| Humidity accuracy | ±6 %RH (15°C to 35°C, 20 to 65 %RH) |
| Average current | about 15mA at 3.3V |
What Do the CO2 Numbers Mean?
| CO2 (ppm) | Air quality | What to do |
|---|---|---|
| around 400 | Outdoor air | Nothing, this is fresh air |
| 400 to 1000 | Good indoor air | Nothing |
| 1000 to 2000 | Stuffy | Open a window |
| above 2000 | Poor | Ventilate now, headache and sleepiness are possible |
※ NOTE THAT:
Automatic self-calibration (ASC) is ON by default. The sensor expects to see fresh, outdoor-level air (about 400 ppm) at least once a week, ideally for an hour or more. If it never gets fresh air, its readings can slowly drift. Also, the first few readings after power-on may be less accurate.
Wiring Diagram
The SCD40 uses the default I2C pins of the Arduino Nano ESP32: A4 for SDA and A5 for SCL. Since the board runs at 3.3V, power the module from the 3V3 pin.
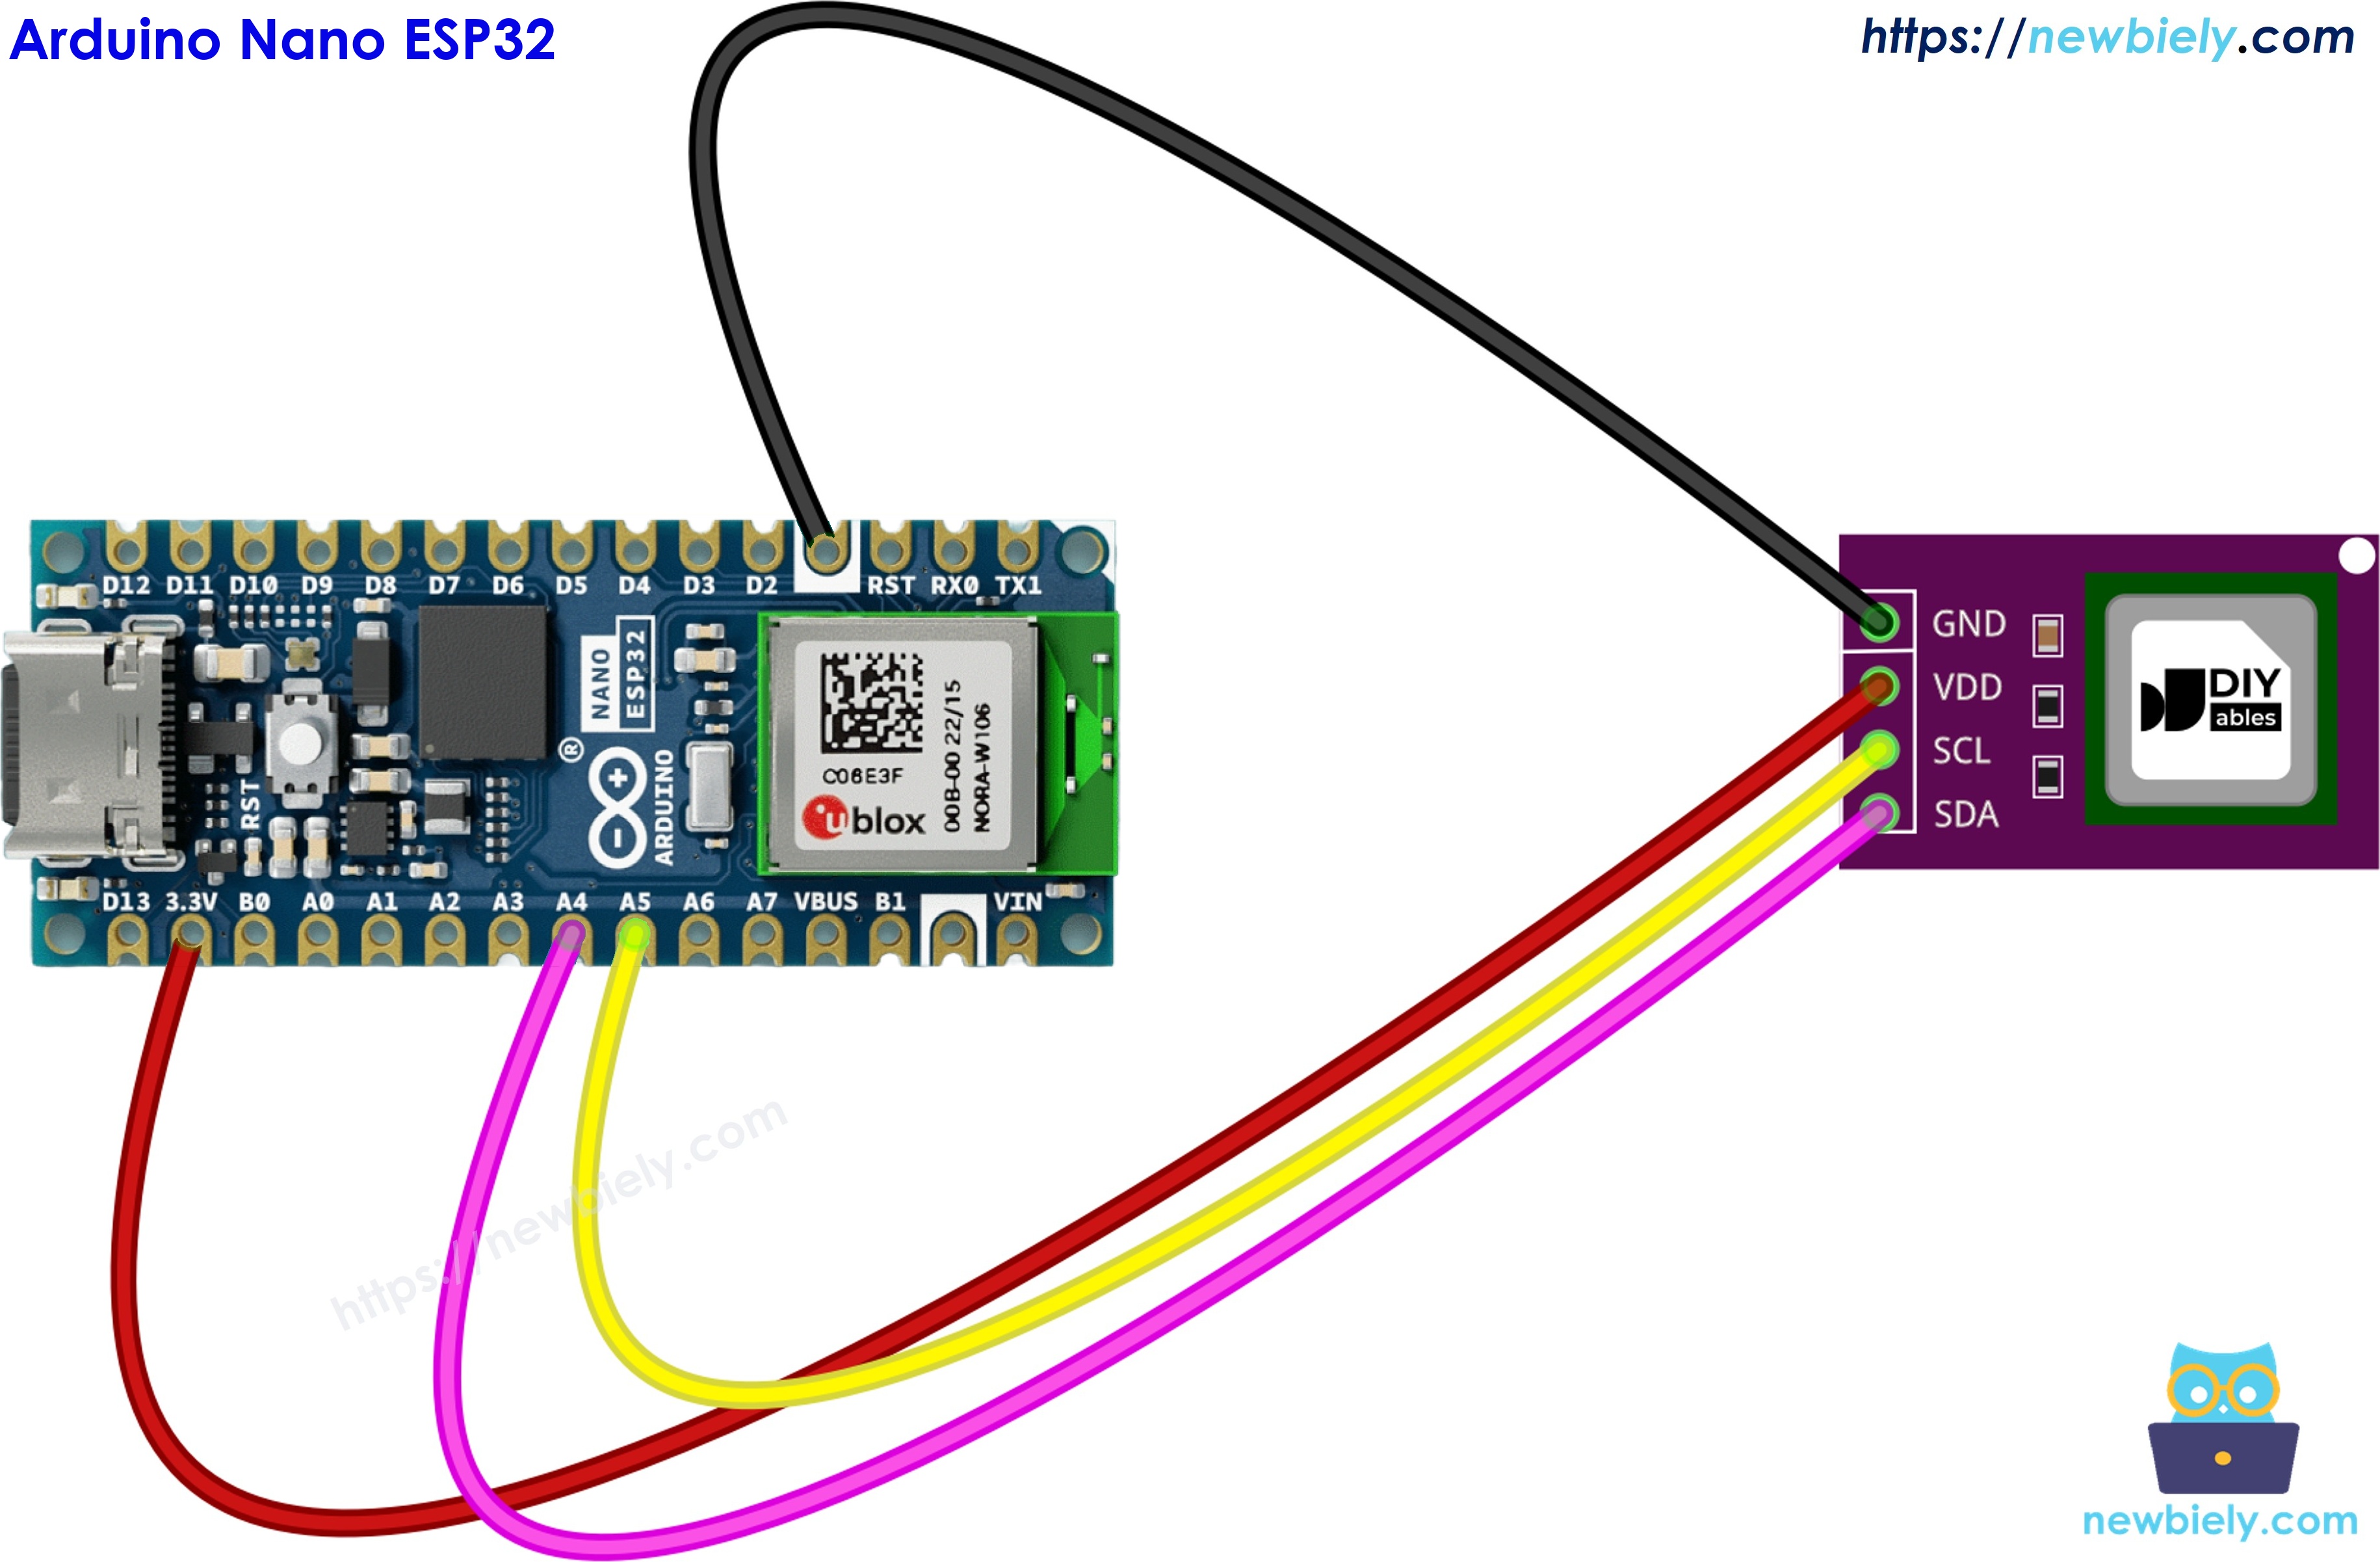
This image is created using Fritzing. Click to enlarge image
| SCD40 Module | Arduino Nano ESP32 |
|---|---|
| VCC | → 3V3 |
| GND | → GND |
| SDA | → A4 |
| SCL | → A5 |
How To Program For SCD40
- Include the libraries.
- Create the sensor object.
- Start I2C and tell the library which bus and address to use.
- Start periodic measurement (one new value every 5 seconds).
- Check if a new value is ready, then read it.
The library always reads CO2, temperature and humidity together. In the first sketch, we only print the CO2 value.
Arduino Nano ESP32 Code - SCD40 CO2 Sensor
Detailed Instructions
To get started with Arduino Nano ESP32, follow these steps:
- If you are new to Arduino Nano ESP32, refer to the tutorial on how to set up the environment for Arduino Nano ESP32 in the Arduino IDE.
- Wire the SCD40 module to the Arduino Nano ESP32 according to the table and diagram above.
- Connect the Arduino Nano ESP32 board to your computer using a USB cable.
- Launch the Arduino IDE on your computer.
- Select the Arduino Nano ESP32 board and its corresponding COM port.
- Open the Library Manager by clicking on the Library Manager icon on the left navigation bar of Arduino IDE.
- Type "SCD4x" on the search box, then look for the Sensirion I2C SCD4x library by Sensirion.
- Click the Install button.
- A window asks to install a dependency (Sensirion Core). Click Install All.
- Search for Sensirion I2C SCD4x created by Sensirion and click the Install button.
- Copy the code above and paste it into the Arduino IDE.
- Click the Upload button to send the code to the Arduino Nano ESP32.
- Open the Serial Monitor. The first value comes after about 5 seconds.
- Breathe gently near the sensor for a few seconds and watch the CO2 value climb, then fall again.
※ NOTE THAT:
If you see an error message instead of numbers, check that SDA goes to A4 and SCL goes to A5, not the other way around.
Reading Temperature and Humidity from the SCD40
The SCD40 has its own small temperature and humidity sensor inside. It uses them to correct the CO2 value, and the library gives them to us for free in the same readMeasurement() call. So with no extra wiring, the Arduino Nano ESP32 can show all three values. The wiring and the library stay the same as above.
※ NOTE THAT:
The sensor warms up a little while it works, so its temperature can read slightly higher than the room. It is fine for a room monitor, but use a dedicated sensor if you need precise temperature.
Arduino Nano ESP32 Code - SCD40 CO2, Temperature and Humidity
Detailed Instructions
- Copy the code above and paste it into the Arduino IDE.
- Click the Upload button to send the code to the Arduino Nano ESP32.
- Open the Serial Monitor to see all three values on one line.