ESP8266 - Serial Monitor
Hardware Preparation
Or you can buy the following kits:
| 1 | × | DIYables Sensor Kit (18 sensors/displays) |
Additionally, some of these links are for products from our own brand, DIYables .
Overview of Serial Monitor
Serial Monitor is a tool found in the Arduino IDE. It serves two functions:
- ESP8266 to PC: Receiving data from the ESP8266 and displaying it on the screen. This is typically used for debugging and monitoring.
- PC to Arduino: Sending commands from the PC to the ESP8266.
We MUST connect ESP8266 and PC via a USB cable in order to use Serial Monitor. This same cable is used to upload the code to ESP8266, and data is exchanged between Serial Monitor and ESP8266 through it.
How To Use Serial Monitor
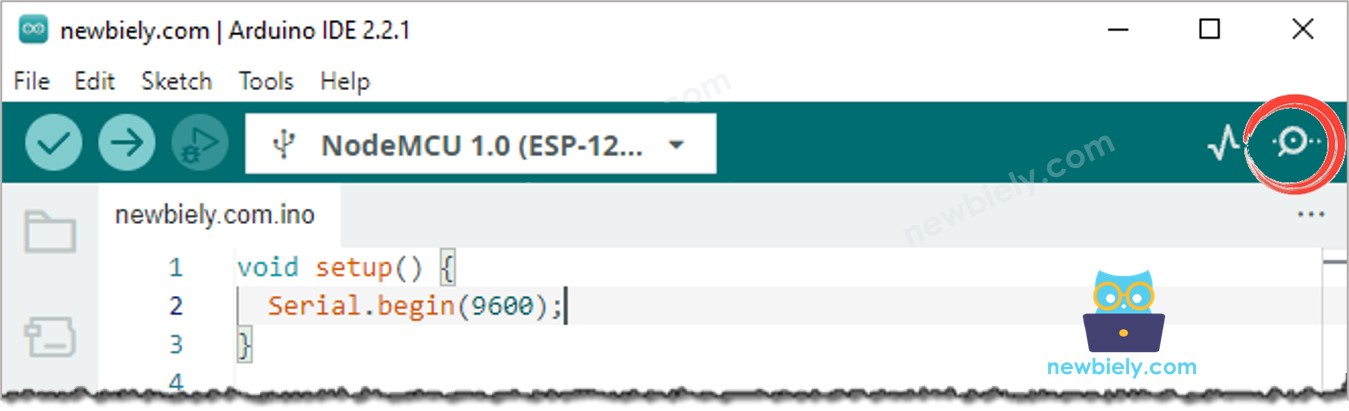
Open Serial Monitor
Click the Serial Monitor icon on the right side of Arduino IDE.
Items on Serial Monitor
- Output console: Show data that has been obtained from ESP8266.
- Checkbox for Autoscroll: Option to choose between enabling automatic scrolling or not.
- Provide a checkbox for displaying timestamps: an option to show the timestamp before the data that appears on the Serial Monitor.
- Button to Clear Output: Erase all text from the output console.
- Choosing the baud rate: Select the communication speed (baud rate) between the ESP8266 and PC. 2. This value MUST match the one used in the ESP8266 code (in the Serial.begin() function).
※ NOTE THAT:
When we choose a baud rate, even if the value is not altered, ESP8266 will be reset. Therefore, this is one method of resetting ESP8266.
- Box for entering text: A user can type characters that will be sent to an ESP8266.
- Ending selection:
- Choose the characters to be appended to data sent to Arduino:
- No line ending: no characters added
- Newline: add newline (LF, or '\n') character
- Carriage return: add carriage return (CR, or '\r') character
- Both NL and CR: add both newline and carriage return (CRLF, or '\r\n') characters
- Pressing the Send button will cause the Serial Monitor to transmit the data in the textbox, along with the terminating characters, to the ESP8266.
ESP8266 To PC
Set the baud rate and start the Serial port with the Serial.begin() function to transmit data from ESP8266 to PC.
- Using Serial.println("Hello World!").
- Send data to Serial Monitor using one of the following functions: Serial.print(), Serial.println(), Serial.write().
- For example, you can send “Hello World!” to Serial Monitor by using Serial.println("Hello World!").
Example Use
In this instance, we will be transmitting “ArduinoGetStarted.com” from ESP8266 to the Serial Monitor once per second.
Detailed Instructions
To get started with ESP8266 on Arduino IDE, follow these steps:
- Check out the how to setup environment for ESP8266 on Arduino IDE tutorial if this is your first time using ESP8266.
- Wire the components as shown in the diagram.
- Connect the ESP8266 board to your computer using a USB cable.
- Open Arduino IDE on your computer.
- Choose the correct ESP8266 board, such as (e.g. NodeMCU 1.0 (ESP-12E Module)), and its respective COM port.
- Copy the code and open it with the Arduino IDE.
- Click the Upload button on the Arduino IDE to compile and upload the code to the ESP8266.
- Launch the Serial Monitor.
- Choose a baurate of 9600.
- Check out the output on the Serial Monitor.
- Consider substituting the Serial.println() function with Serial.print() function.
PC To ESP8266
How to send data from PC to Aduino and read it on ESP8266
Type text into the Serial Monitor and press the Send button.
Set the baud rate and start the Serial port by using the following ESP8266 code:
- Read data from serial port
Retrieve data from the Serial port with the following ESP8266 code:
- Process data
Process the data with the help of the following ESP8266 code:
- Verify if data is present.
- Utilize one of the following functions to read data from Serial port: Serial.read(), Serial.readBytes(), Serial.readBytesUntil(), Serial.readString(), Serial.readStringUntil(). As an example:
Example Use
In this example, we will be sending commands from Serial Monitor to ESP8266 to activate or deactivate the in-built LED. The commands are as follows:
- “ON”: to switch on the LED
- “OFF”: to switch off the LED
How can ESP8266 recognize a full command? For example, when we send “OFF”, how can ESP8266 differentiate between “O”, “OF”, and “OFF”?
When sending a command, we will append a newline character ('\n') by selecting the “newline” option on the Serial Monitor. ESP8266 will read data until it encounters the newline character. This character is referred to as a delimiter.
Detailed Instructions
- Wire the components as shown in the diagram.
- Connect the ESP8266 board to your computer using a USB cable.
- Open Arduino IDE on your computer.
- Choose the correct ESP8266 board, such as (e.g. NodeMCU 1.0 (ESP-12E Module)), and its respective COM port.
- Copy the code and open it in Arduino IDE.
- Click the Upload button to upload the code to the ESP8266.
- Open the Serial Monitor.
- Set the baurate to 9600 and select the newline option.
- Type “ON” or “OFF” and press the Send button.
- Check the built-in LED on the ESP8266 board. Its state will be either ON or OFF.
- We can also view the LED's state on the Serial Monitor.
- Type the commands “ON” or “OFF” a few times.