ESP8266 - OLED
This tutorial instructs you how to use ESP8266 with OLED display. In detail, we will learn:
- How to connect OLED display with ESP8266.
- How to program ESP8266 to display text and number on OLED.
- How to program ESP8266 to center align text and number vertically and horizontally on OLED.
- How to program ESP8266 to draw on OLED.
- How to program ESP8266 to display an image on OLED.
Hardware Preparation
Or you can buy the following kits:
| 1 | × | DIYables Sensor Kit (18 sensors/displays) |
Additionally, some of these links are for products from our own brand, DIYables .
Buy Note: If you want a bigger OLED display, use the 2.42 inch OLED Display 128x64 .
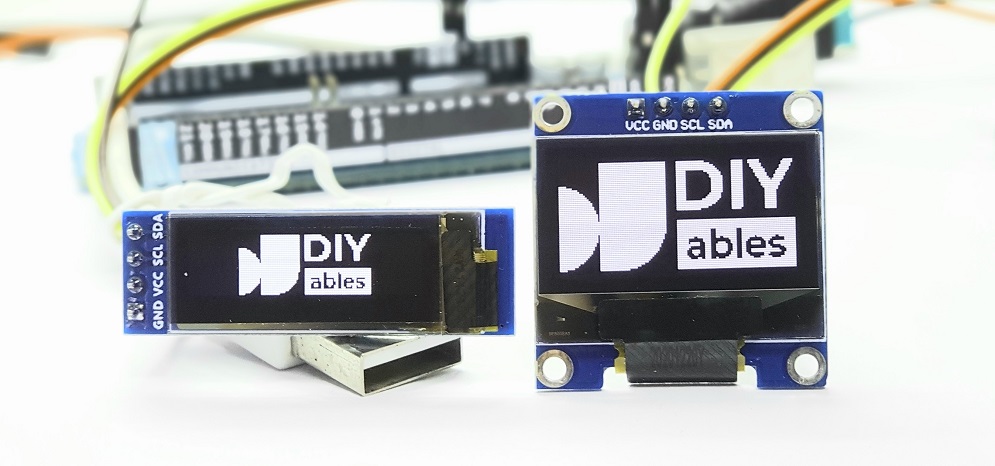
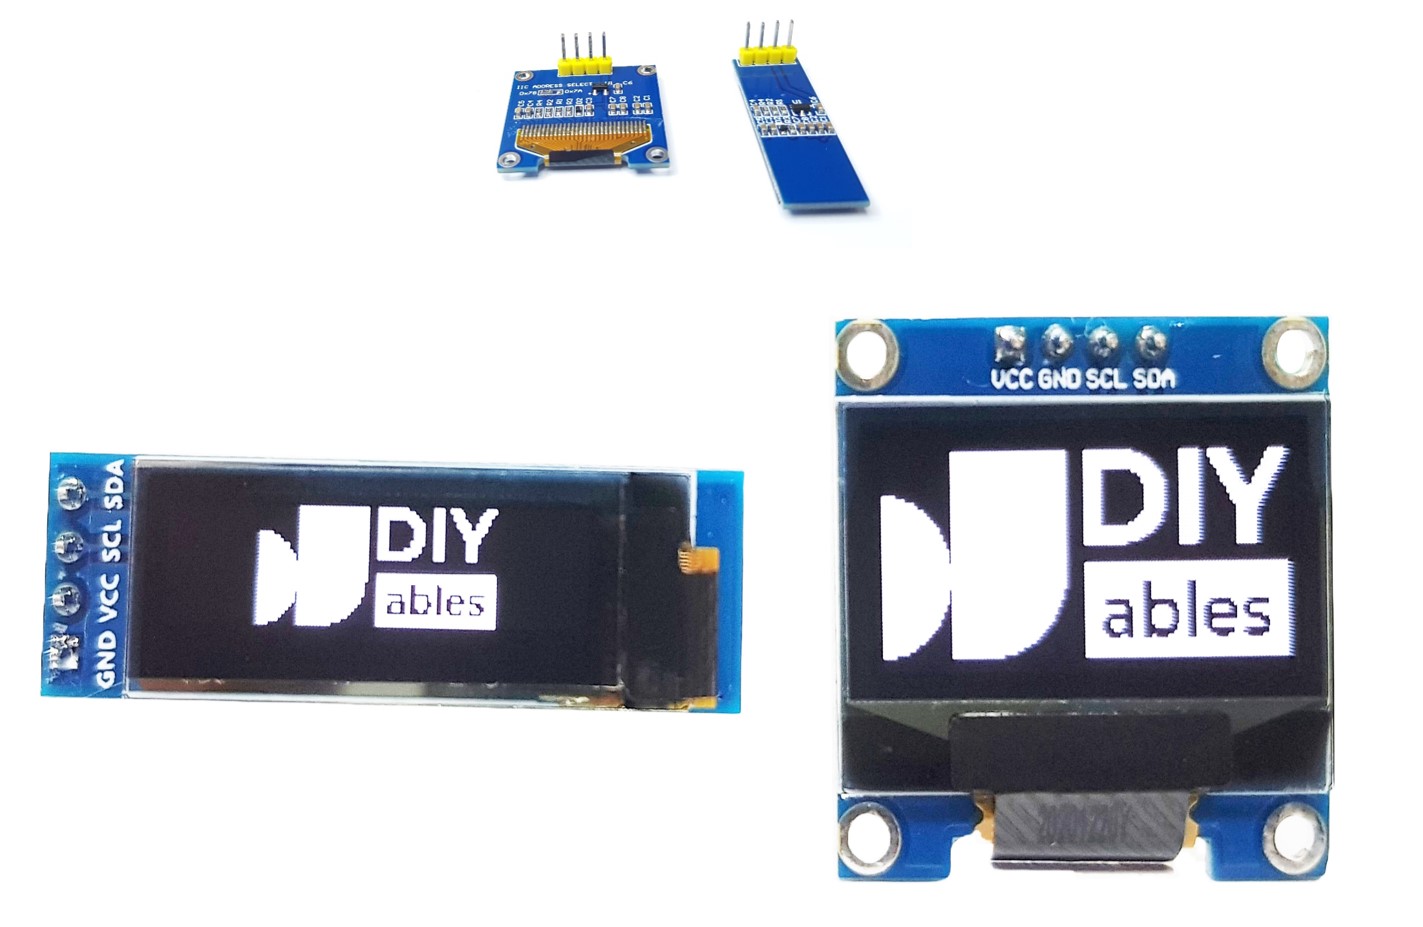
Overview of OLED Display
There are various kinds of OLED displays available. The most common-used OLED with ESP8266 is the SSD1306 I2C OLED 128x64 and 128x32 display.
I2C OLED Display Pinout
- GND pin: should be connected to the ground of ESP8266.
- VCC pin: is the power supply for the display which should be connected to the 3.3V or 5V.
- SCL pin: is a serial clock pin for I2C interface.
- SDA pin: is a serial data pin for I2C interface.
※ NOTE THAT:
- The pins of an OLED module can differ across manufacturers and module types. It is essential to always refer to the labels printed on the OLED module. Pay attention!
- This tutorial uses the OLED display that has the SSD1306 I2C driver. We have tested it with the OLED display from DIYables and it works perfectly.
Wiring Diagram
- Wiring diagram between ESP8266 and OLED 128x64
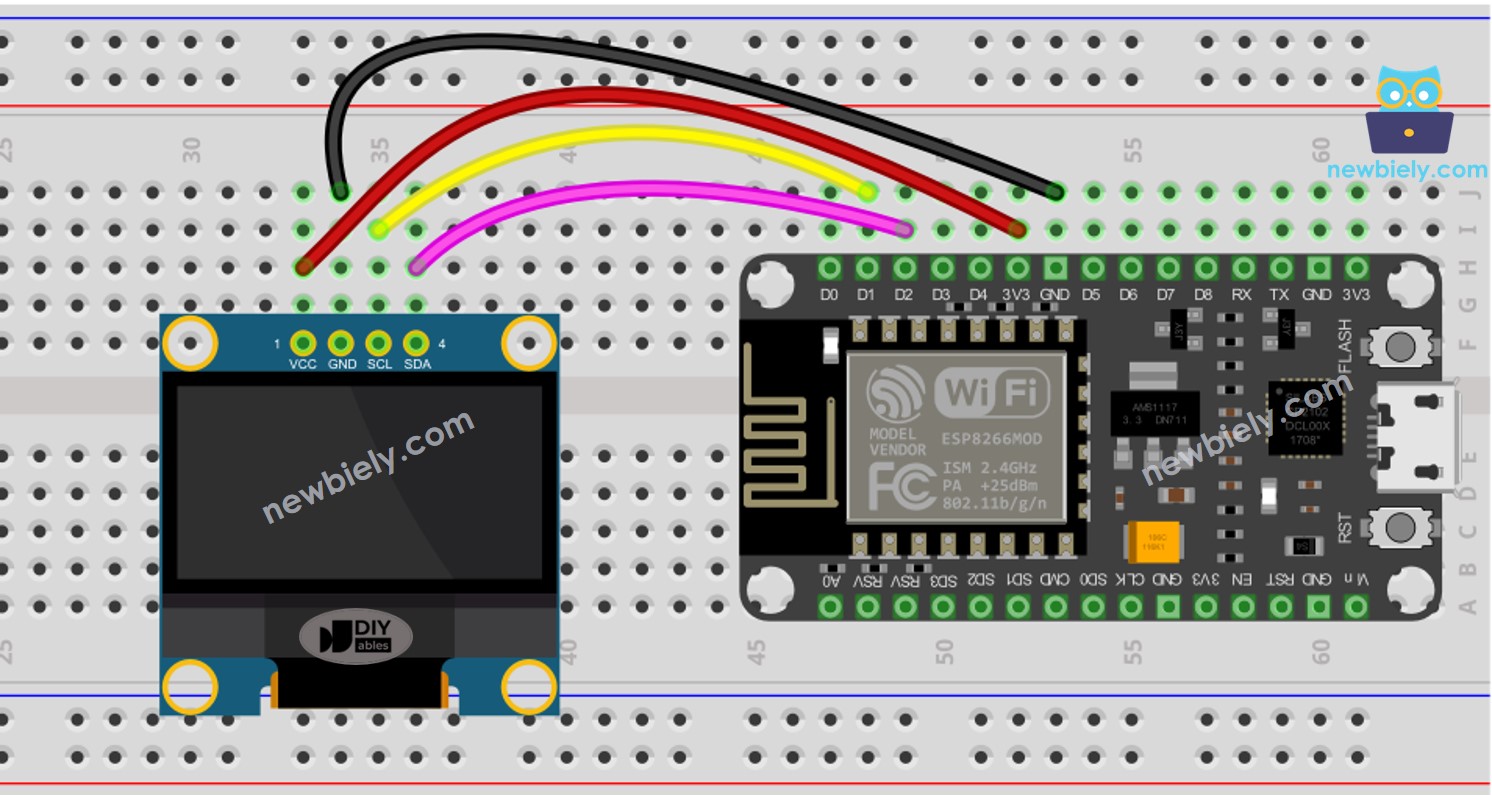
This image is created using Fritzing. Click to enlarge image
- Wiring diagram between ESP8266 and OLED 128x32
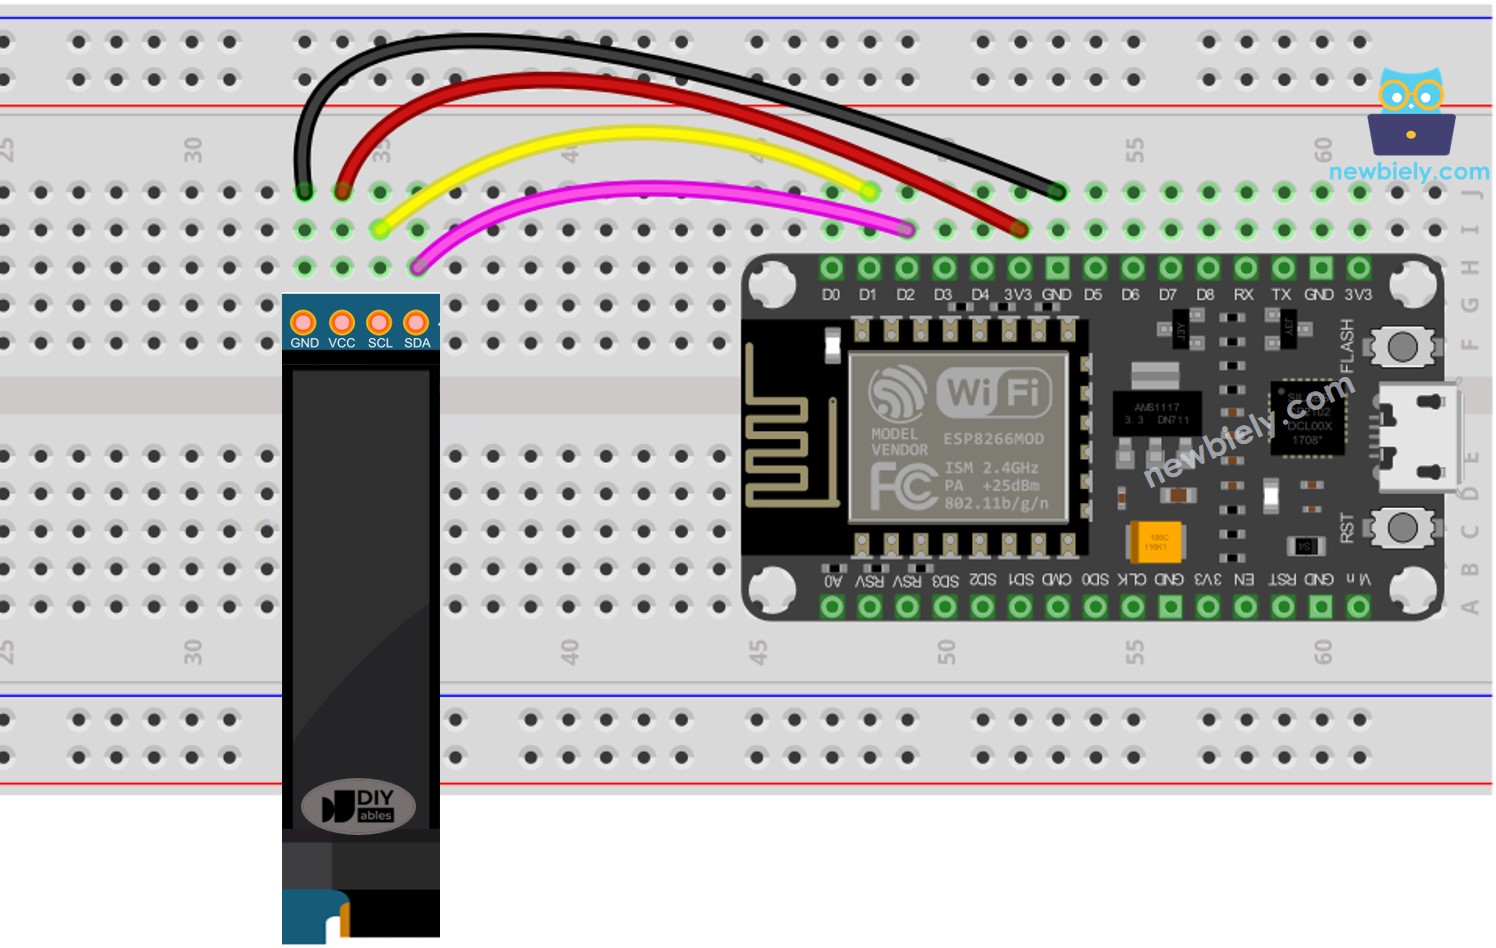
This image is created using Fritzing. Click to enlarge image
See more in ESP8266's pinout and how to supply power to the ESP8266 and other components.
The wiring table between ESP8266 and OLED display:
| OLED Module | ESP8266 |
|---|---|
| Vin | 3.3V |
| GND | GND |
| SDA | D2 (GPIO4) |
| SCL | D1 (GPIO5) |
How To Use OLED with ESP8266
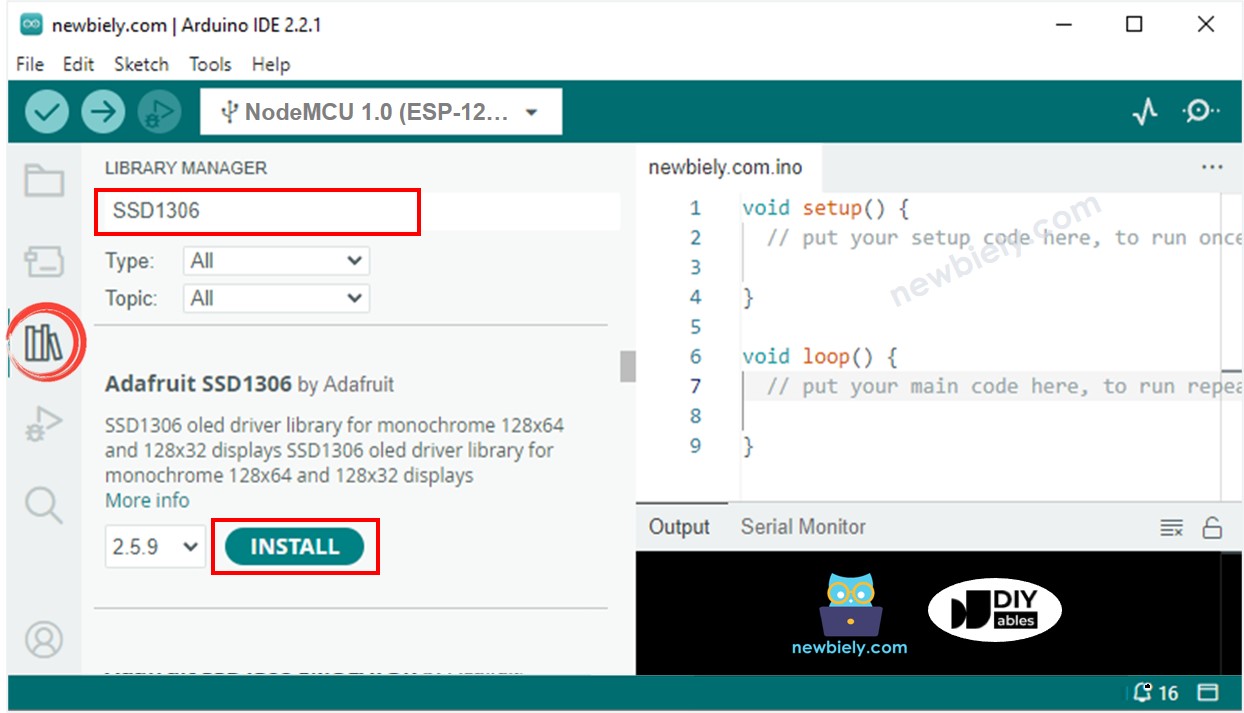
Install SSD1306 OLED library
- Click to the Libraries icon on the left bar of the Arduino IDE.
- Search for “SSD1306” and locate the SSD1306 library from Adafruit.
- Then, press the Install button to complete the installation.
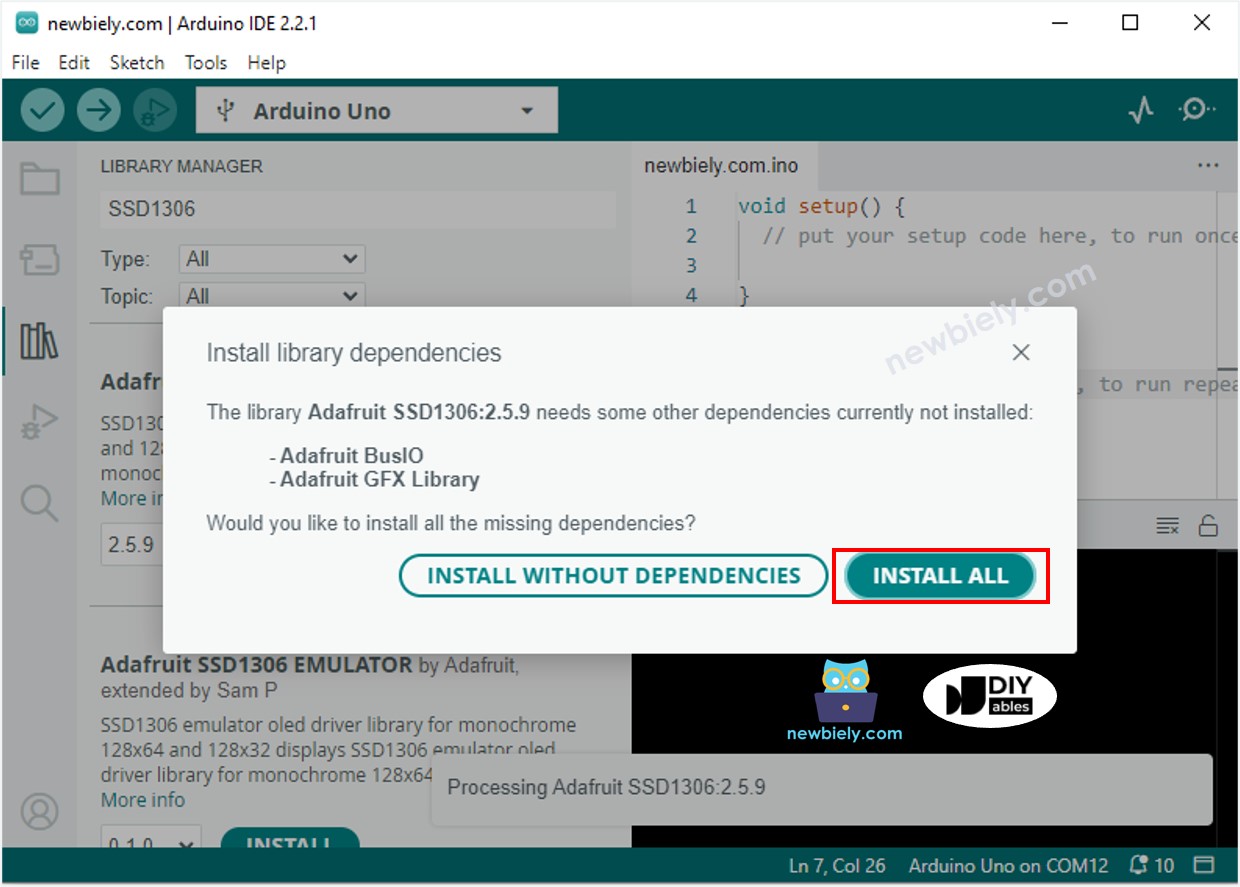
- You will be prompted to install some other library dependencies.
- To install all of them, click the Install All button.
How to program for OLED
- Include the library
- Specify the dimensions of the OLED screen as 128 x 64.
- Specify the dimensions of an OLED display that is 128x32.
- Create an object of type SSD1306 OLED.
- In the setup() function, initiate the OLED display.
- Then, you can show text, pictures, and create lines...
Going forward, all codes are for OLED 128x64, but it can be adapted to OLED 128x32 by altering the screen size and adjusting coordinates if necessary.
ESP8266 Code - Display Text on OLED
Here are some functions that can be used to display text on the OLED:
- oled.clearDisplay(): all pixels are off.
- oled.drawPixel(x,y, color): plot a pixel in the x,y coordinates.
- oled.setTextSize(n): set the font size, supports sizes from 1 to 8.
- oled.setCursor(x,y): set the coordinates to start writing text.
- oled.setTextColor(WHITE): set the text color.
- oled.setTextColor(BLACK, WHITE): set the text color, background color.
- oled.println(“message”): print the characters.
- oled.println(number): print a number.
- oled.println(number, HEX): print a number IN hex format.
- oled.display(): call this method for the changes to make effect.
- oled.startscrollright(start, stop): scroll text from left to right.
- oled.startscrollleft(start, stop): scroll text from right to left.
- oled.startscrolldiagright(start, stop): scroll text from left bottom corner to right upper corner.
- oled.startscrolldiagleft(start, stop): scroll text from right bottom corner to left upper corner.
- oled.stopscroll(): stop scrolling.
How to vertical and horizontal center align text/number on OLED
To learn about centering text and numbers on OLED, please refer to How to vertical/horizontal center on OLED. If you would like to know how to center text and numbers on OLED, take a look at How to vertical/horizontal center on OLED.
ESP8266 Code - Drawing on OLED
ESP8266 Code – Display Image
In order to display an image on the OLED, we must first convert it from its original format into a bitmap array. This can be done by using the online tool provided. The following image shows how to convert an image into a bitmap array. As an example, I have converted the Arduino icon into a bitmap array.
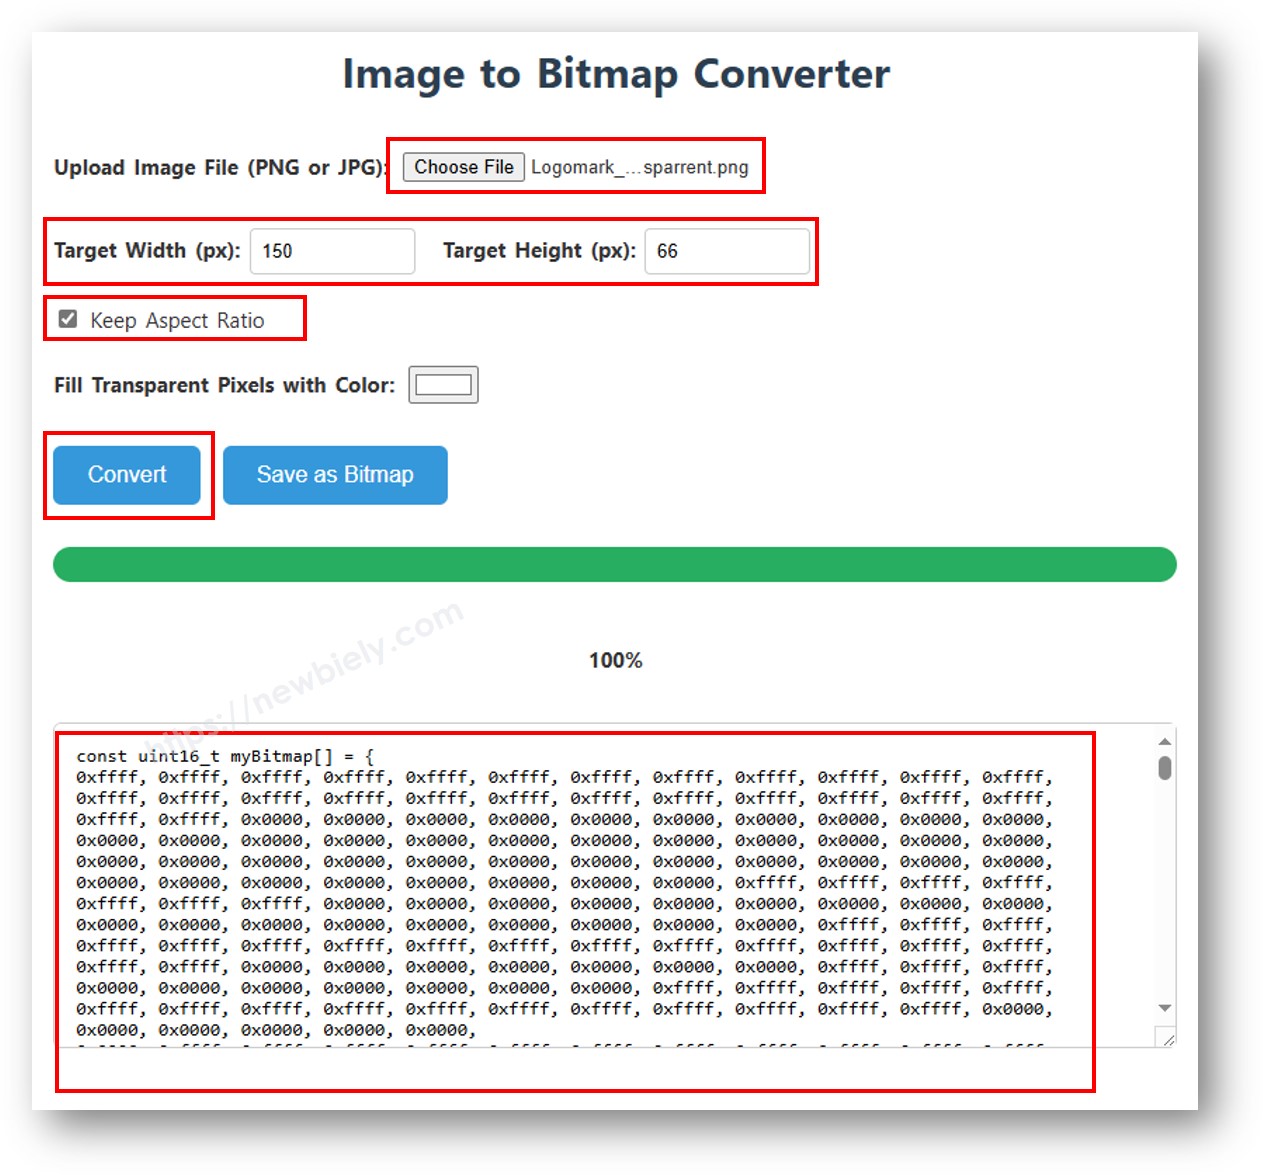
Once the conversion is complete, take the array code and replace the ArduinoIcon array in the code below with it.
※ NOTE THAT:
- The size of the image should not exceed the size of the screen.
- If you want to use the code for an OLED 128x32, you must resize the image and alter the width and height in the oled.drawBitmap(); function.
OLED Troubleshooting
Verify that the OLED is functioning properly by following these steps:
- Ensure that your wiring is correct.
- Confirm that your I2C OLED utilizes the SSD1306 Driver.
- Utilize the I2C Address Scanner code on ESP8266 to check the I2C address of the OLED.
The output displayed on the Serial Monitor is: . The Serial Monitor shows the following result: