ESP8266 - Button - Debounce
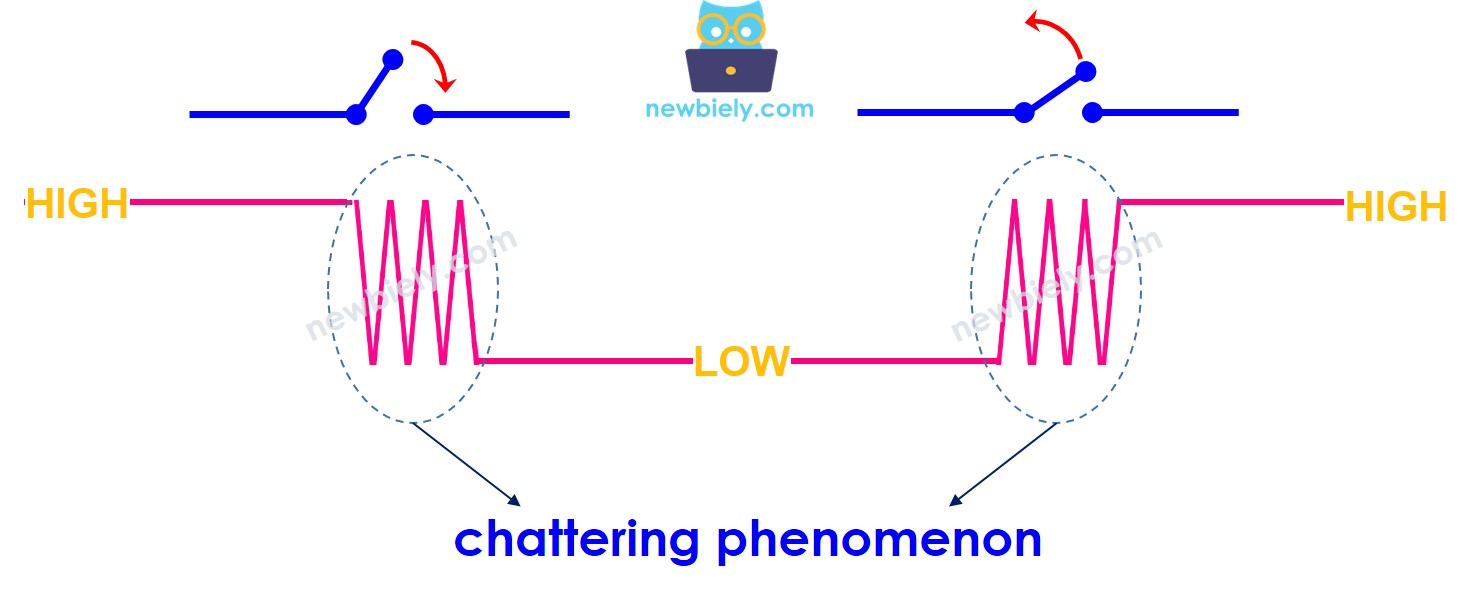
When a button is pressed or released, or a switch is flipped, newbies often assume that its state changes from LOW to HIGH or HIGH to LOW. In reality, this is not the case. Due to mechanical and physical characteristics, the state of the button (or switch) may fluctuate between LOW and HIGH multiple times per single user's action. This is known as chattering. Chattering can cause a single press to be read as multiple presses, leading to malfunctioning in certain applications.
The method to prevent this problem is referred as debouncing or debounce. This tutorial instructs you how to do it when using the button with ESP8266. We will learn though the below steps:
- ESP8266 code without debouncing a button.
- ESP8266 code with debouncing a button.
- ESP8266 code with debouncing a button by using the ezButton library.
- ESP8266 code with debouncing for multiple buttons.
Hardware Preparation
Or you can buy the following kits:
| 1 | × | DIYables Sensor Kit (18 sensors/displays) |
Additionally, some of these links are for products from our own brand, DIYables .
Wiring Diagram
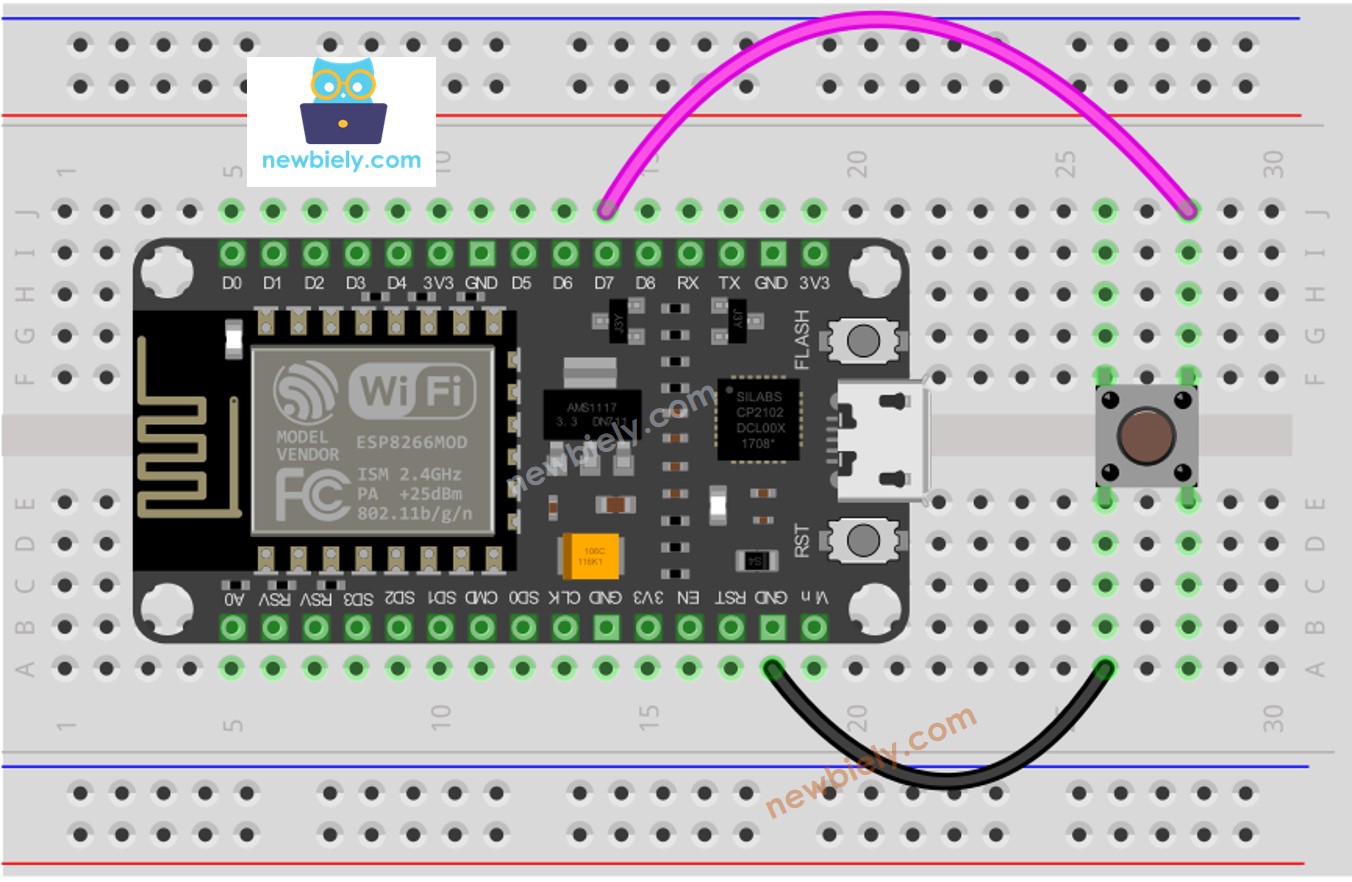
This image is created using Fritzing. Click to enlarge image
Let us take a look at the ESP8266 code for both WITH and WITHOUT debounce and compare their respective behaviors.
Reading Button without Debounce
Before exploring debouncing, take a look at the code without it and observe its behavior.
Detailed Instructions
To get started with ESP8266 on Arduino IDE, follow these steps:
- Check out the how to setup environment for ESP8266 on Arduino IDE tutorial if this is your first time using ESP8266.
- Wire the components as shown in the diagram.
- Connect the ESP8266 board to your computer using a USB cable.
- Open Arduino IDE on your computer.
- Choose the correct ESP8266 board, such as (e.g. NodeMCU 1.0 (ESP-12E Module)), and its respective COM port.
- Connect your ESP8266 to your computer using a USB cable.
- Launch the Arduino IDE, select the appropriate board and port.
- Copy the code below and open it in the Arduino IDE.
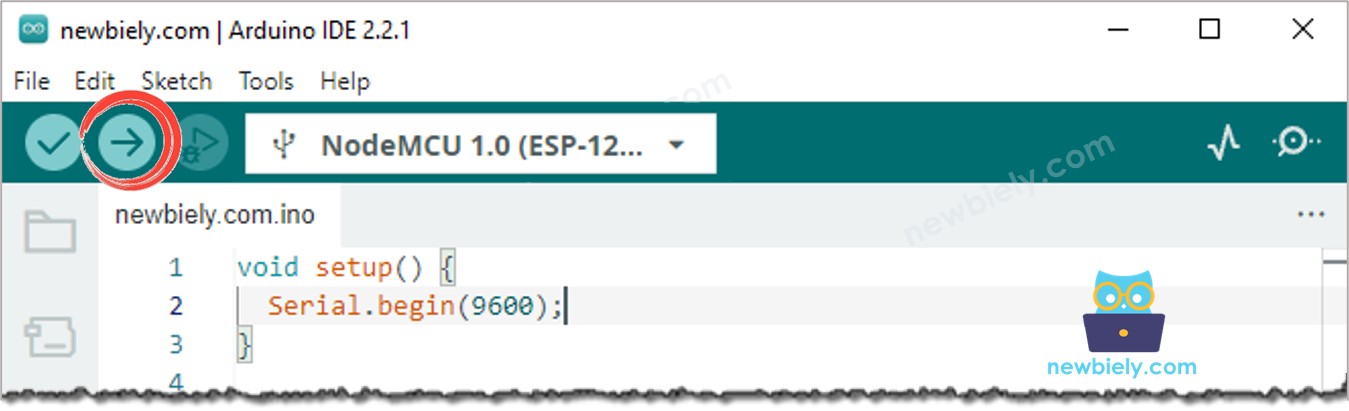
- Click the Upload button on the Arduino IDE to compile and upload the code to the ESP8266.
- Open the Serial Monitor.
- Press and hold the button for a few seconds, then let go.
- Check the output in the Serial Monitor.
You may see that, sometime, you only pressed and released the button one time. Nevertheless, ESP8266 perceives it as multiple presses and releases. This is the chattering phenomenon mentioned at the beginning of the tutorial. Let's see how to fix it in the next part.
We Made It Simple - ESP8266 Button Debounce Code with Library
We have developed a library, ezButton, to make it simpler for those just starting out, especially when they are using multiple buttons. You can find out more about the ezButton library here.
ESP8266 Button Debounce Code for A Single Button
ESP8266 Button Debounce Code for A Multiple Buttons
The schematic for the code above:. The illustration of the wiring for the code:. The representation of the connections for the code:
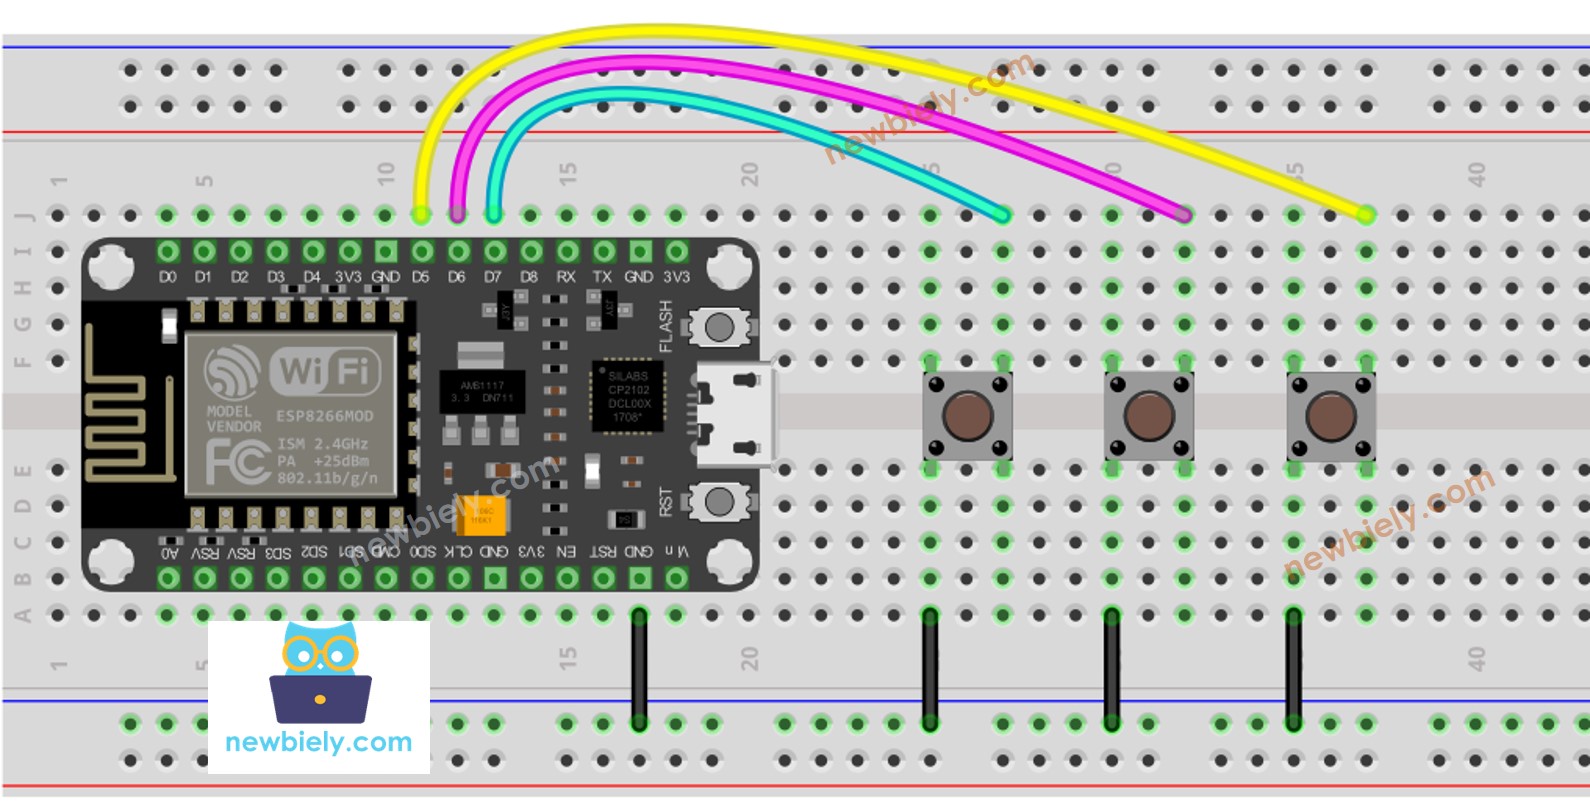
This image is created using Fritzing. Click to enlarge image
See more in ESP8266's pinout and how to supply power to the ESP8266 and other components.
Video Tutorial
Additional Knowledge
- The value of DEBOUNCE_DELAY is depended upon the physical characteristics of the button. Each button may have different value.
Extendability
The debounce technique can be used for switches, touch sensors, and more.