
ESP32 S3 - HTTPS Request
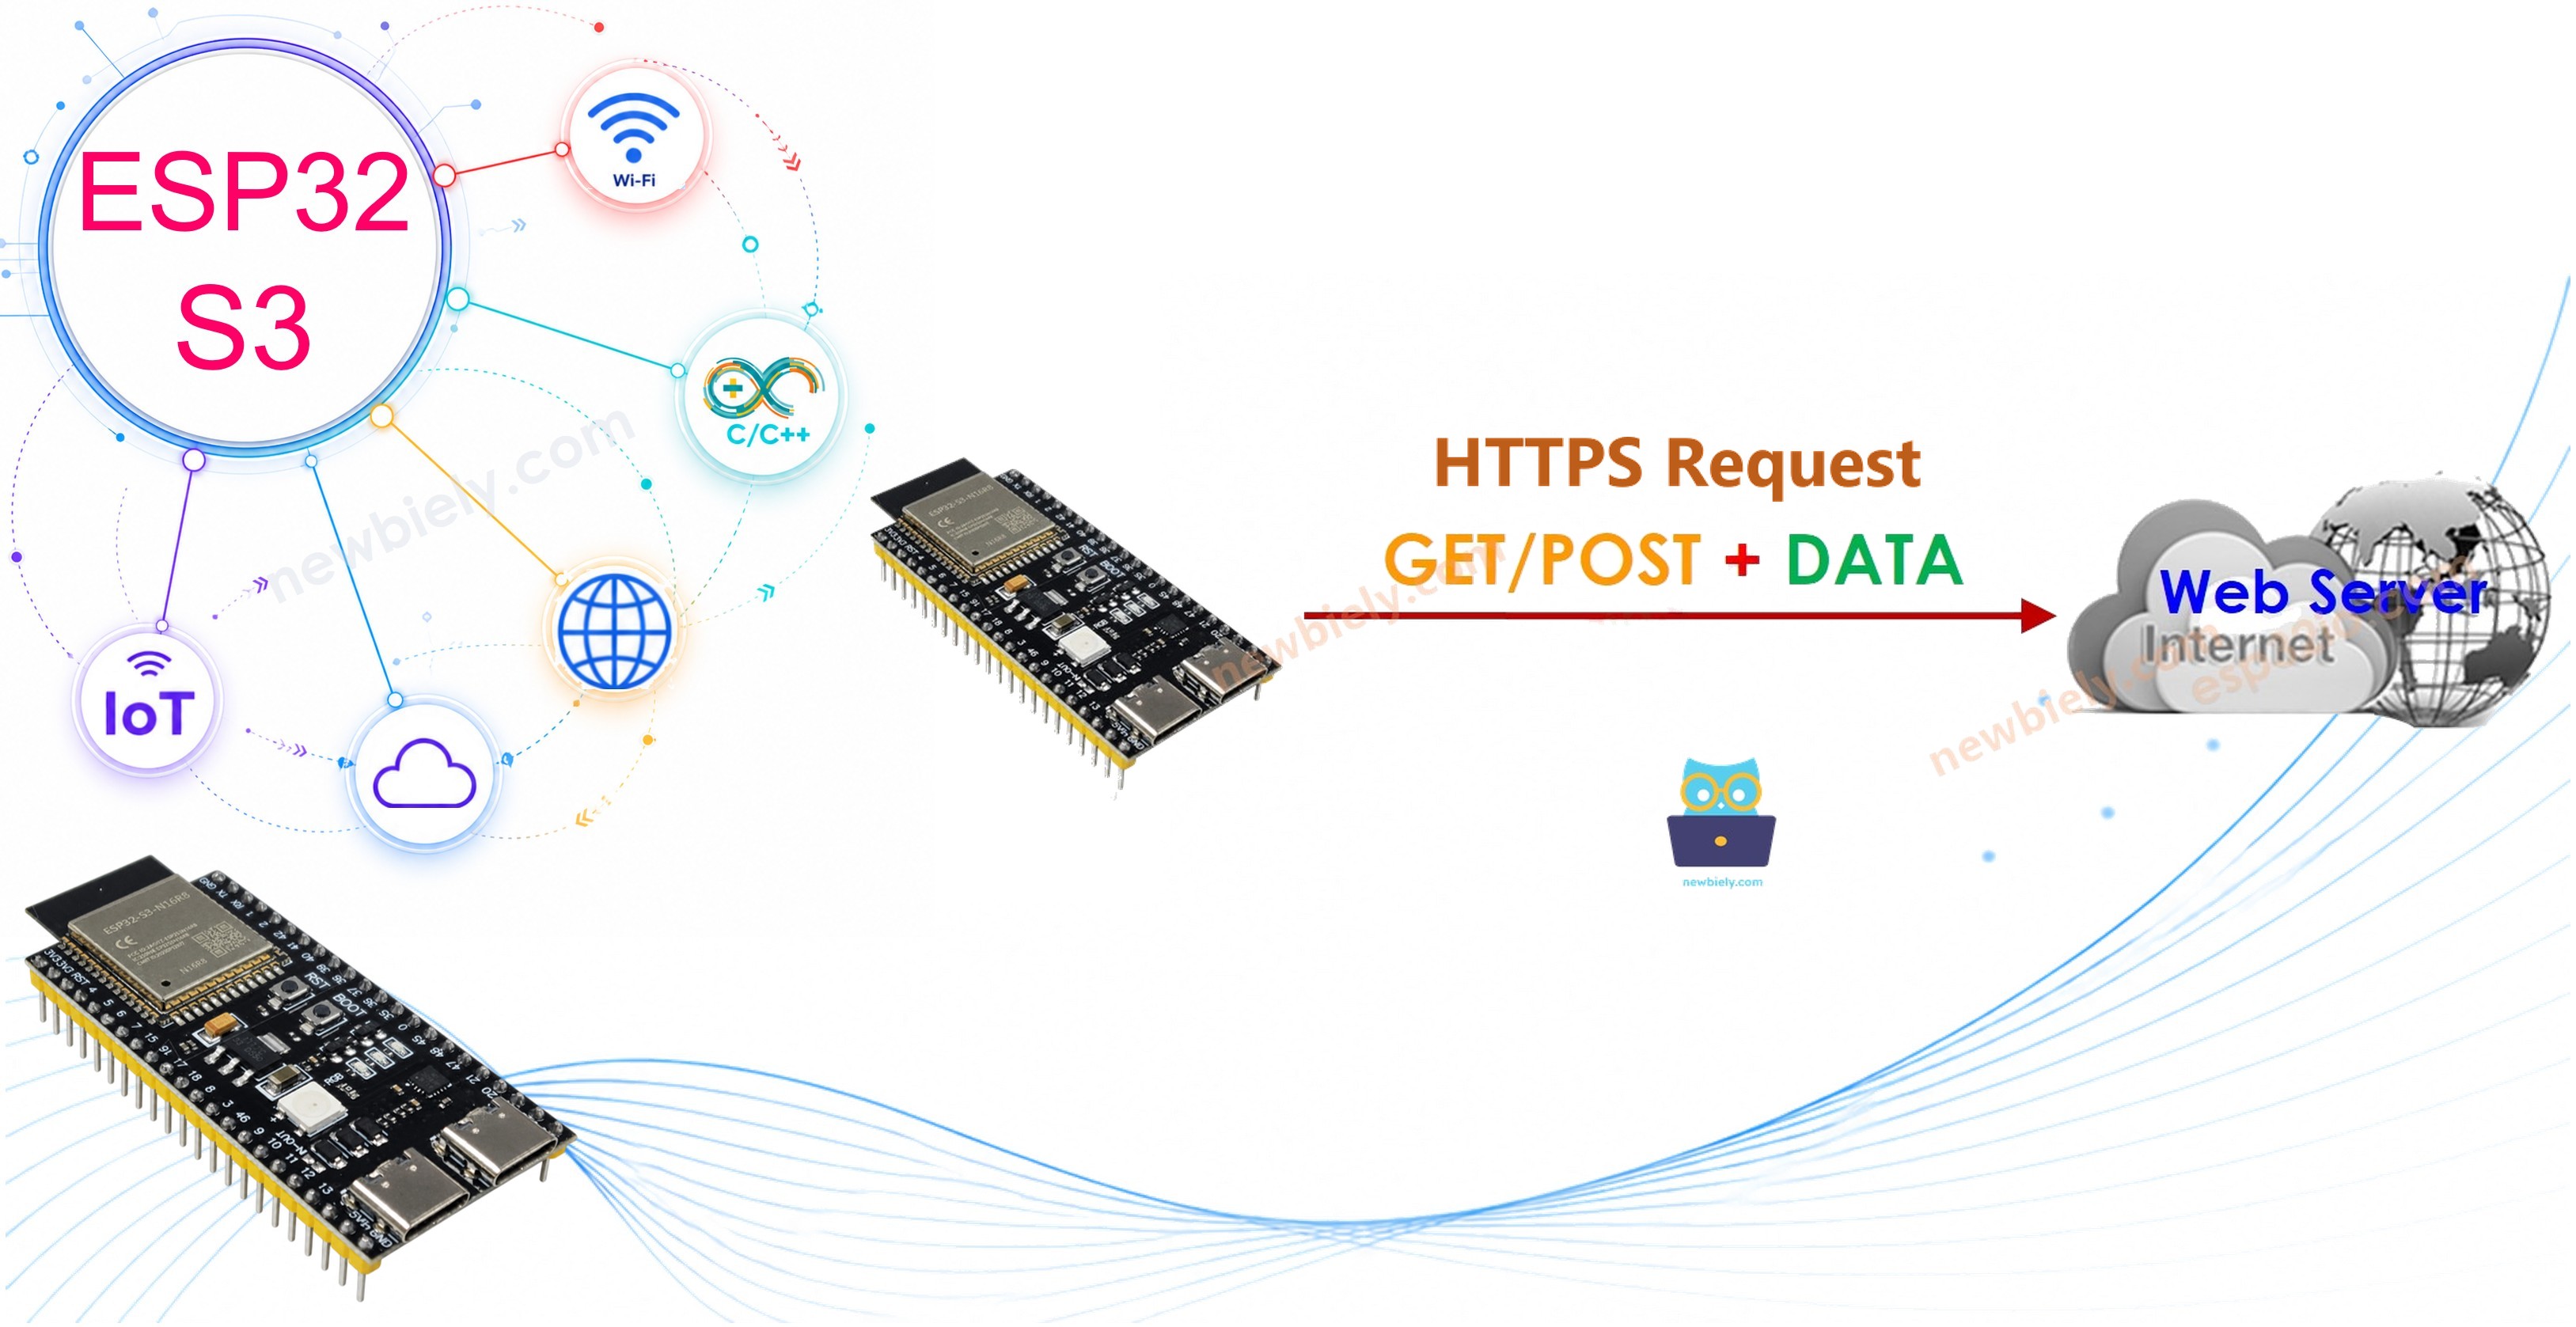
The ESP32 S3 is a powerful Wi-Fi-enabled microcontroller that can act as a secure HTTPS client, sending and receiving encrypted data with web servers, REST APIs, and IoT cloud endpoints. In this tutorial you will learn how to use the ESP32 S3 to make HTTPS GET and POST requests, include sensor data in those requests, and process the responses — all with TLS encryption handled transparently by the built-in library.
What you'll build:
- An ESP32 S3 that makes a secure HTTPS GET request with query-string parameters to a remote web server.
- An ESP32 S3 that makes a secure HTTPS POST request with a URL-encoded body to a remote endpoint.
- A Serial Monitor view showing the HTTP response code and response body for each request.
- A reusable HTTPS client foundation you can extend to any REST API, IoT cloud platform, or web service.
Hardware Preparation
Or you can buy the following kits:
| 1 | × | DIYables ESP32 S3 Starter Kit (ESP32 S3 included) | |
| 1 | × | DIYables Sensor Kit (18 sensors/displays) |
Additionally, some of these links are for products from our own brand, DIYables .
Overview of the ESP32 S3 and HTTPS
HTTPS (HyperText Transfer Protocol Secure) is identical to HTTP in structure, but all data exchanged between the client and the server is encrypted using TLS (Transport Layer Security). This means that credentials, sensor readings, and API keys sent over the network cannot be read by third parties even on shared Wi-Fi networks. The ESP32 S3 supports HTTPS natively through the WiFiClientSecure class included in the Espressif Arduino core, so enabling encryption requires only a small change to your HTTP sketch — swap the plain WiFiClient for a WiFiClientSecure instance and point your URL at an https:// endpoint.
Key Specifications
- Underlying protocol: TLS 1.2 / TLS 1.3 (handled by mbedTLS in the ESP-IDF)
- Supported request methods: GET, POST, PUT, DELETE, PATCH (via HTTPClient)
- Certificate verification: optional server CA certificate check or insecure mode for quick testing
- Maximum response body size: limited by available heap (up to several hundred KB on the N16R8)
- Wi-Fi required: HTTPS connections use the same 2.4 GHz 802.11 b/g/n radio as all other network tasks
ESP32 S3 HTTPS Pinout
The ESP32 S3 uses its integrated Wi-Fi radio for all HTTPS communication, so no additional GPIO pins need to be configured for networking. The pins listed below are the ones you will interact with when wiring this project.
- USB Type-C port: Provides power and the Serial Monitor connection to Arduino IDE
- GPIO43 (TX), GPIO44 (RX): UART0 used for Serial Monitor output at 115200 baud
- GPIO1–GPIO10 (ADC1): Safe to use for analog sensor readings while Wi-Fi is active
- GPIO35–GPIO37: Reserved for PSRAM on the N16R8 variant — do not connect peripherals here
- GPIO19 (USB D-), GPIO20 (USB D+): Used for native USB OTG — avoid if using USB Serial communication
Wiring Diagram
No external components are needed to make HTTPS requests from the ESP32 S3. Simply connect the board to your PC with a USB Type-C cable — the cable provides power and gives Arduino IDE access to the Serial Monitor so you can observe the HTTPS responses in real time.
Safety Notes
Ensure the USB Type-C cable supports data transfer and is not a charge-only cable, as charge-only cables will power the ESP32 S3 but will not expose a COM port to the Arduino IDE. During Wi-Fi and HTTPS activity the ESP32 S3 can draw short current spikes of up to 500 mA, so always power the board from a USB port or hub that can supply at least 500 mA rather than from a low-current USB charger.
| ESP32 S3 | Computer |
|---|---|
| USB Type-C port | USB port (via cable) |
ESP32 S3 HTTPS GET Request Code
The following code connects the ESP32 S3 to your Wi-Fi network and makes a secure HTTPS GET request to a remote server, appending sensor data as query-string parameters. The response code and body are printed to the Serial Monitor, letting you verify that the server received the data correctly and returned a valid reply.
Detailed Instructions
- New to ESP32 S3? Complete our Getting Started with ESP32 S3 guide first.
- Connect the ESP32 S3 board to your PC using a USB Type-C cable.
- Open the Arduino IDE on your PC.
- Select ESP32S3 Dev Module (or your specific board variant) and the correct COM port under Tools.
- Copy the code above and open it in the Arduino IDE.
- Replace YOUR_WIFI_SSID and YOUR_WIFI_PASSWORD in the code with your actual Wi-Fi credentials.
- Replace the HOST_NAME and PATH_NAME variables with the URL of your target server or API endpoint.
- Click Upload to compile and flash the sketch to the ESP32 S3.
- Once the upload completes, open the Serial Monitor from the Tools menu and set the baud rate to 115200.
- Watch the Serial Monitor — the ESP32 S3 will connect to Wi-Fi, send the HTTPS GET request, and print the server response code and body.
- Pro Tip: If you receive a connection error, try setting client.setInsecure() in the sketch to skip certificate verification during development. For production, always supply the correct root CA certificate using client.setCACert() to ensure you are connecting to the genuine server.
Serial Monitor Output
After uploading the HTTPS GET sketch, the Serial Monitor will display output similar to the following readings:
ESP32 S3 HTTPS POST Request Code
The following code connects the ESP32 S3 to your Wi-Fi network and makes a secure HTTPS POST request, encoding sensor data in the request body using the application/x-www-form-urlencoded content type. POST requests are preferred over GET when sending larger payloads or when the data should not appear in server logs or browser history.
Detailed Instructions
- New to ESP32 S3? Complete our Getting Started with ESP32 S3 guide first.
- Connect the ESP32 S3 board to your PC using a USB Type-C cable.
- Open the Arduino IDE on your PC.
- Copy the code above and open it in the Arduino IDE.
- Replace the Wi-Fi credentials, host name, and path with your own values.
- Click Upload to flash the sketch to the ESP32 S3.
- Open the Serial Monitor at 115200 baud and watch the HTTPS POST responses appear.
- Pro Tip: To send JSON data instead of form-encoded data, change the Content-Type header to application/json and format your payload as a JSON string using the ArduinoJson library — this is the preferred format for most modern REST APIs.
Serial Monitor Output
After uploading the HTTPS POST sketch, the Serial Monitor will display output similar to the following readings:
Applications
The ability to make secure HTTPS requests from the ESP32 S3 opens up a vast ecosystem of cloud services, REST APIs, and web platforms that can receive, store, and act on your device data. Here are some practical applications you can build using the skills from this tutorial:
- IoT Data Dashboard: POST temperature, humidity, or air-quality readings from the ESP32 S3 to ThingSpeak, InfluxDB, or a custom REST API, then visualize the data on a live chart.
- IFTTT Automation Trigger: Send an HTTPS GET request to an IFTTT Webhooks endpoint to trigger smart home automations — for example, turning on a light when a motion sensor fires.
- Push Notifications: Use the ESP32 S3 to POST alert data to a Pushover, Pushbullet, or Telegram Bot API endpoint and receive instant mobile notifications when sensor thresholds are exceeded.
- Weather Data Retrieval: Make an HTTPS GET request to the OpenWeatherMap API to retrieve current weather conditions and display them on an OLED or TFT LCD connected to the ESP32 S3.
- Google Sheets Logging: Use the Google Apps Script web app URL to POST sensor readings directly into a Google Sheets spreadsheet for long-term storage and analysis.
- Firebase Realtime Database: Send HTTPS PUT requests to your Firebase database URL to store and sync ESP32 S3 sensor data with a mobile app or web frontend in real time.
Video Tutorial
Watch the step-by-step video walkthrough for this ESP32 S3 project below.
Challenges
Now that your ESP32 S3 can make secure HTTPS requests, try extending the project with these hands-on challenges to deepen your understanding of networked IoT development.
- Beginner — Change request interval: Modify the code to send an HTTPS GET request every 30 seconds instead of the default interval, then watch the Serial Monitor to confirm the new timing.
- Beginner — Add a second parameter: Extend the query string to include a second sensor value (for example, humidity=70) alongside the temperature and verify both values appear in the server response.
- Intermediate — Switch to JSON POST: Replace the URL-encoded POST body with a JSON payload using the ArduinoJson library, change the Content-Type header to application/json, and update your server endpoint to parse the new format.
- Intermediate — Parse the JSON response: Use the ArduinoJson library to deserialize the server's JSON response body and extract individual fields, then print them separately to the Serial Monitor.
- Advanced — Add CA certificate verification: Find the root CA certificate for your target server using a browser, add it to the sketch with client.setCACert(), and remove client.setInsecure() to enable full certificate chain validation.
- Advanced — Implement retry logic: Wrap the HTTPS request in a retry loop that attempts the request up to three times with a 2-second delay between attempts if the response code is not 200, then logs a failure message to the Serial Monitor if all attempts fail.