
ESP32 S3 - IoT
This tutorial instructs you how to use the ESP32 S3 for IoT projects. You will learn how to connect the ESP32 S3 to the Internet and explore the wide range of IoT applications it can power.
What you'll build:
- Understand the fundamentals of IoT and how the ESP32 S3 fits in
- Learn the available methods to connect the ESP32 S3 to the Internet
- Explore common ESP32 S3 IoT application categories
- Build two simple IoT devices that communicate with each other via the Internet
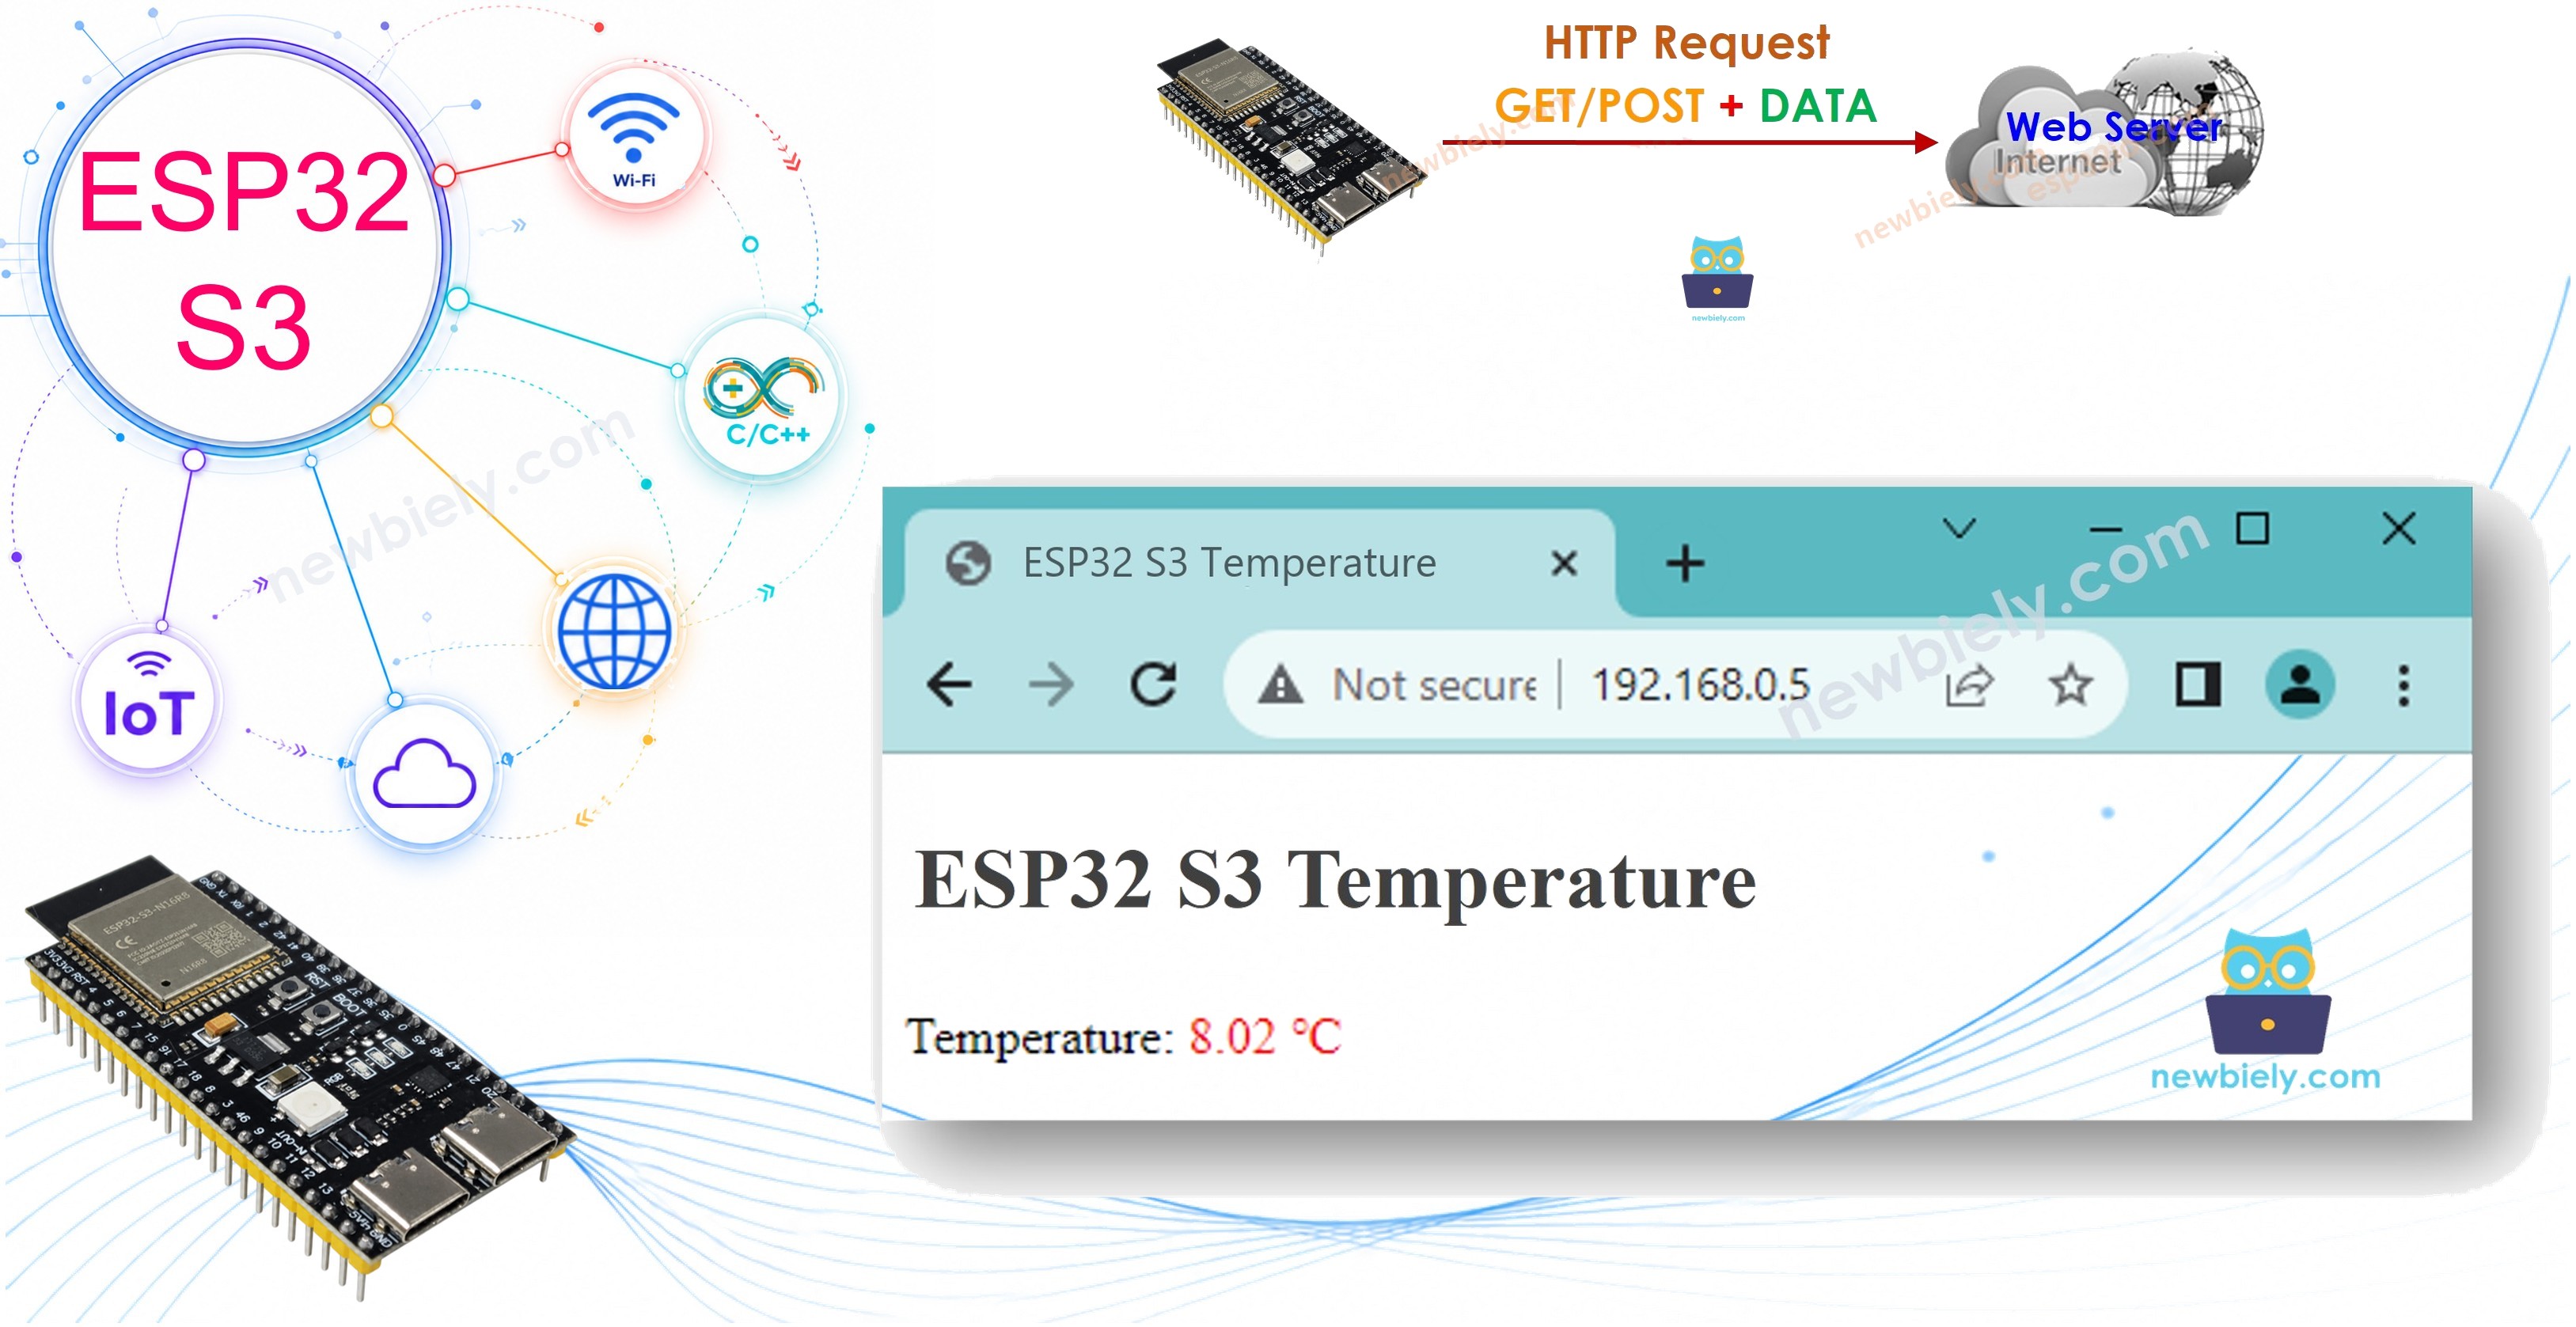
Hardware
- 1 x ESP32 S3 WROOM N16R8 x LINK_MAIN_ESP32_S3_N16R8
- 1 x (Alternatively) ESP32 S3 SuperMini Dev Module x LINK_MAIN_ESP32_S3_SUPER_MINI
- 1 x (Alternatively) ESP32 S3 Uno-form Board x LINK_MAIN_UNO_ESP32_S3
- 1 x (Alternatively) ESP32 S3 Camera Board x LINK_MAIN_ESP32_S3_CAMERA
- 1 x USB Type-C cable
About the ESP32 S3
The ESP32 S3 is a powerful, dual-core microcontroller from Espressif with built-in Wi-Fi and Bluetooth 5 (LE), making it an ideal platform for IoT development. It features generous flash and PSRAM in the N16R8 variant, enabling complex networked applications that smaller boards cannot easily support.
Key Specifications
- Dual-core Xtensa LX7 processor up to 240 MHz
- 16 MB Flash, 8 MB PSRAM (N16R8 variant)
- 2.4 GHz Wi-Fi 802.11 b/g/n
- Bluetooth 5 (LE)
- USB OTG / USB Serial via built-in USB
- Rich peripheral set: SPI, I2C, UART, ADC, PWM, touch pads
What is IoT?
The Internet of Things (IoT) is a network of physical devices that connect to the Internet to send, receive, and exchange data. These connected devices — called IoT devices — can monitor the environment with sensors, respond to remote commands, and interact autonomously with other systems, all through standard Internet protocols. The ESP32 S3's built-in Wi-Fi and Bluetooth capabilities make it an excellent choice for building both consumer and industrial IoT products.
Key Specifications
| Feature | Detail |
|---|---|
| Connectivity | Wi-Fi, Bluetooth 5 LE |
| Processor | Dual-core LX7 @ 240 MHz |
| Flash / PSRAM | 16 MB / 8 MB |
| USB | USB Type-C (native USB OTG) |
Pinout
The ESP32 S3 WROOM N16R8 exposes a wide set of GPIO pins suitable for IoT wiring. Consult the full pinout before connecting peripherals:
- GPIO 1–18: General-purpose digital I/O
- GPIO 35–45: Additional GPIO (some input-only)
- GPIO 19, 20: USB D-, D+ (reserved for USB OTG)
- GPIO 4, 5, 6, 7: Recommended SPI bus pins
- GPIO 8, 9: Default I2C SDA / SCL
Wiring
For the two-device IoT demo, connect a push button to the first ESP32 S3 and an LED to the second ESP32 S3, then both boards communicate via the Internet. Use current-limiting resistors on the LED output and ensure both boards are powered through their USB Type-C ports.
Safety Notes
Use a 220–330 Ω resistor in series with any LED to protect the GPIO pins from overcurrent. Never connect inductive loads (relays, motors) directly to GPIO — always use an appropriate driver or module, and ensure shared grounds between all components in the circuit.
| Component | ESP32 S3 Pin |
|---|---|
| Button | GPIO 4 |
| LED (via 330Ω resistor) | GPIO 5 |
Detailed Instructions
- New to ESP32 S3? Complete our Getting Started with ESP32 S3 guide first.
- Wire the button to the first ESP32 S3 and the LED (with resistor) to the second ESP32 S3 as shown in the wiring table above.
- Open the Arduino IDE and install the ESP32 board package (Espressif) via the Boards Manager if you have not done so already.
- Open the sender sketch and update the Wi-Fi SSID, password, and server address to match your network.
- Select ESP32S3 Dev Module as the target board and choose the correct COM port.
- Upload the sender sketch to the first ESP32 S3 board.
- Open the receiver sketch, update the Wi-Fi credentials, then upload it to the second ESP32 S3 board.
- Open the Serial Monitor at 115200 baud on each board and observe the connection messages.
- Press the button on board #1 and watch the LED on board #2 respond in real time.
- Pro Tip: Move both ESP32 S3 boards to different Wi-Fi networks (or use mobile hotspots) to confirm they truly communicate over the public Internet rather than a local network.
Serial Monitor
After uploading, open the Serial Monitor at 115200 baud. You should see output similar to the readings below:
Applications
The ESP32 S3's combination of dual-core processing, ample memory, and native Wi-Fi makes it suitable for a broad spectrum of IoT applications across home, commercial, and industrial settings:
- Smart Home Automation: Control lights, fans, and appliances remotely via smartphone or voice assistant.
- Remote Monitoring: Stream sensor readings (temperature, humidity, air quality) to a cloud dashboard in real time.
- Industrial Data Logging: Collect machine data and push it to a database or IoT cloud platform for analysis.
- Security and Alerts: Detect motion, door opening, or water leaks and send instant email or SMS notifications.
- Voice Assistant Integration: Interact with Amazon Alexa or Google Home to enable voice-controlled device operation.
- Device-to-Device Communication: Link multiple ESP32 S3 boards so they coordinate actions automatically without human intervention.
- Gateway Applications: Use the ESP32 S3 as a bridge between Bluetooth/Zigbee/LoRa sensors and the broader Internet.
Video
Watch the step-by-step video walkthrough for this ESP32 S3 project below.
...VIDEO
Challenges
Building the basic IoT connection is just the beginning — the real learning comes from extending and hardening the project. Try the challenges below to deepen your understanding:
- Beginner: Modify the receiver sketch so the LED blinks three times when it receives a command instead of just toggling once.
- Intermediate: Add a second button on board #1 that controls a second LED on board #2, requiring you to encode multiple commands in your messages.
- Advanced: Secure the communication by switching from plain HTTP to HTTPS or MQTT over TLS, and add device authentication so only your two boards can exchange messages.