
ESP32 S3 - MySQL
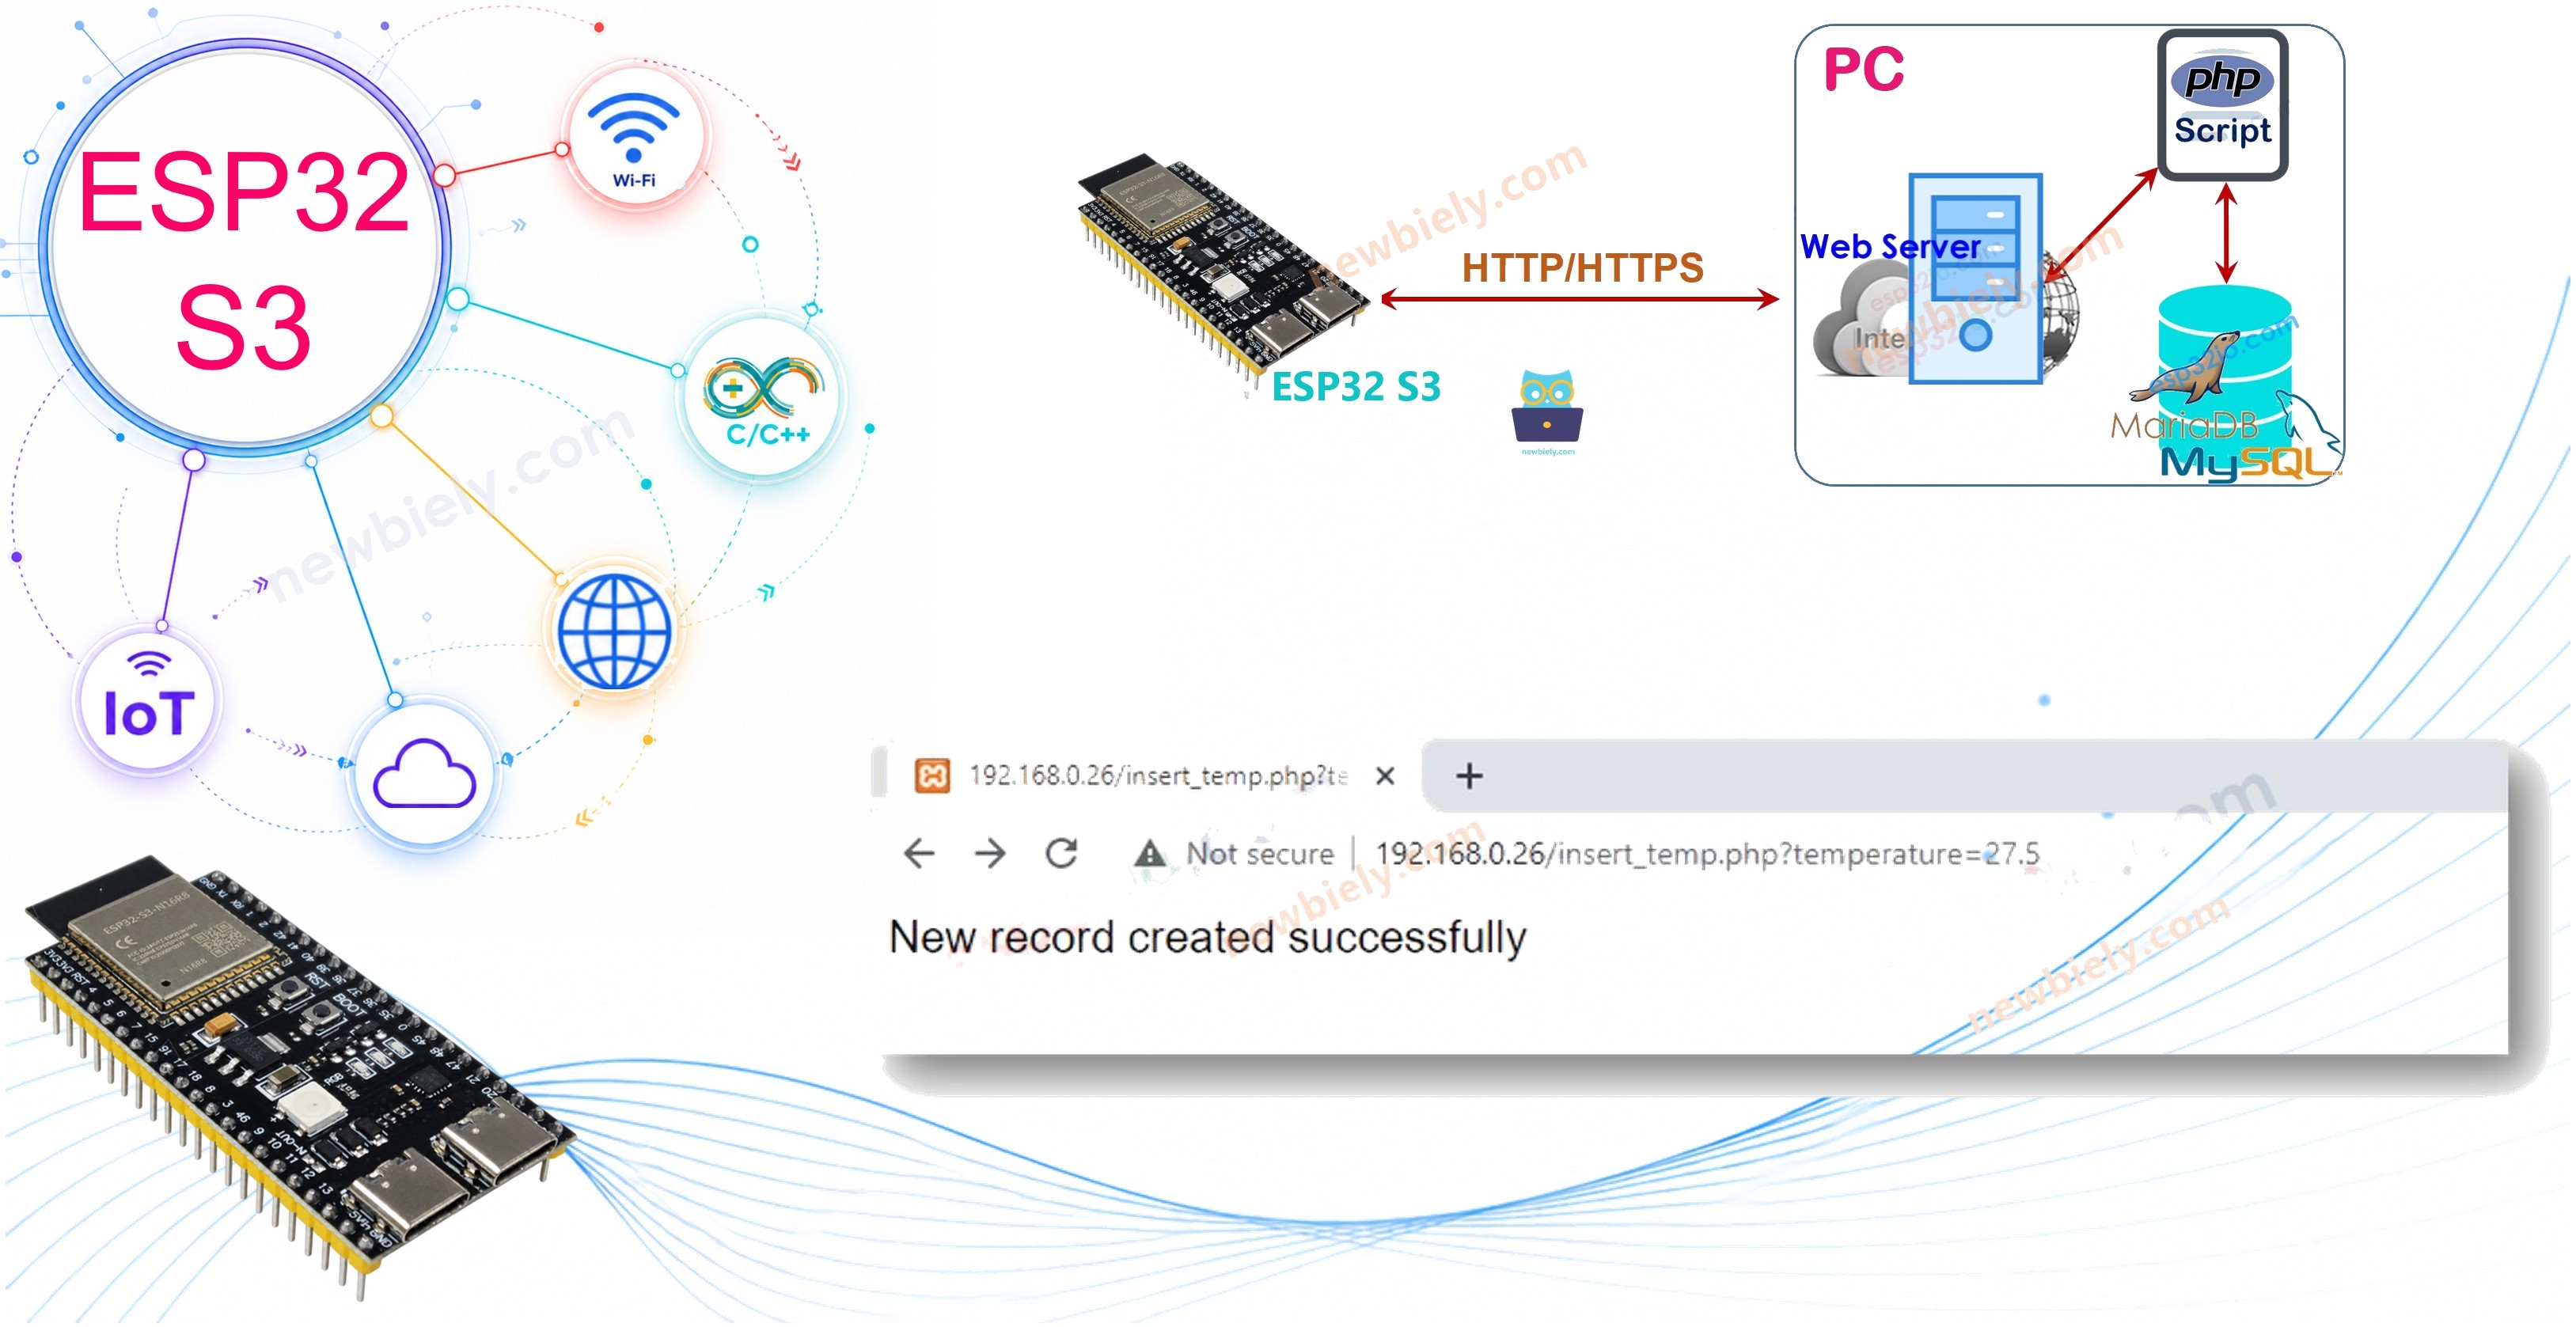
The ESP32 S3's built-in Wi-Fi makes it an excellent choice for logging sensor data to a MySQL database running on your local PC or a cloud server. This tutorial guides you through the complete setup — from installing a MySQL server and writing PHP scripts to uploading ESP32 S3 code that sends temperature readings into the database over HTTP.
What you'll build:
- A MySQL database and table on your PC using the XAMPP stack (MySQL + Apache + PHP)
- A PHP script that receives temperature data from an HTTP GET request and inserts it into the database
- An ESP32 S3 sketch that connects to Wi-Fi and posts a temperature reading to that PHP endpoint
- A fully working end-to-end data pipeline from the ESP32 S3 to a relational database you can query from any SQL client
Hardware Preparation
Or you can buy the following kits:
| 1 | × | DIYables ESP32 S3 Starter Kit (ESP32 S3 included) | |
| 1 | × | DIYables Sensor Kit (18 sensors/displays) |
Additionally, some of these links are for products from our own brand, DIYables .
ESP32 S3 - MySQL
There are two terms in MySQL that beginners usually get confused: MySQL Database and MySQL server. They are different. However, if you are a beginner, you can assume that they are the same — you will find the differences naturally as you progress in your learning.
ESP32 S3 can interact with a MySQL database in two ways:
- Directly: ESP32 S3 connects directly to the MySQL server and communicates using the MySQL protocol
- Indirectly: ESP32 S3 connects to a web server over HTTP/HTTPS, and the web server talks to MySQL on its behalf
Which approach is better for the ESP32 S3? Read on to find out.
ESP32 S3 Interacts Directly with MySQL Server
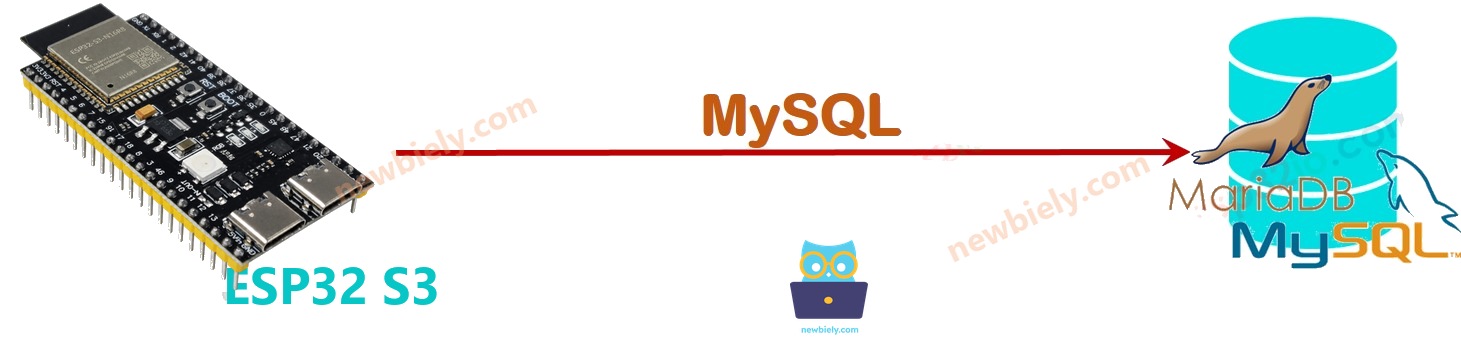
Interacting with MySQL directly seems simple but comes with significant drawbacks:
- You must grant remote access permissions to a MySQL user account, which introduces security risks even with limited privileges.
- The ESP32 S3 must store and transmit raw MySQL queries, which consumes more memory and CPU than simple HTTP calls.
- The ESP32 S3 must parse complex MySQL response packets that can be very large, potentially causing out-of-memory crashes.
- Most MySQL libraries available for the ESP32 S3 do not support SSL/TLS, meaning credentials and data are sent in plain text.
ESP32 S3 Interacts Indirectly with MySQL Server via HTTP/HTTPS
Connecting to MySQL through a PHP script on a web server solves all of the problems listed above.
How It Works
- Step 1: ESP32 S3 bundles sensor data into an HTTP/HTTPS request and sends it to the web server
- Step 2: The web server runs a PHP script that handles the incoming request from ESP32 S3
- Step 3: The PHP script extracts the data from the HTTP request, processes it, and writes to the MySQL database
- Step 4: The PHP script returns only the essential result to ESP32 S3 via the HTTP response
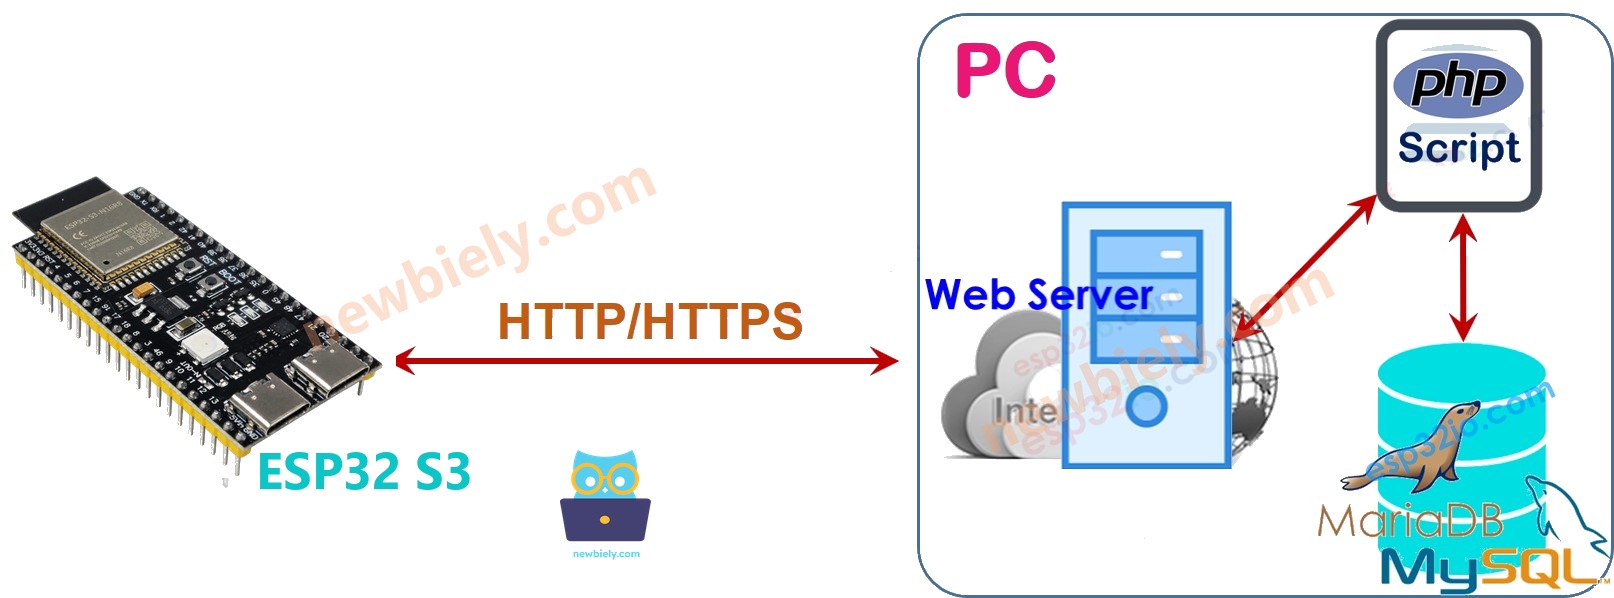
This tutorial installs MySQL, Apache, and PHP on your PC using the XAMPP package. The same setup can be deployed on a dedicated server or a cloud service such as AWS EC2.
The indirect approach solves each problem of the direct approach:
- Apache and MySQL run on the same machine, so you can restrict the MySQL user to localhost-only access — your credentials are never exposed to the network.
- The MySQL username and password live only on the server, never on the ESP32 S3.
- PHP handles data parsing and query construction, keeping the ESP32 S3 code simple and memory-efficient.
- PHP sends only the data the ESP32 S3 needs, preventing out-of-memory situations.
- The ESP32 S3 can make HTTPS requests easily, so the entire channel can be encrypted.
Note that authentication between the ESP32 S3 and the web server should be independent of MySQL authentication — use a different username and password for each.
Because of these advantages, this tutorial uses the indirect approach.
ESP32 S3 to MySQL via HTTP/HTTPS
The steps below cover everything you need:
- Installing XAMPP (MySQL server, Apache web server, and PHP) on your PC
- Creating a MySQL user account
- Creating a MySQL database
- Creating a MySQL table
- Writing one or more PHP script files
- Writing ESP32 S3 code
1. Installing MySQL Server, Web Server, and PHP on Your PC
- Download and install XAMPP from this link. After installation, verify that the folder C:\xampp\htdocs exists on your PC — this is where you will place your PHP files.
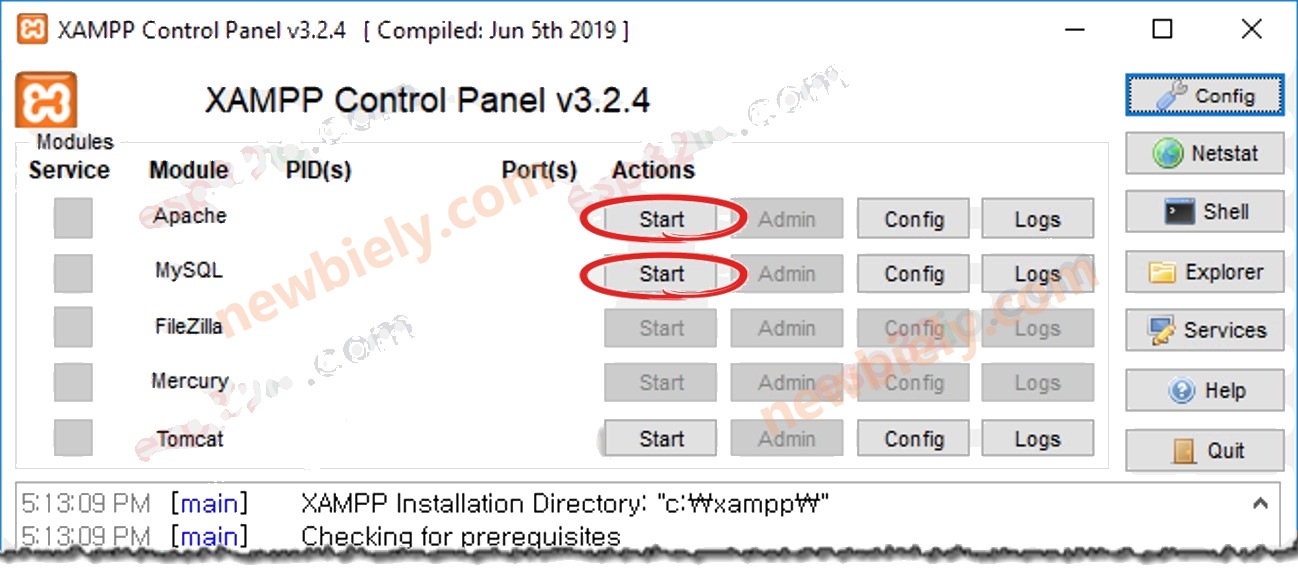
- Open the XAMPP Control Panel
- Click the Start buttons next to MySQL and Apache to start both services (as shown in the image below)
2. Creating a MySQL User Account
A MySQL account restricted to localhost means that even if an attacker learns the credentials, they cannot access your database from outside your machine.
This tutorial creates a MySQL user account with username ESP32 and password newbiely.com:
- Open the Command Prompt on your PC and keep it open for the rest of the tutorial.
- Type the following command on the Command Prompt:
- By default, the MySQL root account has no password. It is strongly recommended to set one (e.g. YOUR_ROOT_PASSWORD) for security. Type the command below on the Command Prompt:
- Log in to the MySQL server with the command below:
- Type YOUR_ROOT_PASSWORD and press Enter
- Create the MySQL user account by copying and pasting the commands below into the Command Prompt:
You have successfully created a MySQL user account. Note down the username and password — you will need them in the PHP script.
3. Creating a MySQL Database
Create a database called db_esp32 by running the following command on the Command Prompt:
4. Creating a MySQL Table
Create a table called tbl_temp by copying and pasting the commands below into the Command Prompt:
5. Writing PHP Script Files
Create a file called insert_temp.php using any text editor (such as Notepad or Notepad++). This script reads the temperature value from the HTTP GET request and inserts it into the database.
- Place this file inside the C:\xampp\htdocs folder
- Find your PC's IP address (search online if you are unsure how)
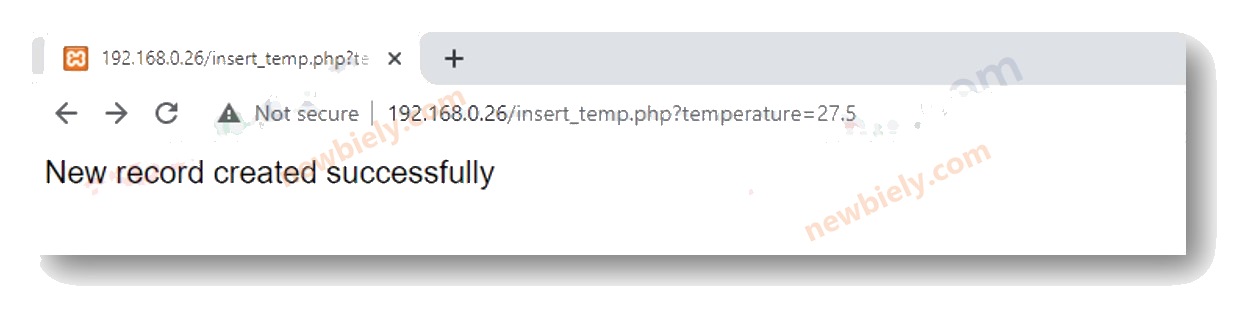
- Test the PHP script by opening a web browser and navigating to: http://192.168.0.19/insert_temp.php?temperature=26.2. Replace the IP address with your PC's actual address.
- The web browser should display a success message as shown below:
- Verify the data was stored by running the following command on the Command Prompt:
The temperature value 26.2 is now stored in the database. The next step is to write ESP32 S3 code that makes an HTTP request to this web server.
6. Writing ESP32 S3 Code
The following code configures the ESP32 S3 to connect to your Wi-Fi network and send an HTTP GET request to the PHP endpoint, inserting a temperature reading of 30.5°C into the MySQL database. Update the Wi-Fi credentials and PC IP address before uploading.
Detailed Instructions
- New to ESP32 S3? Complete our Getting Started with ESP32 S3 guide first.
- Complete the MySQL, Apache, and PHP setup steps above before uploading the code.
- Connect the ESP32 S3 board to your PC using a USB Type-C cable.
- Open the Arduino IDE on your PC.
- In the Arduino IDE, select the correct board (ESP32S3 Dev Module or equivalent) and COM port under Tools.
- Copy the sketch above and open it in the Arduino IDE.
- Update YOUR_WIFI_SSID and YOUR_WIFI_PASSWORD with your network credentials.
- Replace the IP address in the code with your PC's actual IP address.
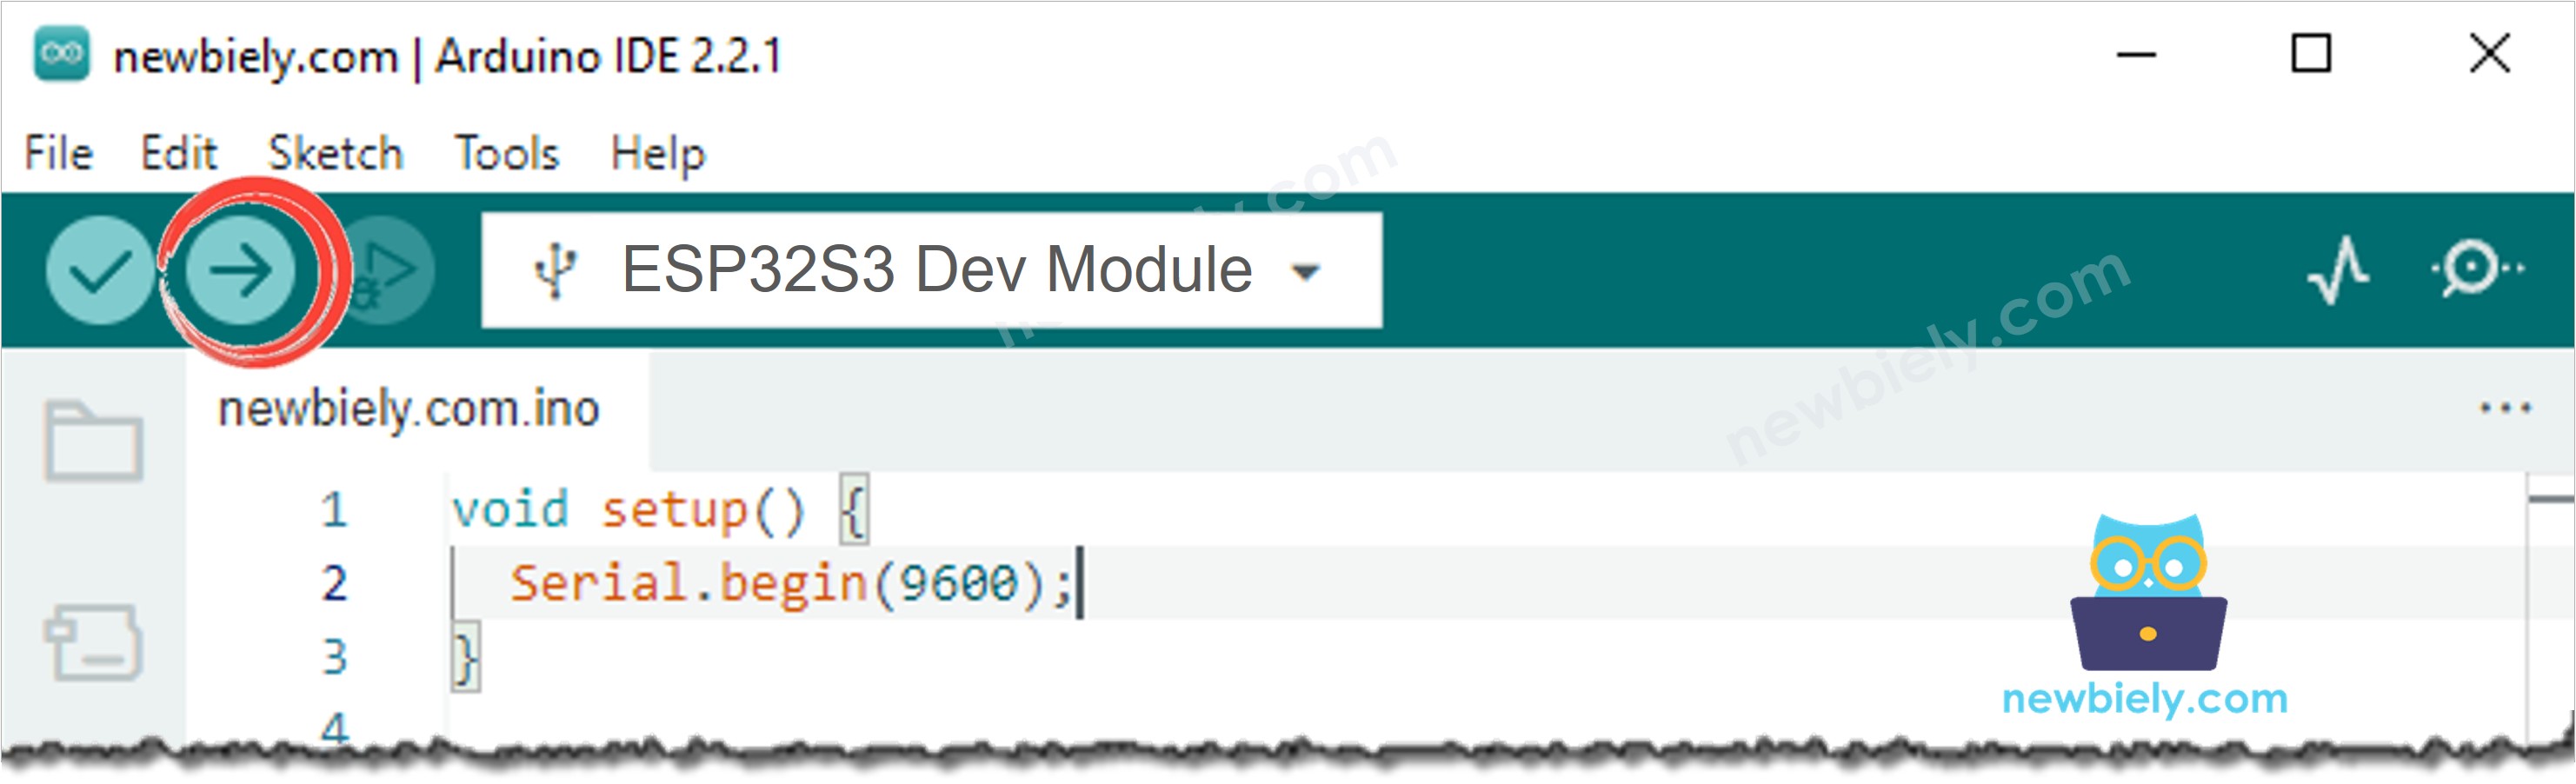
- Click the Upload button to compile and flash the sketch to the ESP32 S3.
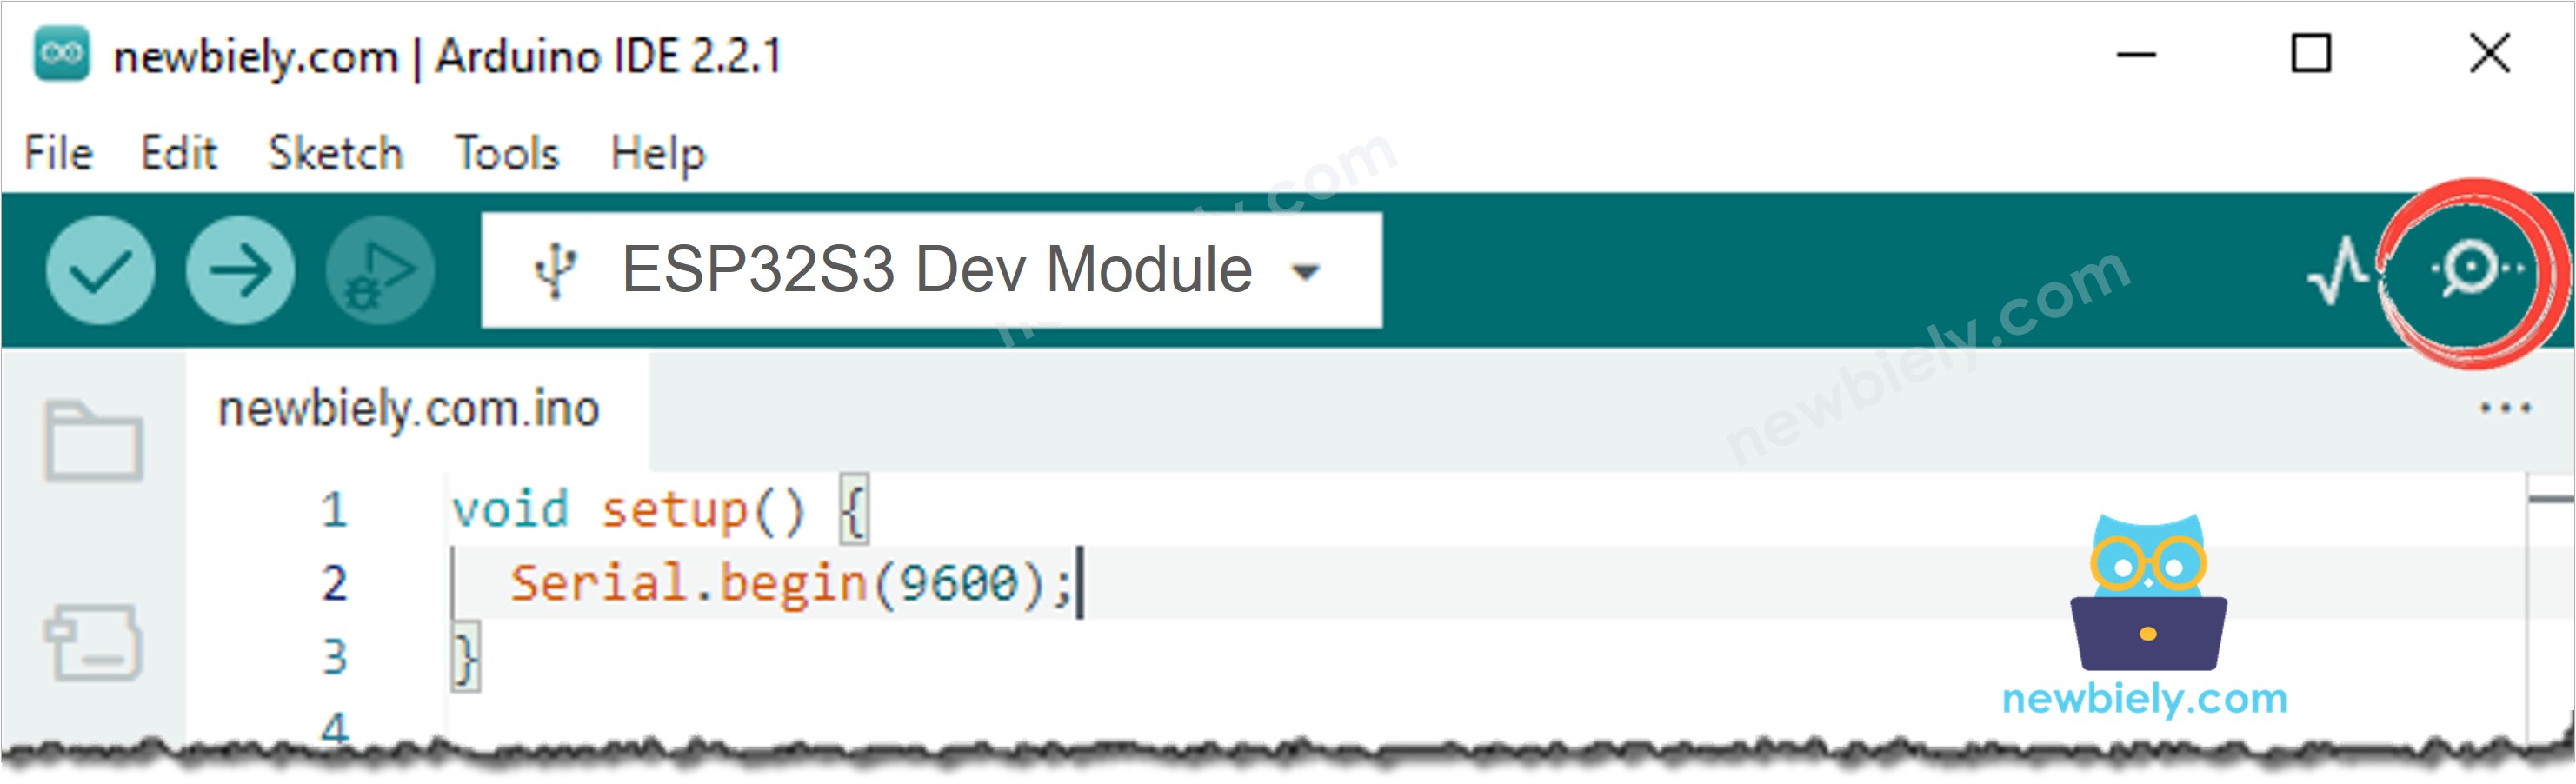
- Once the upload is complete, open the Serial Monitor from the Tools menu or the monitor icon.
- Set the baud rate to 115200 in the Serial Monitor dropdown.
- Pro Tip: If the ESP32 S3 reports a connection failure, double-check that XAMPP's Apache and MySQL services are both running and that your PC's firewall is not blocking port 80.
Serial Monitor Output
When the ESP32 S3 successfully connects to Wi-Fi and inserts a row into the database, the Serial Monitor will display output similar to the following:
- Check that the data was stored by running the following command on the Command Prompt:
The temperature reading of 30.5°C sent by the ESP32 S3 is now stored in the database alongside the earlier test value.
How ESP32 S3 Inserts, Updates, or Reads Data from MySQL
The example above demonstrates inserting data into MySQL. Updating and reading data follow exactly the same pattern — you simply modify the SQL query inside the PHP script. You can learn more about PHP and MySQL at W3Schools.com.
Application and Project Ideas
The ESP32 S3's ability to store data in MySQL opens the door to a wide range of data-driven IoT applications. Here are some directions worth exploring:
- Environmental data logger: Collect temperature, humidity, or air-quality readings from sensors every few minutes and insert each measurement into a time-series MySQL table for long-term trend analysis.
- Smart irrigation controller: Log soil moisture sensor readings to MySQL and query historical averages to decide when to activate a water pump automatically.
- Access control log: Record every RFID or keypad authentication event — including card ID, timestamp, and access result — into a MySQL database for auditing.
- Energy monitor: Read current-sensor values with the ESP32 S3, calculate power consumption, and store daily totals in MySQL so you can track energy usage over weeks or months.
- Remote inventory tracker: Place ESP32 S3 nodes at different locations; each node reports stock-level or weight-sensor data to a central MySQL database accessible from any browser.
- Alert history dashboard: Store every threshold-crossing event (high temperature, gas leak, motion detection) in MySQL and query the table to display an alert history on a web dashboard.
Video Tutorial
Watch the step-by-step video walkthrough for this ESP32 S3 project below.
Challenge Yourself
Once your ESP32 S3 is writing rows to MySQL, there are many ways to extend the project and deepen your understanding. Try the challenges below in order of difficulty:
- Beginner: Modify the PHP script to return the auto-incremented row ID in the response and print it on the Serial Monitor to confirm each insert.
- Beginner: Change the ESP32 S3 code to read a real sensor (such as a DHT22 or LM35) and log its output to the database instead of the hard-coded 30.5°C value.
- Intermediate: Add a second PHP endpoint called get_temp.php that reads the latest ten rows from tbl_temp and returns them as a JSON array; have the ESP32 S3 fetch and print the JSON to the Serial Monitor.
- Intermediate: Implement an update_temp.php script that accepts a row ID and a new temperature value via GET parameters and updates the existing record in MySQL.
- Advanced: Switch the connection from HTTP to HTTPS by installing a self-signed certificate in XAMPP and using WiFiClientSecure on the ESP32 S3 to verify the certificate before sending data.
- Advanced: Build a browser-based dashboard in PHP that queries MySQL and plots the stored temperature readings as a line chart using Chart.js — then watch the chart update live as the ESP32 S3 keeps inserting new rows.