
ESP32 S3 - LM35 Temperature Sensor
Learn how to connect an LM35 temperature sensor to your ESP32 S3 and read analog temperature data in both Celsius and Fahrenheit. This beginner-friendly tutorial walks you through everything from wiring to writing Arduino code and viewing live readings in the Serial Monitor.
What you'll build:
- A circuit connecting the LM35 analog temperature sensor to your ESP32 S3
- Arduino code that reads the ADC voltage and converts it to degrees Celsius and Fahrenheit
- Serial Monitor output showing live temperature readings in real time
- A foundation you can extend into data loggers, fan controllers, or wireless temperature monitors
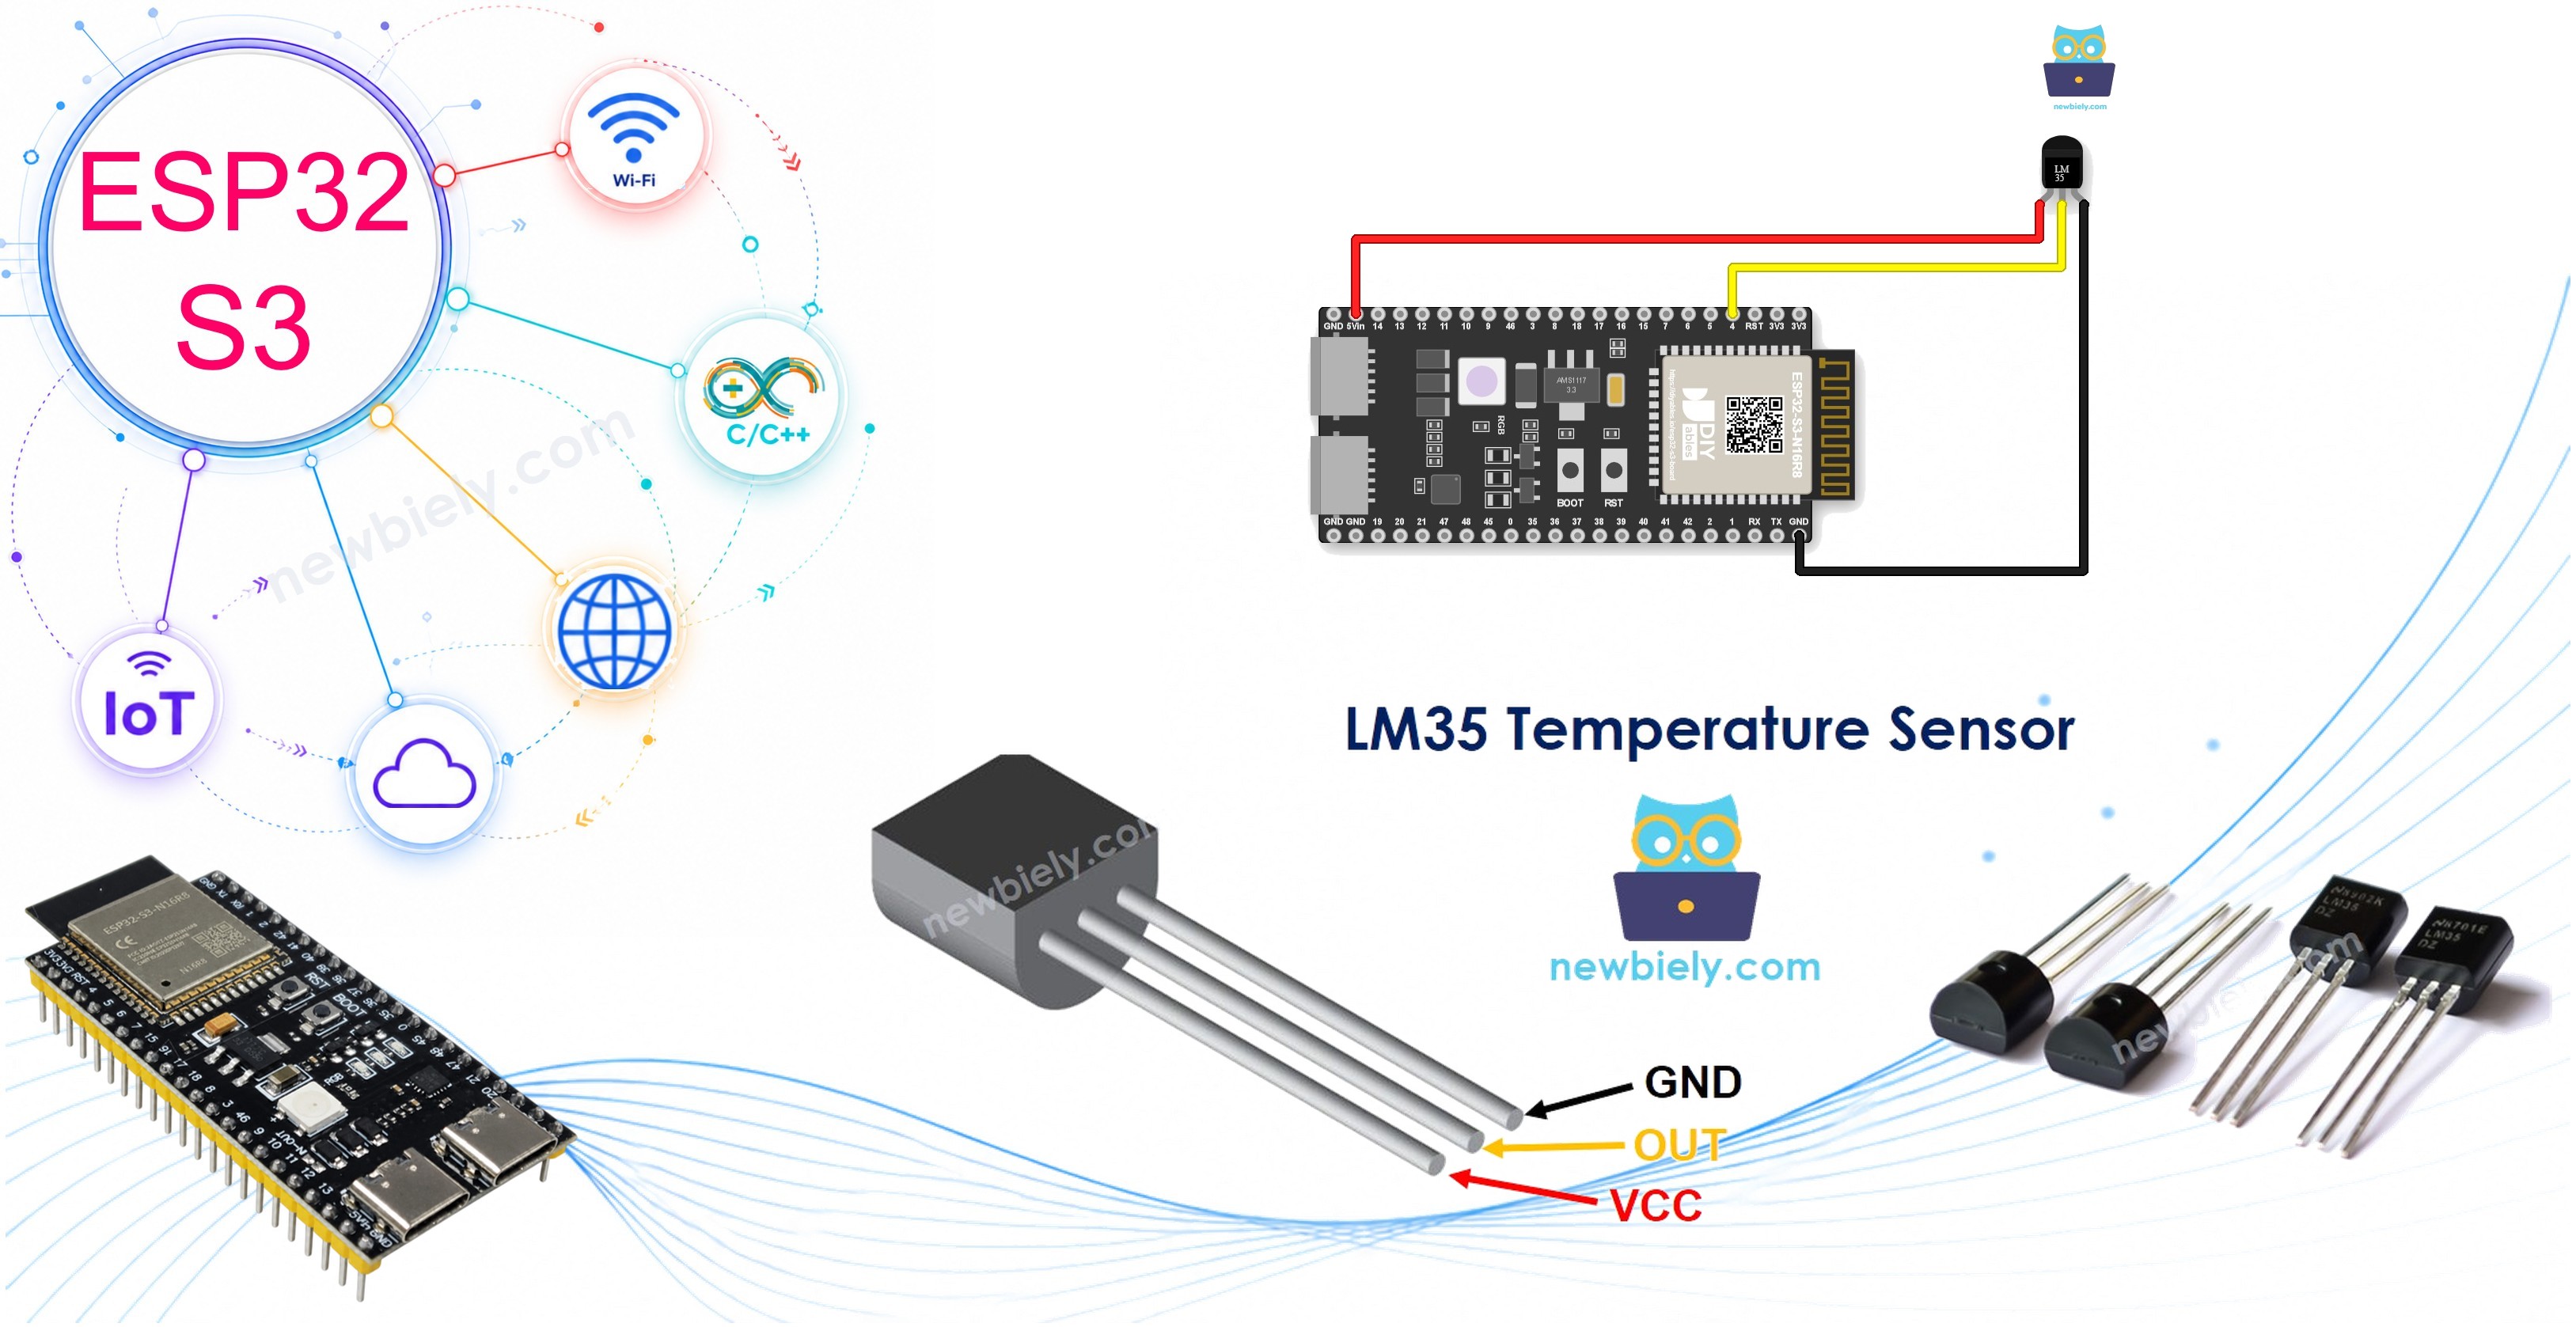
Hardware Preparation
Or you can buy the following kits:
| 1 | × | DIYables ESP32 S3 Starter Kit (ESP32 S3 included) | |
| 1 | × | DIYables Sensor Kit (18 sensors/displays) |
Additionally, some of these links are for products from our own brand, DIYables .
Overview of LM35 Temperature Sensor
The LM35 is a precision analog temperature sensor that outputs a voltage linearly proportional to temperature in degrees Celsius, making it one of the simplest sensors to interface with a microcontroller's ADC. It requires no external calibration, operates from a wide supply voltage range, and produces a clean output that the ESP32 S3's ADC can read directly.
Key Specifications
- Output scale factor: 10 mV/°C (e.g., 250 mV at 25°C)
- Temperature range: -55°C to +150°C
- Supply voltage: 4V to 30V
- Accuracy: ±0.5°C typical at room temperature
- Output impedance: low — suitable for long cable runs to the ADC
- No external calibration required
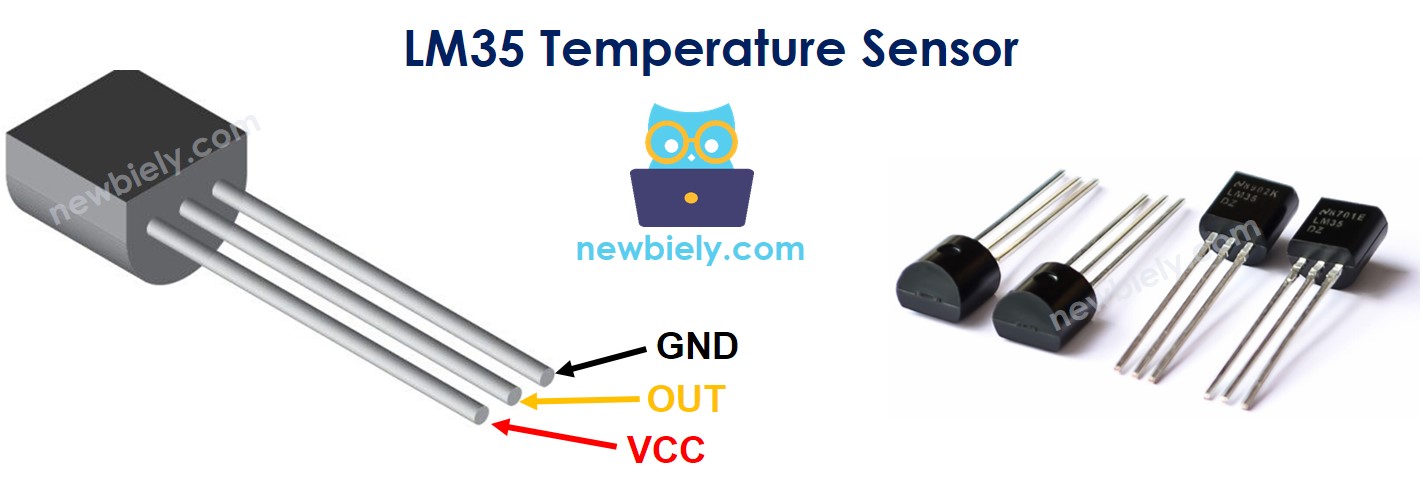
LM35 Temperature Sensor Pinout
The LM35 comes in a TO-92 transistor-style package and exposes three pins for straightforward wiring.
- VCC pin: Connect to power supply (5V recommended for best accuracy)
- GND pin: Connect to ground (0V)
- OUT pin: Analog output voltage proportional to temperature — connect to an ADC-capable GPIO on the ESP32 S3
How LM35 Temperature Sensor Works
The LM35 outputs voltage in linear proportion to the Celsius temperature using a fixed scale factor of 10 mV per degree Celsius. By reading the voltage on the OUT pin with the ESP32 S3's ADC and applying the conversion formula, you can calculate the exact temperature in real time.
Wiring Diagram
Connect your LM35 temperature sensor to the ESP32 S3 following the diagram below. The sensor's OUT pin connects to any ADC-capable GPIO so the ESP32 S3 can sample the analog voltage and convert it to a temperature reading.
Safety Notes
Power the LM35 from the 5V pin on the ESP32 S3 to maximize the sensor's output swing and improve measurement accuracy, since the full-scale output at 150°C is 1.5V — well within the ESP32 S3's 3.3V ADC input range. Avoid routing the sensor's OUT wire near high-frequency signals, as the LM35's output is a low-level analog signal that can pick up noise and cause inaccurate readings.
The wiring diagram with power supply from USB cable:
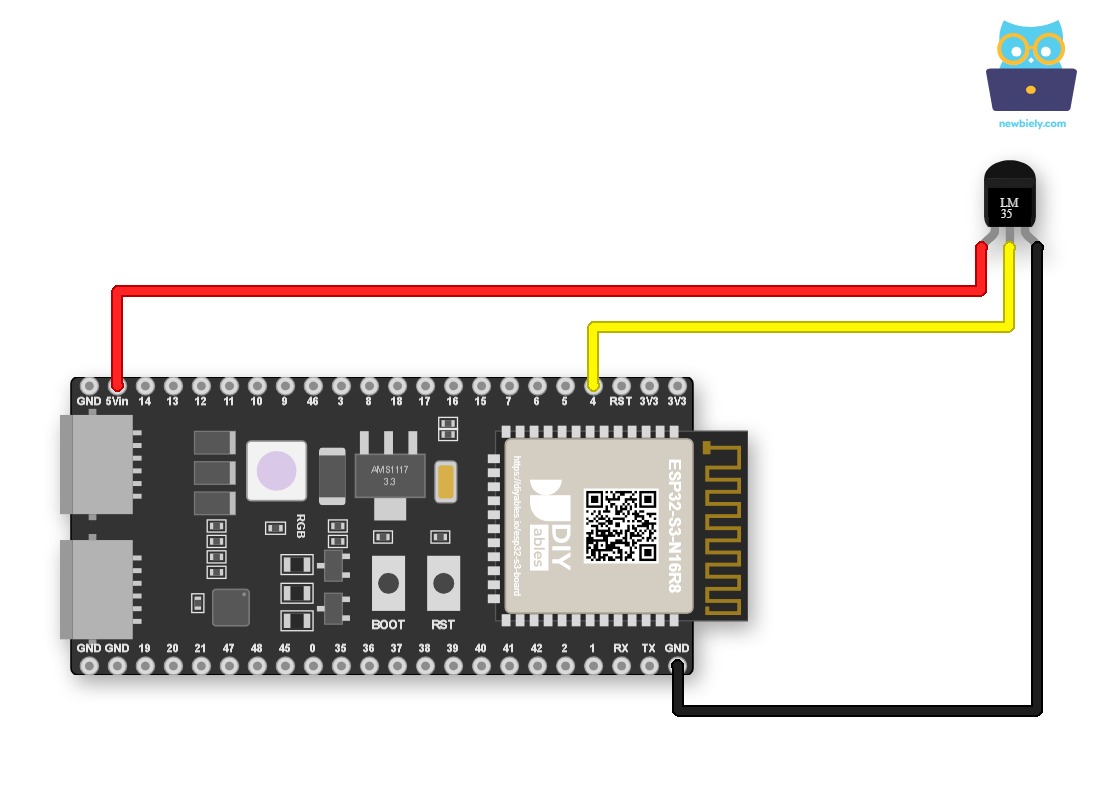
This image is created using Fritzing. Click to enlarge image
The wiring diagram with power supply from 5V adapter:
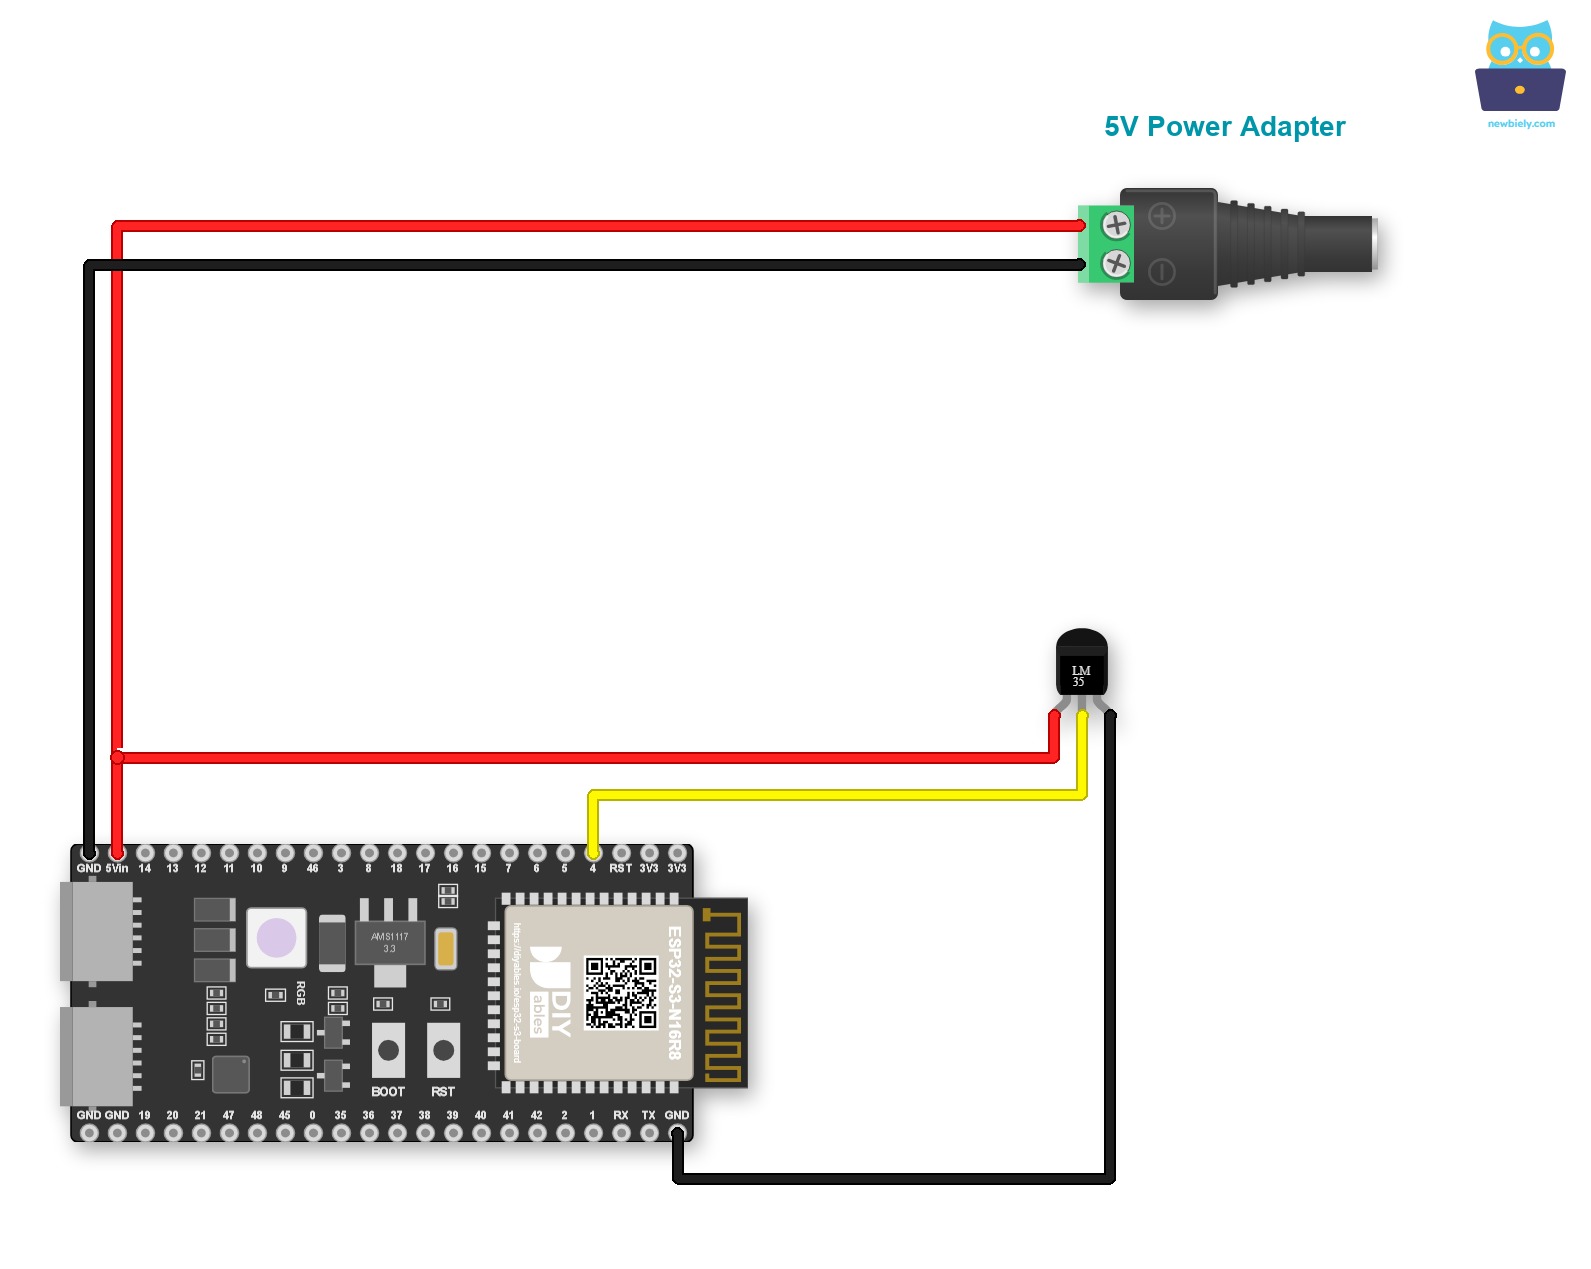
This image is created using Fritzing. Click to enlarge image
| LM35 Pin | ESP32 S3 Pin |
|---|---|
| VCC | 5V |
| GND | GND |
| OUT | GPIO4 (or any ADC-capable GPIO) |
ESP32 S3 Code
The following code reads the analog voltage from the LM35 OUT pin using the ESP32 S3's ADC, converts it to a temperature in Celsius using the 10 mV/°C scale factor, and then derives the Fahrenheit equivalent before printing both to the Serial Monitor. The ADC reference voltage on the ESP32 S3 is 3.3V over a 12-bit range (0–4095), so the conversion math accounts for this when computing the actual voltage at the sensor output.
※ NOTE THAT:
This tutorial uses the analogRead() function to read values from an ADC (Analog-to-Digital Converter) connected to a LM35 sensor. The ESP32 S3 ADC is good for projects that do NOT need high accuracy. However, for projects that need precise measurements, please note:
- The ESP32 S3 ADC is not perfectly accurate and might need calibration for correct results. Each ESP32 S3 board can be a bit different, so you need to calibrate the ADC for each individual board.
- Calibration can be difficult, especially for beginners, and might not always give the exact results you want.
For projects that need high precision, consider using an external ADC (e.g ADS1115) with the ESP32 S3 or using an Arduino, which has a more reliable ADC. If you still want to calibrate the ESP32 S3 ADC, refer to ESP32 ADC Calibration Driver
Detailed Instructions
- New to ESP32 S3? Complete our Getting Started with ESP32 S3 guide first.
- Connect the LM35 sensor to the ESP32 S3 as shown in the wiring diagram above.
- Connect the ESP32 S3 board to your computer using a USB Type-C cable.
- Open Arduino IDE on your computer.
- Select the correct ESP32 S3 board and COM port in Arduino IDE.
- Copy the code above and paste it into Arduino IDE.
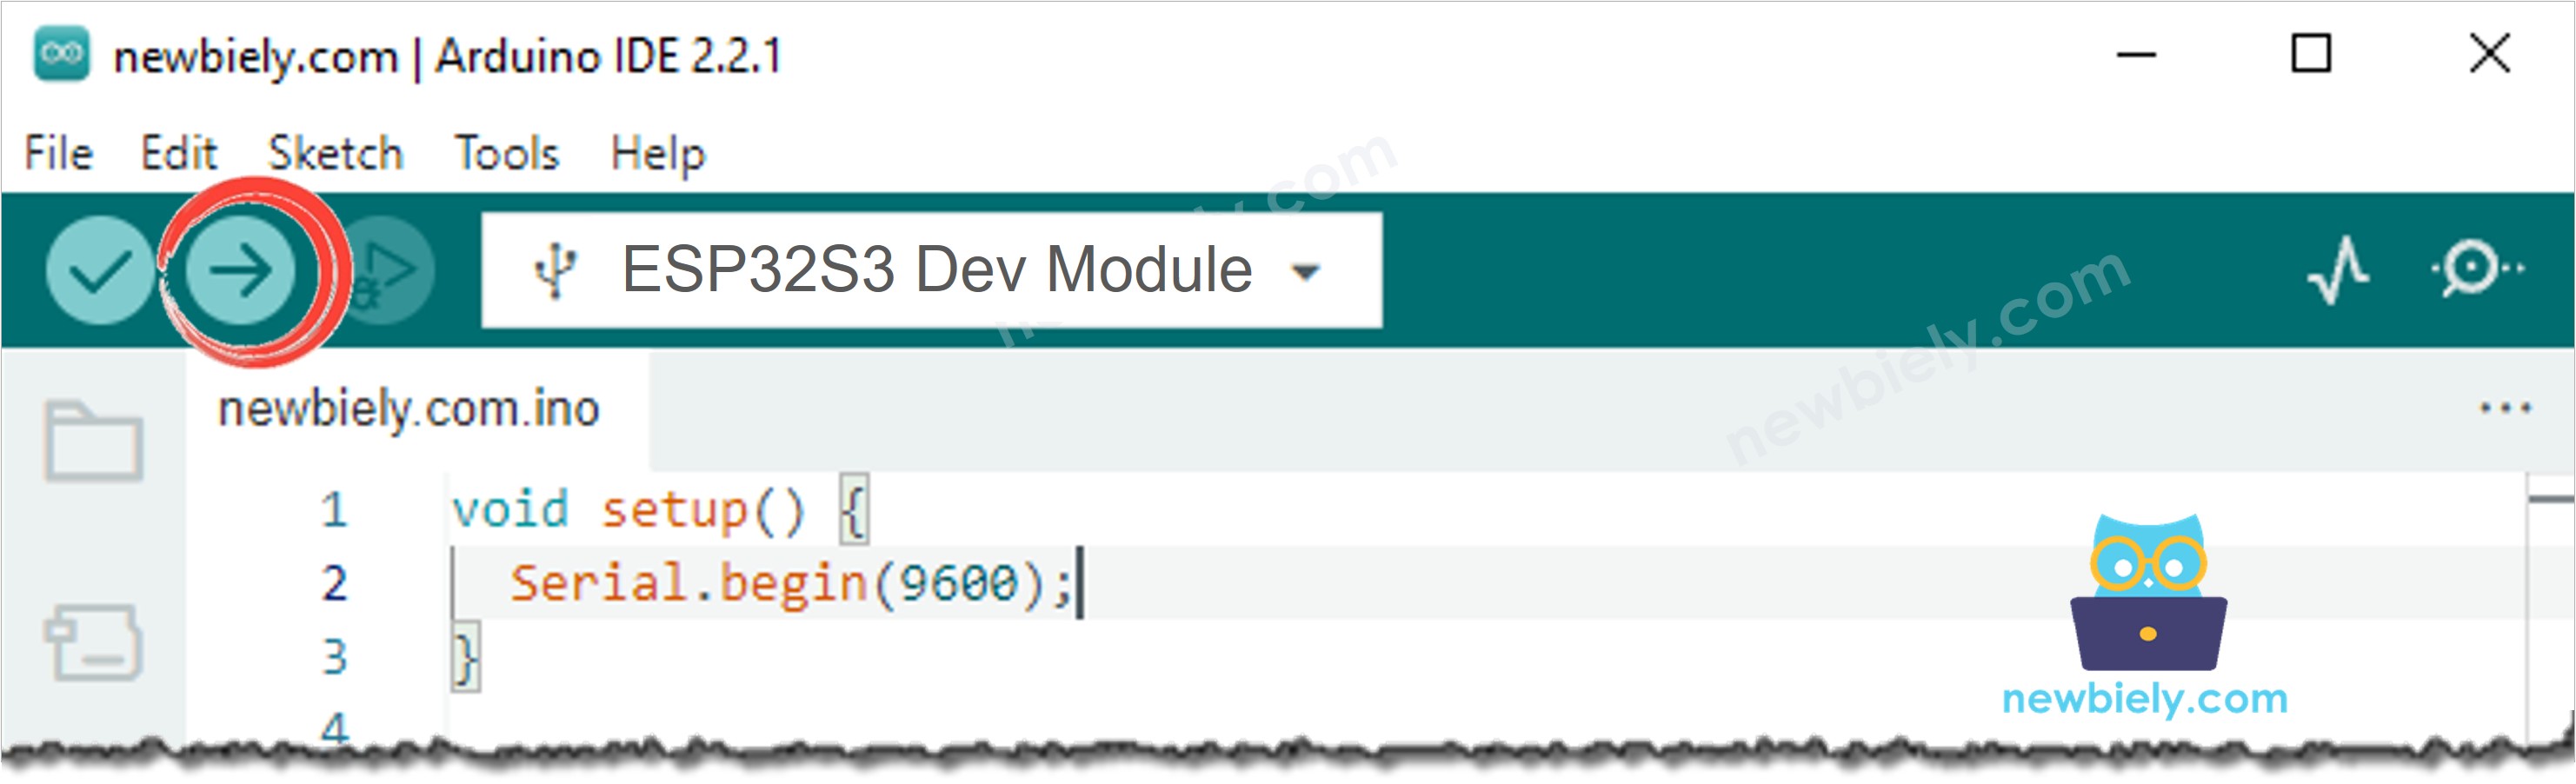
- Click the Upload button in Arduino IDE to compile and upload the code to your ESP32 S3.
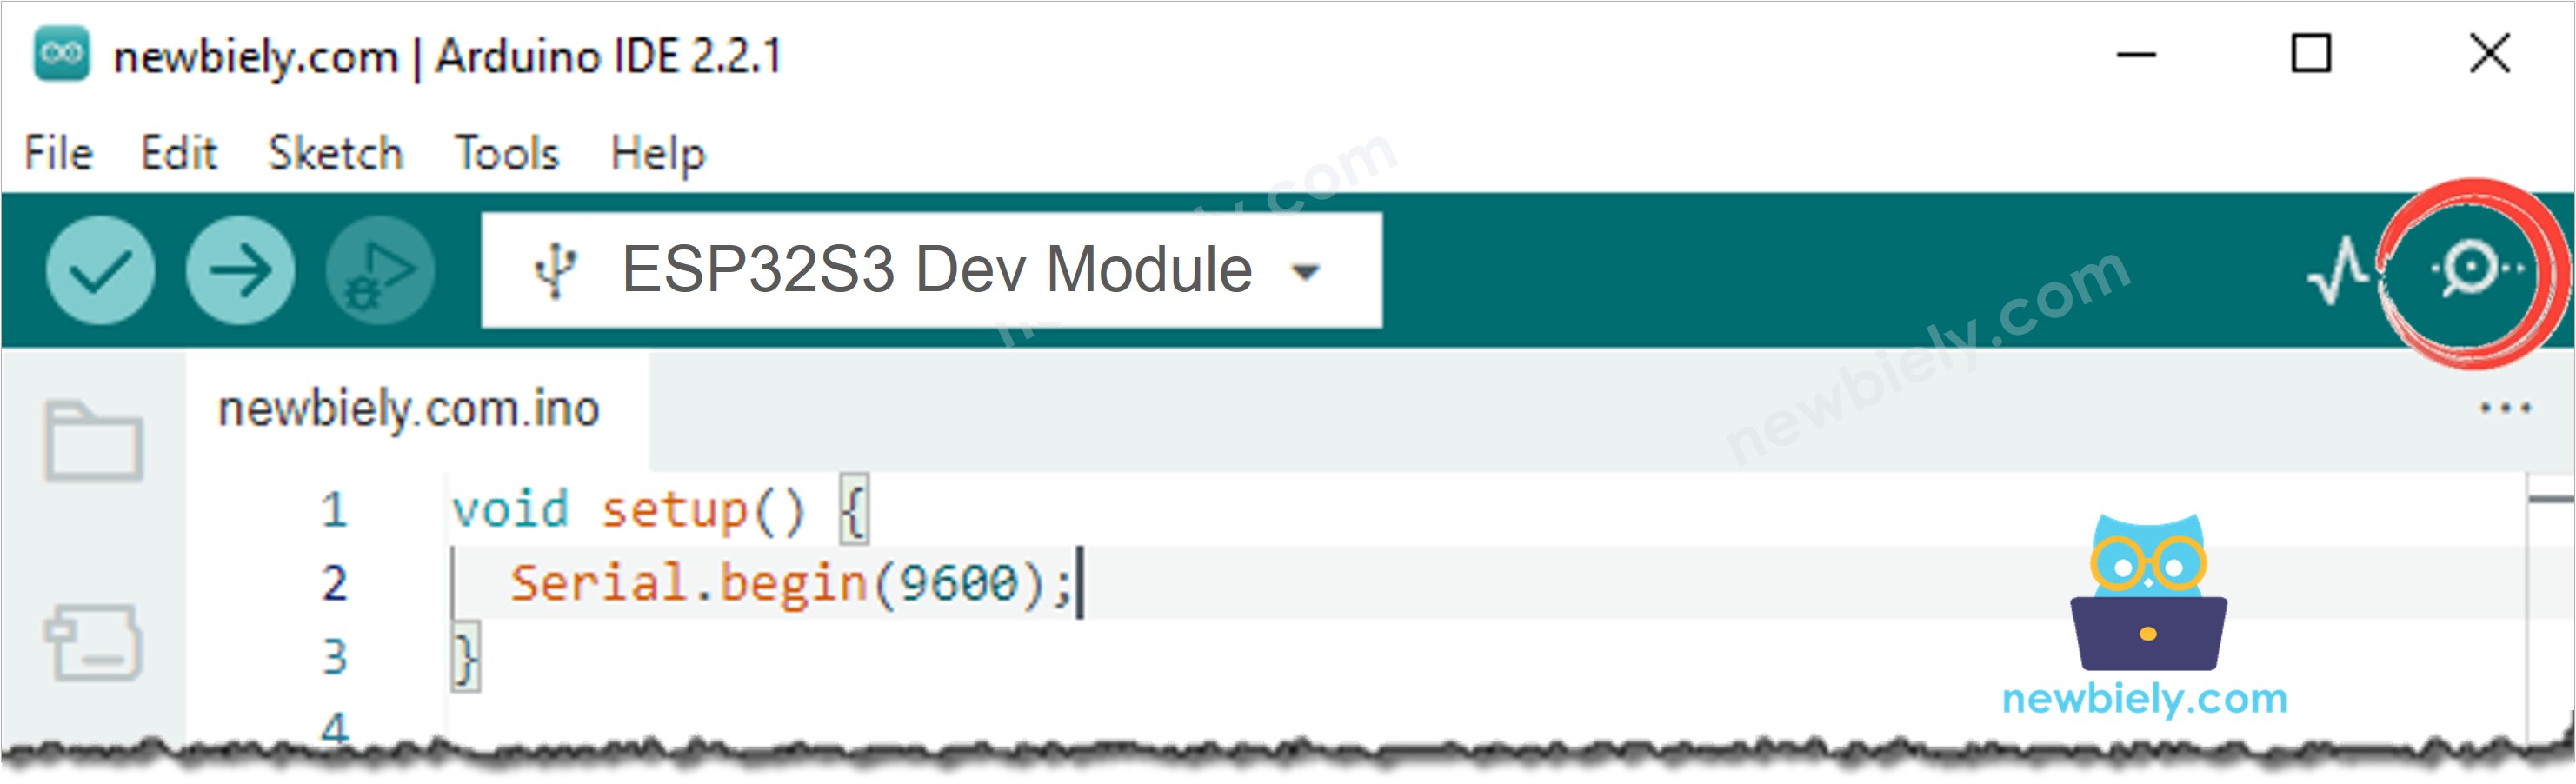
- Open the Serial Monitor in Arduino IDE.
- Set the baud rate to 115200 in the Serial Monitor.
- Observe the temperature readings updating in the Serial Monitor.
- Make the sensor colder or hotter — for example, hold the sensor in your hand or place it near an ice cup — and watch the readings change.
- Pro Tip: If your readings seem off by several degrees, check that the LM35 VCC is connected to 5V rather than 3.3V. Powering from 3.3V limits the output range and can cause the ADC to read inaccurate values near the top of the temperature scale.
Serial Monitor Output
Once you upload the code and open the Serial Monitor, you will see continuous temperature readings updating every second. The output below shows a typical session captured in 2026, starting at room temperature and rising gradually as the sensor warms up from handling.
Applications and Project Ideas
The LM35's straightforward analog interface paired with the ESP32 S3's processing power and built-in Wi-Fi makes it suitable for a broad range of temperature sensing and automation projects.
- Home temperature monitor: Display room temperature on an OLED or LCD screen and log readings over time.
- Fan speed controller: Automatically increase or decrease a DC fan's speed based on the measured ambient temperature.
- Over-temperature alarm: Trigger a buzzer or relay when a machine or enclosure exceeds a safe temperature threshold.
- Data logger: Record temperature readings with timestamps to an SD card for trend analysis and reporting.
- Wi-Fi temperature dashboard: Send readings over the ESP32 S3's Wi-Fi to a web server or cloud service for remote monitoring.
- Smart greenhouse: Monitor air temperature in a greenhouse and automatically activate ventilation or heating as needed.
Video Tutorial
Watch the step-by-step video walkthrough for this ESP32 S3 project below.
Challenge Yourself
Once your LM35 temperature sensor is working with the ESP32 S3, try these exercises to deepen your skills and extend the project.
- Beginner: Change the ADC pin used in the code to a different ADC-capable GPIO and verify the readings remain accurate.
- Beginner: Add an LED that lights up when the temperature rises above a defined threshold, such as 30°C.
- Intermediate: Display the live temperature reading on an OLED or LCD screen instead of the Serial Monitor.
- Intermediate: Send temperature readings over Wi-Fi using the ESP32 S3's wireless radio and display them on a simple web page.
- Advanced: Log temperature data with timestamps to an SD card and create a graph from the recorded data.
- Advanced: Build a closed-loop temperature controller that activates a fan or heater relay to maintain a target temperature automatically.