
ESP32 S3 - MQTT
The ESP32 S3 is a powerful Wi-Fi-enabled microcontroller that pairs naturally with the MQTT protocol to build lightweight, responsive IoT messaging systems. In this tutorial you will learn how to use the ESP32 S3 to connect to an MQTT broker, publish sensor data, and subscribe to incoming commands — the two core operations that underpin virtually every IoT application.
What you'll build:
- An ESP32 S3 that connects to an online Mosquitto MQTT broker and exchanges loopback messages over the internet.
- An ESP32 S3 that connects to a local Mosquitto broker installed on your PC and sends data bidirectionally.
- A Serial Monitor view showing timestamped publish and receive events.
- A working foundation you can extend to AWS IoT, multi-device communication, and cloud dashboards.
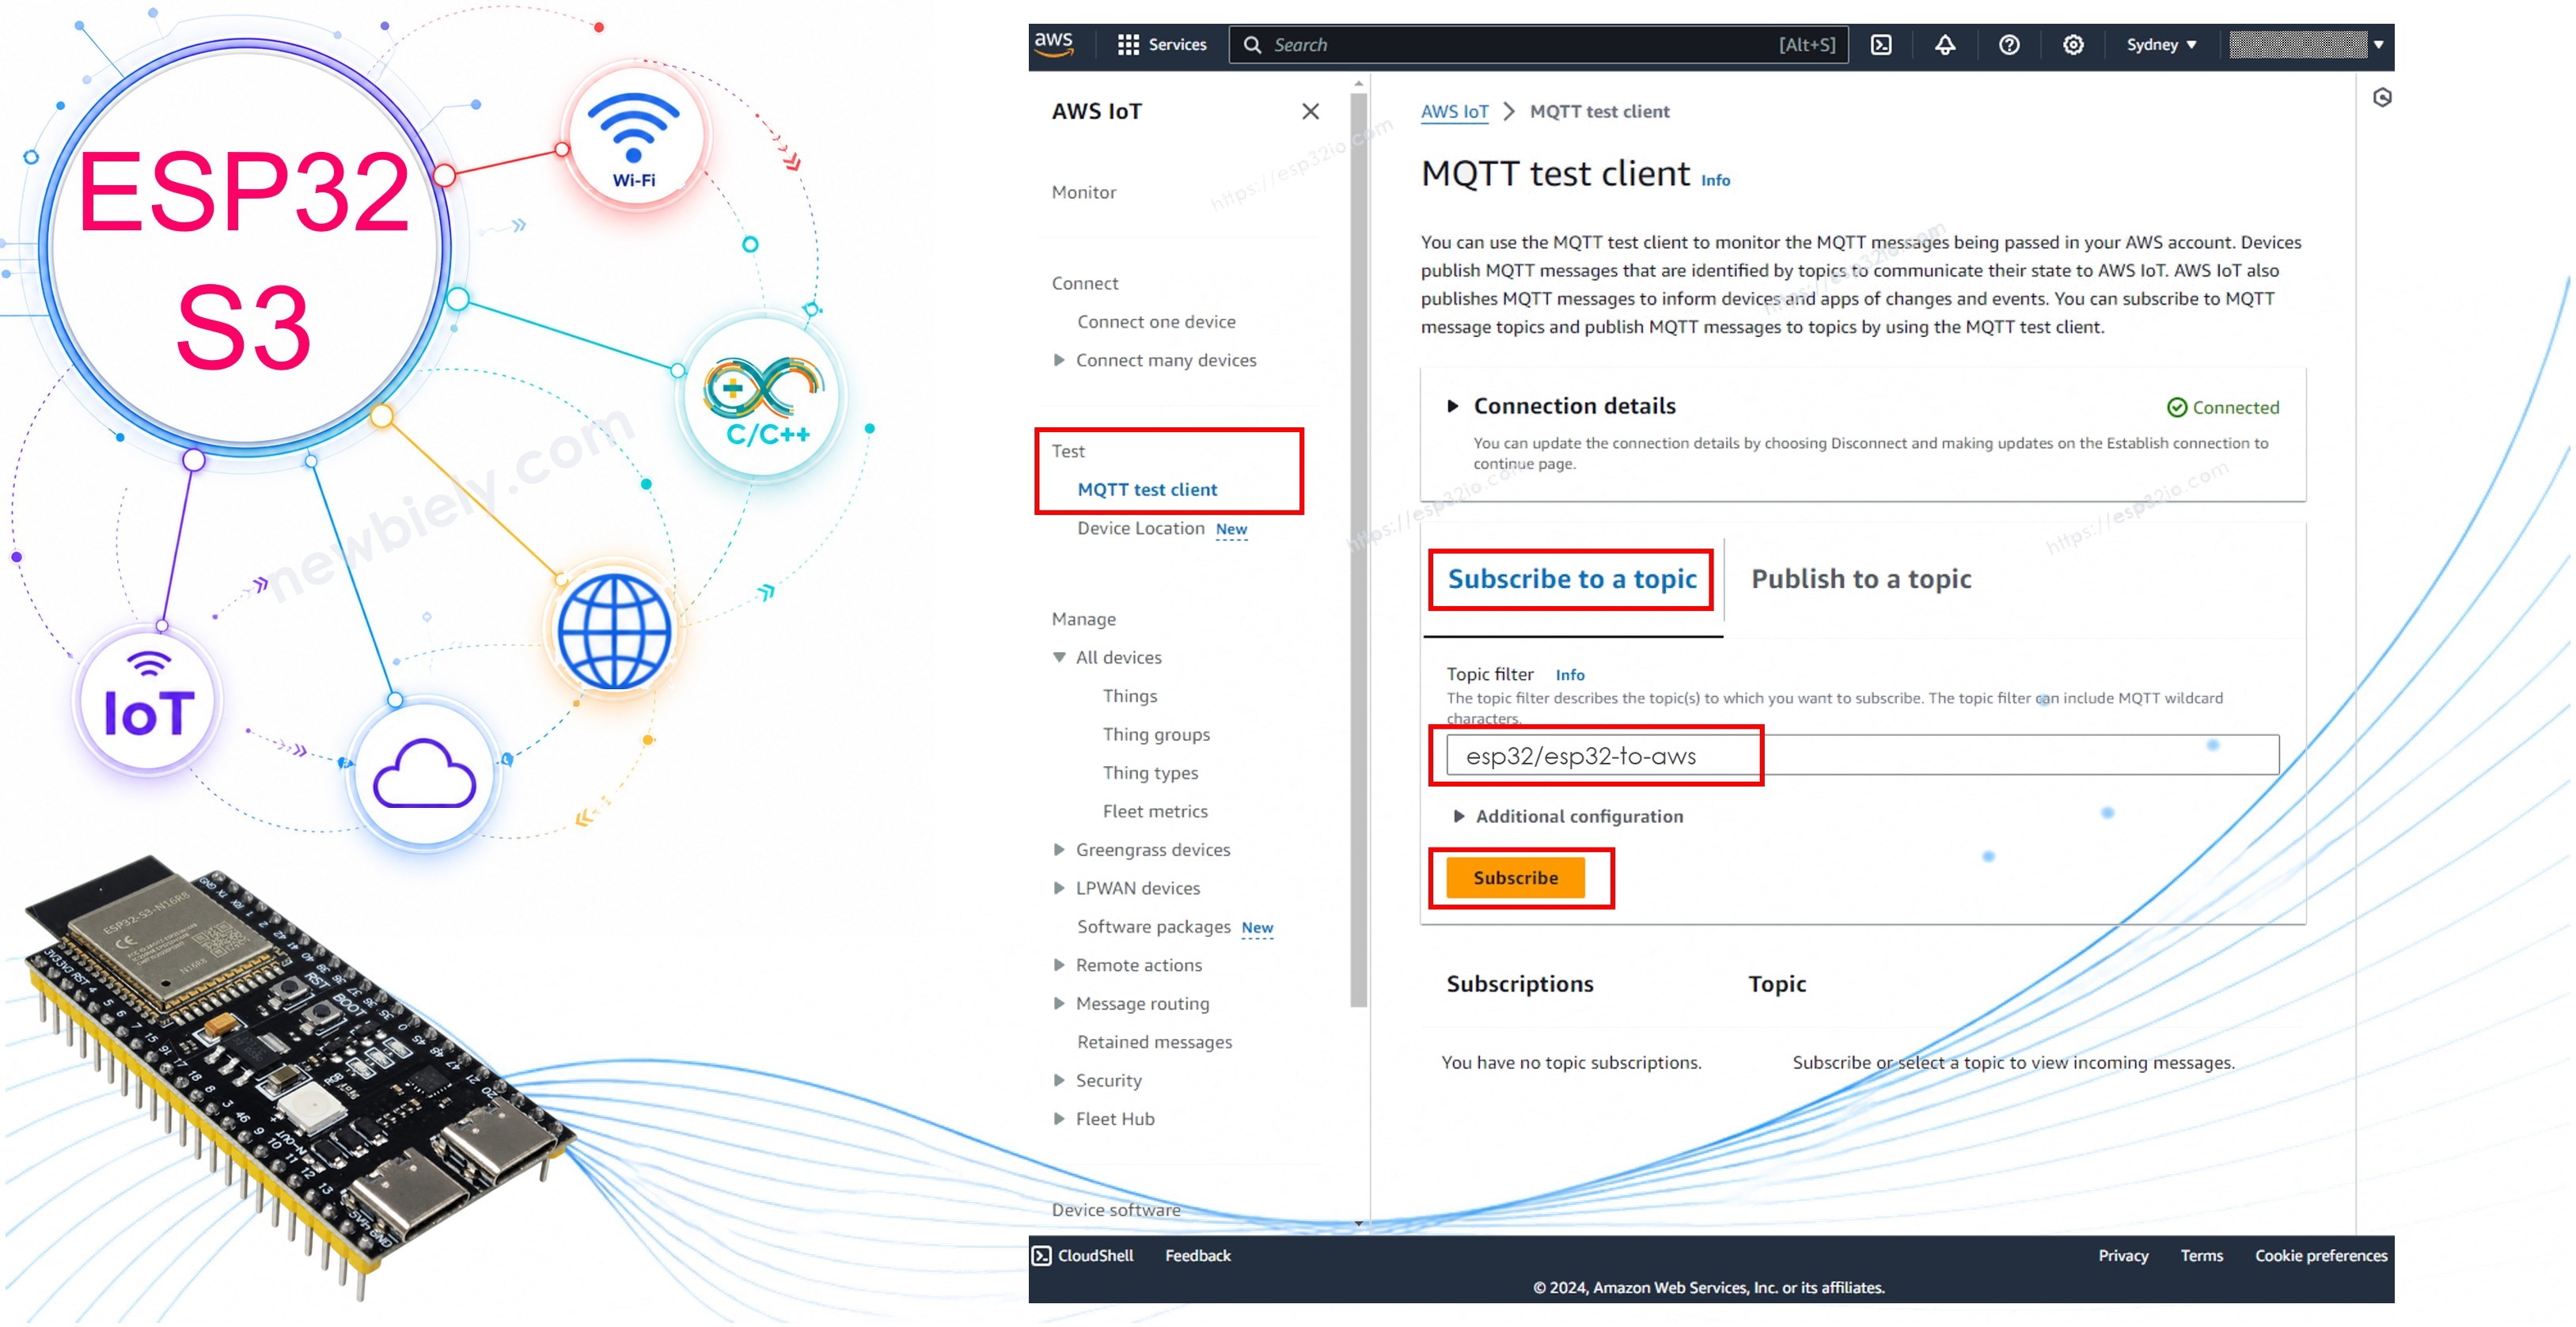
We will cover two distinct scenarios: ESP32 S3 with an online MQTT broker, and ESP32 S3 with an MQTT broker installed on your PC.
Hardware Preparation
Or you can buy the following kits:
| 1 | × | DIYables ESP32 S3 Starter Kit (ESP32 S3 included) | |
| 1 | × | DIYables Sensor Kit (18 sensors/displays) |
Additionally, some of these links are for products from our own brand, DIYables .
Overview of ESP32 S3 and MQTT
MQTT (Message Queuing Telemetry Transport) is a lightweight publish-subscribe messaging protocol designed for constrained devices and low-bandwidth, high-latency networks — making it an ideal fit for the ESP32 S3. The ESP32 S3 connects to a broker as a client and can simultaneously publish data to topics and subscribe to topics to receive commands or data from other devices or services.
Here are some ways ESP32 S3 can work with MQTT:
- Connect ESP32 S3 to an online MQTT broker like Mosquitto or AWS IoT.
- Connect ESP32 S3 to an MQTT broker installed on your computer, such as Mosquitto or HiveMQ.
- Connect ESP32 S3 to an MQTT broker running on your Raspberry Pi, for example, Mosquitto.
- Connect ESP32 S3 to a cloud-based MQTT broker, like Mosquitto or HiveMQ on AWS EC2.
Key Concepts
- Broker: the central server that routes messages between clients.
- Topic: a UTF-8 string used to filter and route messages (e.g. esp32-s3-001/send).
- Publish: the act of sending a message to a topic.
- Subscribe: registering interest in a topic so the broker forwards matching messages to you.
Once you have finished this tutorial, you can explore related topics:
Connect ESP32 S3 to an Online MQTT Broker
In this part, we will learn how to connect ESP32 S3 to test.mosquitto.org, a public online MQTT broker provided by Mosquitto. Please note that this broker is intended for testing purposes only and should not be used in production applications.
ESP32 S3 Code
The following code connects the ESP32 S3 to the online broker, subscribes to a loopback topic, and periodically publishes JSON messages to that same topic so you can observe both directions of communication in the Serial Monitor.
Detailed Instructions
- New to ESP32 S3? Complete our Getting Started with ESP32 S3 guide first.
- Connect the ESP32 S3 board to your PC via a USB cable.
- Open Arduino IDE on your PC.
- Select the right ESP32 S3 board and COM port.
- Open the Library Manager by clicking on the Library Manager icon on the left navigation bar of Arduino IDE.
- Type MQTT in the search box, then look for the MQTT library by Joel Gaehwiler.
- Click Install to install the MQTT library.
- Search for MQTT created by Joel Gaehwiler
- Type ArduinoJson in the search box, then look for the ArduinoJson library by Benoit Blanchon.
- Click Install to install the ArduinoJson library.
- Search for ArduinoJson created by Benoit Blanchon
and click the Install button.
- Copy the above code and open it with Arduino IDE.
- Replace the Wi-Fi information (SSID and password) in the code with your own.
- In the code, you will see the word YOUR-NAME three times. Replace this with your name or random alphabet characters (no spaces). This is necessary to avoid conflicts when multiple users run the code simultaneously — the MQTT client IDs and topics must be unique.
- Click Upload on Arduino IDE to upload code to ESP32 S3.
- Open the Serial Monitor and observe the output.
- Pro Tip: If the ESP32 S3 fails to connect to the broker, check that your Wi-Fi credentials are correct and that your network allows outbound connections on port 1883.
Serial Monitor Output
The Serial Monitor will display timestamped publish and receive events similar to the following:
As you can observe, the ESP32 S3 publishes messages to the MQTT broker and then receives the same message back. This occurs because the code subscribes to the same topic it publishes to. If you prefer the ESP32 S3 not to receive its own messages, simply subscribe to a different topic from the one you publish to.
Connect ESP32 S3 to the MQTT Broker Installed on Your PC
Installing Mosquitto MQTT Broker
- Download the Mosquitto MQTT Broker.
- Install it on the D: drive instead of the C: drive. Avoiding the C: drive prevents potential permission issues.
Run Mosquitto MQTT Broker
Now, let's verify that the MQTT broker is functioning properly by following these steps:
- Navigate to the directory where Mosquitto was installed. For example: D:\Draft\mosquitto>
- Create a new file named test.conf, copy the content below, and save it in that directory:
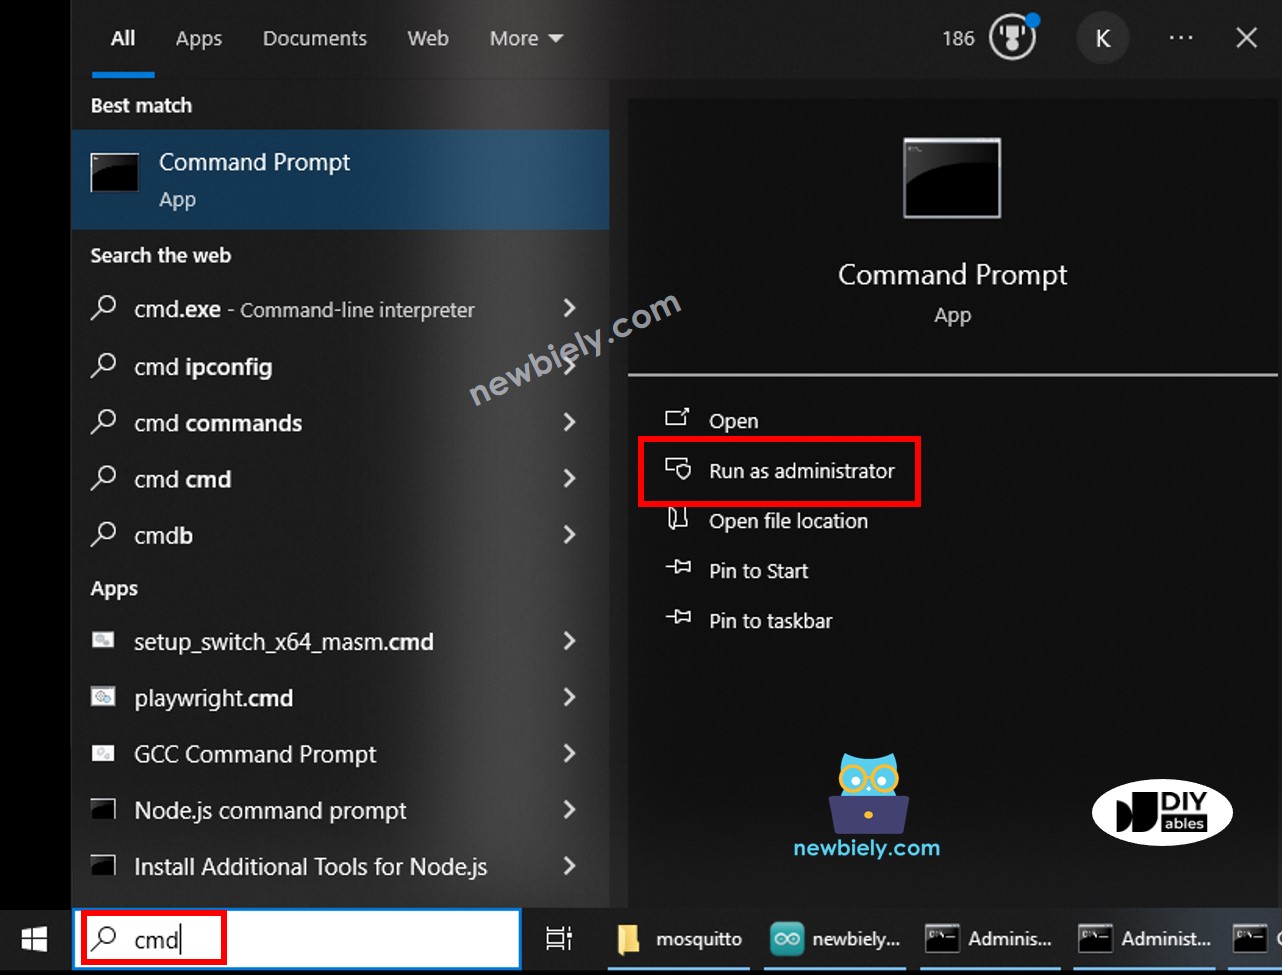
- Run a Command Prompt as Administrator on your PC. Let's call it Broker Window. Do not close it until the end of the tutorial.
- Run the below commands one by one:
- You will see:
- Open another Command Prompt as Administrator on your PC.
- Find the IP address of your PC by running the below command:
- Write down the IP address for later use. In the above example: 192.168.0.26
Test if the Mosquitto Broker Works
- Open another Command Prompt as Administrator on your PC. Let's call it Subscriber Window.
- Subscribe to a topic by running the below commands one by one (replace with your IP address):
- Open another Command Prompt as Administrator on your PC. Let's call it Publisher Window.
- Publish a message to the same topic by running the below commands one by one (replace with your IP address):
- You will see:
You will see that the message is forwarded to the Subscriber Window as follows:
Now, you have successfully installed the Mosquitto MQTT broker on your PC. Please do NOT close three windows: Broker Window, Subscriber Window, and Publisher Window. We will use them in the next steps.
ESP32 S3 Code
The following code connects the ESP32 S3 to your local broker, subscribes to a receive topic, and periodically publishes JSON messages to a separate send topic — demonstrating true bidirectional communication between the board and the PC.
Detailed Instructions
- New to ESP32 S3? Complete our Getting Started with ESP32 S3 guide first.
- Copy the above code and open it with Arduino IDE.
- Replace the Wi-Fi information (SSID and password) in the code with your own.
- Replace the MQTT broker address in the code with your PC's IP address (domain name or IP address).
- Click Upload on Arduino IDE to upload code to ESP32 S3.
- Pro Tip: Ensure your PC firewall allows inbound connections on port 1883 so the ESP32 S3 can reach the local broker without being blocked.
Send Message from ESP32 S3 to PC via MQTT
The ESP32 S3 code publishes data to the MQTT topic esp32-s3-001/send, and the Subscriber Window on the PC subscribes to that topic to receive the data. Open the Serial Monitor and you will see the ESP32 S3 periodically publish a message to the topic.
- Check the Subscriber Window, you will see that it receives the messages published by ESP32 S3 as below:
Send Message from PC to ESP32 S3 via MQTT
The ESP32 S3 subscribes to the topic esp32-s3-001/receive, and the Publisher Window on the PC publishes a message to that topic to send it to the ESP32 S3.
- Publish a message to the topic that ESP32 S3 subscribed to by running the following command on the Publisher Window:
- You will see this message is received by ESP32 S3 on the Serial Monitor as below:
Applications
The ESP32 S3 and MQTT combination is a cornerstone of modern IoT systems, enabling everything from simple sensor dashboards to complex multi-device automation. Here are some practical applications you can build on top of what you have learned:
- Remote Sensor Monitoring: Publish temperature, humidity, or air-quality readings from ESP32 S3 to a dashboard like Node-RED or Grafana via MQTT.
- Remote Device Control: Send commands from a smartphone app to an ESP32 S3 over MQTT to toggle relays, adjust servo positions, or change LED colors.
- Multi-Device Coordination: Use a shared MQTT broker to let multiple ESP32 S3 boards coordinate with each other — for example, synchronizing lights across rooms.
- Home Automation Hub Integration: Connect ESP32 S3 to Home Assistant or openHAB via MQTT to control smart home devices with custom firmware.
- Cloud IoT Pipelines: Forward MQTT messages from a local broker to AWS IoT Core or Azure IoT Hub for cloud-side analytics, alerting, and storage.
- Alert and Notification Systems: Subscribe an ESP32 S3 to a motion or leak sensor topic and trigger a relay or buzzer whenever an alert message arrives.
Video Tutorial
Watch the step-by-step video walkthrough for this ESP32 S3 project below.
Challenges
Now that your ESP32 S3 is exchanging MQTT messages, try extending the project with these hands-on challenges. Each one builds on the skills you have just practiced and pushes you toward real-world IoT applications.
- Beginner — Change the publish interval: Modify the code to publish a new message every 2 seconds instead of the default interval. Observe the increased message rate in the Serial Monitor and the Subscriber Window.
- Beginner — Add a second topic: Subscribe the ESP32 S3 to a second topic (e.g. esp32-s3-001/config) and publish a configuration value from the PC to it. Print the received value to the Serial Monitor.
- Intermediate — Publish real sensor data: Wire up a DHT22 temperature and humidity sensor to the ESP32 S3 and publish its readings as a JSON payload to the MQTT broker every 5 seconds.
- Intermediate — Control an LED via MQTT: Subscribe the ESP32 S3 to a topic like esp32-s3-001/led. When the payload is "ON" turn the built-in LED on; when it is "OFF" turn it off. Test by publishing from the Publisher Window.
- Advanced — Retain messages: Modify the publish call to set the retain flag to true. Restart the ESP32 S3 and observe that it immediately receives the last retained message upon reconnecting, without waiting for a new publish cycle.
- Advanced — TLS encryption: Set up the local Mosquitto broker with a self-signed TLS certificate and update the ESP32 S3 code to connect on port 8883 with SSL. Verify that plaintext connections are rejected.