
ESP32 S3 - DHT22 - Relay
This tutorial shows you how to use the ESP32 S3 together with a DHT22 temperature and humidity sensor to automatically control a relay based on the measured temperature. By combining precise environmental sensing with relay switching, you will gain a practical understanding of how to trigger high-power loads in response to real-world temperature data on the ESP32 S3.
What you'll build:
- A circuit connecting a DHT22 temperature and humidity sensor and a relay module to the ESP32 S3
- A sketch that continuously reads the temperature from the DHT22 sensor
- A system that automatically turns the relay on when the temperature exceeds an upper threshold and turns it off when the temperature falls below a lower threshold
- A foundation for building temperature-triggered automation systems such as cooling fans, heating elements, and climate-controlled enclosures
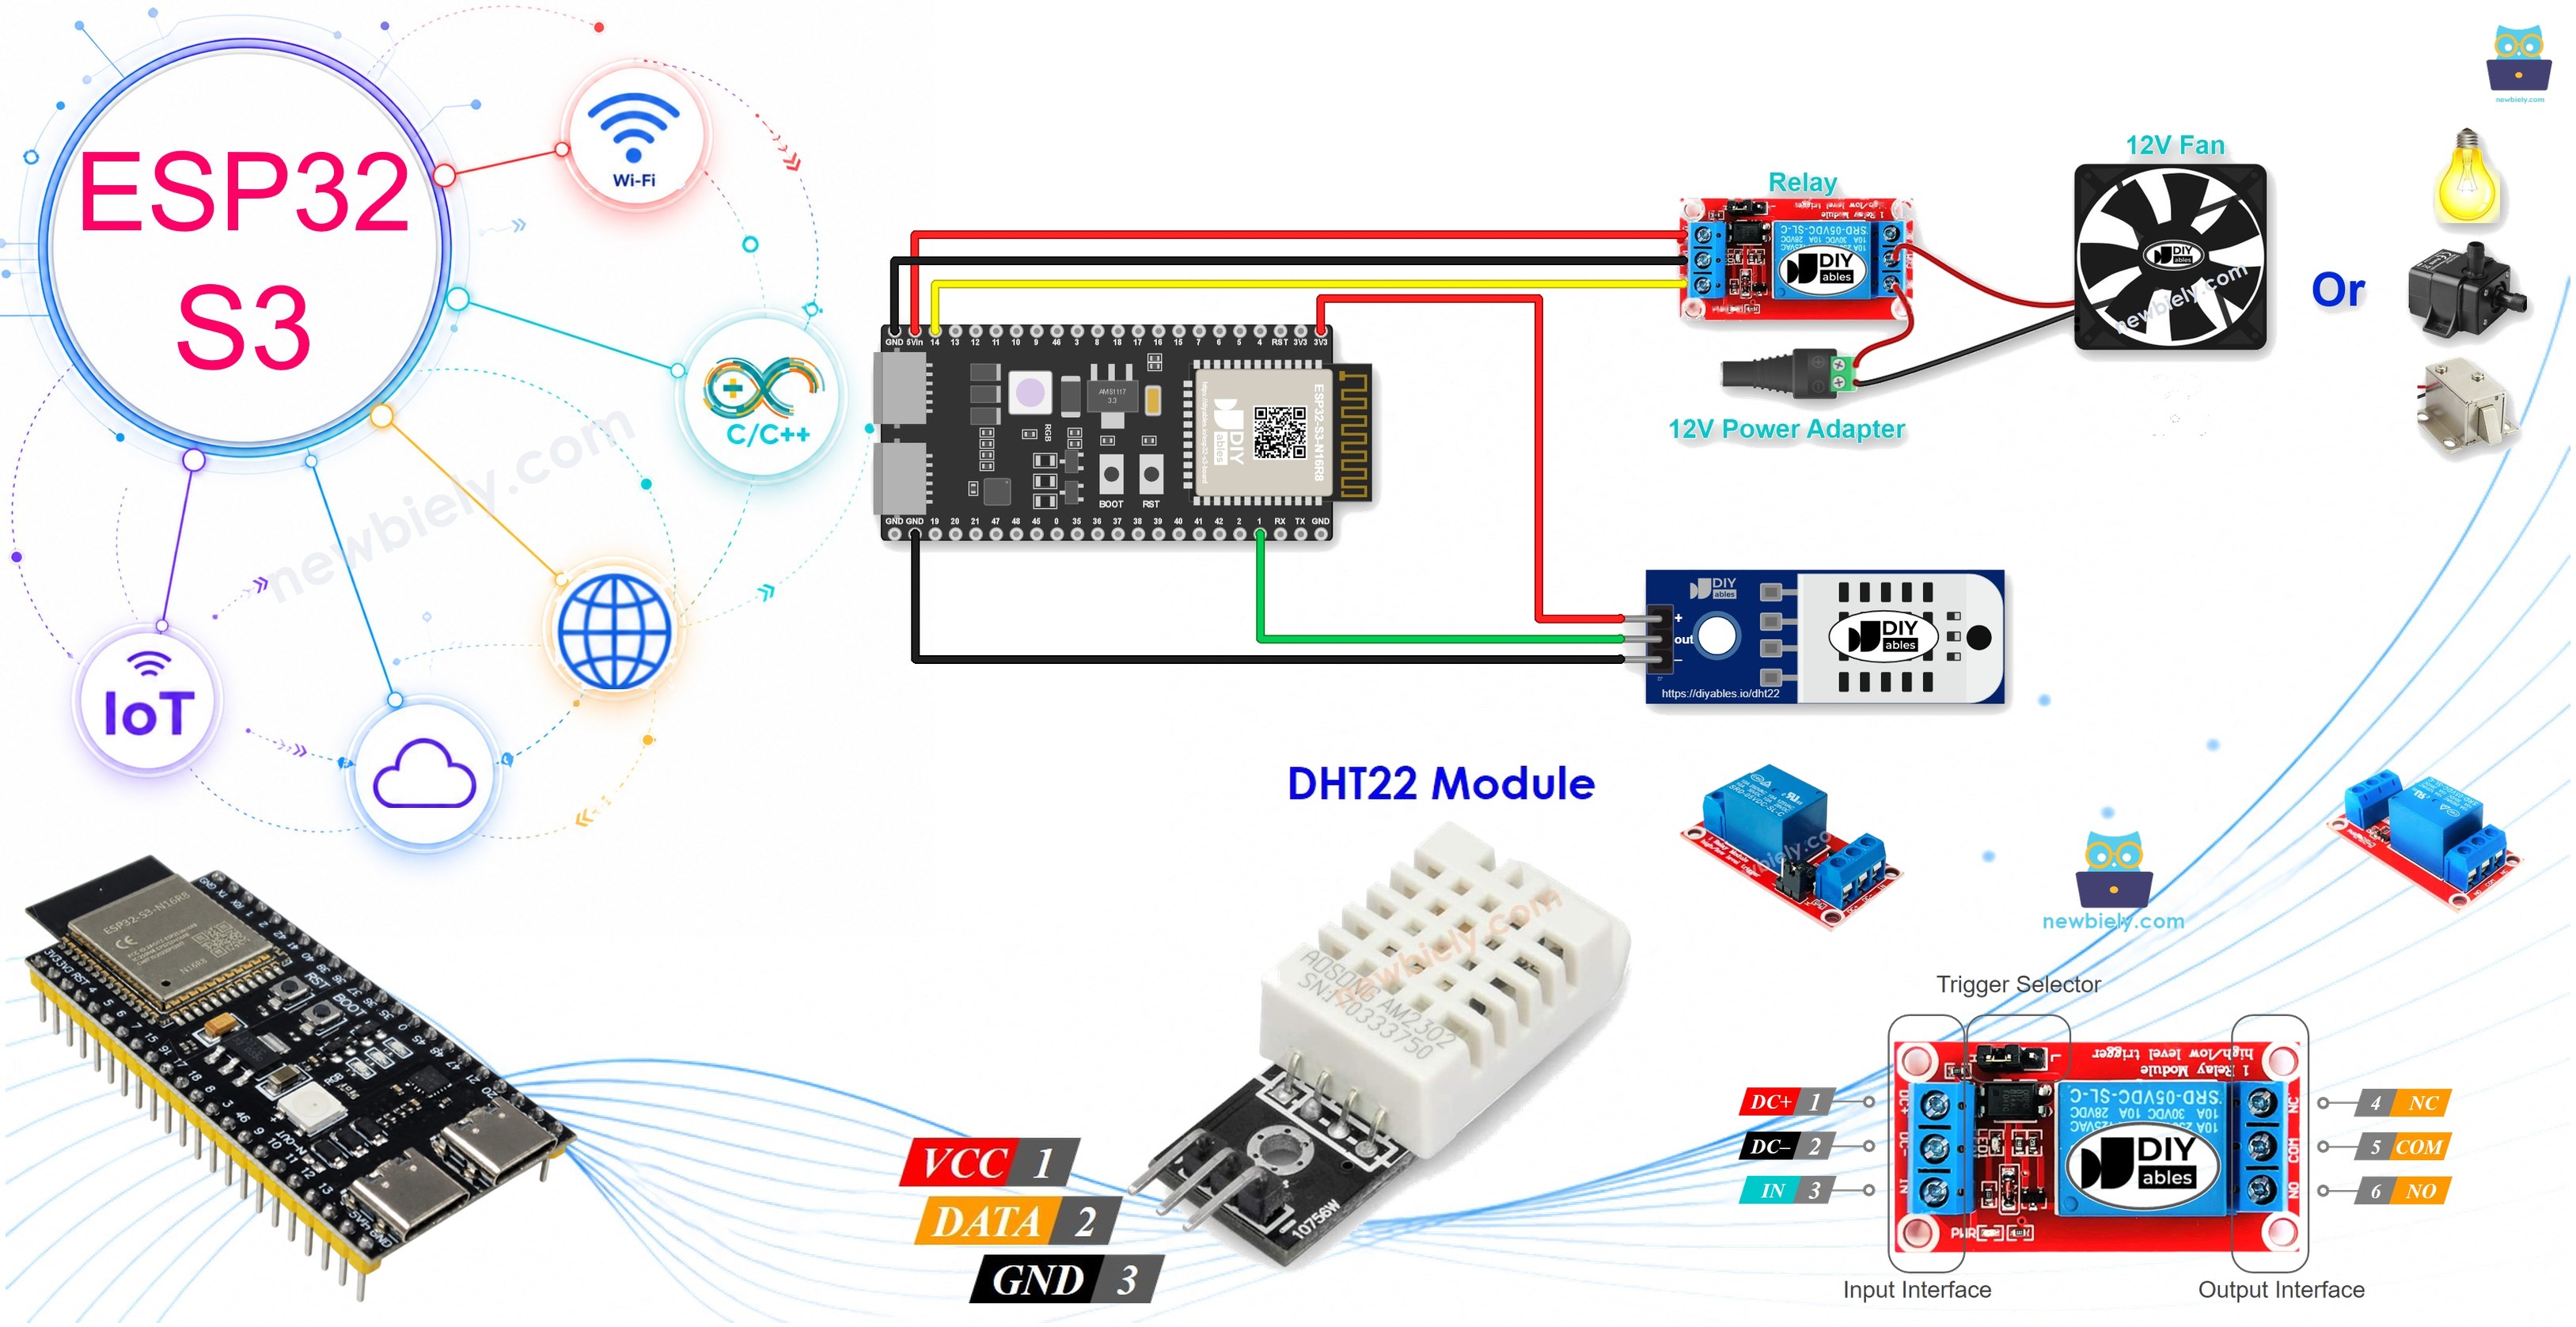
Hardware Preparation
Or you can buy the following kits:
| 1 | × | DIYables ESP32 S3 Starter Kit (ESP32 S3 included) | |
| 1 | × | DIYables Sensor Kit (18 sensors/displays) |
Additionally, some of these links are for products from our own brand, DIYables .
Overview of Relay and DHT22 Sensor
The DHT22 sensor and a relay are a practical pairing for building temperature-controlled automation on the ESP32 S3. The DHT22 measures both temperature and relative humidity with high accuracy using a single-wire digital protocol, while the ESP32 S3 reads that data and uses it to switch a relay that can safely control high-voltage or high-current loads far beyond the capability of the microcontroller's own GPIO pins. Together they form the core of any thermostat or climate control system built around the ESP32 S3.
Key Specifications
We have dedicated tutorials covering each component in depth. Each tutorial contains detailed information and step-by-step instructions about hardware pinout, working principle, wiring connection to the ESP32 S3, and Arduino code. Learn more about them at the following links:
Wiring Diagram
Connect the DHT22 sensor and relay to your ESP32 S3 by following the diagram below. Double-check all connections before applying power, especially the high-voltage wiring on the relay's output terminals.
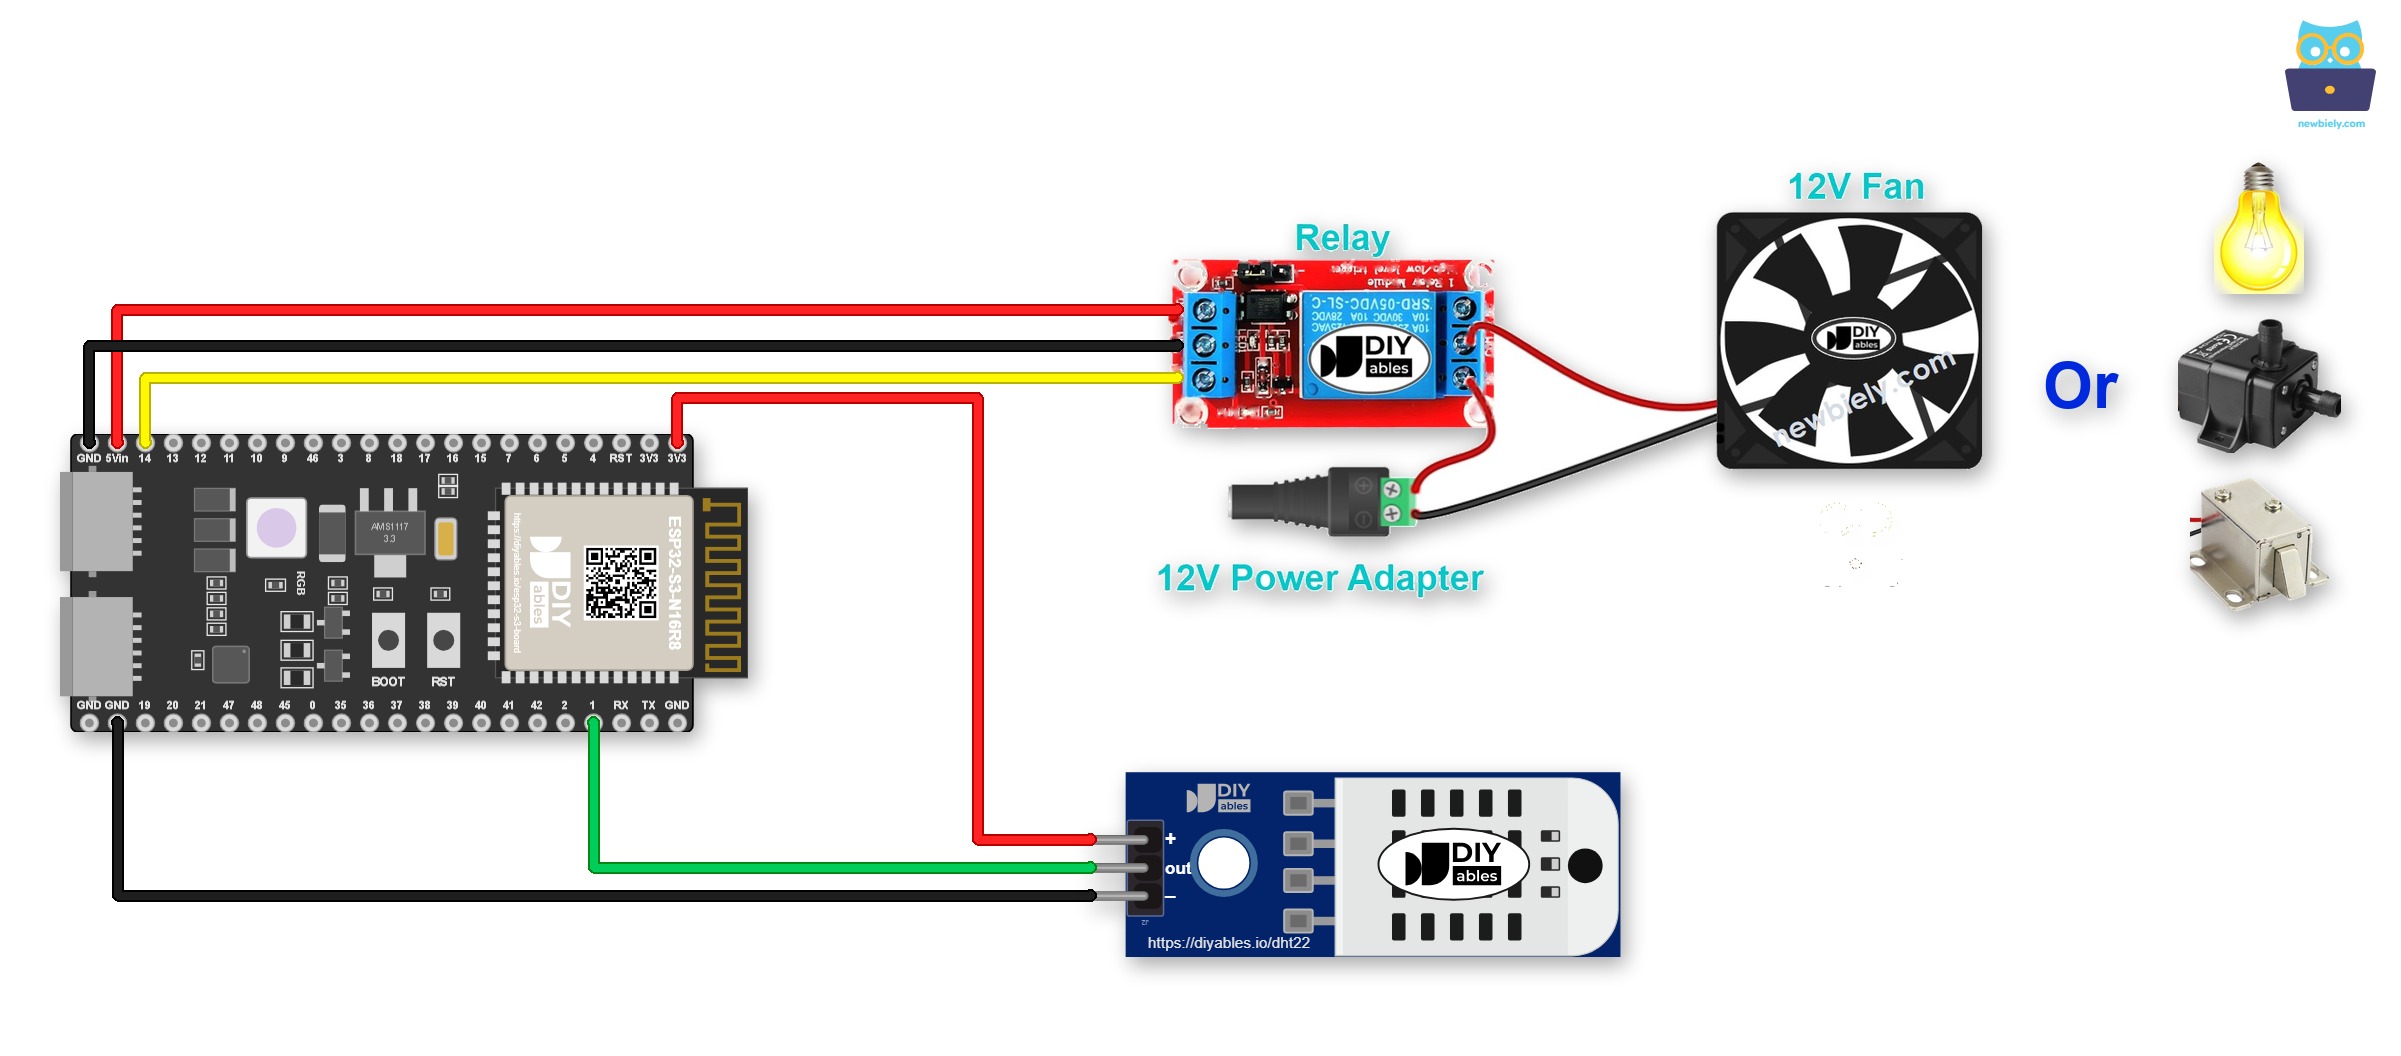
This image is created using Fritzing. Click to enlarge image
Safety Notes
Always verify that the relay's COM and NO (or NC) terminals are securely fastened and that no bare wires are exposed before powering the circuit. Keep the low-voltage control wiring to the ESP32 S3 physically separated from any high-voltage load wiring to reduce the risk of accidental contact.
| Component | Pin | ESP32 S3 Pin |
|---|---|---|
| DHT22 Sensor | VCC | 3.3V |
| DHT22 Sensor | GND | GND |
| DHT22 Sensor | DATA | GPIO1 |
| Relay | DC- | GND |
| Relay | DC+ | 5V |
| Relay | IN | GPIO14 |
ESP32 S3 Code
The following code reads the temperature from the DHT22 sensor on the ESP32 S3, compares the value against configurable upper and lower thresholds, and switches the relay on or off accordingly. The threshold values can be adjusted directly in the code to suit different temperature control requirements.
Detailed Instructions
- New to ESP32 S3? Complete our Getting Started with ESP32 S3 guide first.
- Wire the components following the wiring diagram shown above.
- Connect the ESP32 S3 board to your PC using a USB Type-C cable.
- Open Arduino IDE on your PC.
- Select the correct ESP32 S3 board and COM port from the Tools menu.
- Click the Libraries icon on the left bar of the Arduino IDE.
- Search "DHT", then find the DHT sensor library by Adafruit and click Install.
- When prompted to install library dependencies, click Install All.
- Copy the above code and paste it into Arduino IDE.
- Click the Upload button to compile and upload the code to the ESP32 S3.
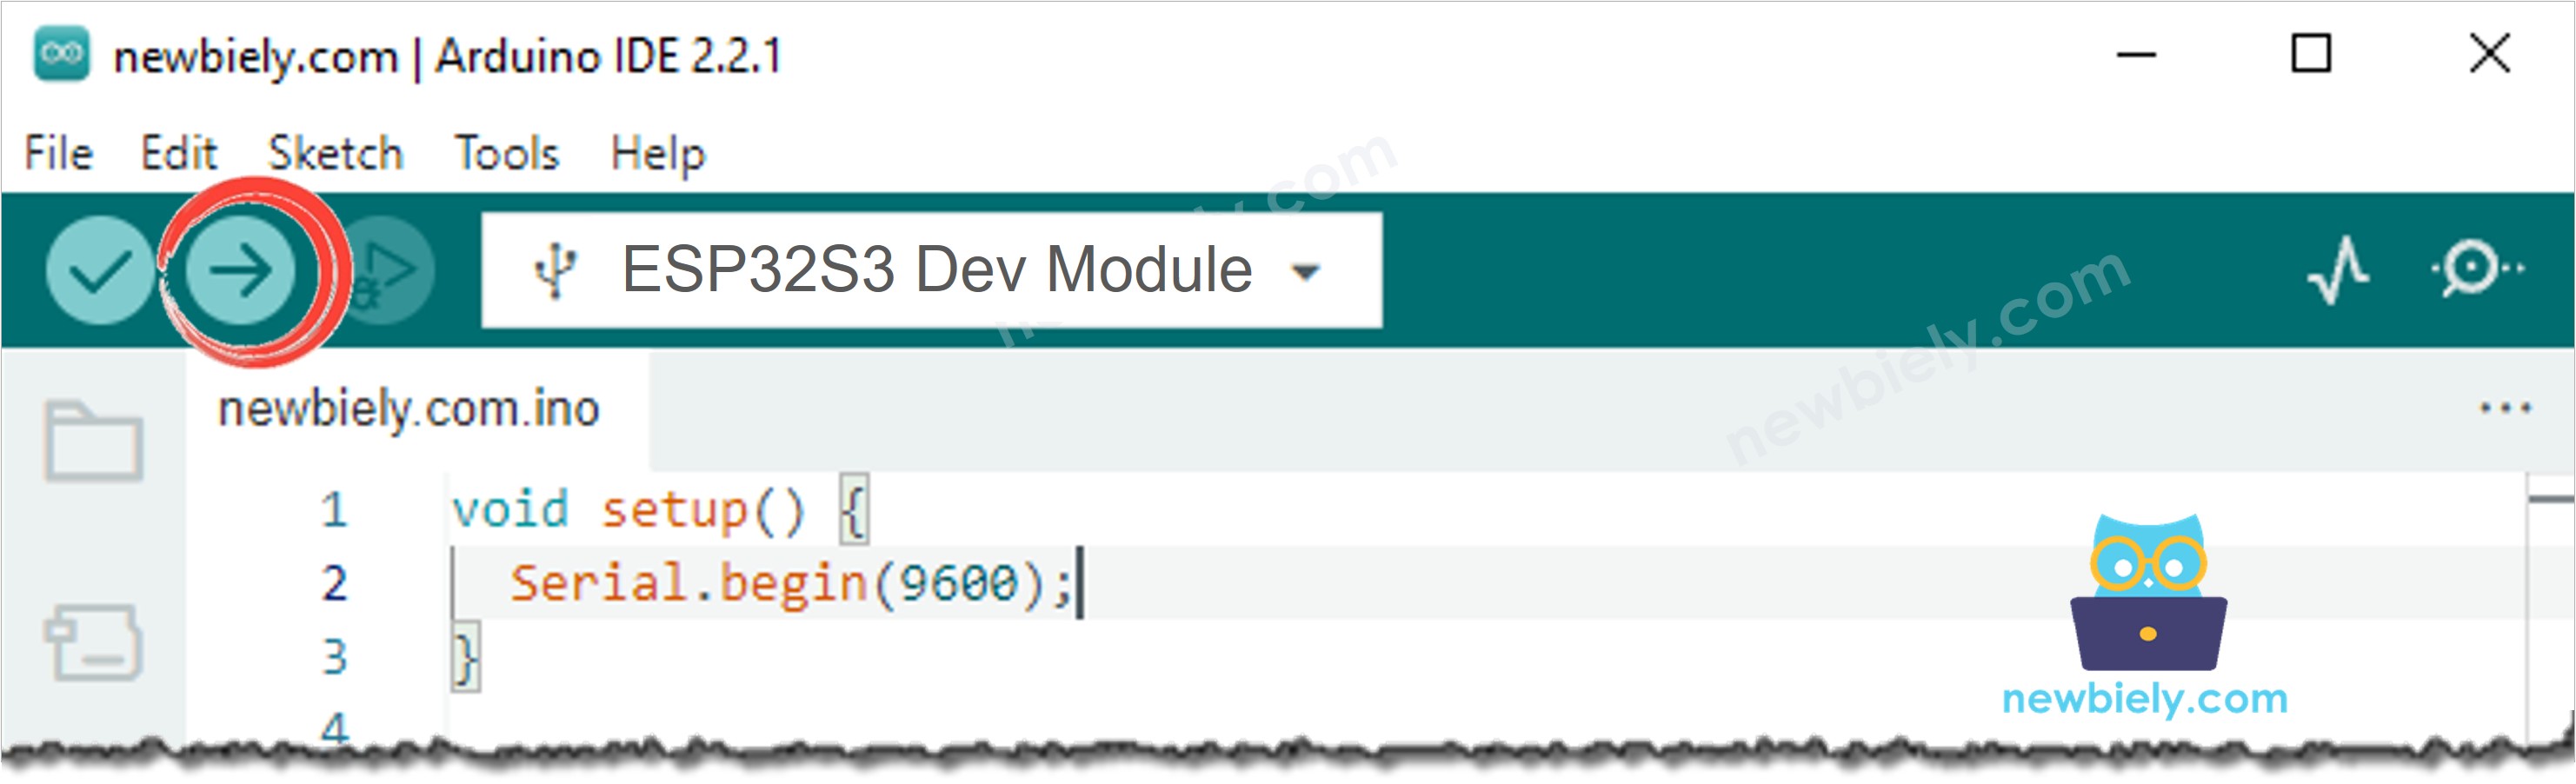
- Open the Serial Monitor at 115200 baud.
- Make the environment around the sensor hotter or colder and observe the relay state change.
- Check the Serial Monitor to see the live temperature readings and relay state printed in real time.
- Pro Tip: Try setting the upper and lower thresholds to the same value if you want the relay to switch on and off at a single fixed temperature — this simplifies the logic for straightforward on/off thermostat applications.
Serial Monitor Output
The following Serial Monitor output shows the ESP32 S3 reading temperature data from the DHT22 sensor and switching the relay in real time. Each line displays the current measured temperature and the corresponding relay state triggered by the temperature thresholds.
Application and Project Ideas
Once you can trigger a relay from a DHT22 temperature reading on the ESP32 S3, you can extend this pattern to a wide range of temperature-sensitive automation and control projects.
- Automatic cooling fan: Activate a 12V fan via the relay when the temperature inside an enclosure rises above a safe operating level.
- Greenhouse heater controller: Switch a heating element or heat lamp relay on when temperature drops below a minimum threshold to protect plants from cold damage.
- Server room temperature alarm: Trigger a 12V siren or warning light via the relay whenever the ambient temperature exceeds a critical value.
- Incubator thermostat: Maintain a precise temperature band for egg incubation by cycling a heating pad relay on and off based on DHT22 readings.
- 3D printer enclosure ventilation: Automatically vent hot air from a printer enclosure by activating an exhaust fan relay when the internal temperature climbs too high.
- Cold storage monitor: Protect refrigerated goods by activating an alarm relay when the storage temperature rises above the safe range.
Video Tutorial
Watch the step-by-step video walkthrough for this ESP32 S3 project below.
Challenge Yourself
Now that you can control a relay with a DHT22 sensor on the ESP32 S3, try these progressively challenging extensions to deepen your understanding and build more capable temperature-controlled systems.
- Beginner: Modify the upper and lower threshold values in the code and observe how they change the activation and deactivation points for the relay, then print a confirmation message to the Serial Monitor showing which threshold is currently active.
- Beginner: Add an LED indicator wired to a separate GPIO pin that lights up whenever the relay is energised, giving you a low-voltage visual confirmation alongside the audible relay click.
- Intermediate: Extend the sketch to also read humidity from the DHT22 and add a second relay that activates when humidity exceeds a set percentage, creating a combined temperature and humidity control system.
- Intermediate: Add an I2C OLED screen to display the live temperature, humidity, and relay state in a formatted readout, removing the dependency on the Serial Monitor for monitoring.
- Advanced: Store configurable threshold values in ESP32 S3 non-volatile storage (Preferences library) so the settings persist across power cycles without re-uploading code.
- Advanced: Extend the project with WiFi so the relay can be monitored and the temperature thresholds adjusted remotely from a web page served by the ESP32 S3.