
ESP32 S3 - Web Server Password
Securing your ESP32 S3 web server with a username and password is an essential step for any connected project where you want to restrict access. In this tutorial, you will learn how to set up an ESP32 S3 web server that requires users to log in with credentials before they can view the page content.
What you'll build:
- An ESP32 S3 web server that prompts visitors for a username and password
- A login challenge handled automatically by the web browser (no custom HTML login form needed)
- A protected web page that is only shown after successful authentication
- A reusable foundation for securing any ESP32 S3 web application
Hardware Preparation
Or you can buy the following kits:
| 1 | × | DIYables ESP32 S3 Starter Kit (ESP32 S3 included) | |
| 1 | × | DIYables Sensor Kit (18 sensors/displays) |
Additionally, some of these links are for products from our own brand, DIYables .
Overview of ESP32 S3 and Web Server
The ESP32 S3 is a powerful dual-core microcontroller with built-in Wi-Fi and Bluetooth, making it an excellent choice for web-connected projects. Its generous 16 MB of flash and 8 MB of PSRAM provide plenty of room for serving web content and handling multiple concurrent connections. If you are new to running a web server on the ESP32 S3, the tutorials below will give you the background you need.
Key Resources
ESP32 S3 Code - Web Server Username/Password
The following code sets up an ESP32 S3 web server that uses HTTP Basic Authentication to protect its content. When a browser first requests the page, the ESP32 S3 responds with an authentication challenge, and the browser automatically displays a login dialog — no custom HTML login form is required in your sketch.
Detailed Instructions
- New to ESP32 S3? Complete our Getting Started with ESP32 S3 guide first.
- Connect the ESP32 S3 board to your PC via a USB Type-C cable.
- Open Arduino IDE on your PC.
- Select the right ESP32 S3 board (e.g. ESP32S3 Dev Module) and the correct COM port.
- Open the Library Manager by clicking on the Library Manager icon on the left navigation bar of Arduino IDE.
- Search "DIYables ESP32 WebServer", then find the Web Server library created by DIYables.
- Click Install button to install the Web Server library.
- Search for DIYables ESP32 WebServer created by DIYables.io and click the Install button.
- Copy the above code and open with Arduino IDE.
- Change the Wi-Fi information (SSID and password) in the code to match your network.
- Click Upload button on Arduino IDE to upload the code to the ESP32 S3.
- Open the Serial Monitor.
- Check out the result on Serial Monitor.
- You will see an IP address on the Serial Monitor, for example: 192.168.0.3.
- Type that IP address into the address bar of a web browser on your smartphone or PC.
- Please note that you need to replace 192.168.0.3 with the actual IP address shown on your Serial Monitor.
- You will see a login dialog prompting you to enter a username and password.
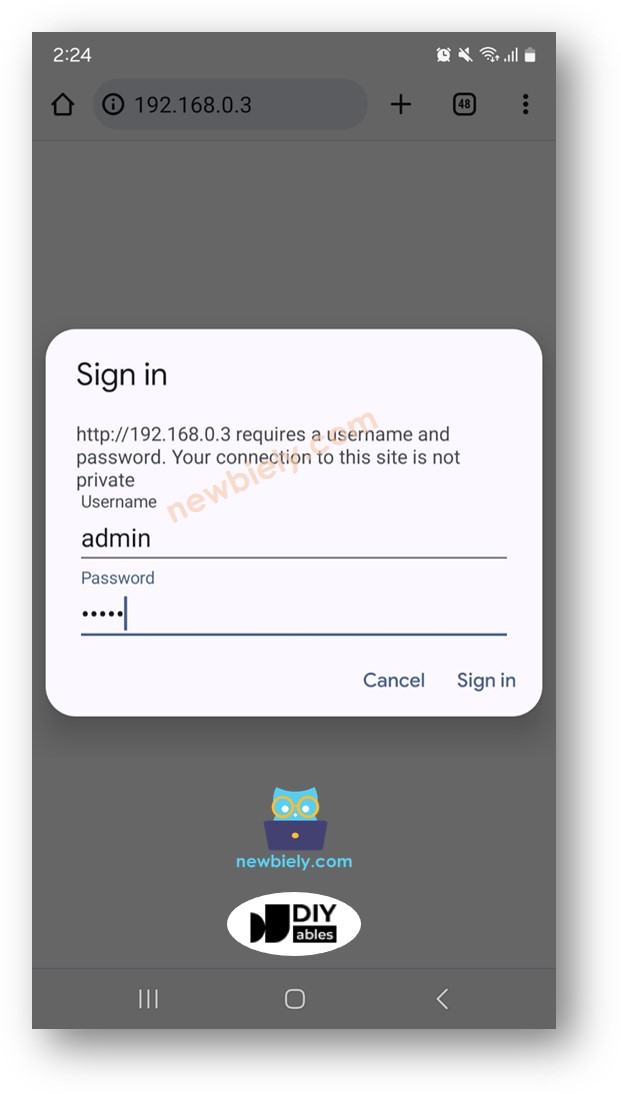
- Enter the username and password defined in the code — by default: admin as the username and esp32 as the password.
- If you enter the correct credentials, the protected web content will be displayed.
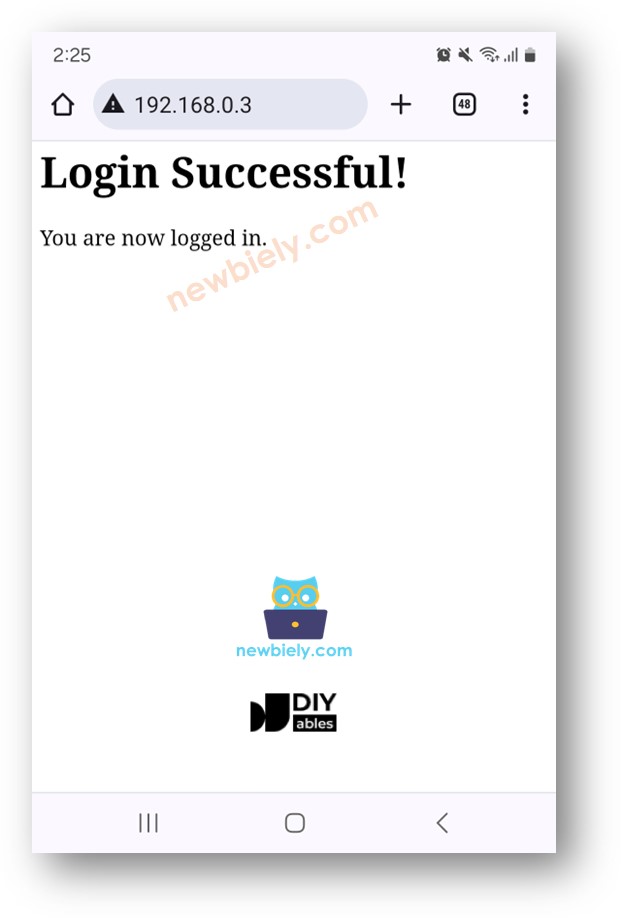
- Pro Tip: Once authenticated, your browser saves the credentials and automatically includes them in subsequent requests, so you will not be prompted again until you clear the browser session or restart the ESP32 S3.
※ NOTE THAT:
- You can change the web username and password in the code by updating the values of the two variables: www_username and www_password.
- You can extend this code to include your own HTML, CSS, and JavaScript content for the protected web page.
- The login form is generated entirely by the web browser — there is no HTML login form in the ESP32 S3 sketch itself.
Advanced Knowledge
This section explains how the username and password system works at the HTTP protocol level, without any HTML login form in the ESP32 S3 code.
- Initially, when you enter the IP address of the ESP32 S3 into a web browser, the browser sends an HTTP request to the board without any username or password credentials.
- Upon receiving this request, the ESP32 S3 code checks whether credentials are included. If they are absent, the board does not return the page content. Instead, it responds with an HTTP message containing headers that instruct the browser to prompt the user for their username and password. Notably, this response contains no HTML code for a login form.
- Upon receiving this response, the web browser parses the HTTP headers, recognises the authentication challenge, and dynamically generates a login dialog allowing the user to enter their credentials.
- The user enters their username and password into the browser's login dialog.
- The web browser includes the entered credentials within an HTTP request and sends it to the ESP32 S3.
- The ESP32 S3 verifies the credentials. If they are correct, it returns the requested page content. If they are incorrect, it repeats the challenge, prompting the user to try again.
- Once the user authenticates successfully for the first time, subsequent requests from the same browser session do not require re-entry of credentials, because the browser automatically includes the saved credentials in every following request.
Applications
Password-protecting a web server is useful in a wide range of real-world ESP32 S3 projects where unauthorised access could cause problems or expose sensitive data.
- Home Automation Dashboard: Restrict control of lights, fans, and appliances to authorised household members only.
- Remote Sensor Monitoring: Protect live temperature, humidity, or air-quality readings so only approved users can view them.
- Industrial Control Panel: Prevent unauthorised personnel from adjusting machine parameters via the web interface.
- IoT Device Configuration: Secure the settings page of a deployed ESP32 S3 device so only administrators can change Wi-Fi credentials or thresholds.
- Security Camera Interface: Guard access to a motion-triggered snapshot or video feed hosted on the ESP32 S3.
Video Tutorial
Watch the step-by-step video walkthrough for this ESP32 S3 project below.
Challenges
Now that your ESP32 S3 web server is secured with a password, try extending it with the following challenges.
- Beginner: Change the default username and password in the code to a custom pair of your choice, then verify that the old credentials no longer grant access.
- Intermediate: Add a second protected page at a different URL path (e.g. /status) that displays live sensor readings and also requires authentication.
- Advanced: Implement a logout mechanism that clears the browser's cached credentials by returning a 401 response when the user visits a /logout URL, forcing them to re-authenticate on their next visit.